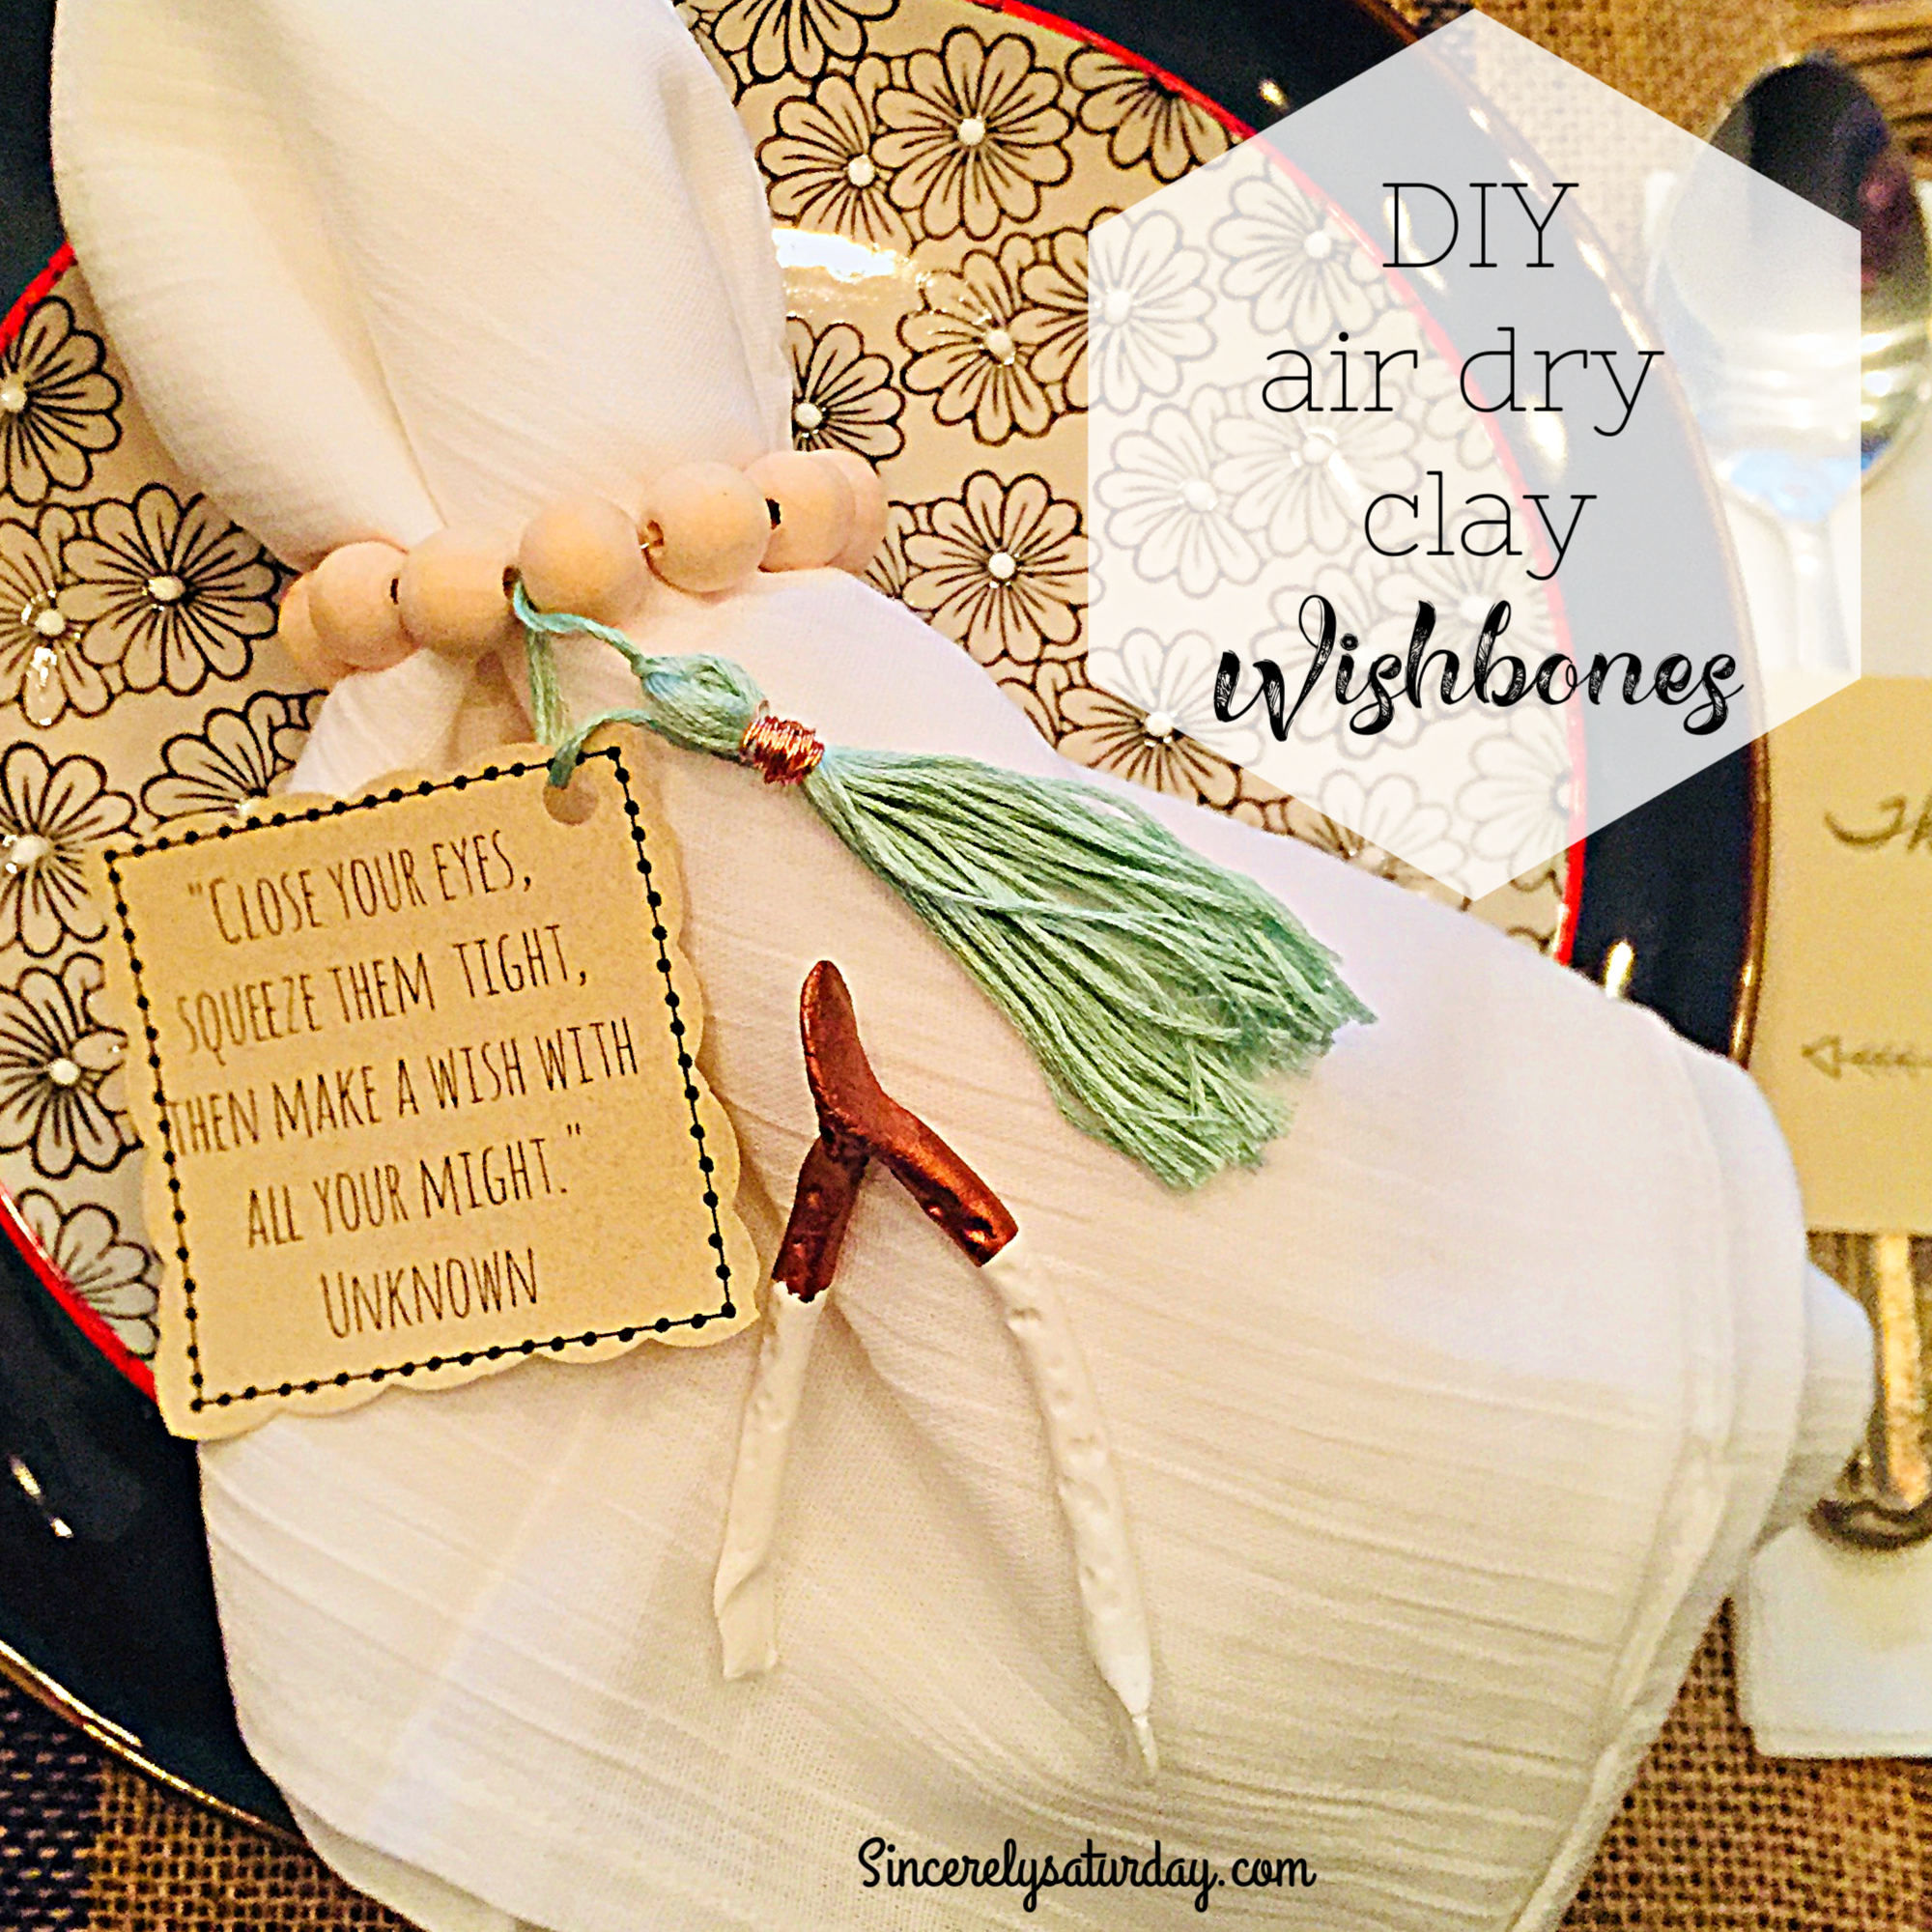
After seeing a pin on Pinterest for Oh Happy day, I thought heck yeah, this is happening. Off to Michaels I went to buy some air dry clay and create these little gems. Here’s how you can make air dry clay DIY Thanksgiving day wishbones.
This post contains affiliate links for your convenience. Please see the Privacy Policy and Terms of Service for questions.
Air dry clay DIY Thanksgiving day wishbones
All you really need to make these wishbones is some air dry clay. I wanted to make them a little cuter so I painted the tops of each with some gold an copper paint. You can make these match whatever you want by just adding a little paint.
To make the wishbones you will need:
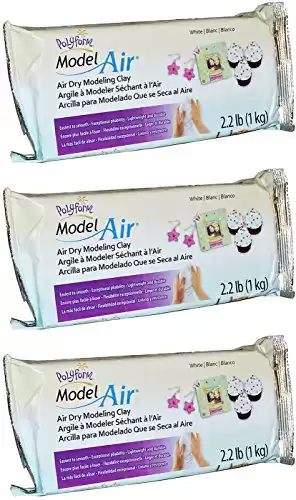
Air dry clay: I purchased the clay at Michaels because I had a 40% off coupon. This is the brand that I used.
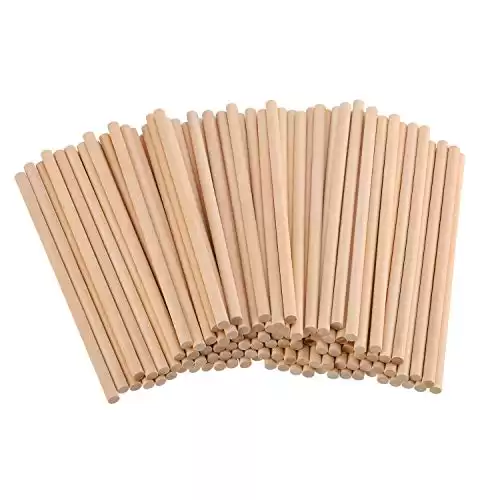
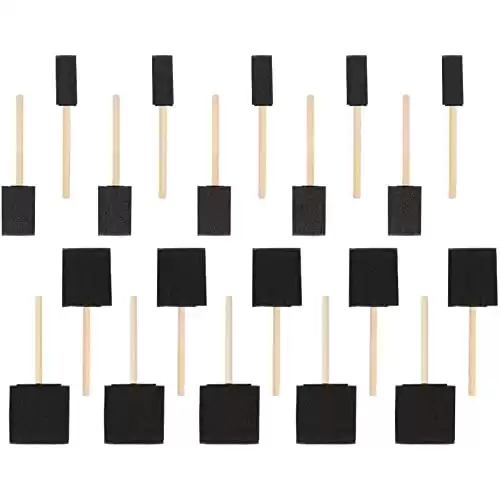
Round stick: I used the ends of my foam brushes but you could use pens or pencils.
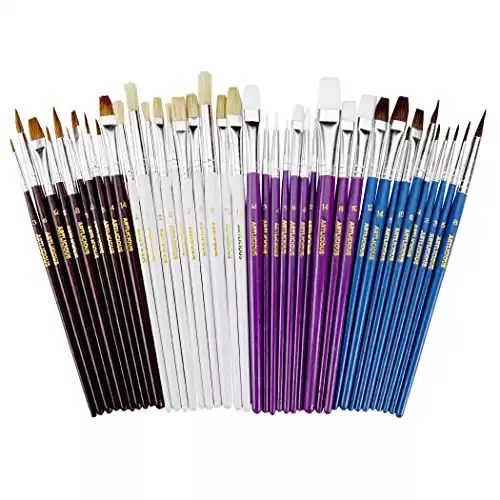
Small blunt edge tool: I used the end of a thin paintbrush but again you could use things you have around the house.
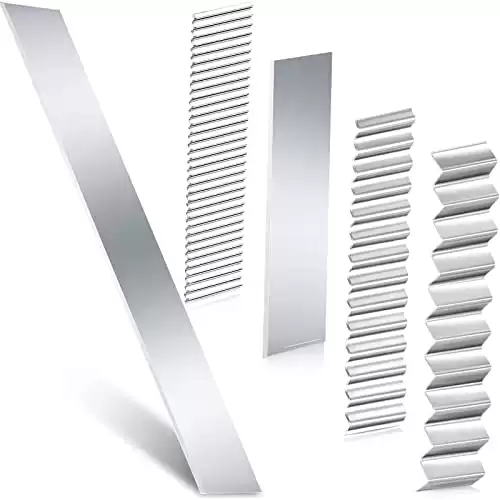
Clay cutter: You can easily use a knife. This clay cutter works really well though.
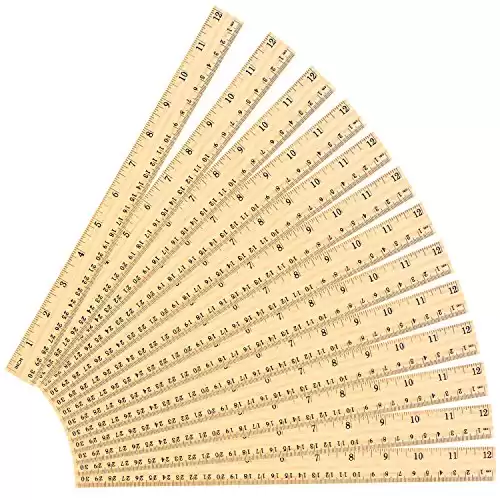
Ruler: A simple 12-inch ruler is just what you need.
Optional:
paintbrush: You will need a paintbrush if you decide to paint the ends as I did.
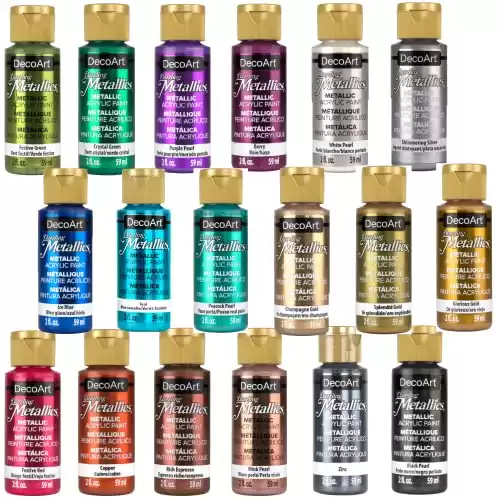
Paint: Right now I’m loving the metallic look, so I painted my wishbones gold and copper. The paints are going to be the cheapest at Michaels or Joann’s if you have a coupon.
How to make the wishbones.
You can watch the video tutorial on youtube!
To make the wishbones all you do is roll out a snake of clay to 12 inches.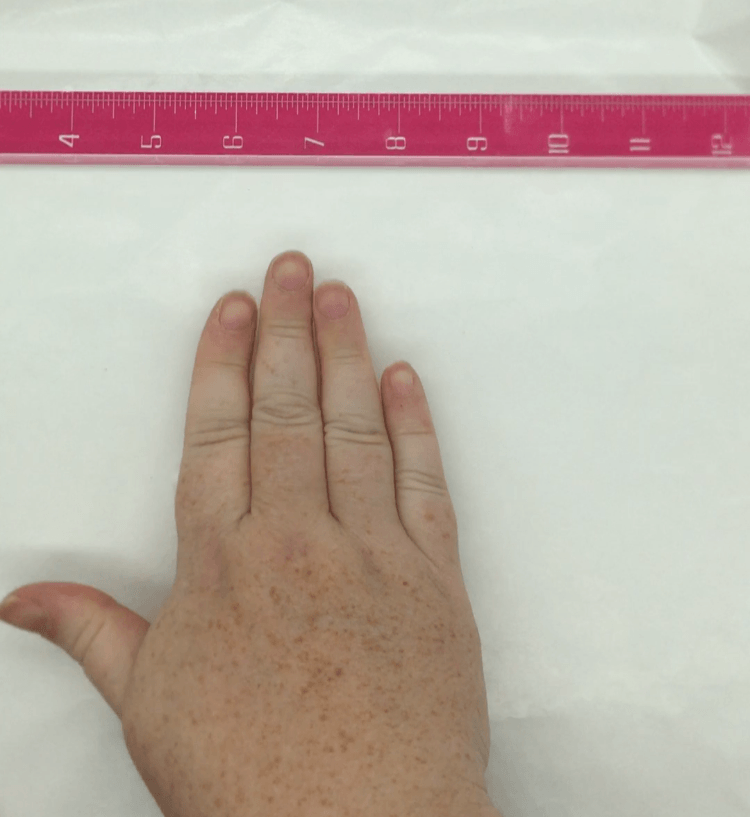
Cut the snake in the middle at 6 inches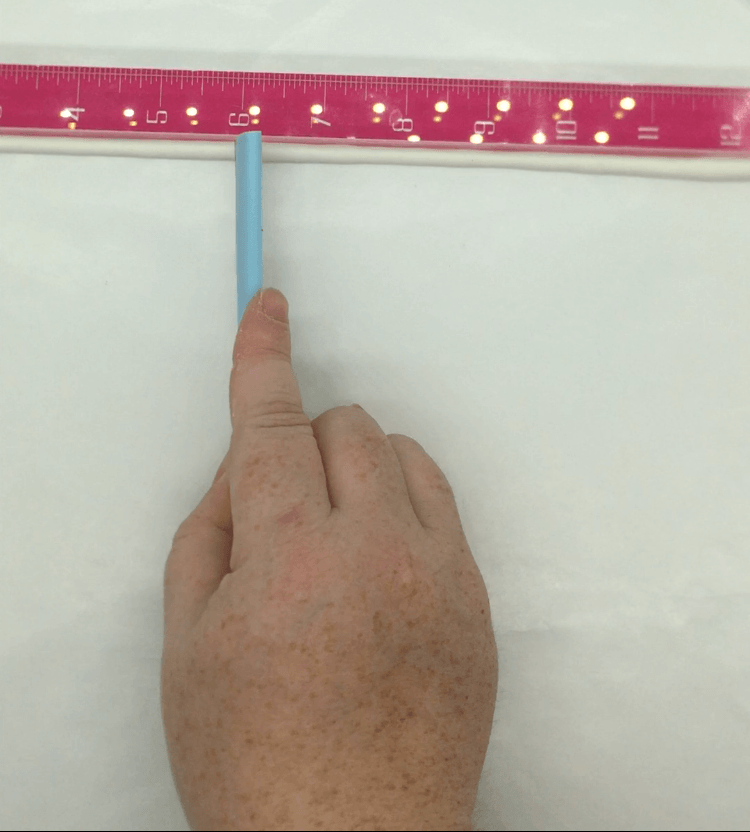
Score the two snakes one at 3 inches and the other at 9 inches.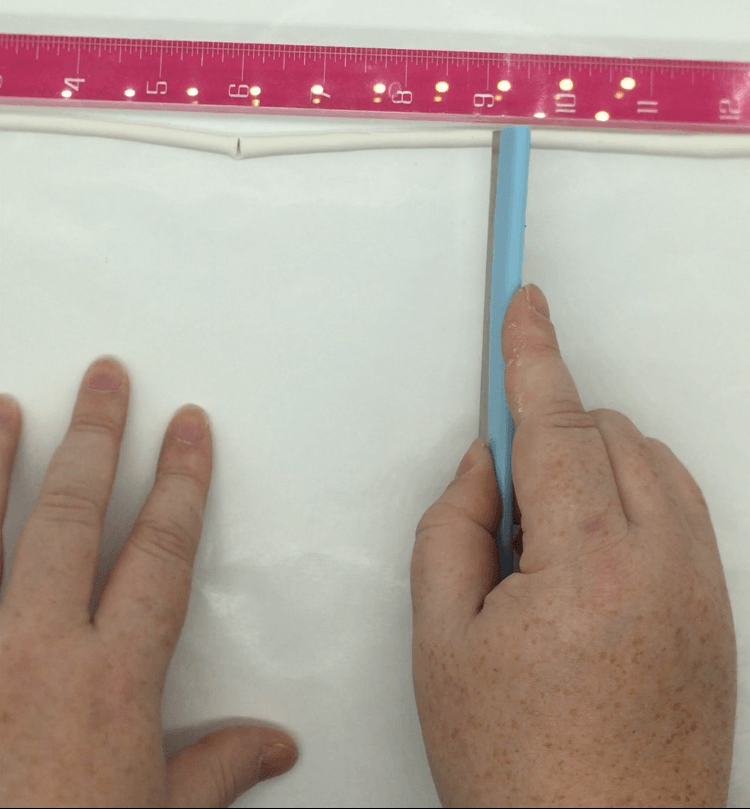
Pick up one snake and fold it over at the mark you scored it at. Pinch the two sides together.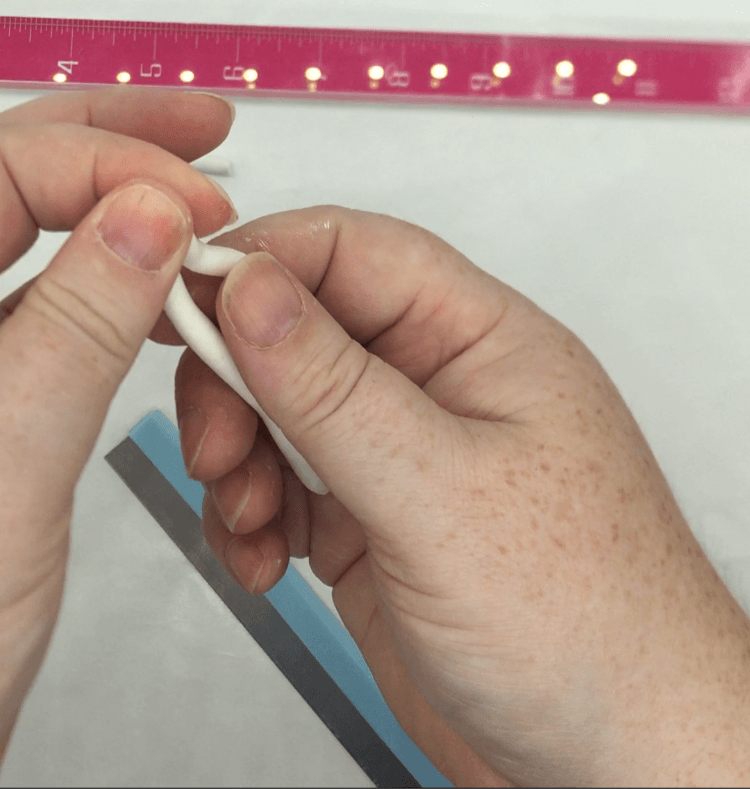
Pinch the ends of each.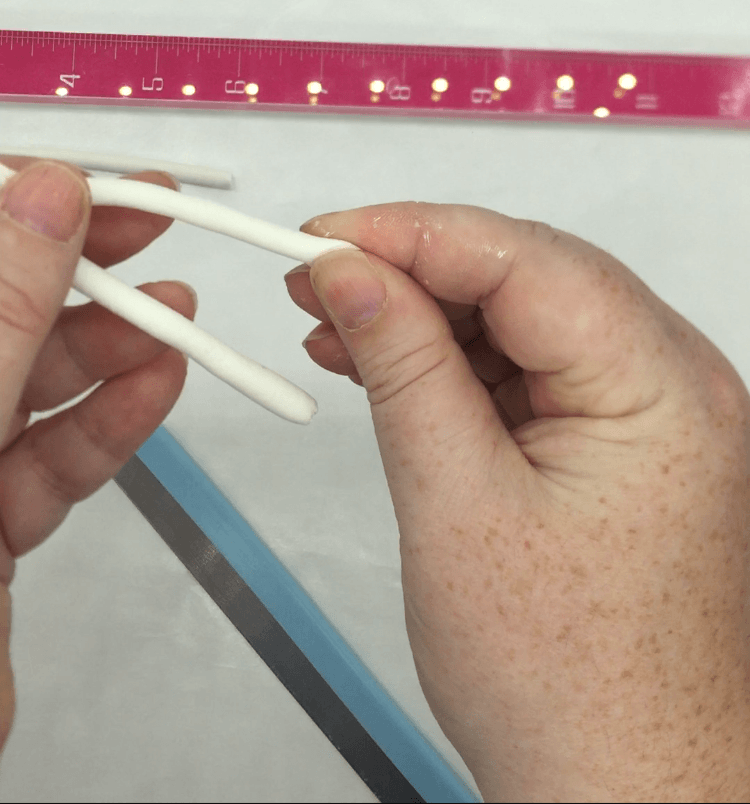
Using your blunt tool. Gently press the middle area to make sure it is joined together. Lay the wishbone down and make tiny dents all the way down both pieces of clay. You don’t have to do this but I think it looks more interesting after it is dry.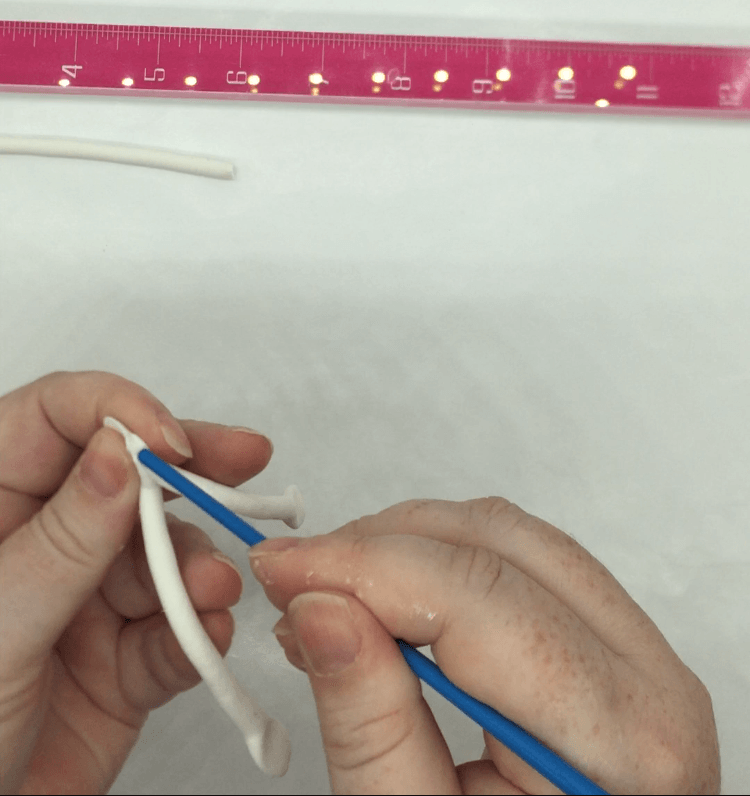

Place the top end of your wishbone over the round dowel or pen and shape the “legs” into a U shape.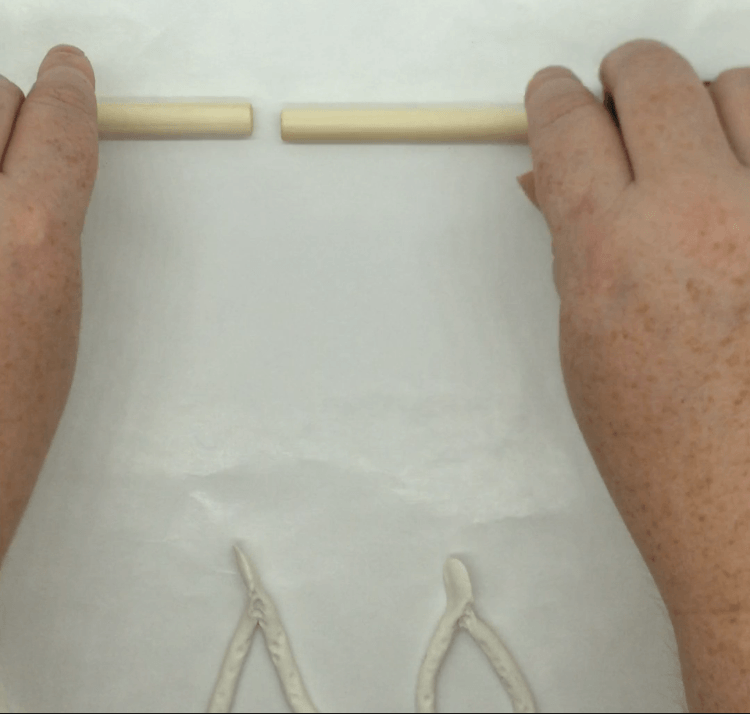
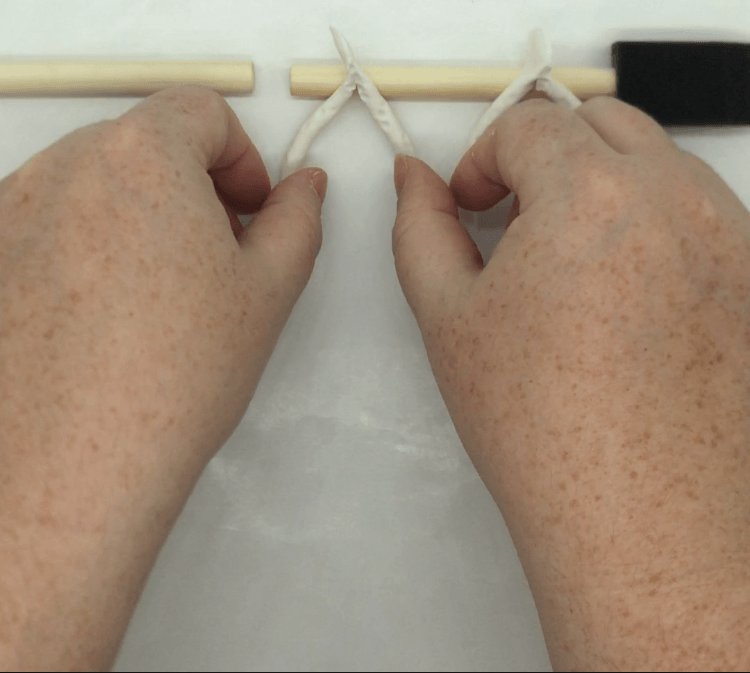
Now let it dry for at least 24 hours. Or if you are impatient like me you can bake them for 20 min at 200 degrees Fahrenheit. If you do decide to bake them you can put the wooden dowels in the oven. Just make sure to keep an eye out so they don’t burn!!
After they are all dry you can paint them or leave them plain.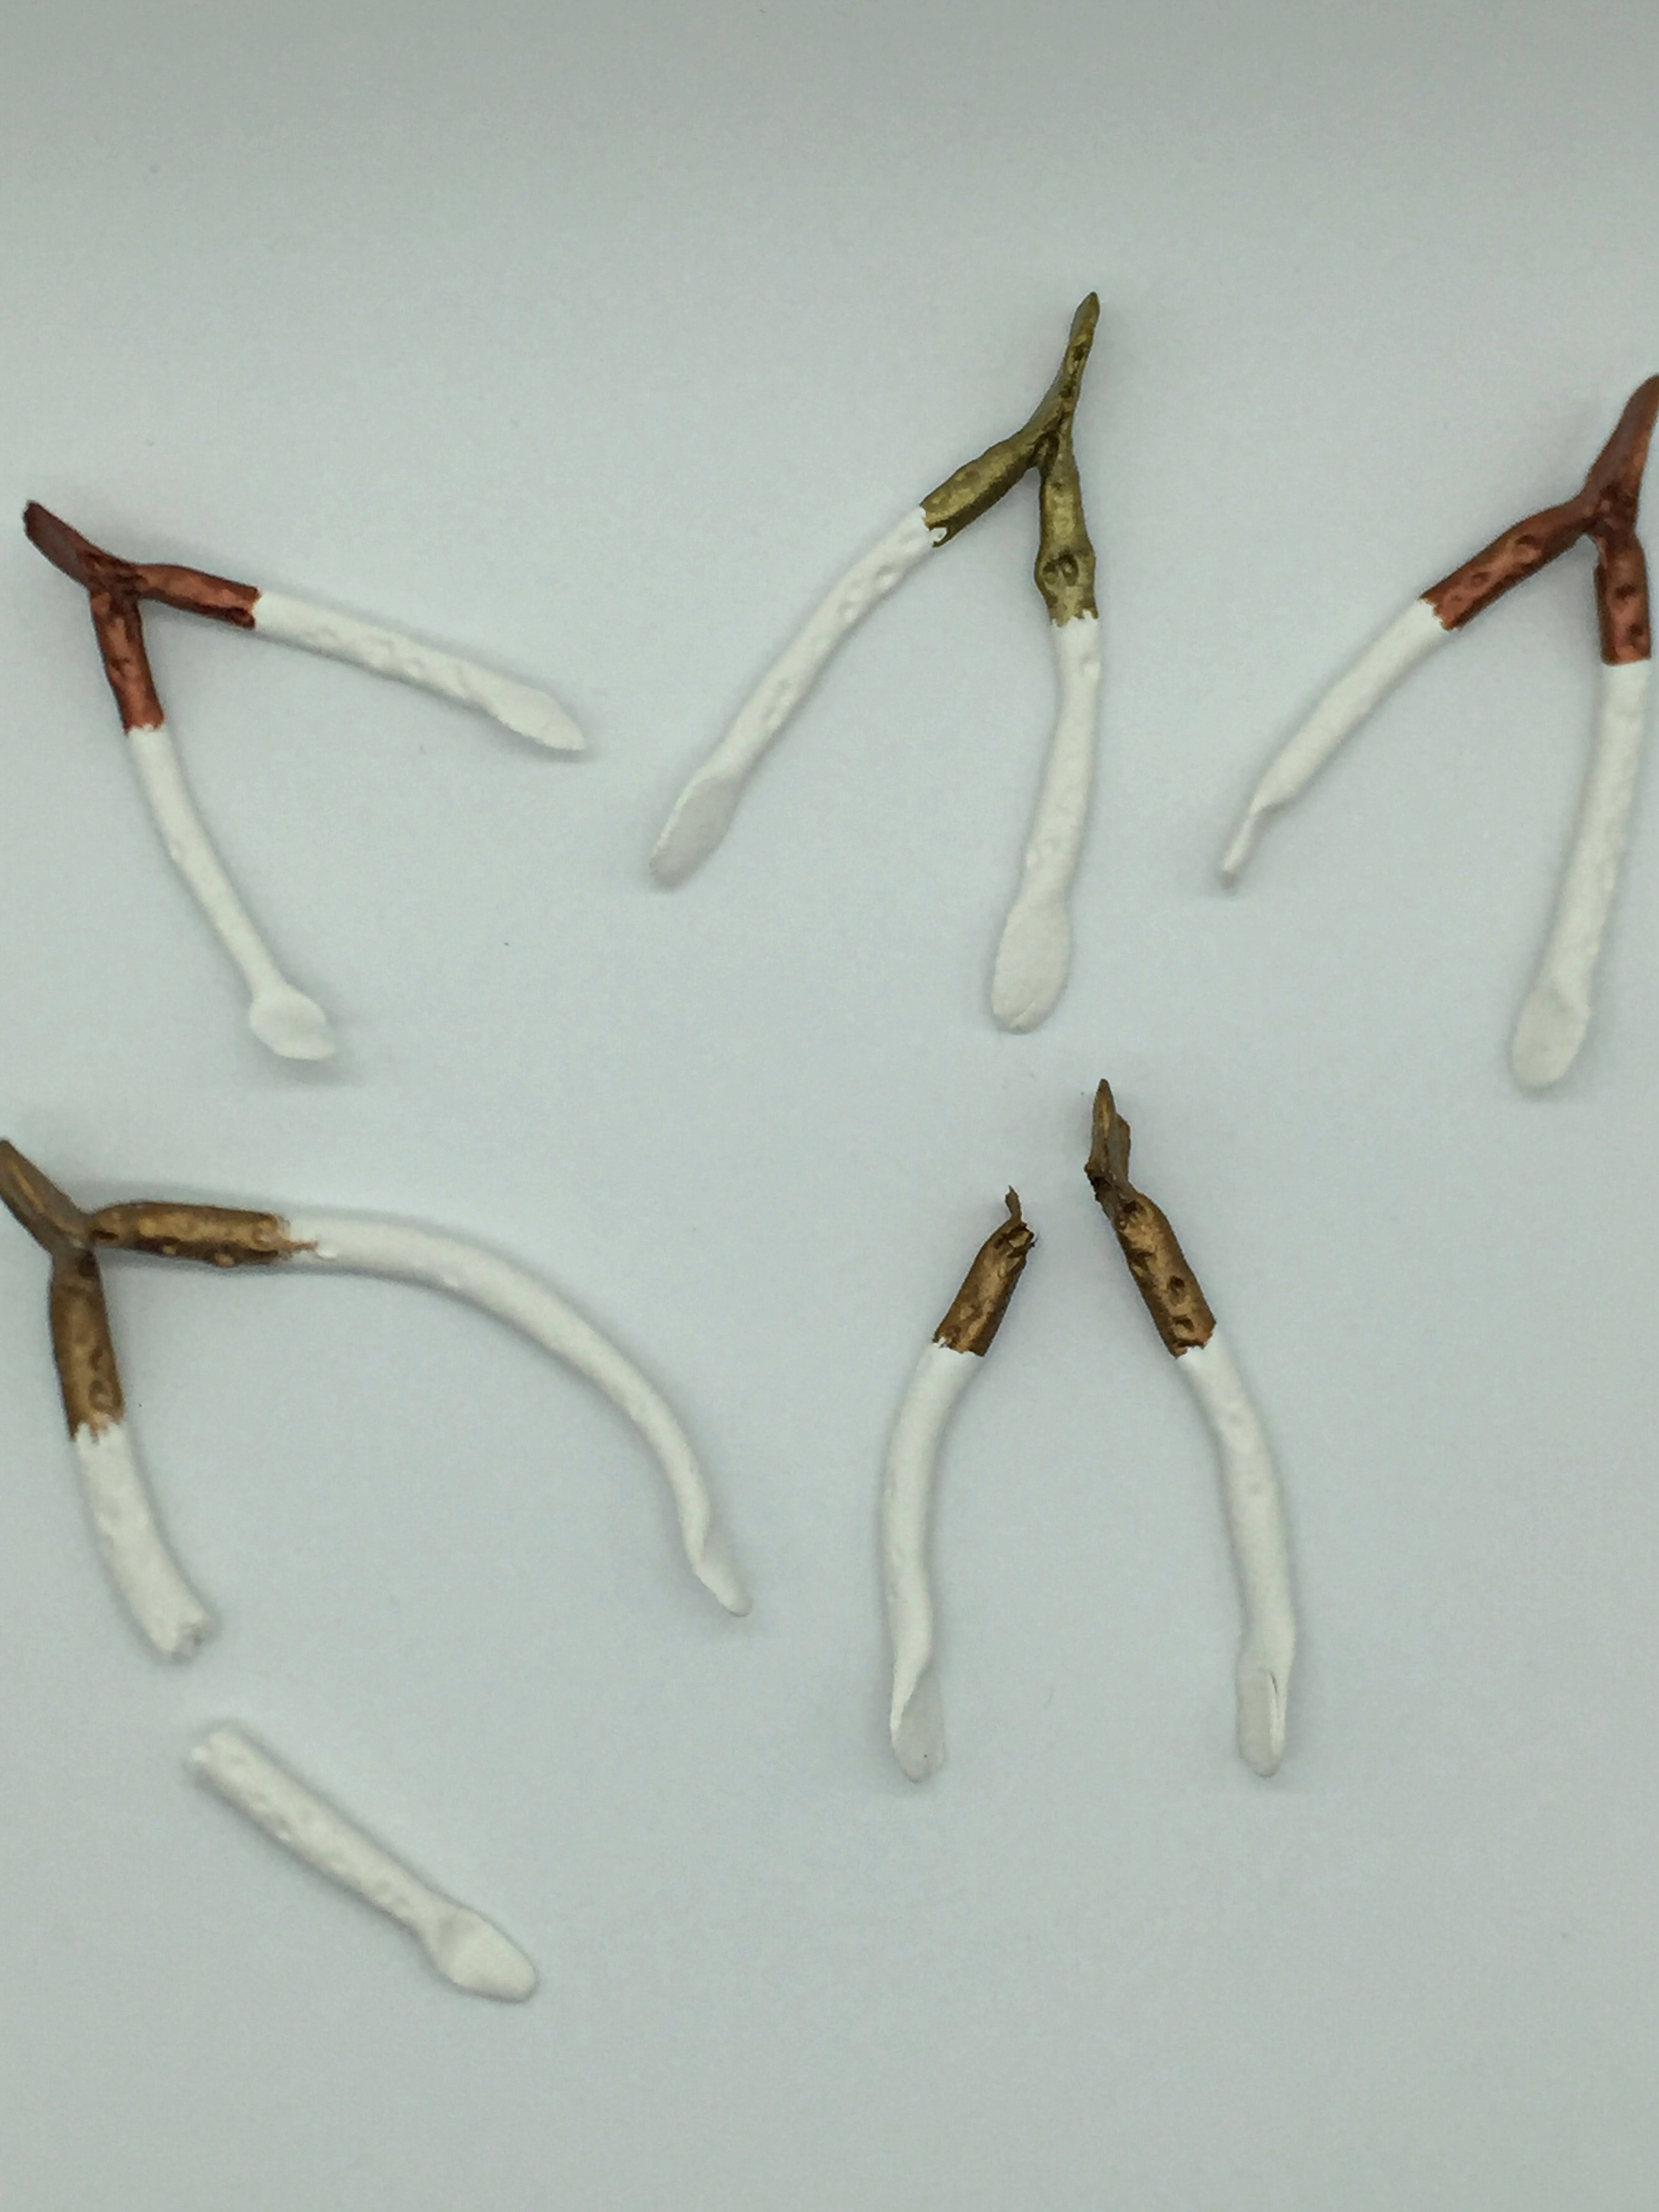
For such a simple craft it will make the day of a lot of people. I can’t wait to share these with my family on Thanksgiving.
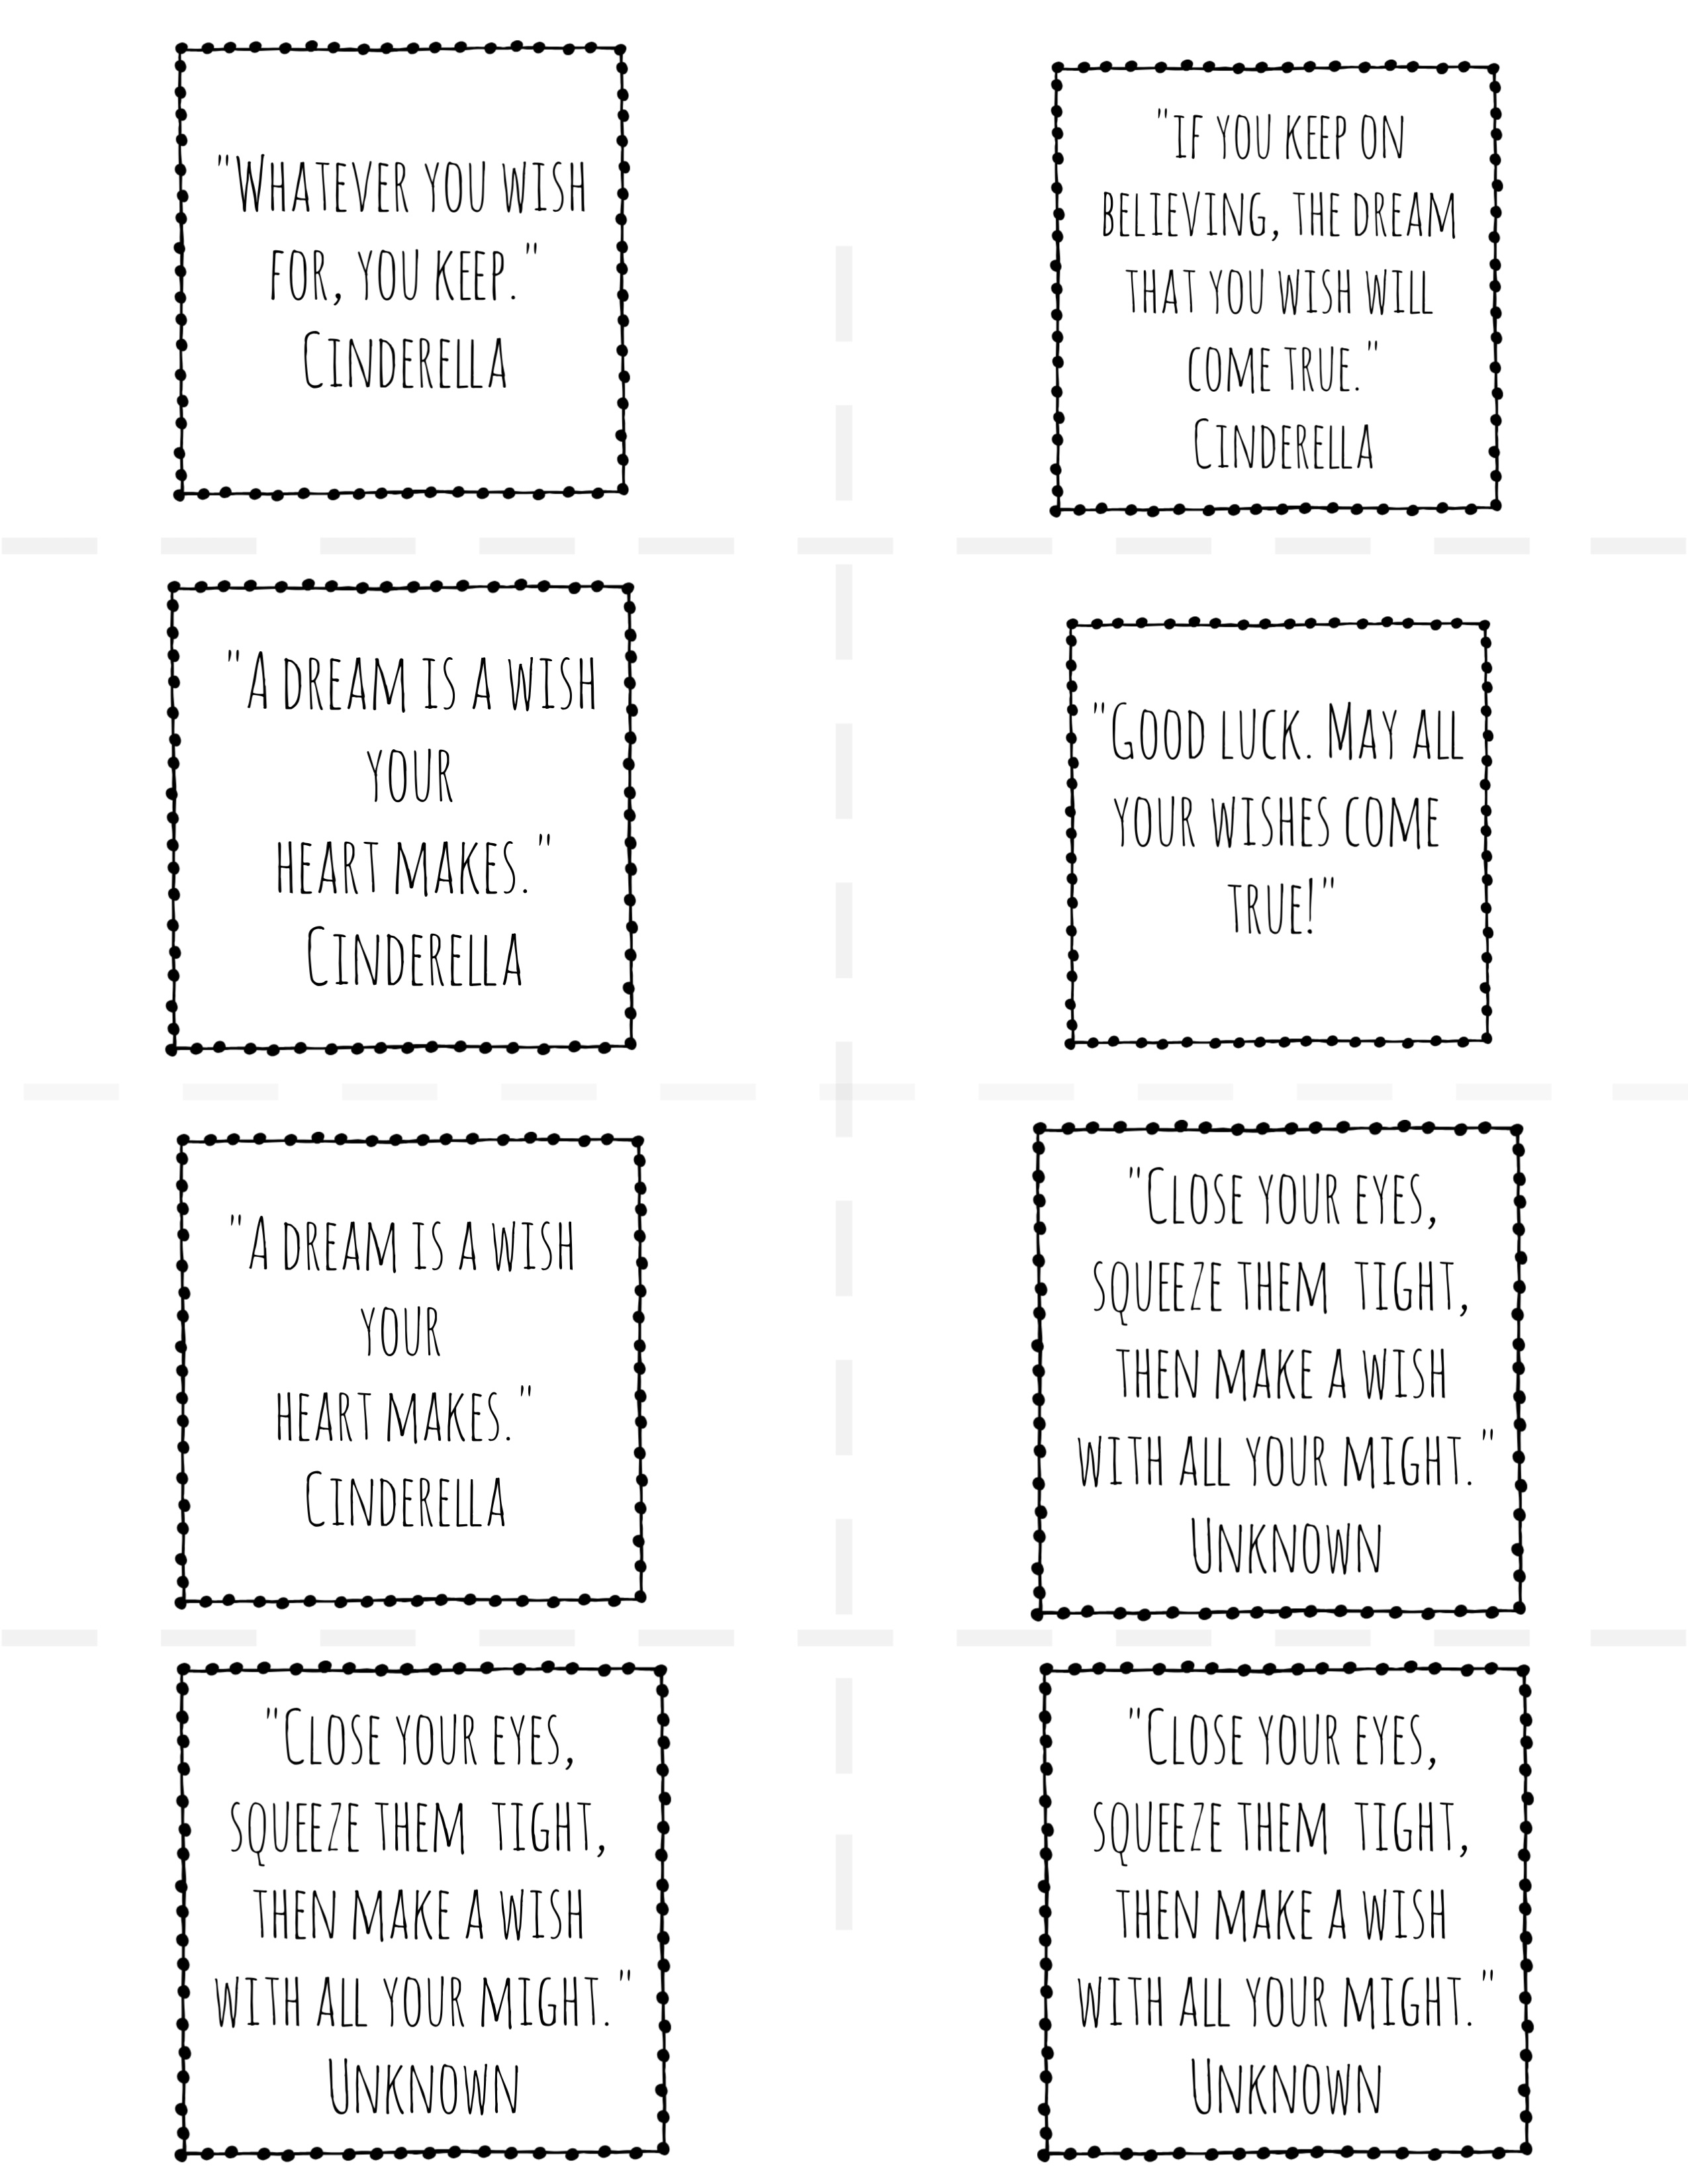
Here are some cute little tags I made to each one. Just click, print and cut out. I’m sure your family will love these wishbones as much as I do. Thanksgiving wishbone sayings
Hope you enjoy this DIY! I have a ton of new and awesome holiday DIYs coming so if you’re not subscribed now’s a great time. Don’t miss out on some cute and free downloads!



Cute, cute, cute!
Very clever