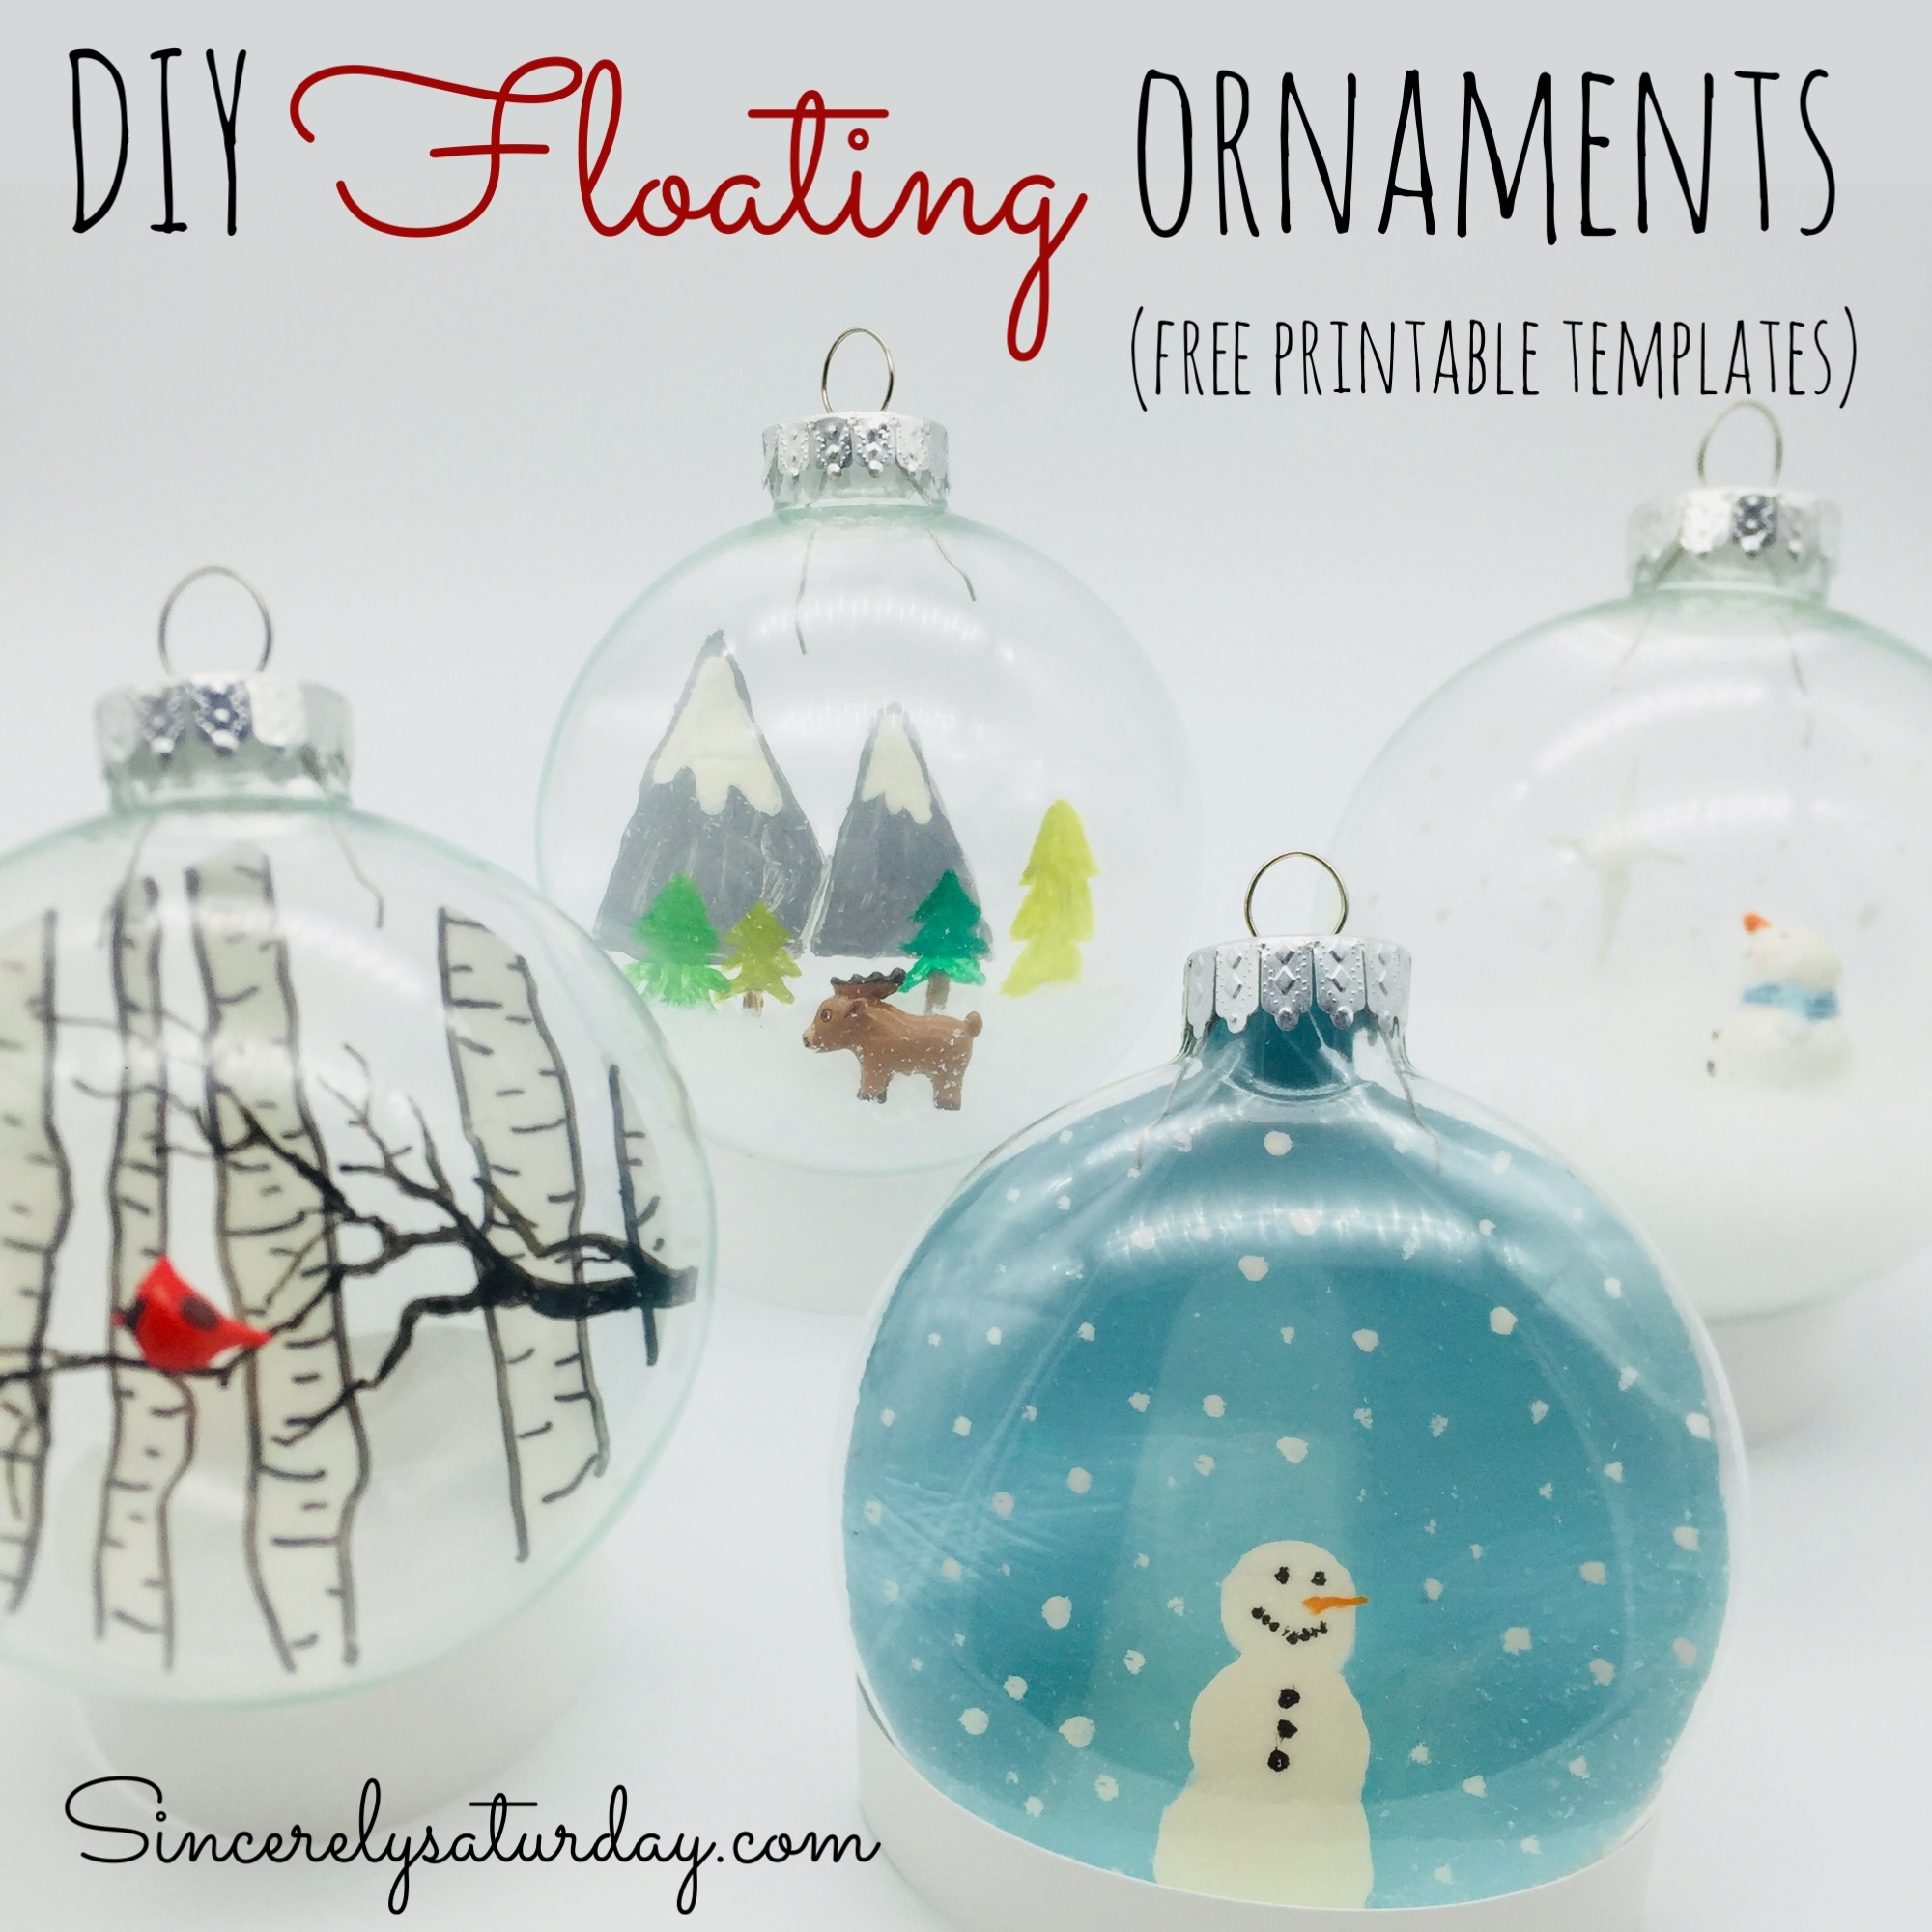
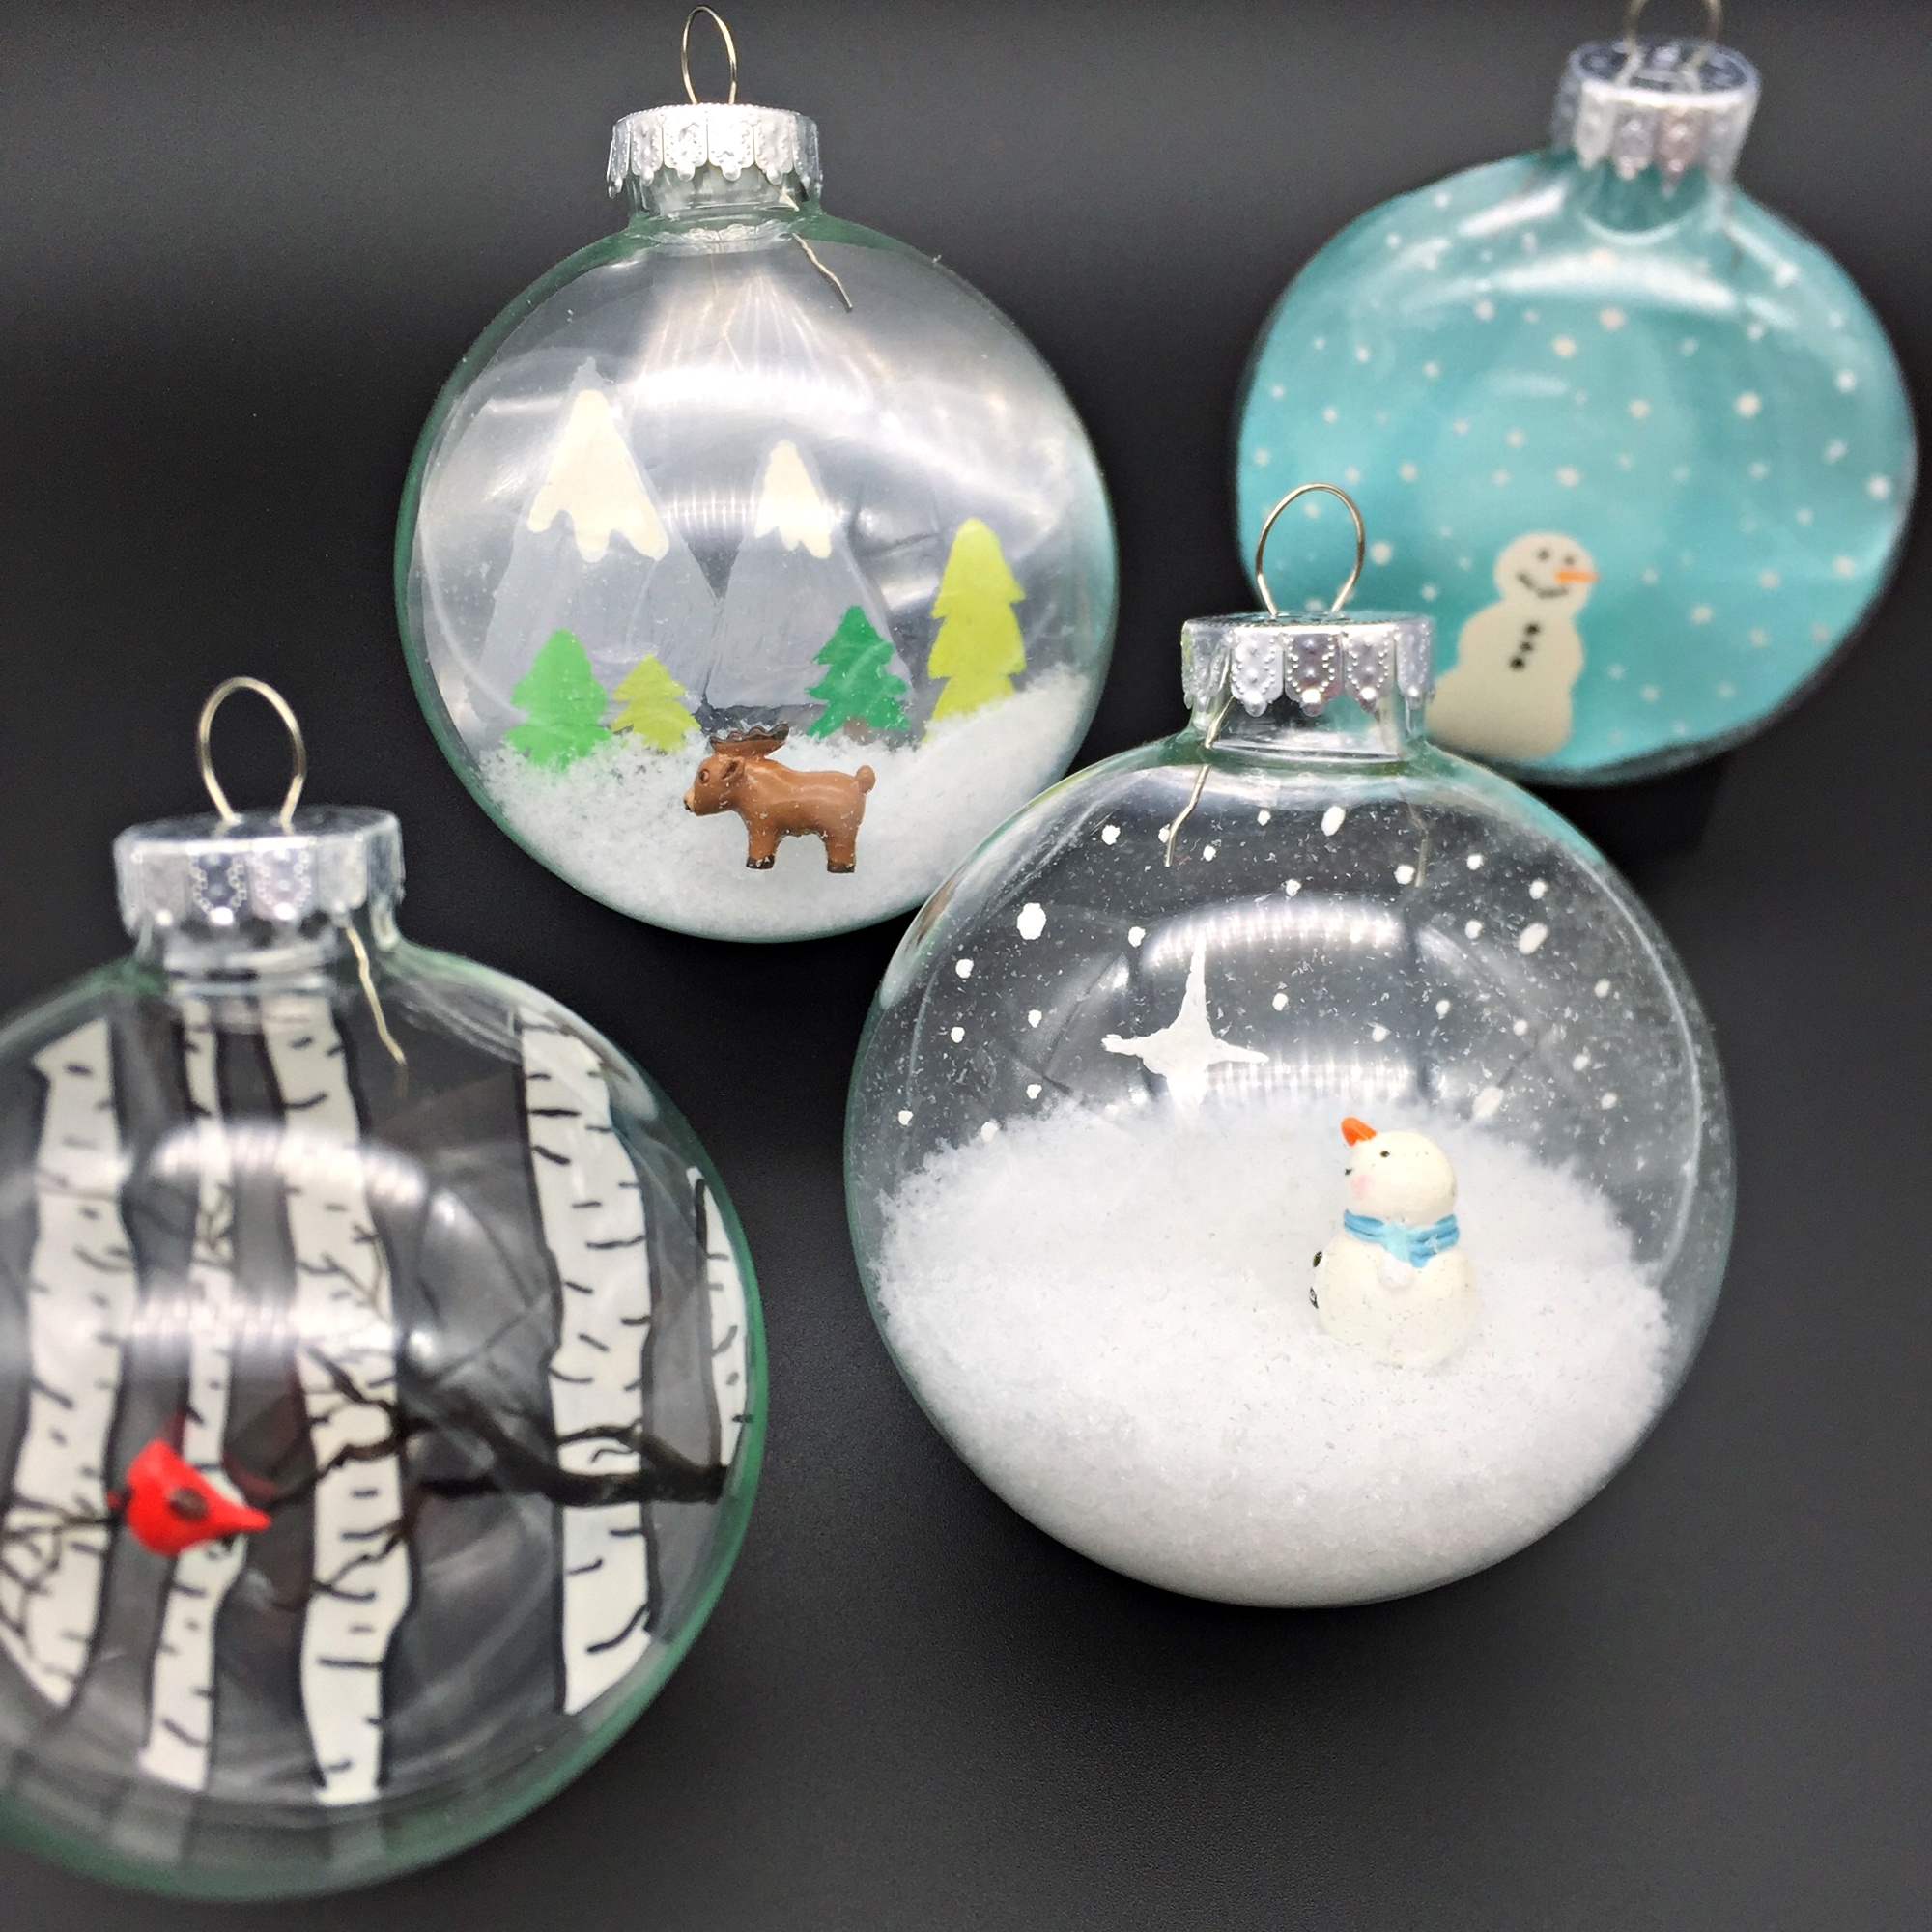
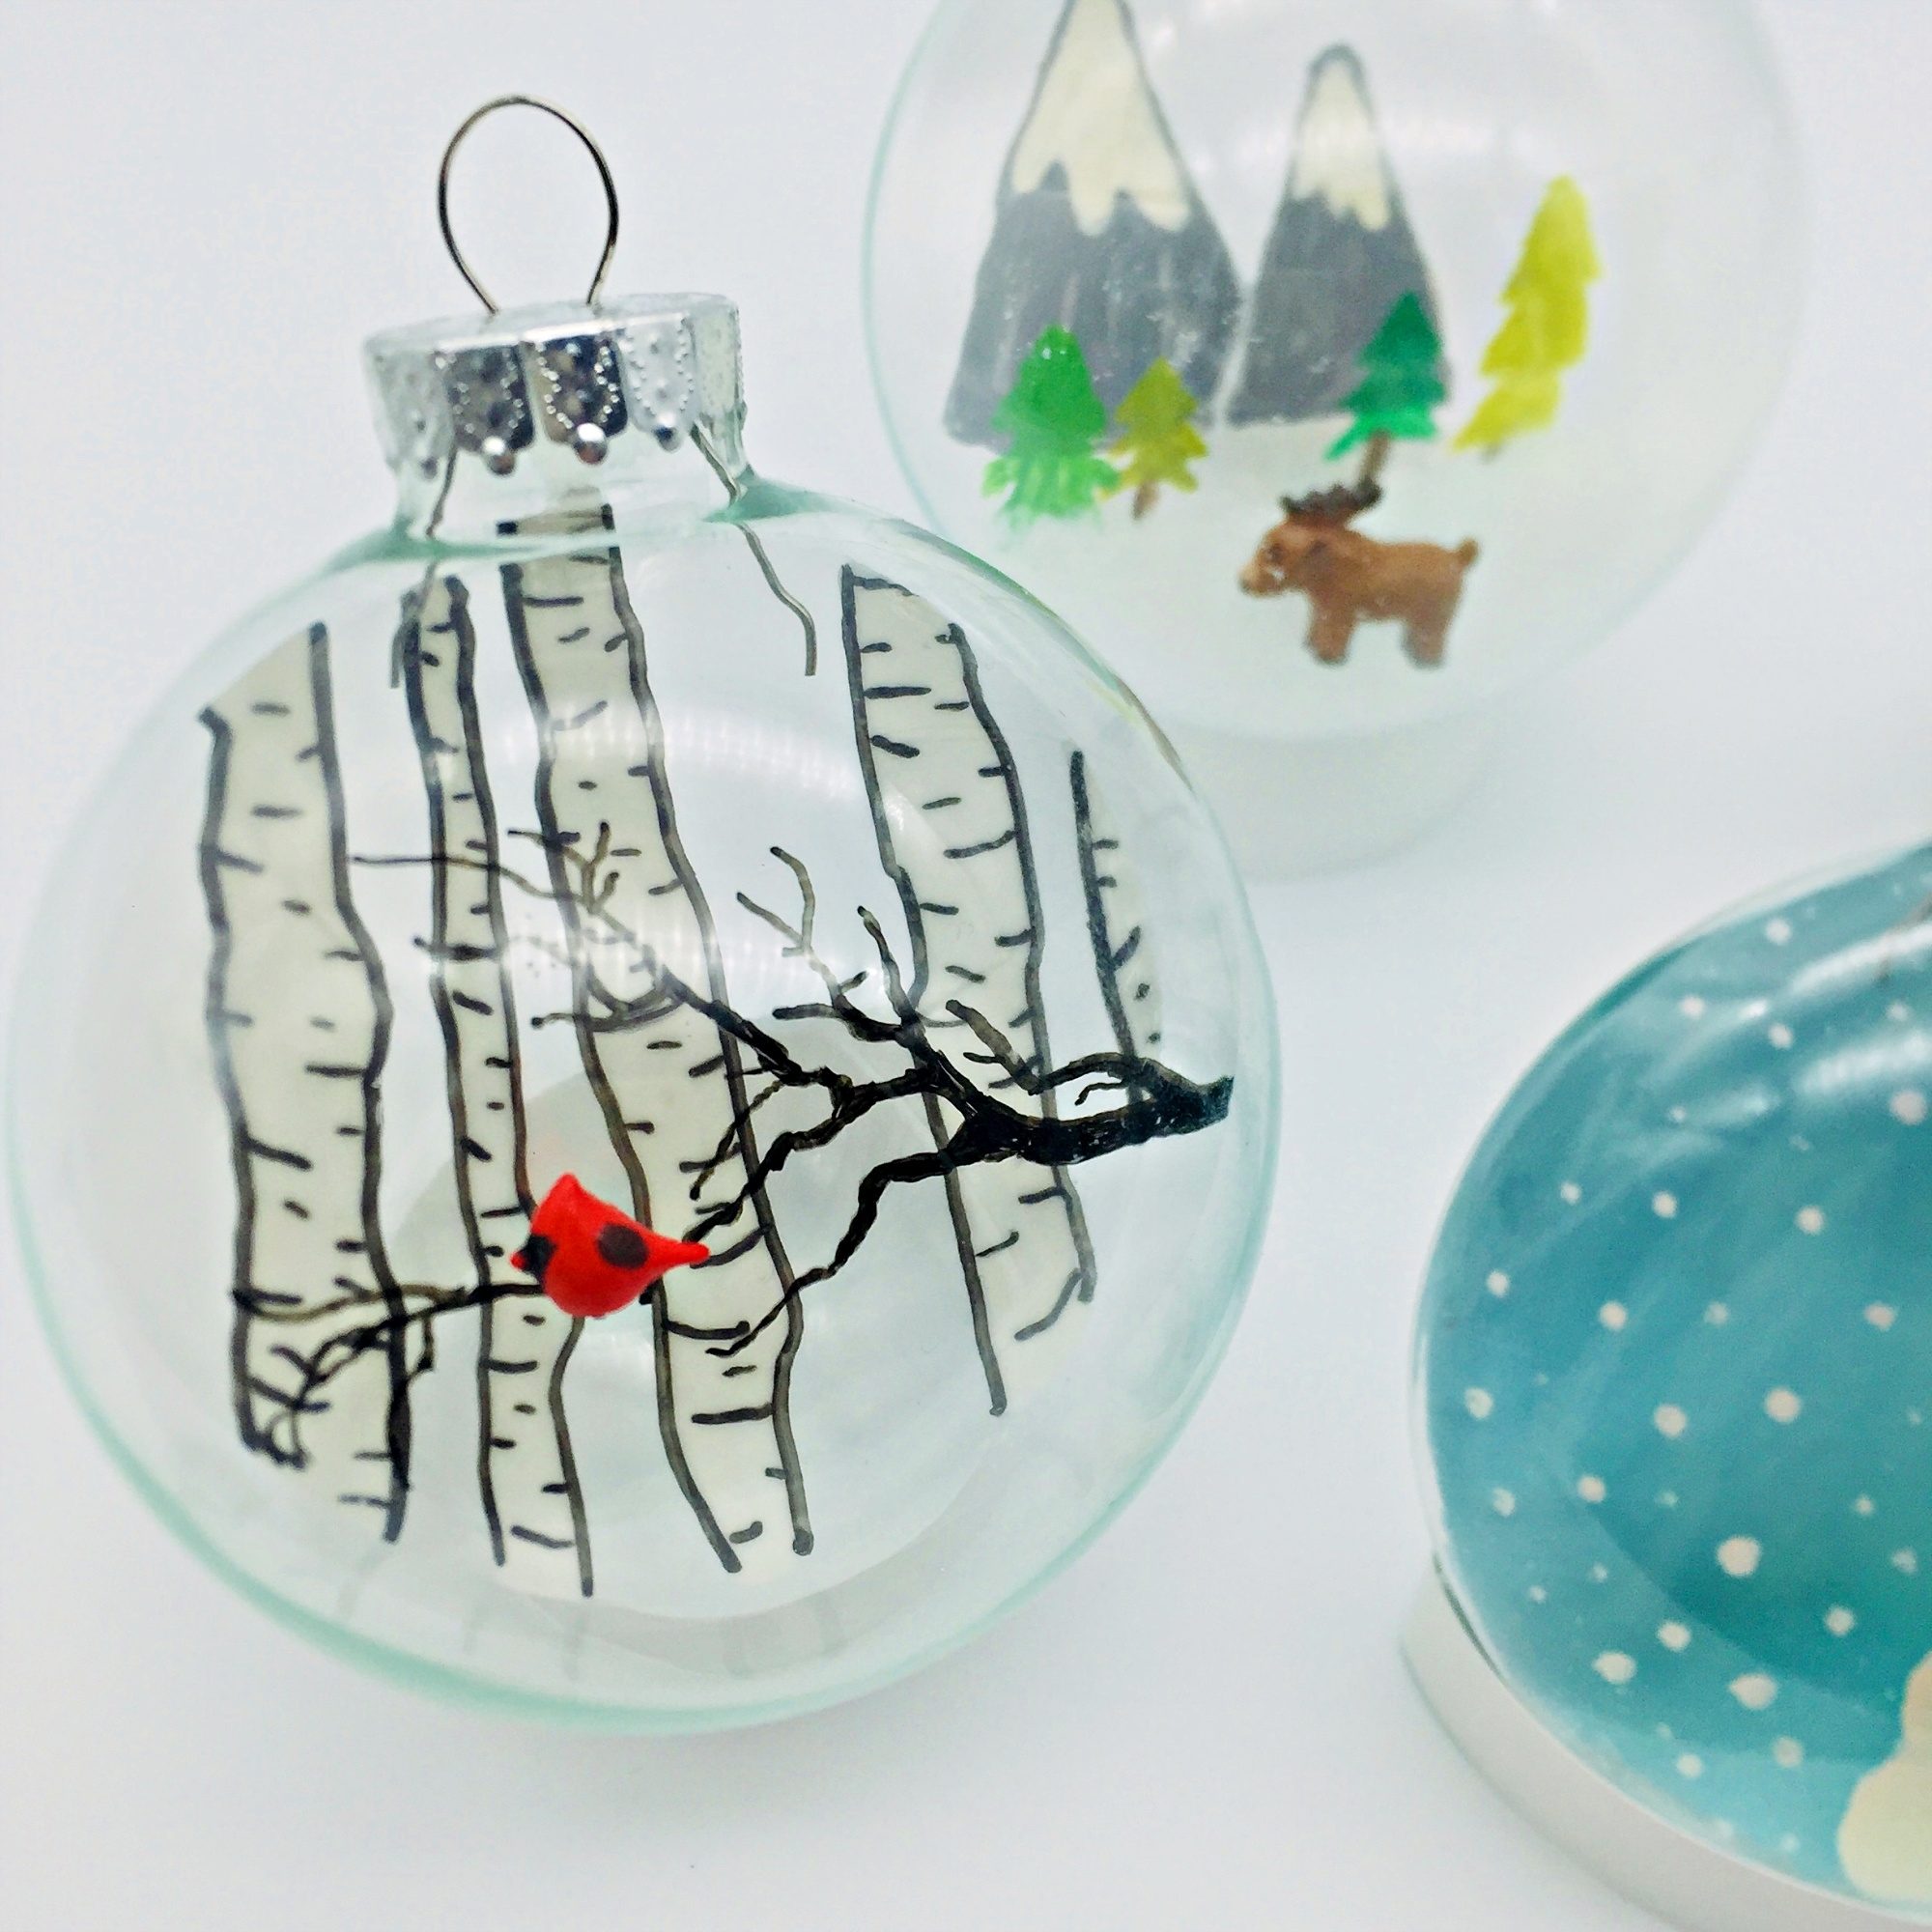
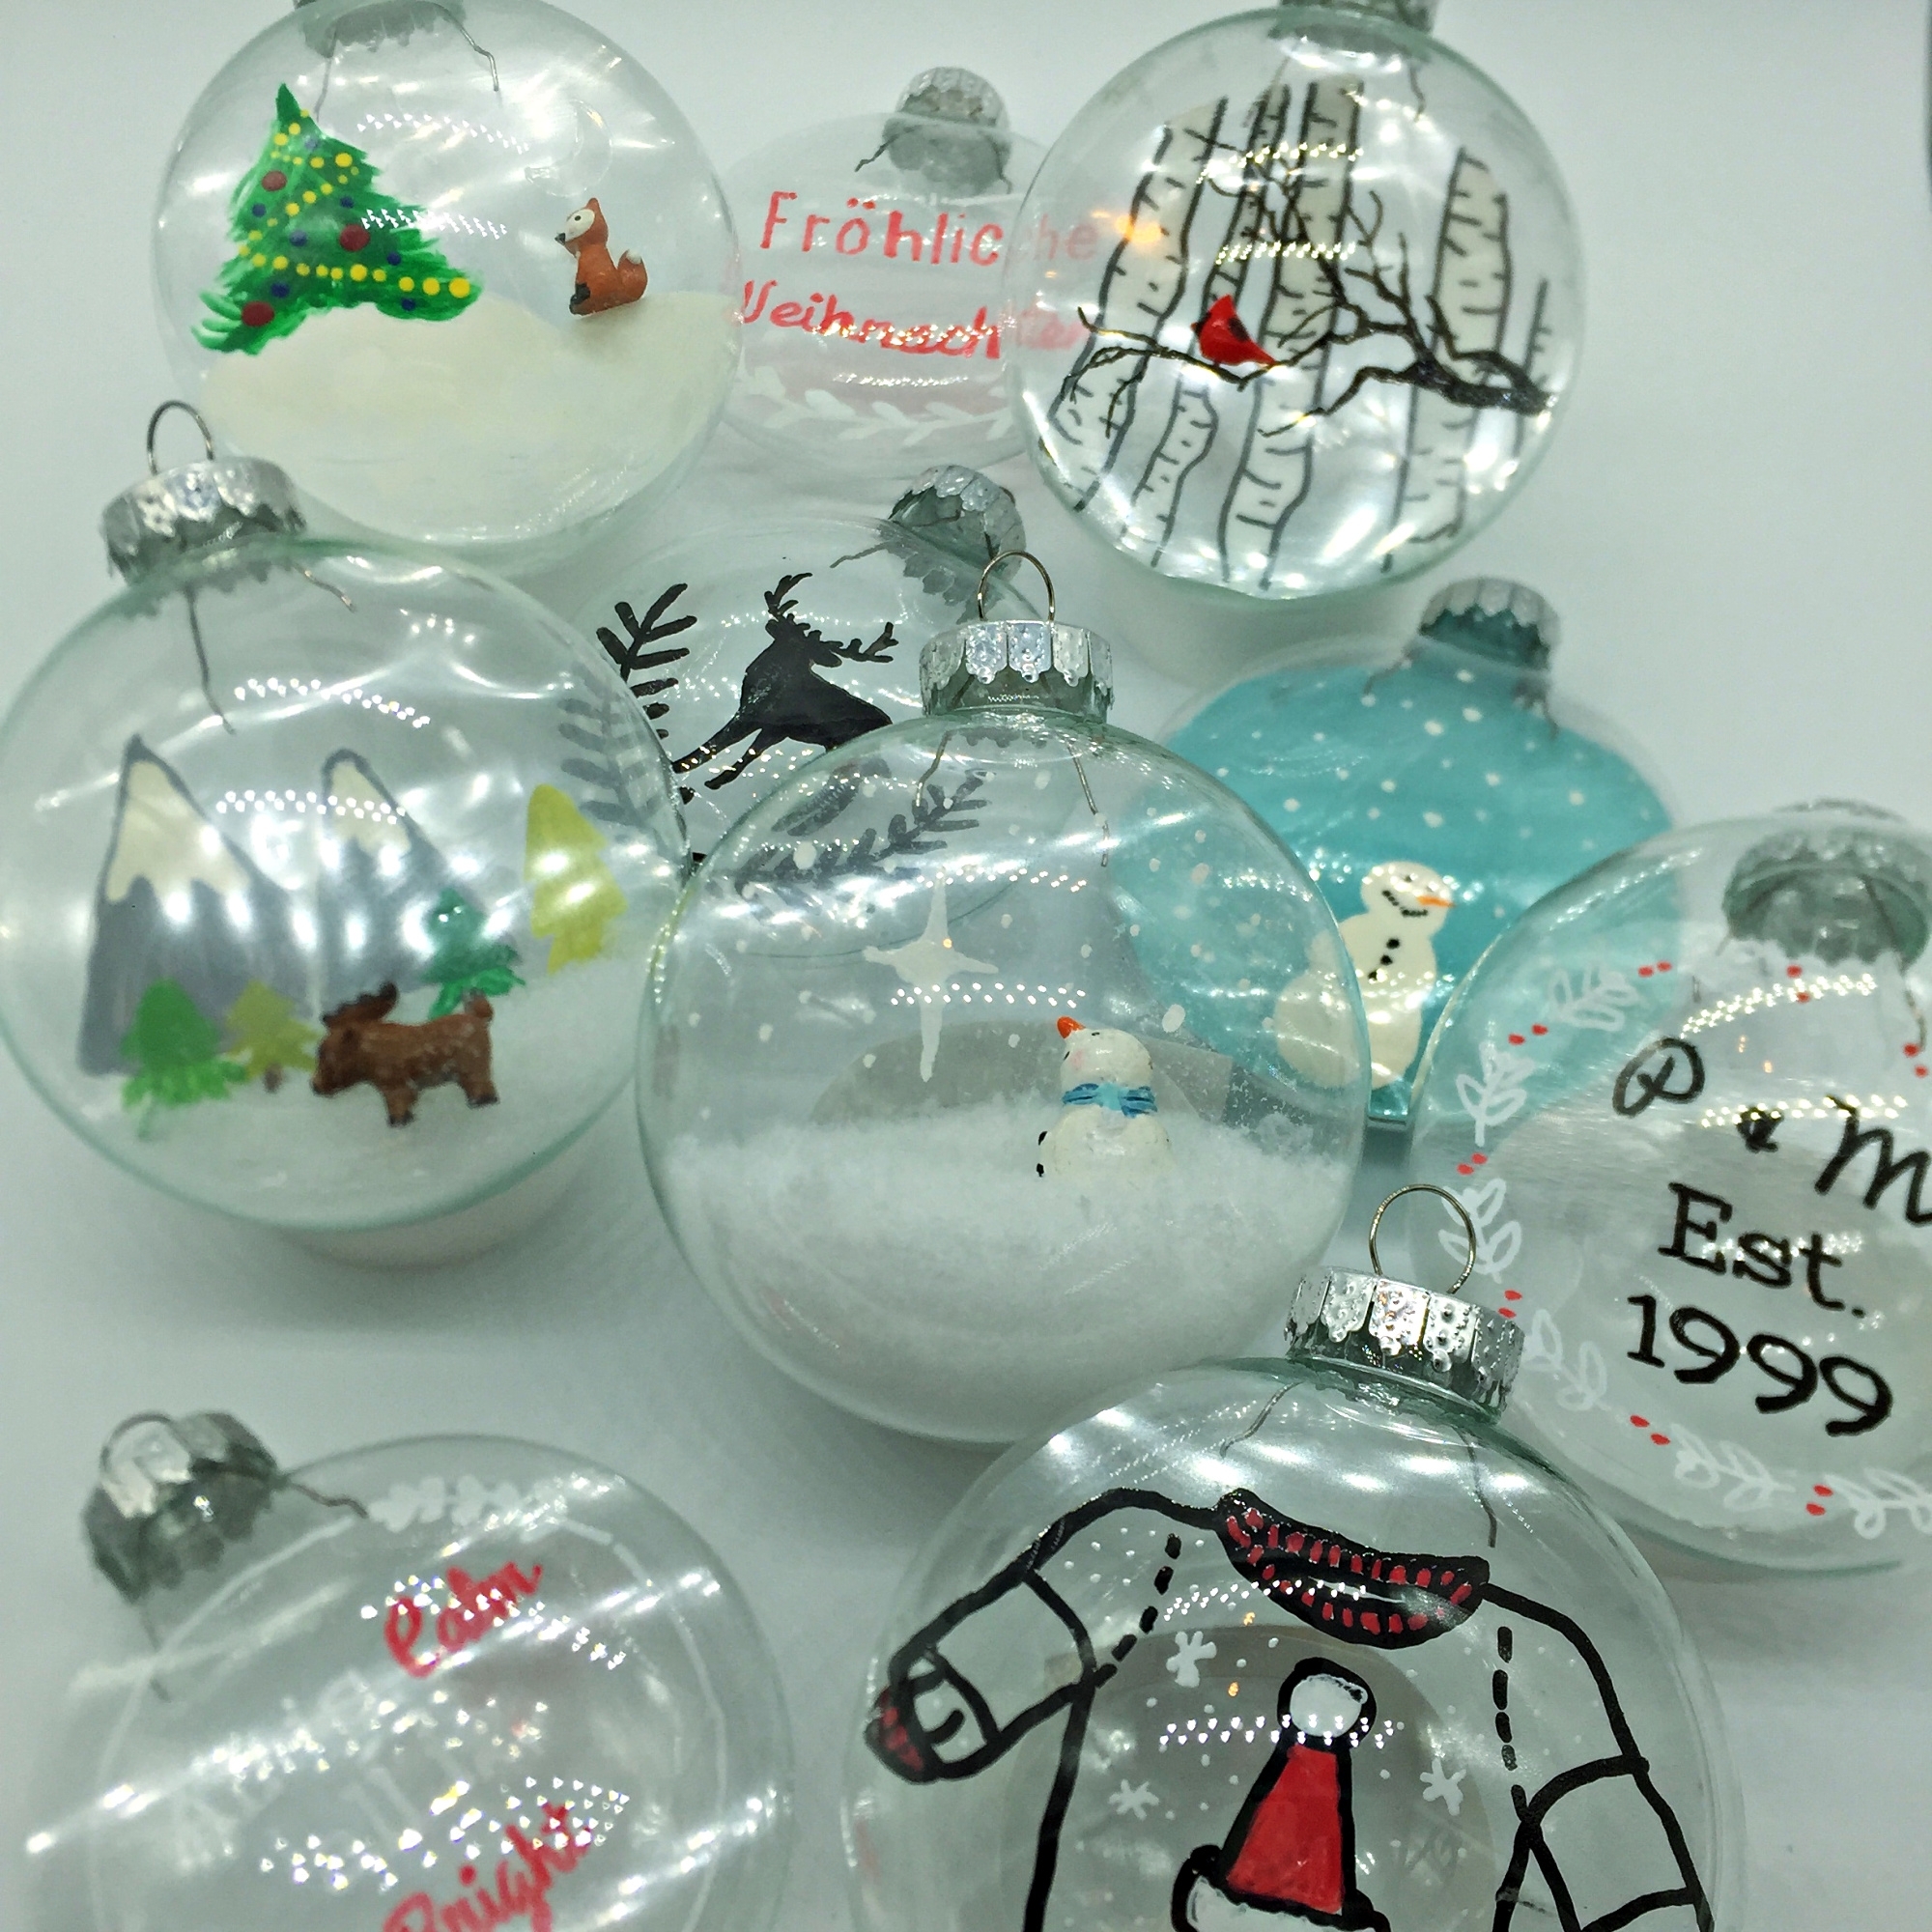
 YAAASSSS! It’s that time of year again where we get all festive with lights and ornaments. I have been seeing the floating ornaments around on Pinterest and decided to try my hand at them. Not only are the DIY floating ornaments really fun to make them look freakin amazing!
This post contains affiliate links for your convince. Please refer to my Privacy Policy and Terms of Service for any questions.
DIY FLOATING ORNAMENT
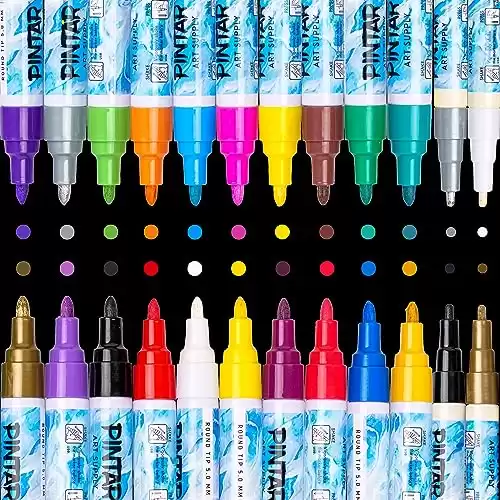
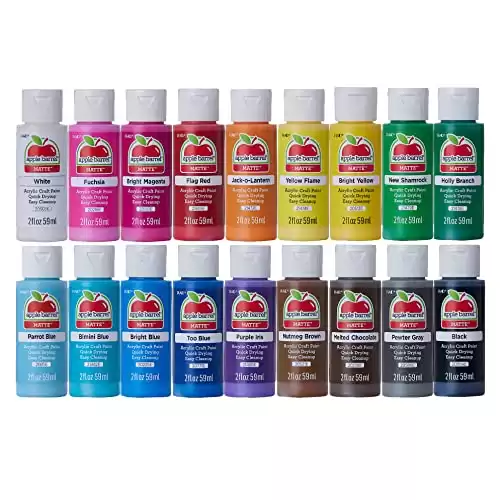
Honestly, most of the floating ornaments that I see online are made using vinyl and cutting it with a machine like a Cricut or a Silhouette. I would love to own one of those machines but they are not an expense that I can afford at the moment. However, I can afford some acrylic paint and paint pens!
Supplies you will need are:
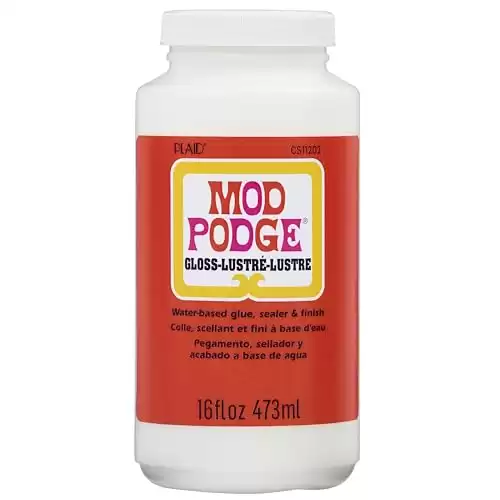
Mod Podge (only if you paint with acrylic paints)
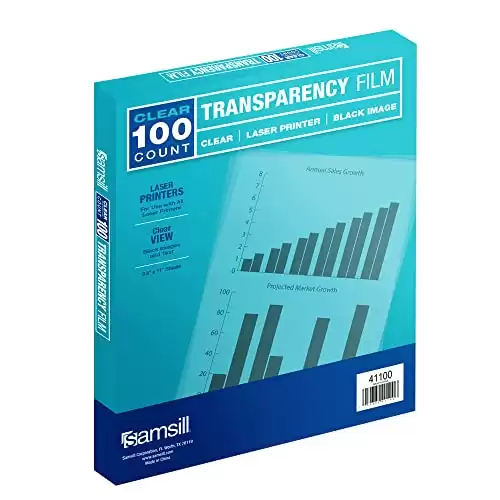
Transparency paper (Buy the transparency film at office depot by the piece!)
Miniature figures: I found mine at Michaels. I wouldn’t recommend purchasing them online because you won’t be able to tell if they can fit inside the ornament stem. The brand Mini Whimsy is small enough to fit inside and can be found sometimes at Michaels.
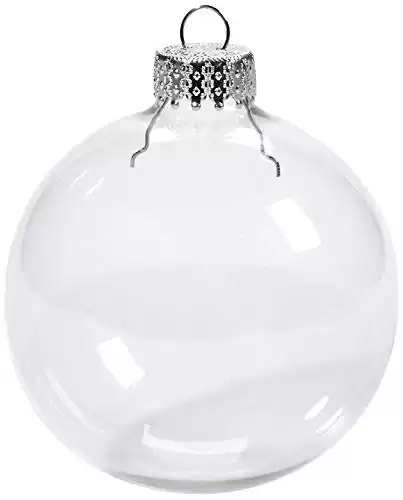
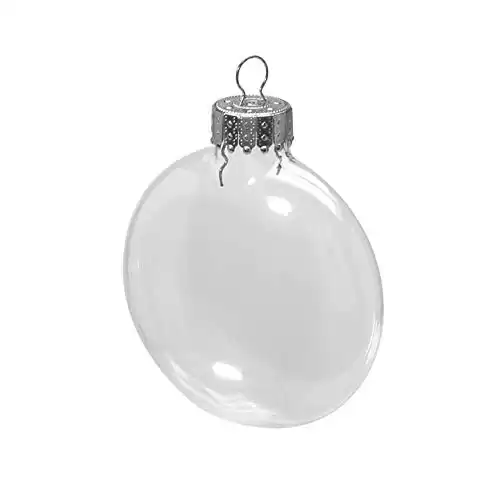
Clear ornaments: I used round and disc-shaped glass ornaments from Micheals that measure 3.3 inches in circumference and come in a 4 pack by Art Minds.
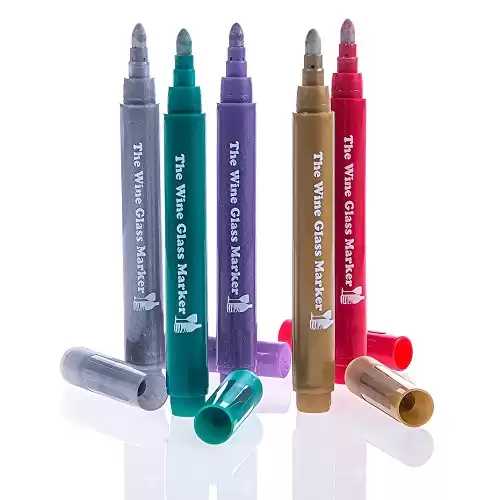
Glass marker (you can use a sharpie but this works better and washes off!)
How to make a DIY floating ornament
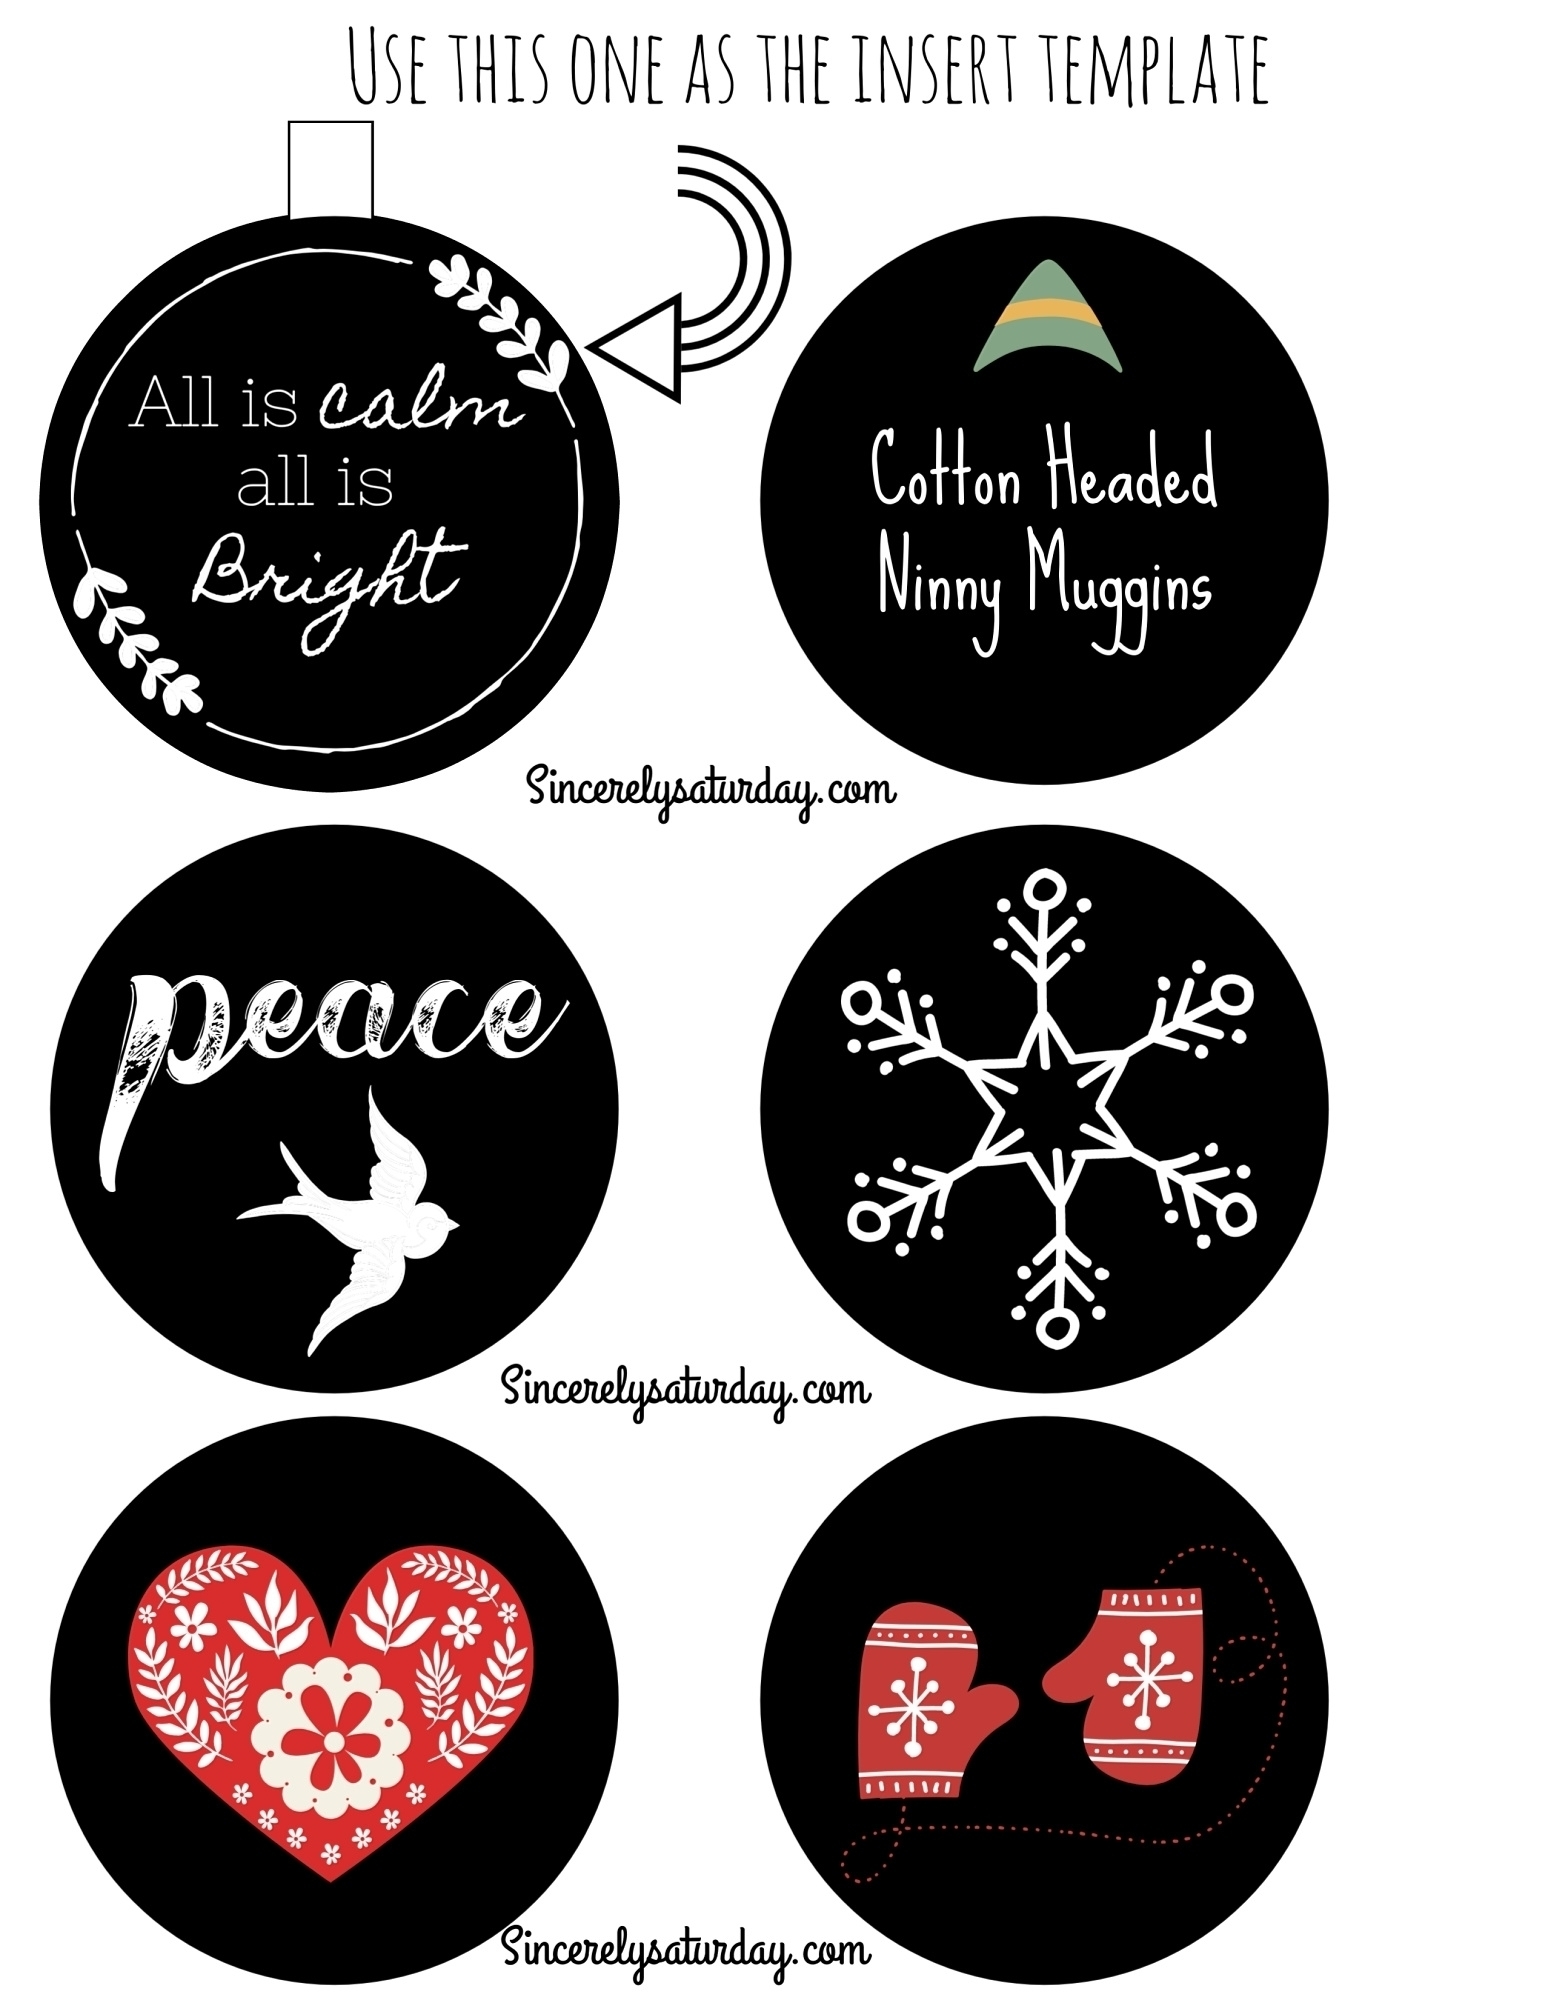
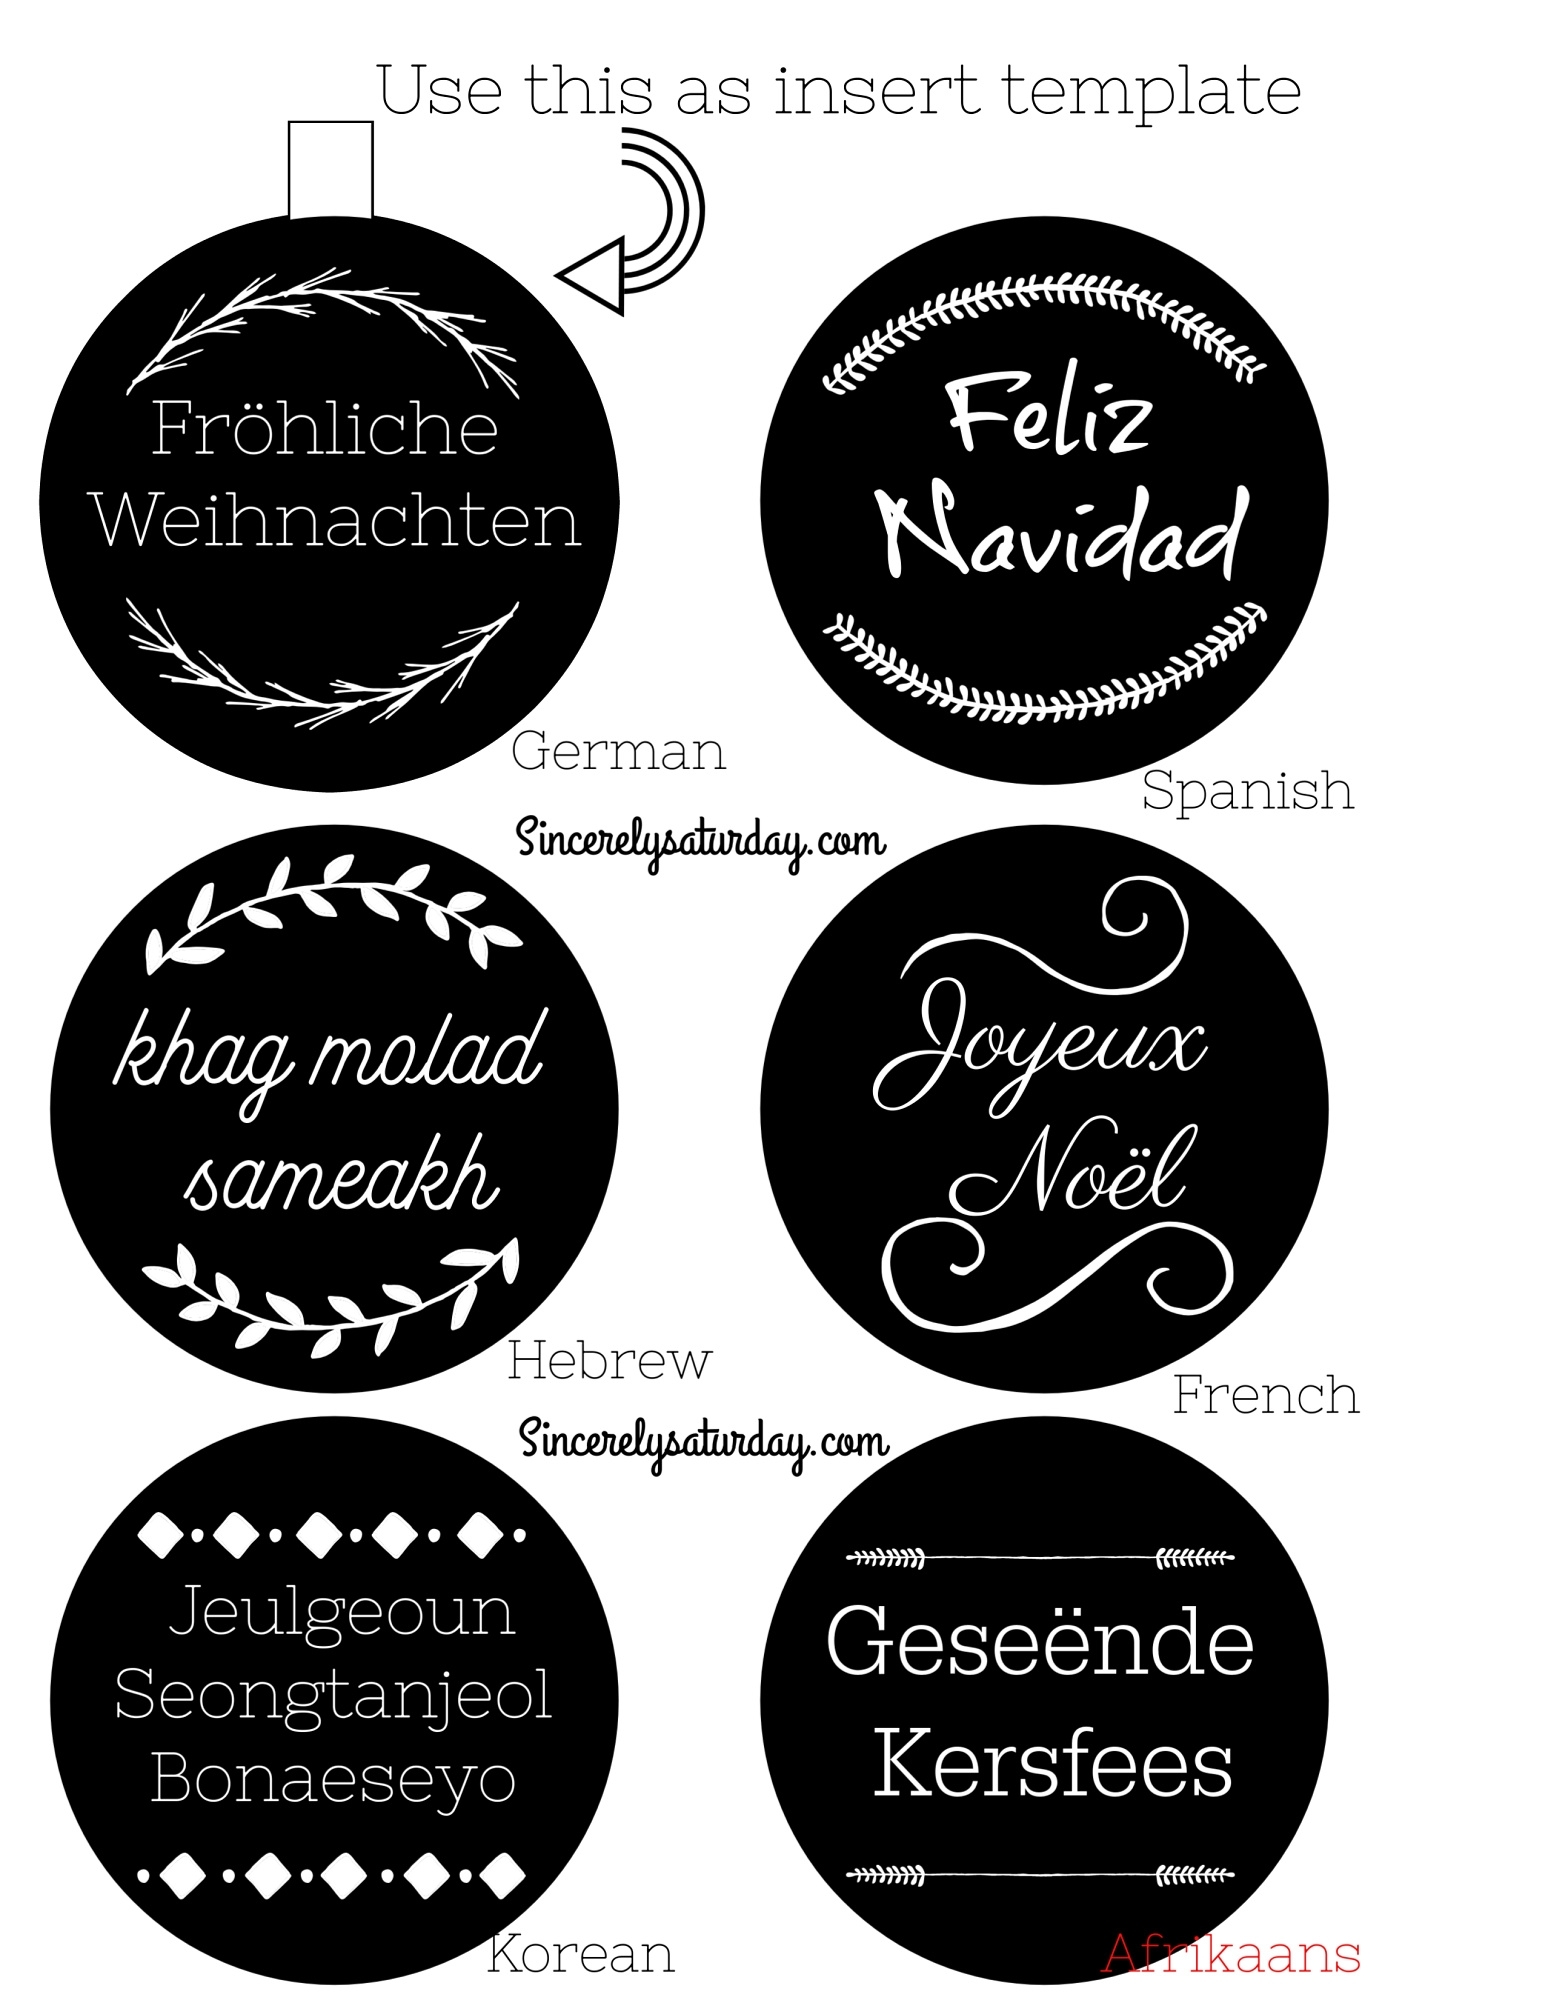
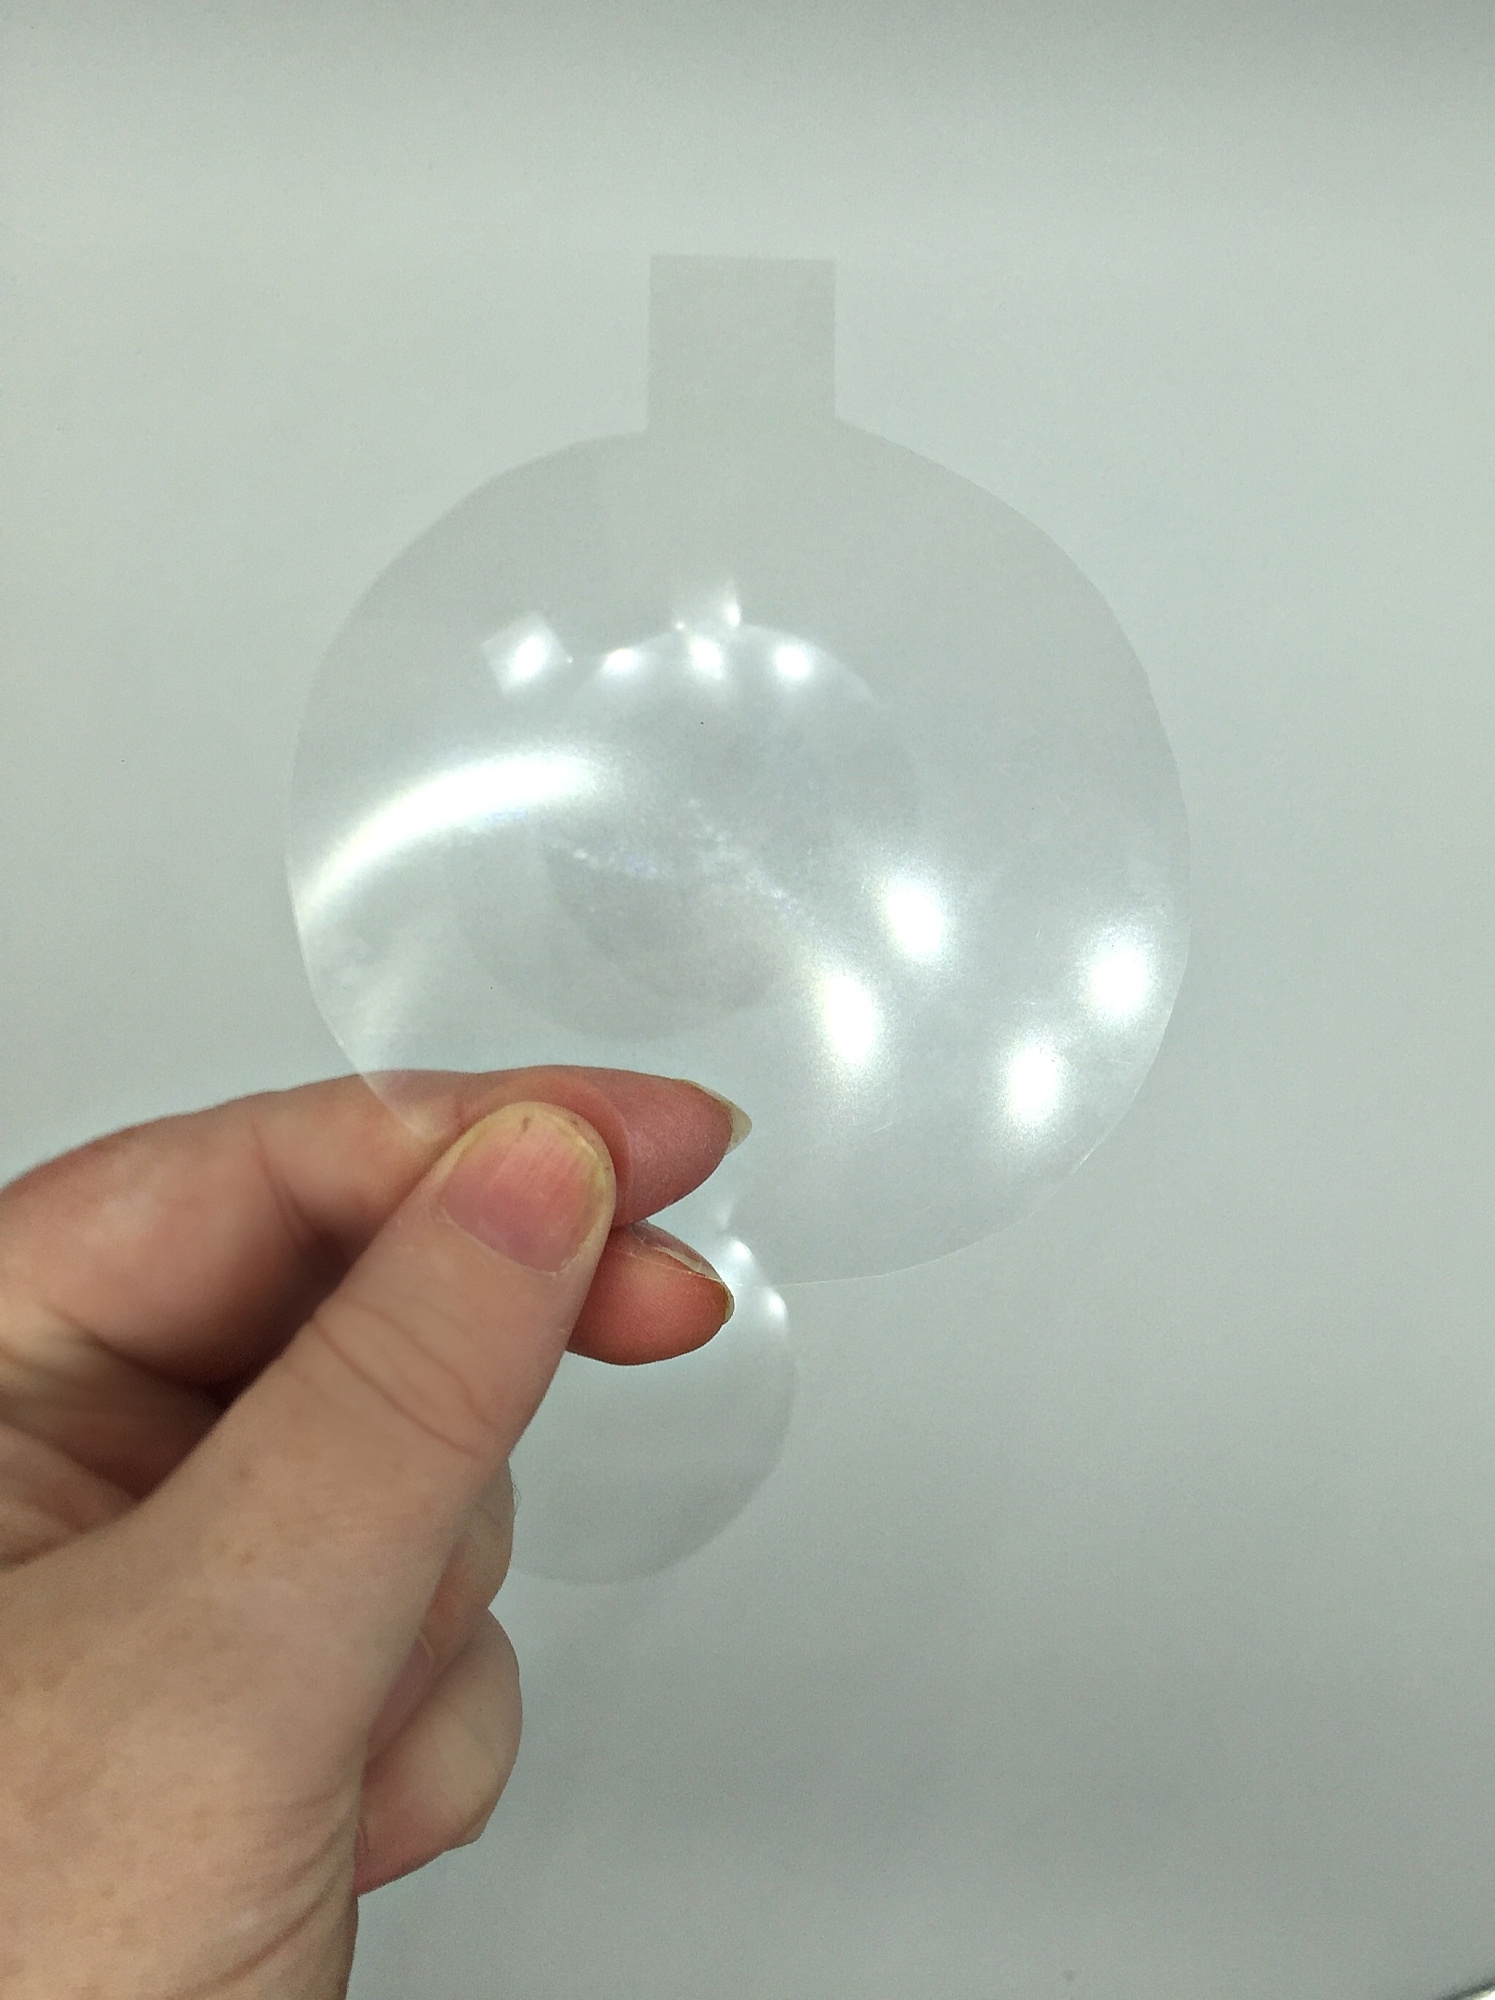
First, you are going to need to figure out how large to make the transparency inserts. I made a template for the size of ornaments that I purchased at Michaels. You can try my template and see if it works inside your ornament. Make sure to leave a tab at the top of the ornament as this is what keeps it in place inside the ornament.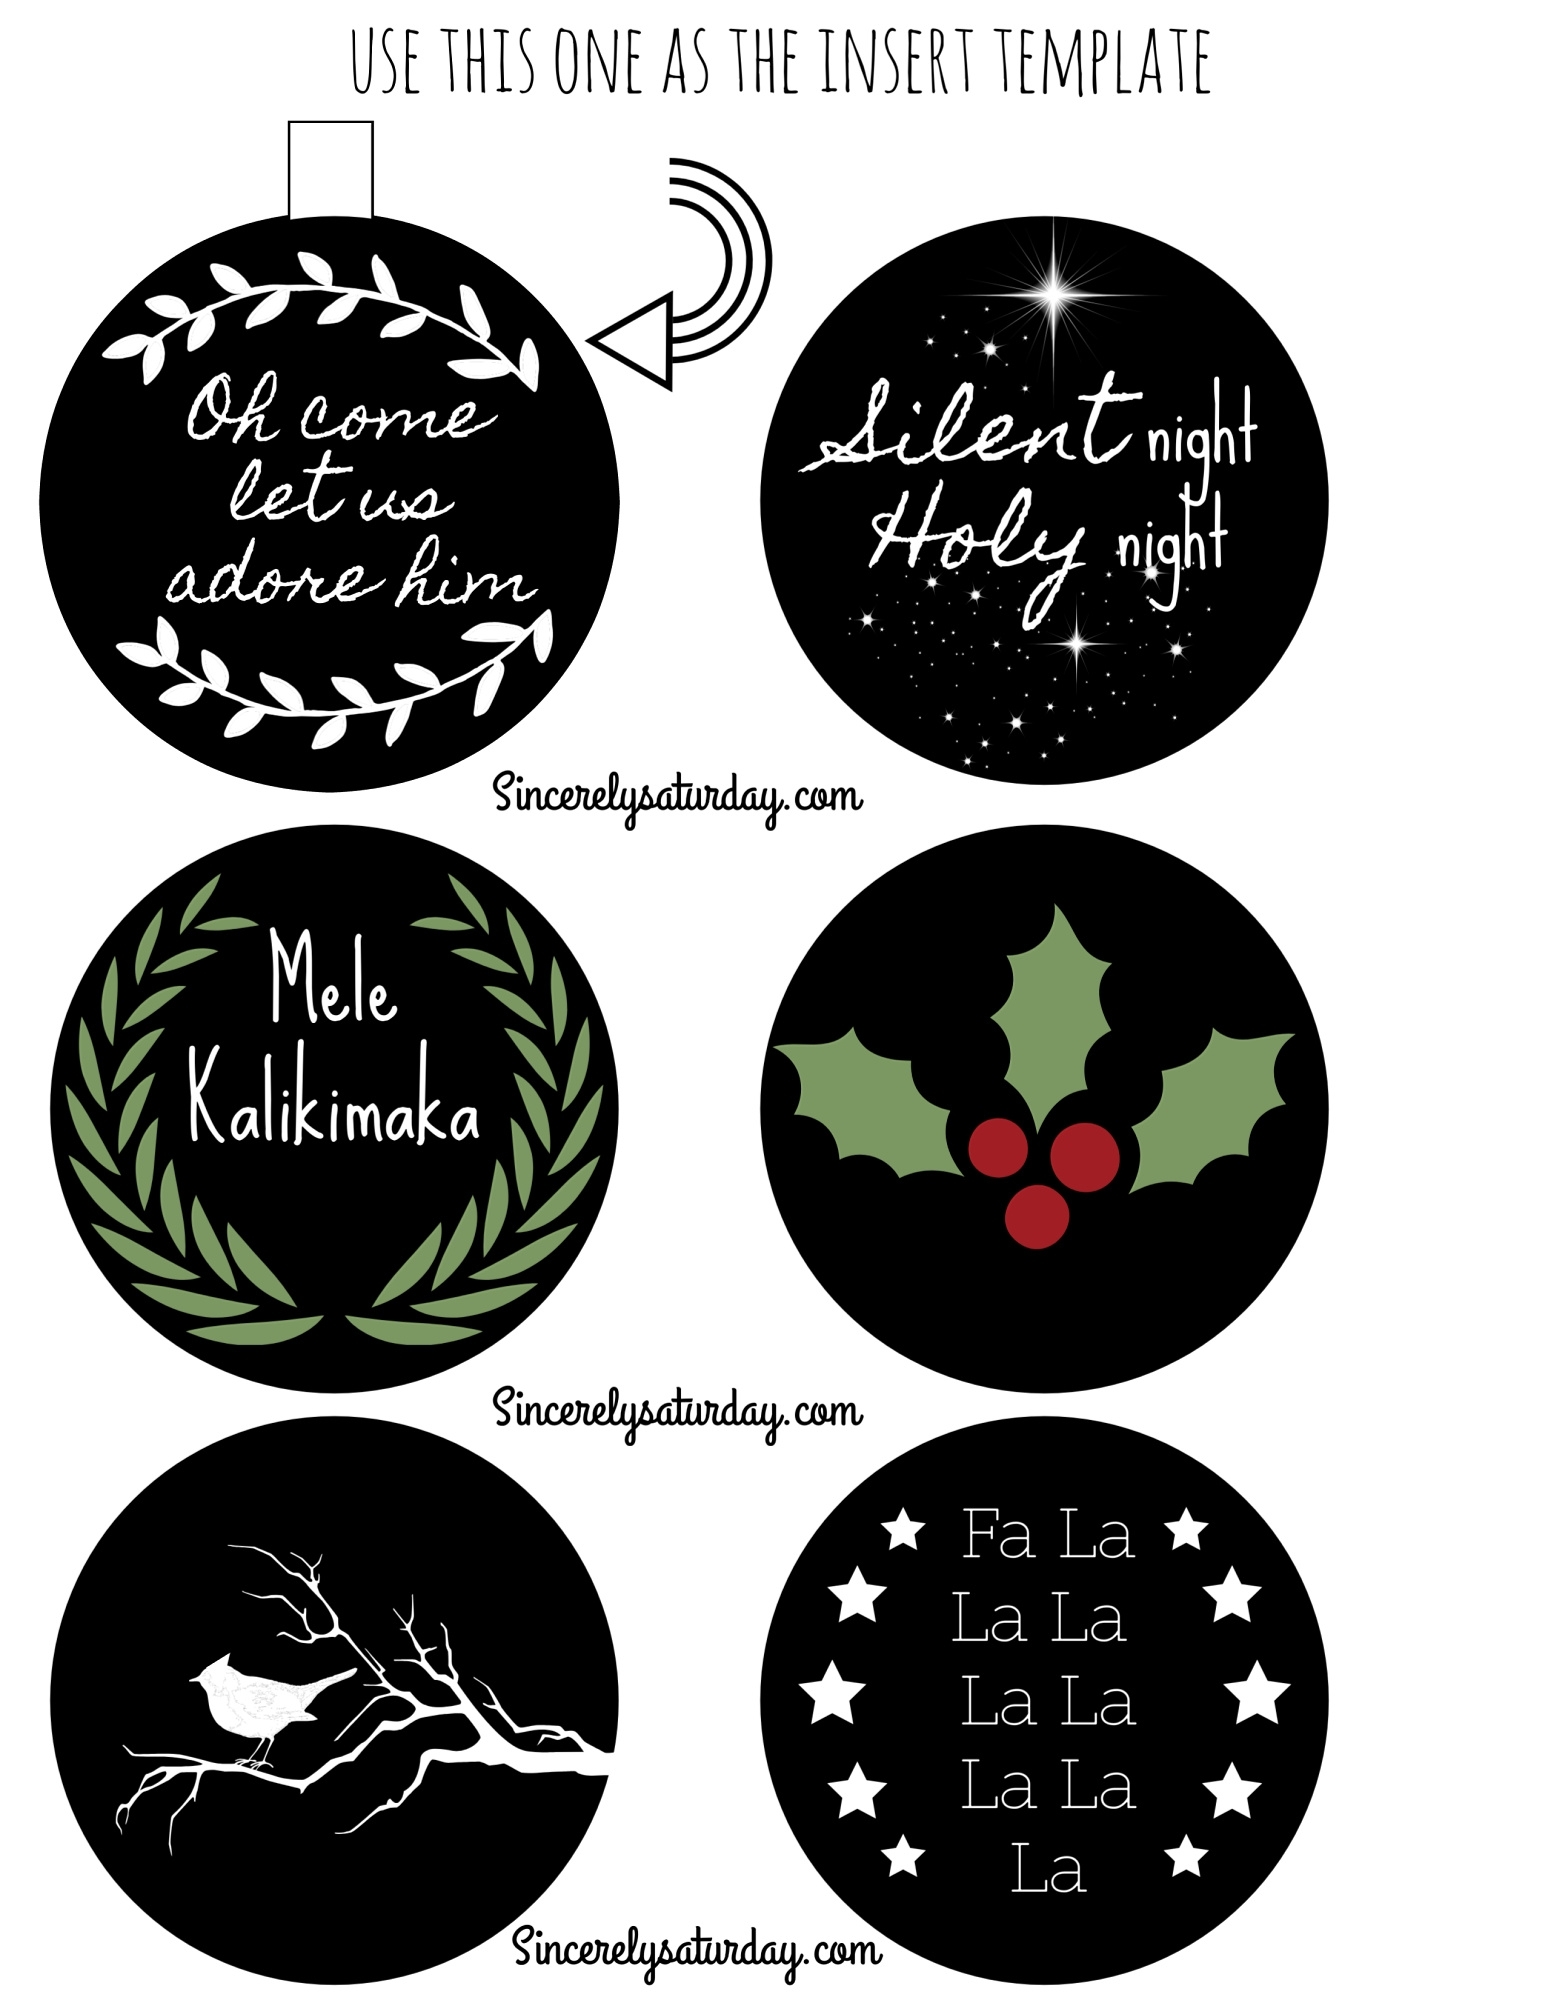 Floating ornament template 4
Now trace and cut out all the inserts for the transparency film.
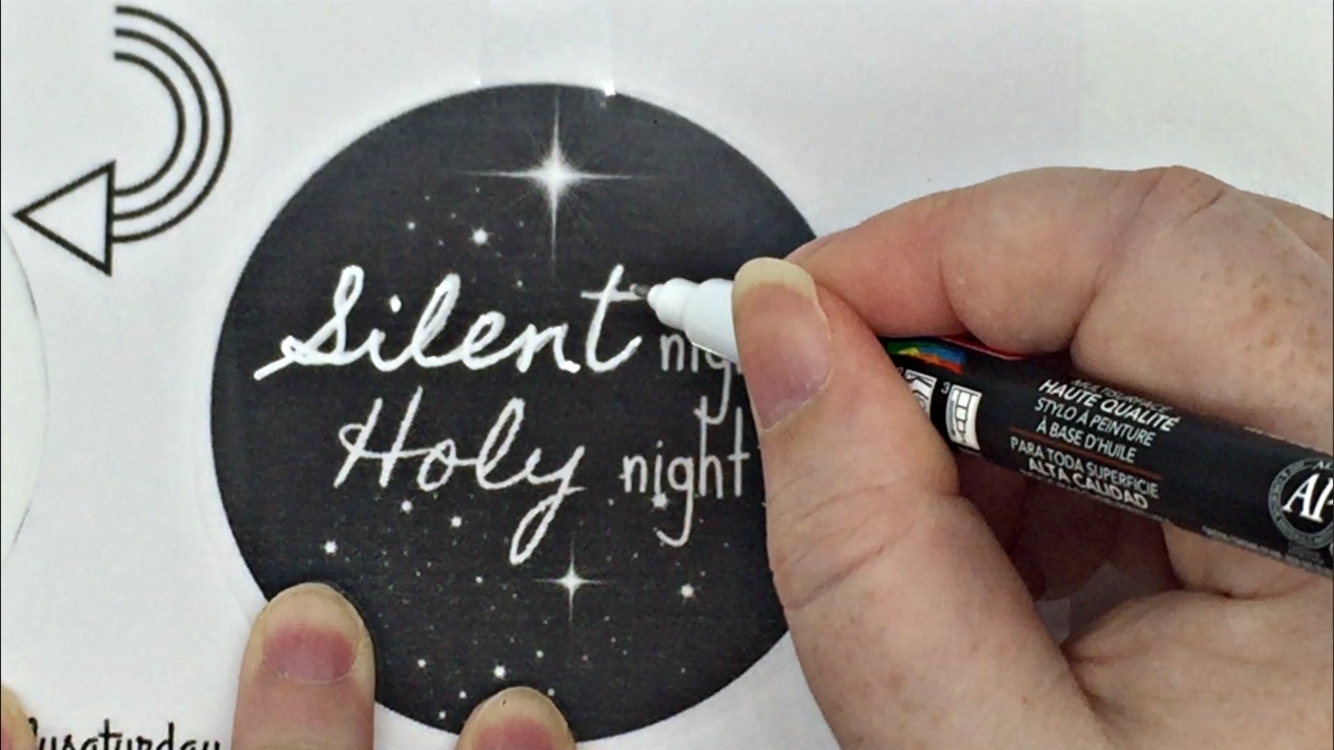
Time to decorate. I found that oil-based paint pens worked the best on the transparency film. If you are going to use acrylic paint you will need to seal it with mod podge before rolling it up to insert into your bulb. Make sure to ONLY cover the painted areas as the mod podge makes the file hazy.
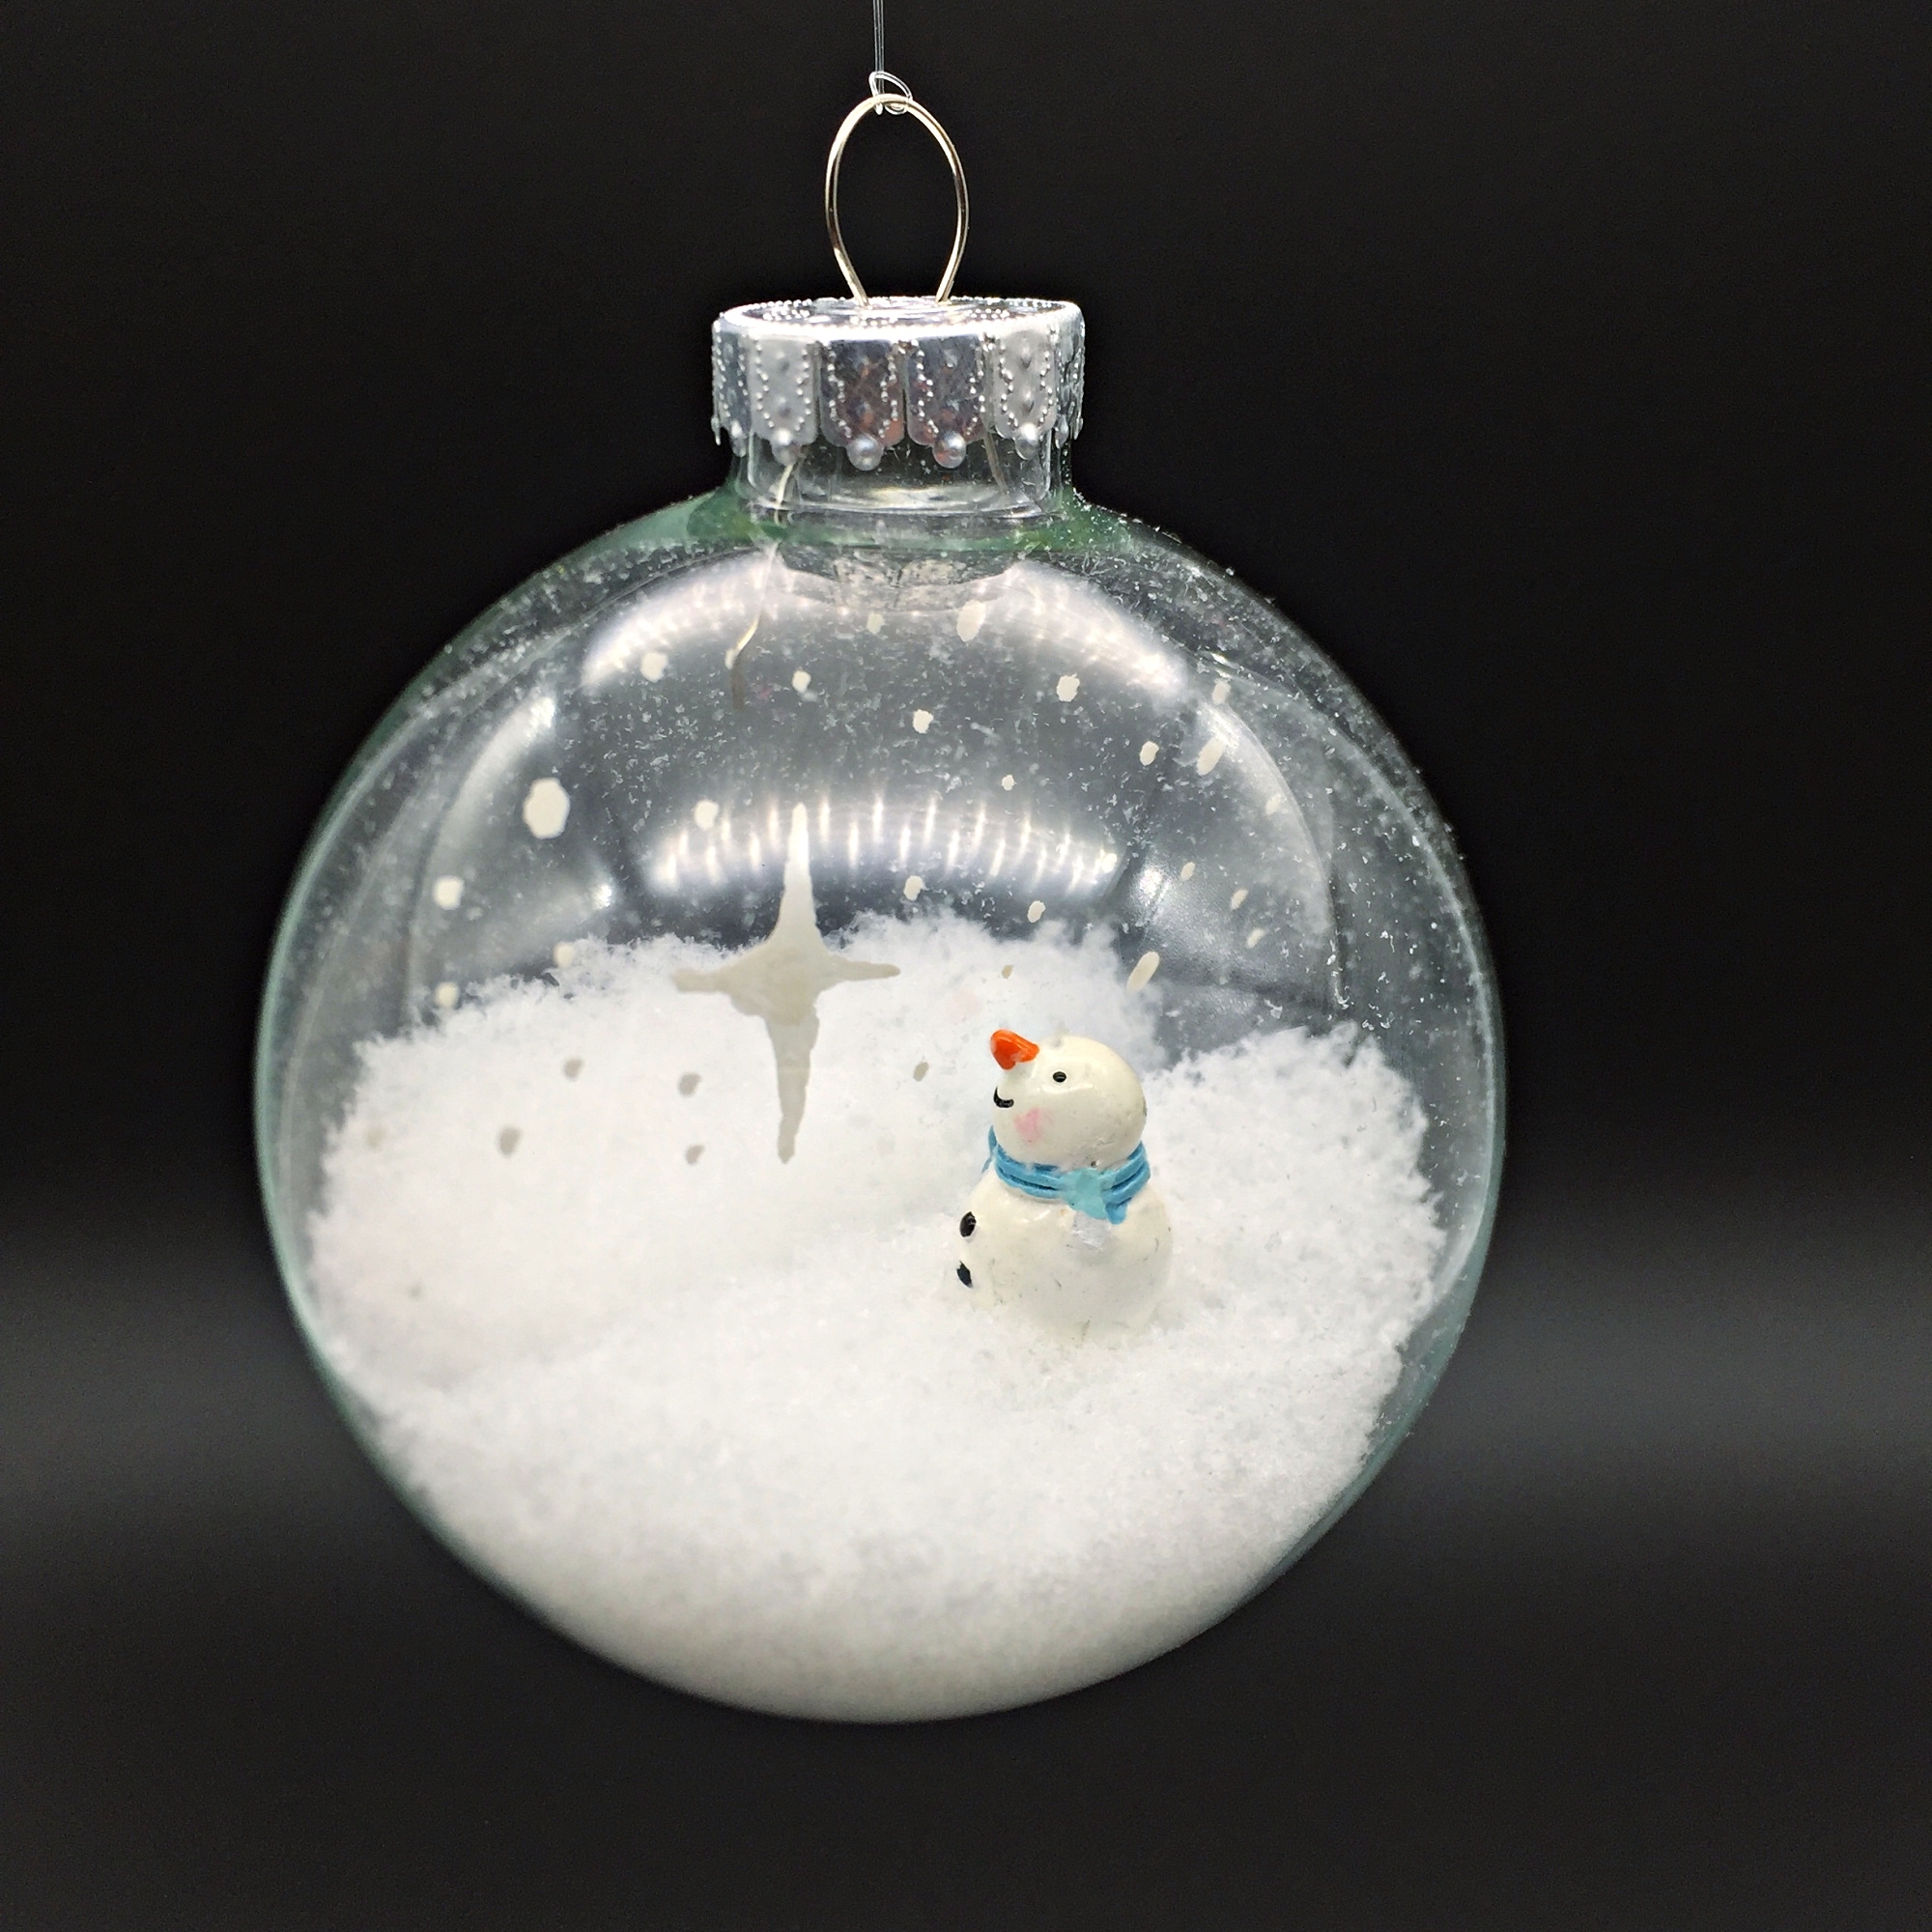
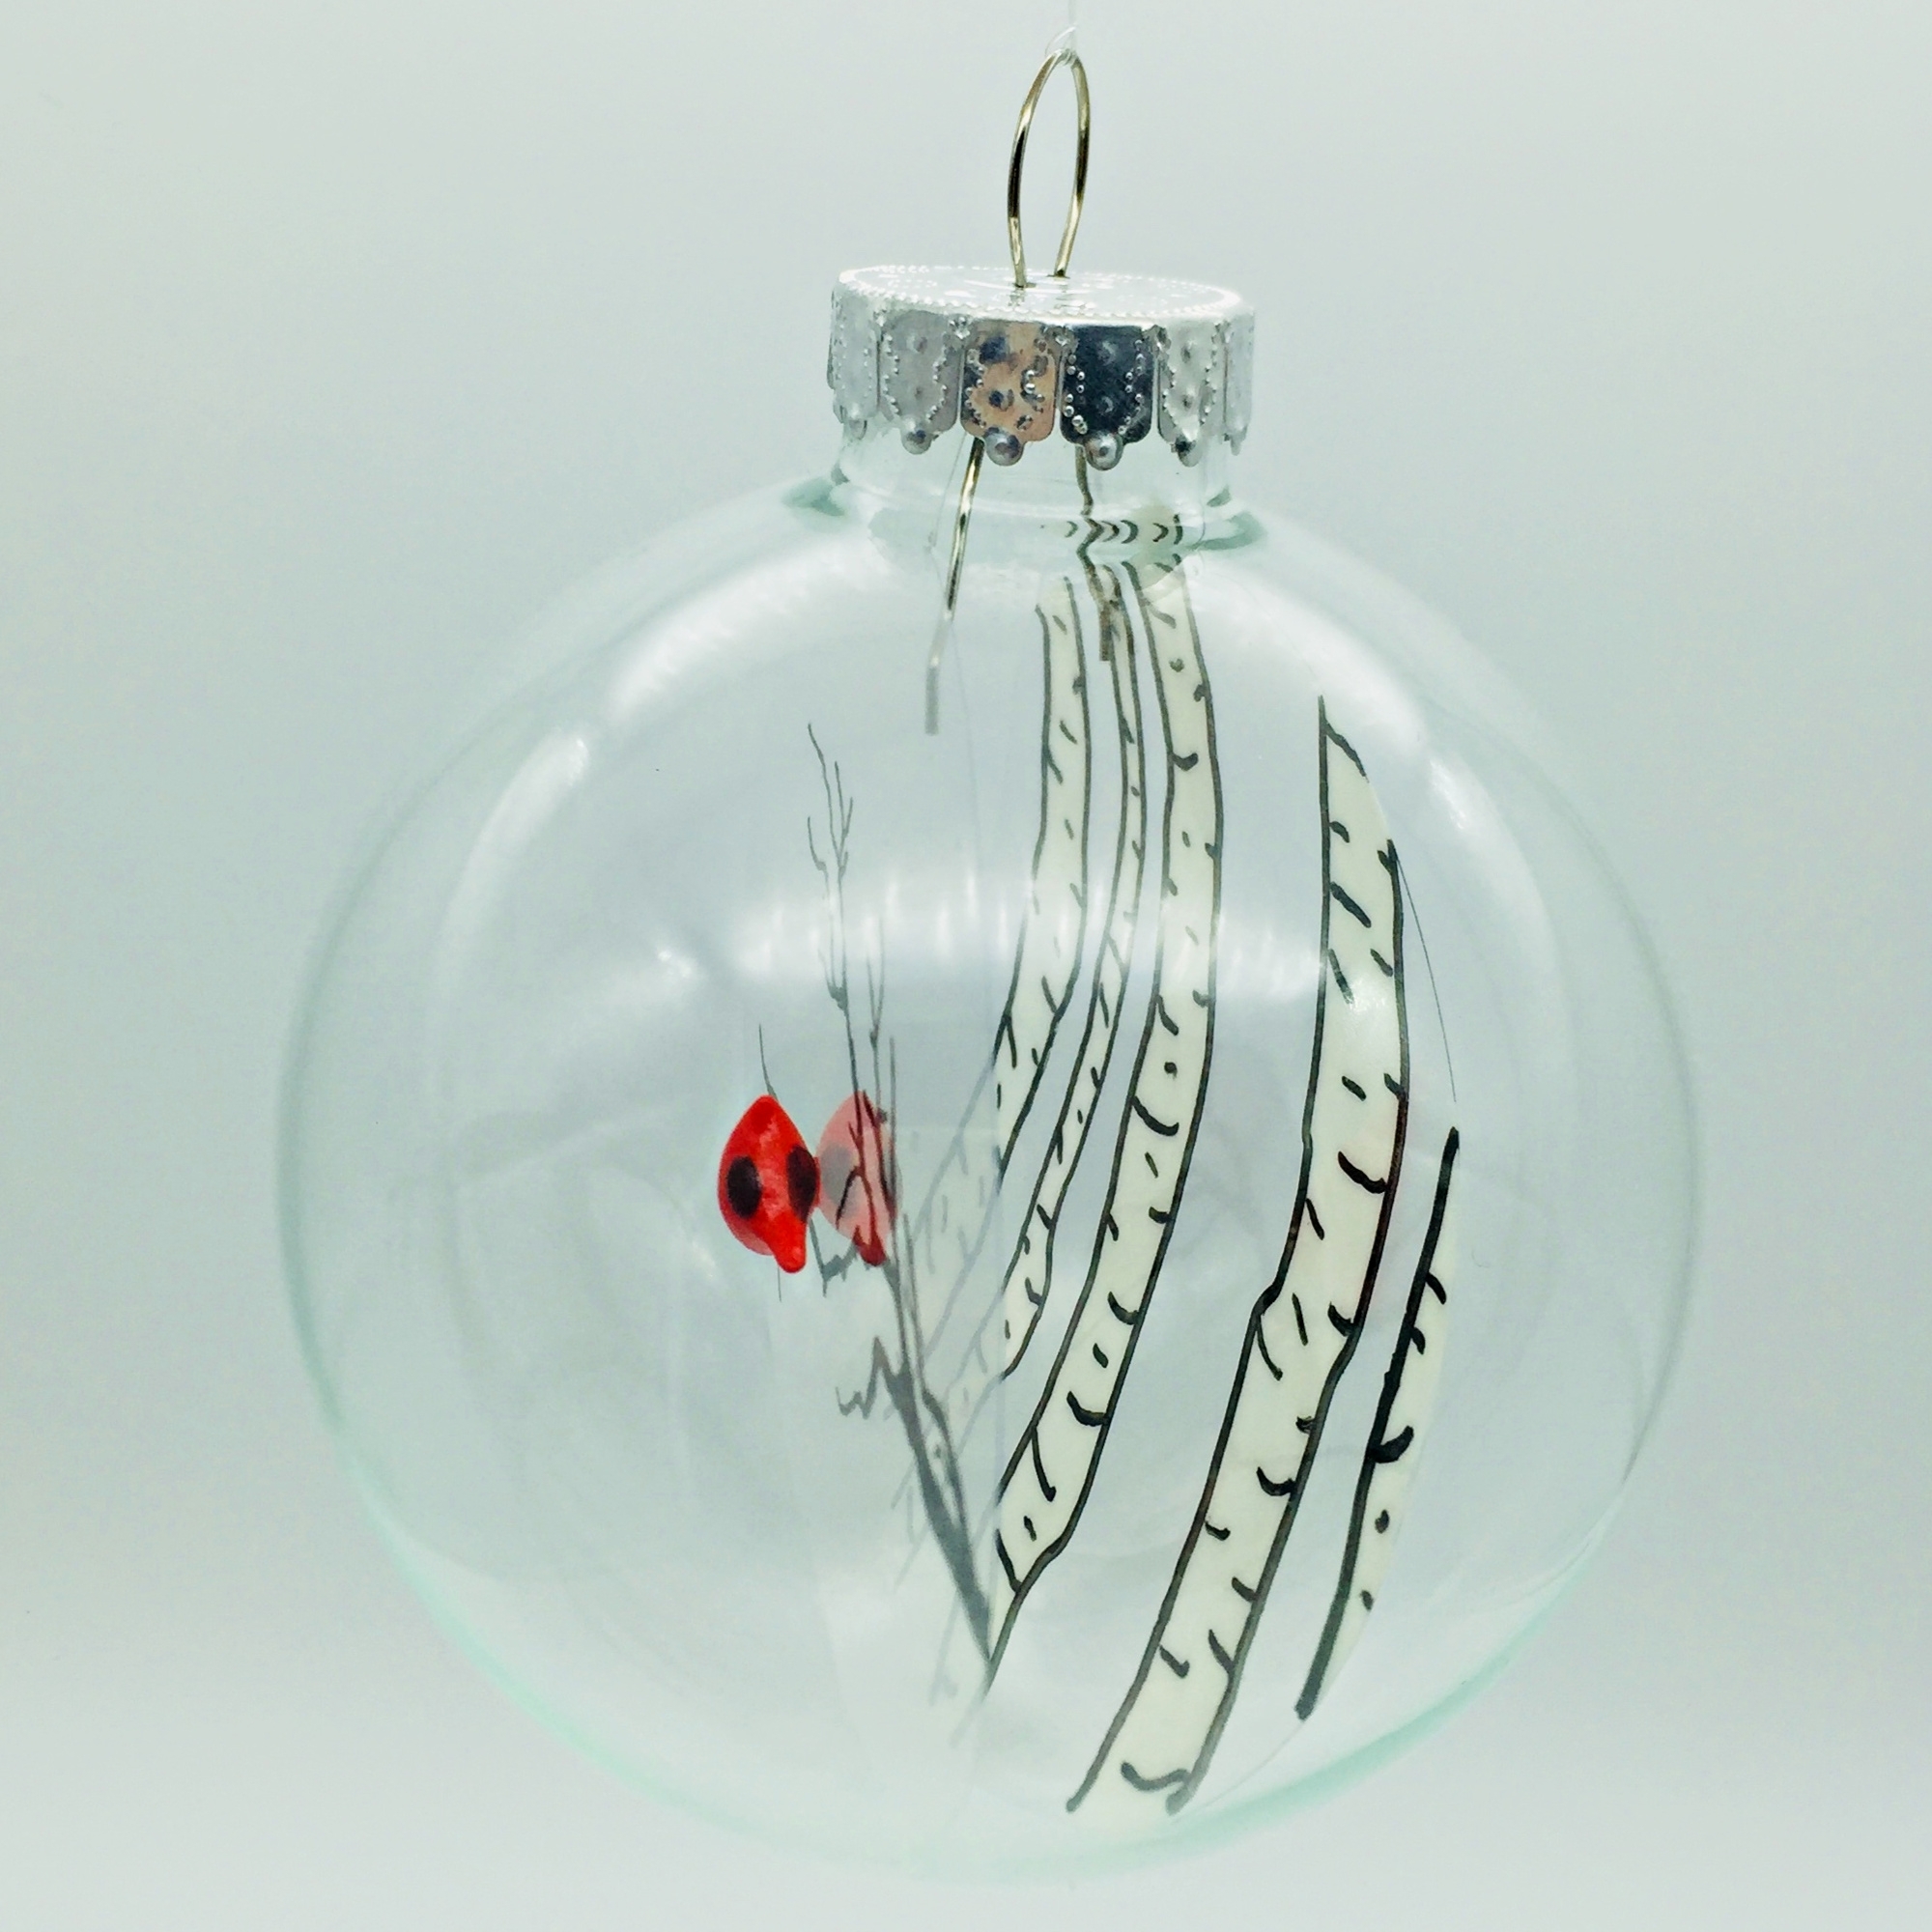
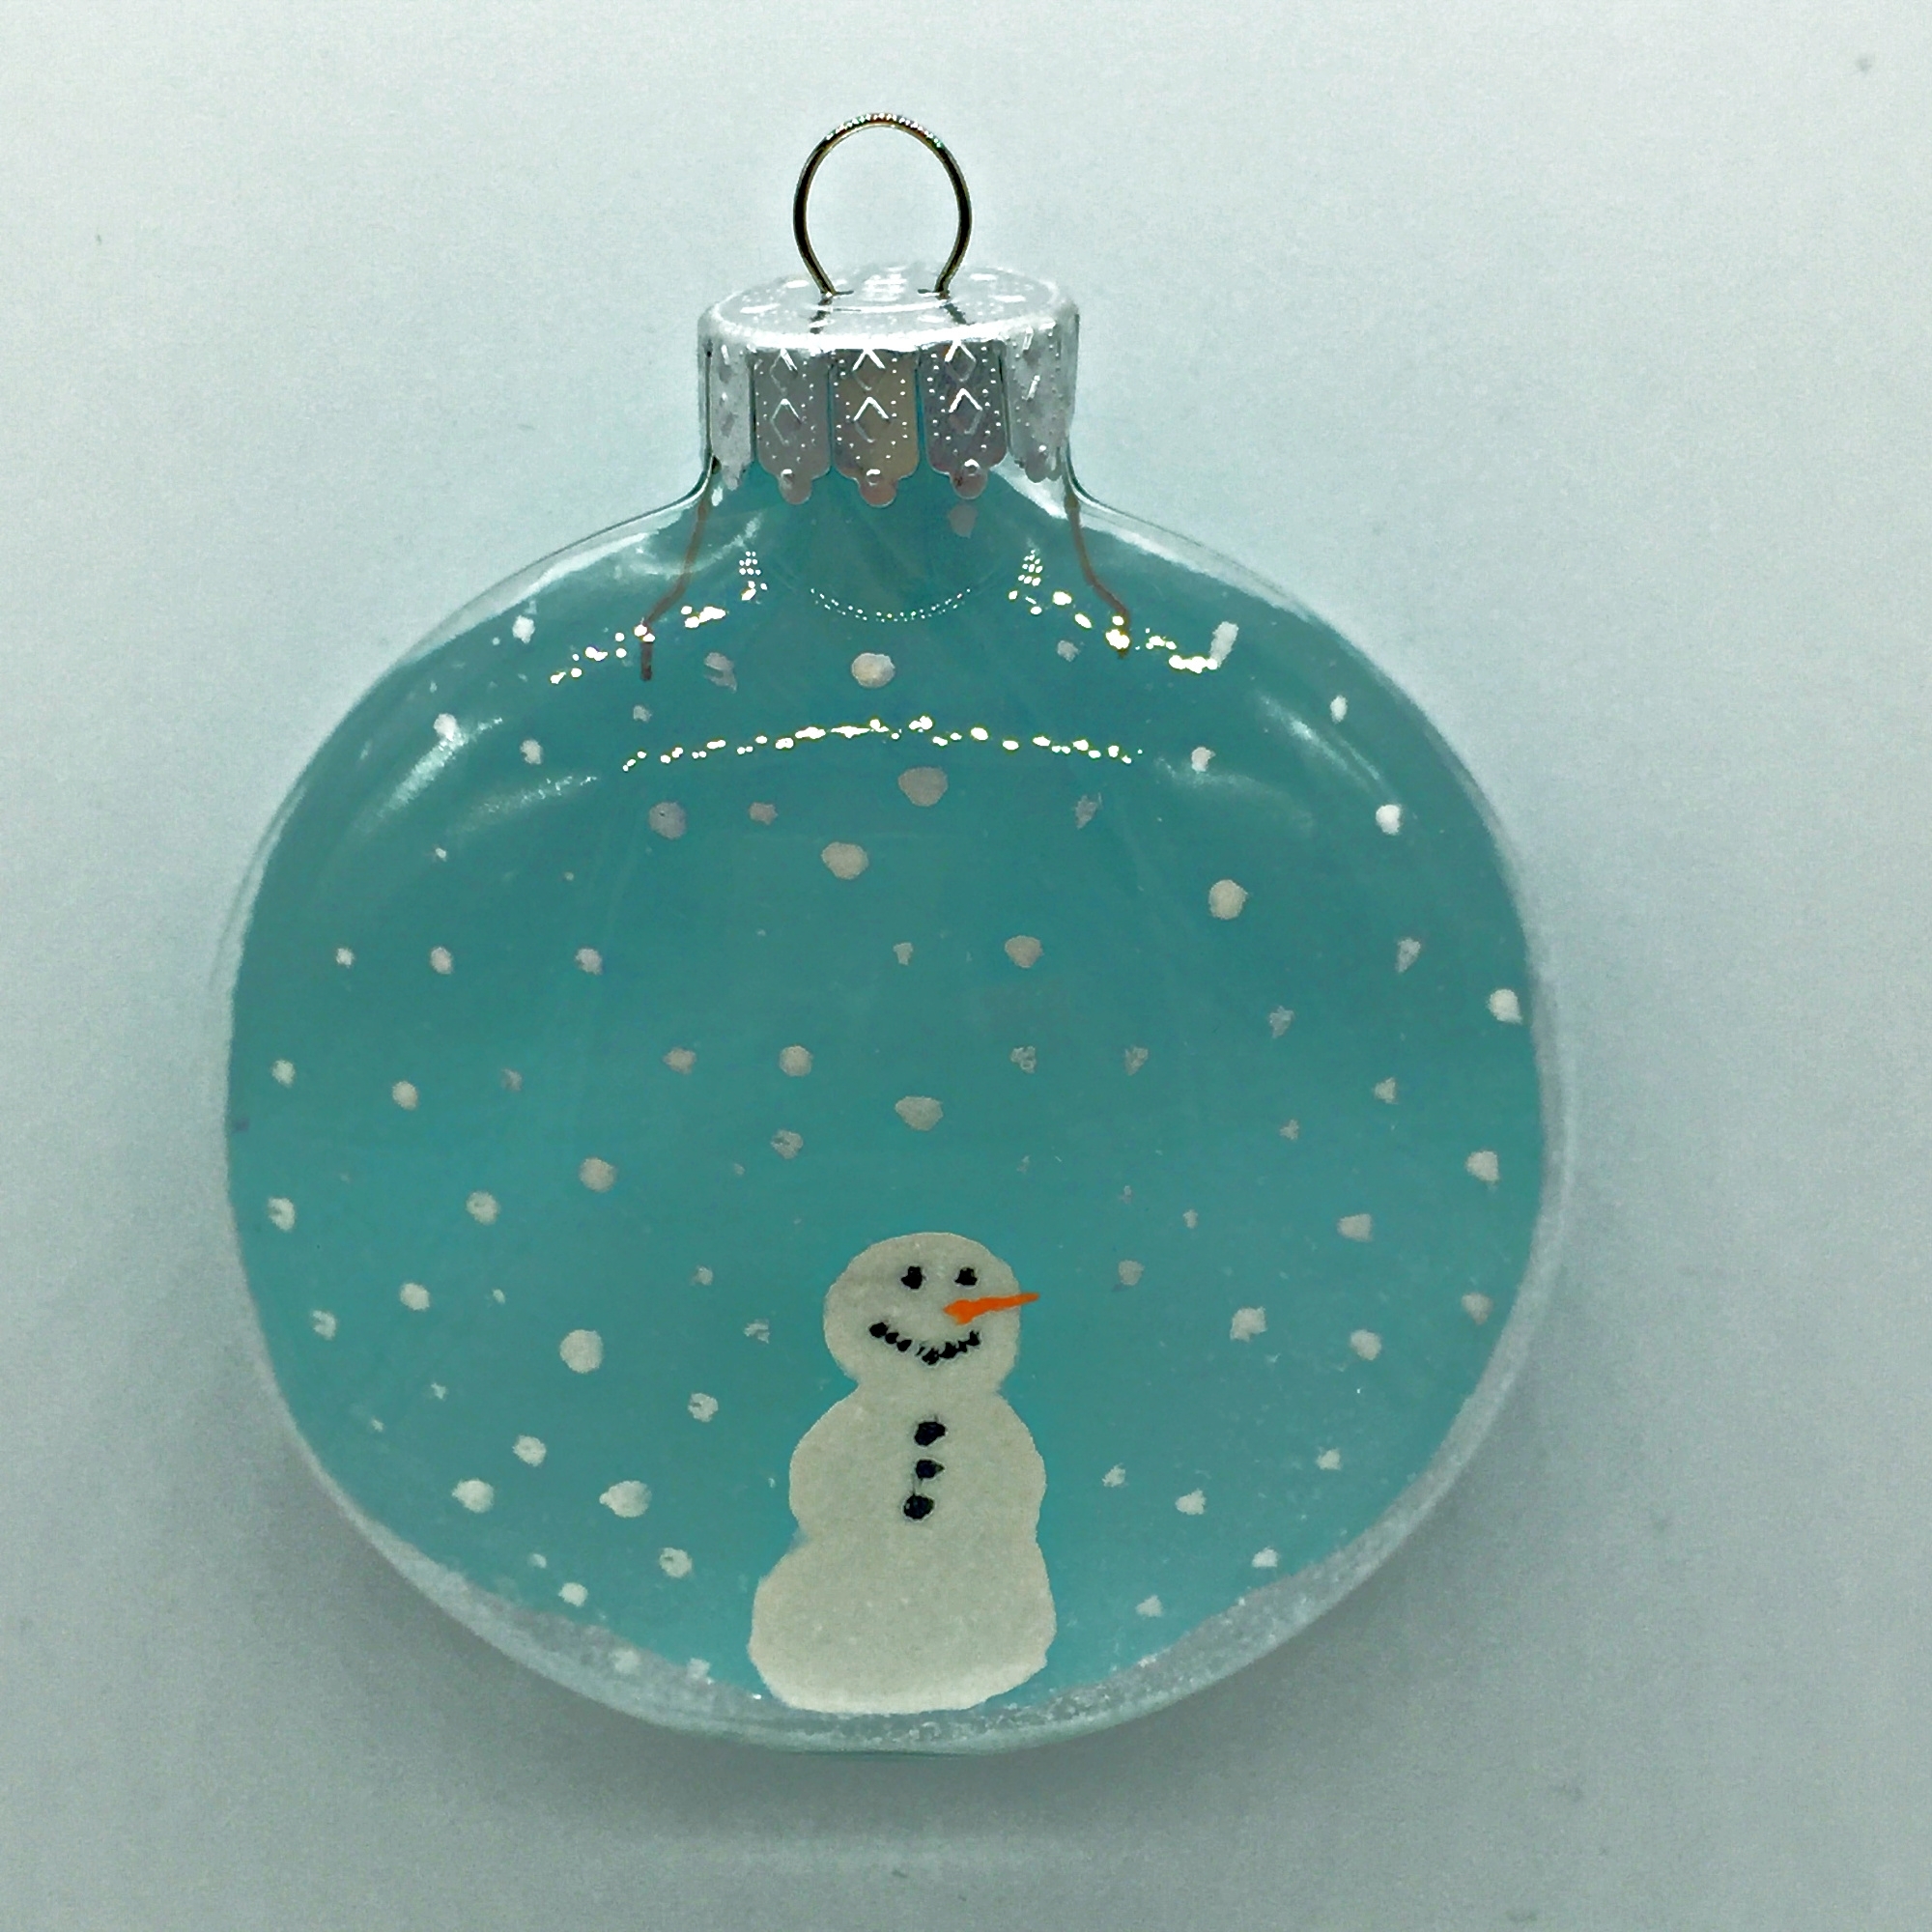
Let everything dry overnight. Once your film is dry, roll it up and insert it into the ornament. Make sure to roll the painted on side of the insert towards the inside of the roll or you will scratch off the paint while inserting it! Add your top and a hanger and go show off your beautiful new DIY floating ornament.
Seriously easy DIY with a huge impact. I can’t stand how cute they turned out.
I hope you try to make some of these floating ornaments. IF you do I would love to see how they turned out. Send me an email with a pic and I’ll showcase them here in this post!
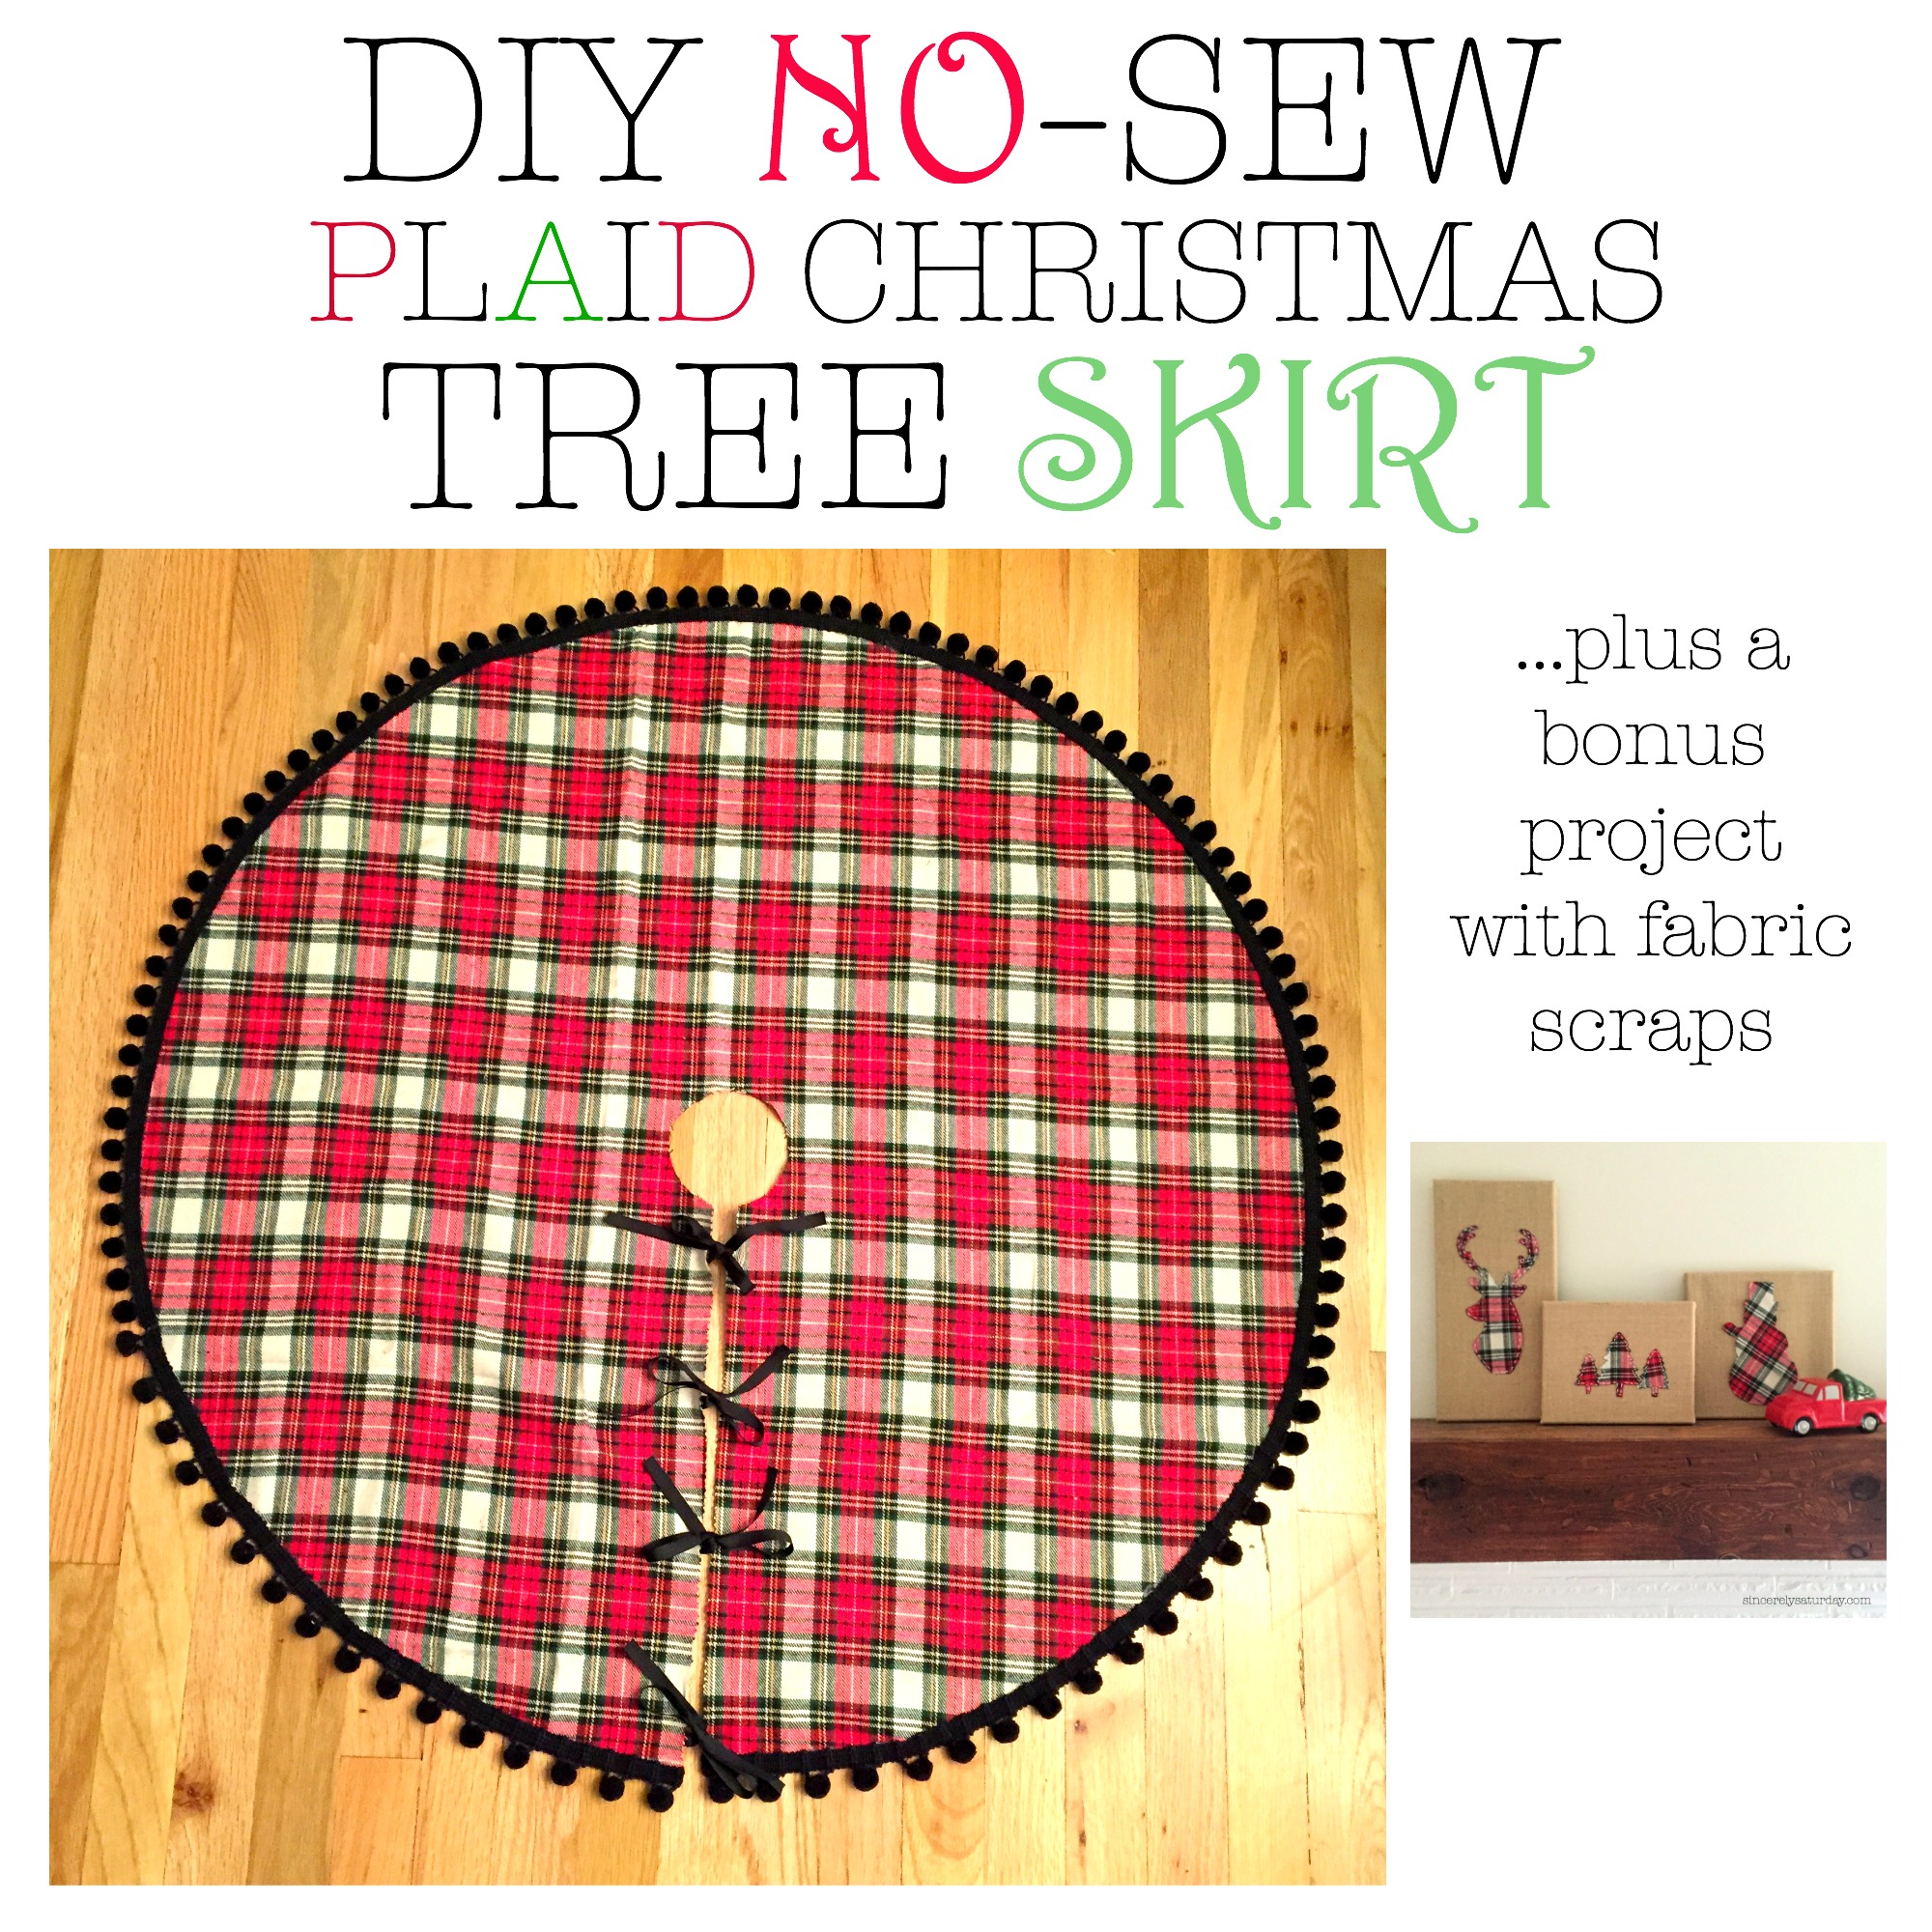
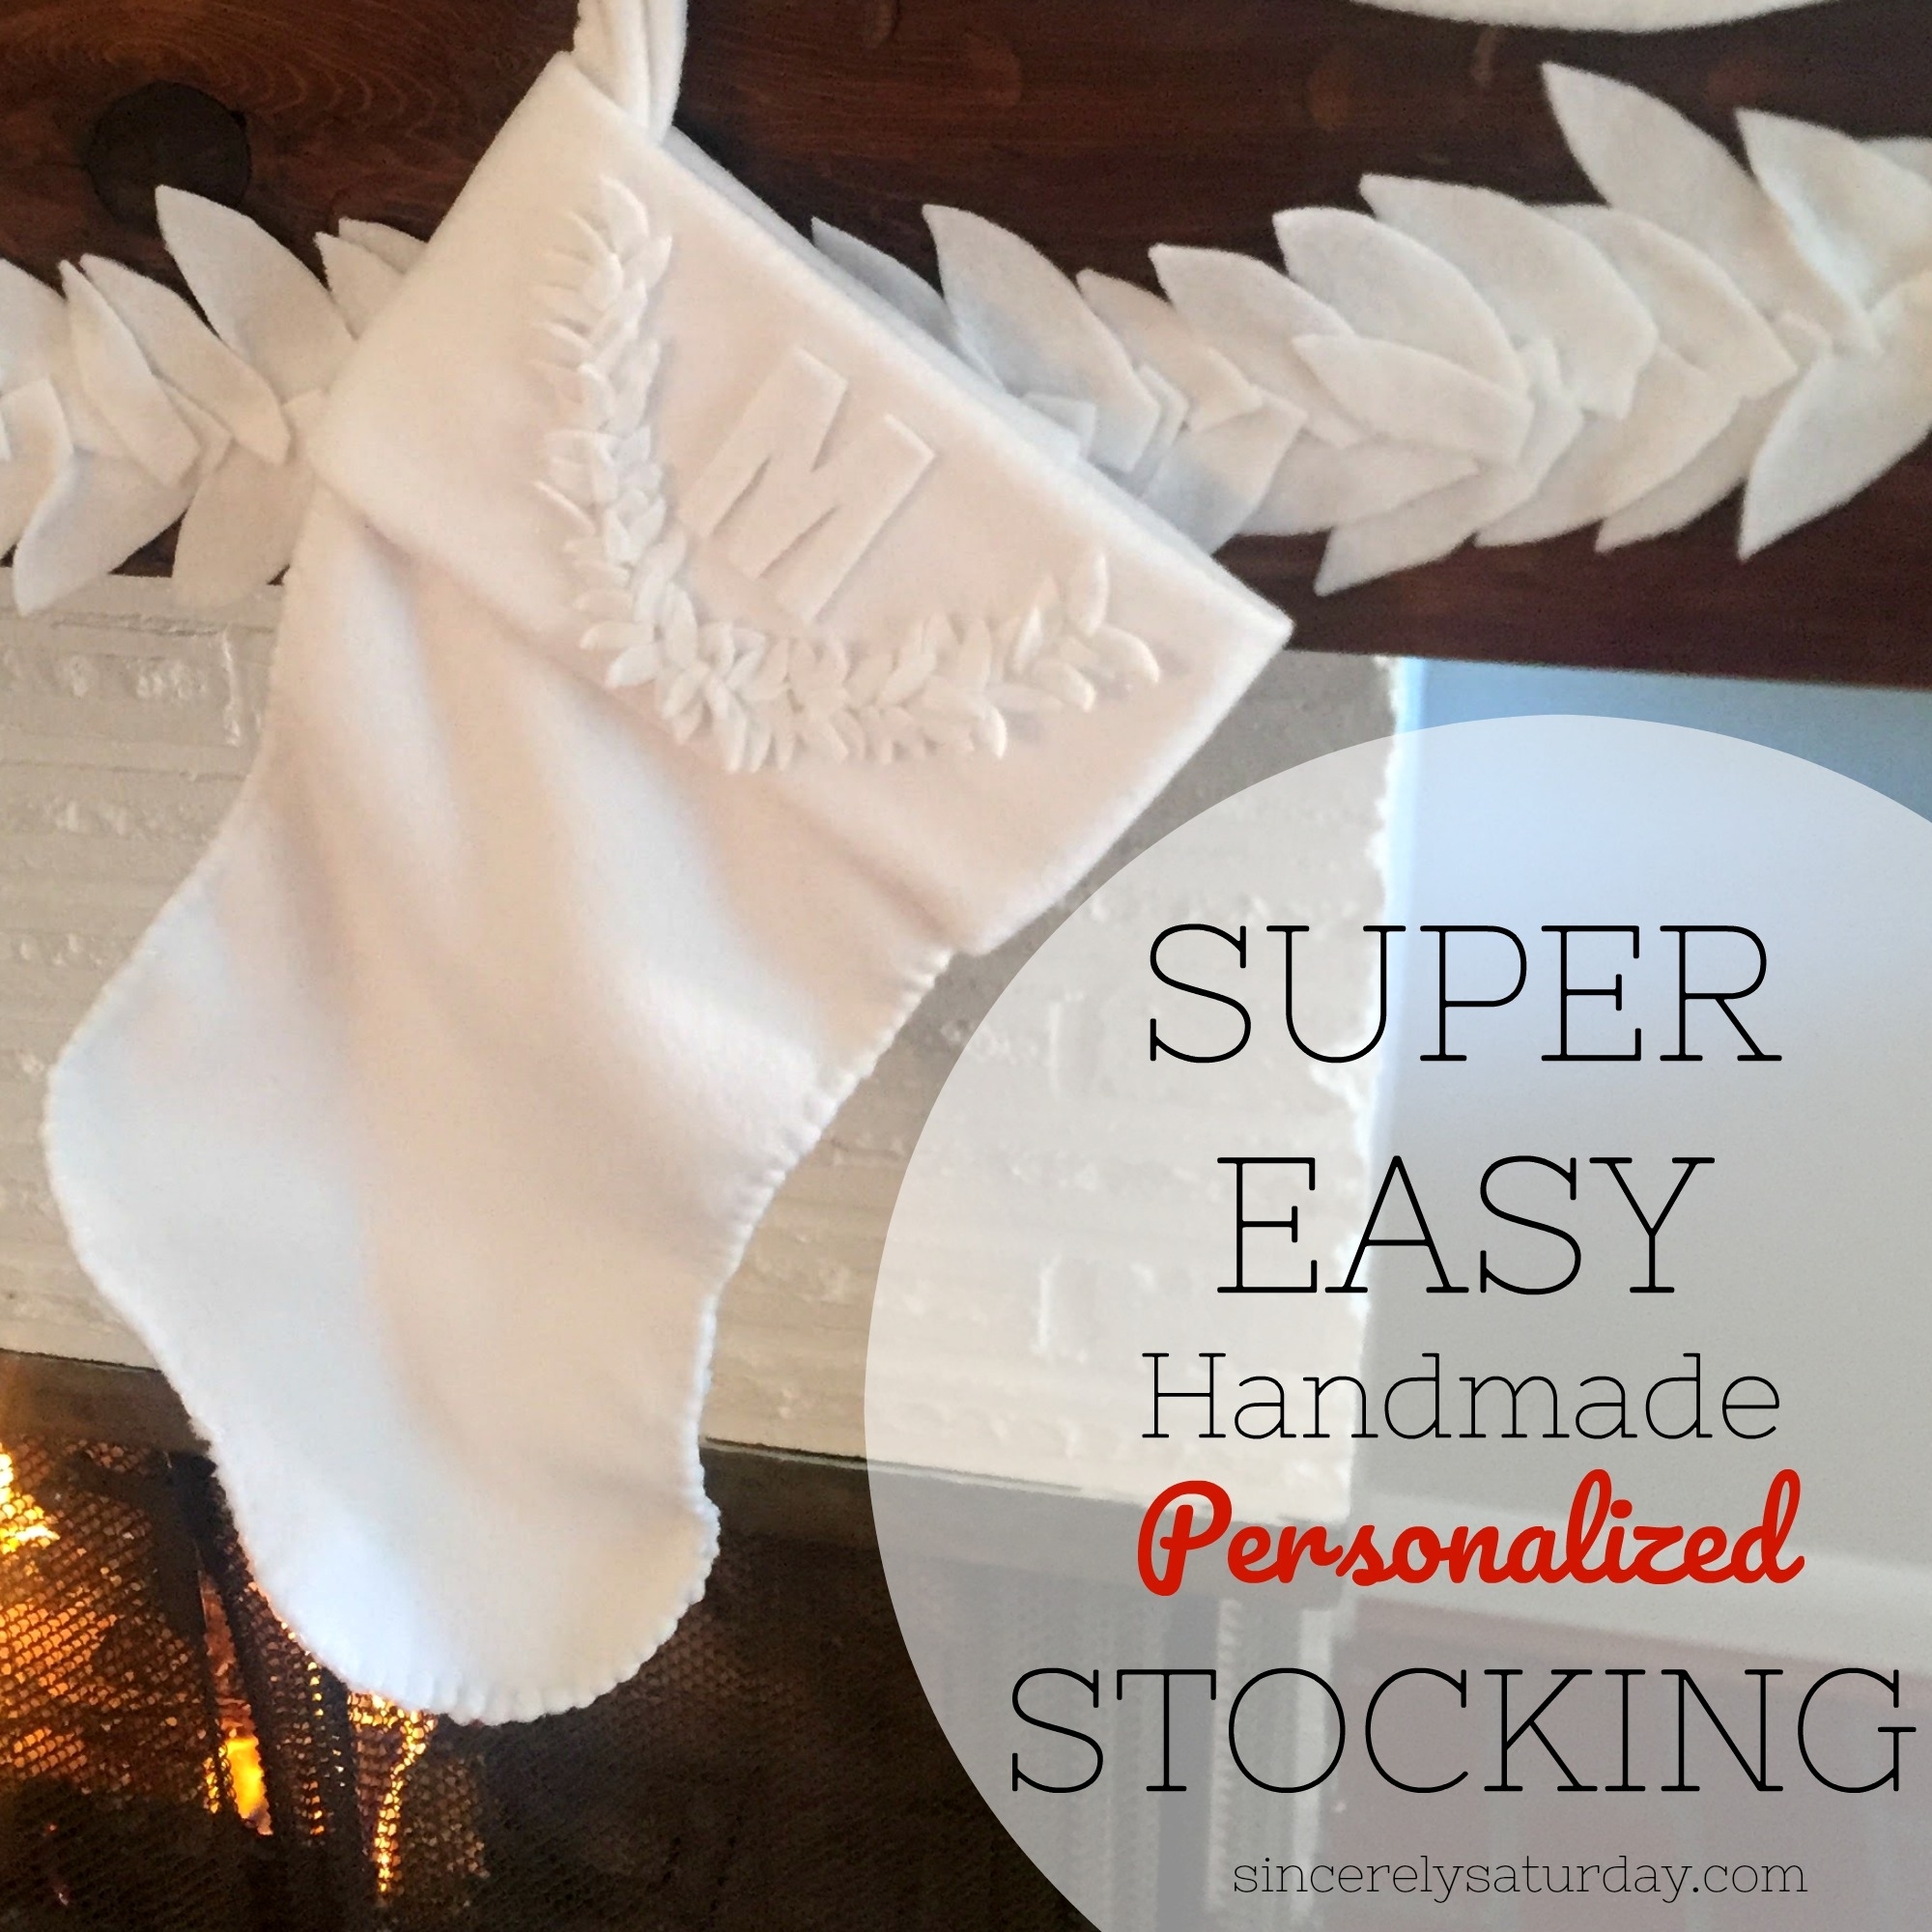
Need a tree skirt for your tree this year? How about a new monogrammed stocking? I got you covered! Try my no-sew Christmas tree skirt and my easy to sew monogrammed stockings.



Great ideas! Thank you!
I’ll definitely try to make these with my kids. Christmas spirit is here 😀
John recently posted…Best Drill Press for Woodworking
Thank you John! I’m sure your kids will have an awesome time creating these floating ornaments! I also took a peak at your blog. There are a lot of helpful tips for DIY’ers and homeowners. Cheers.