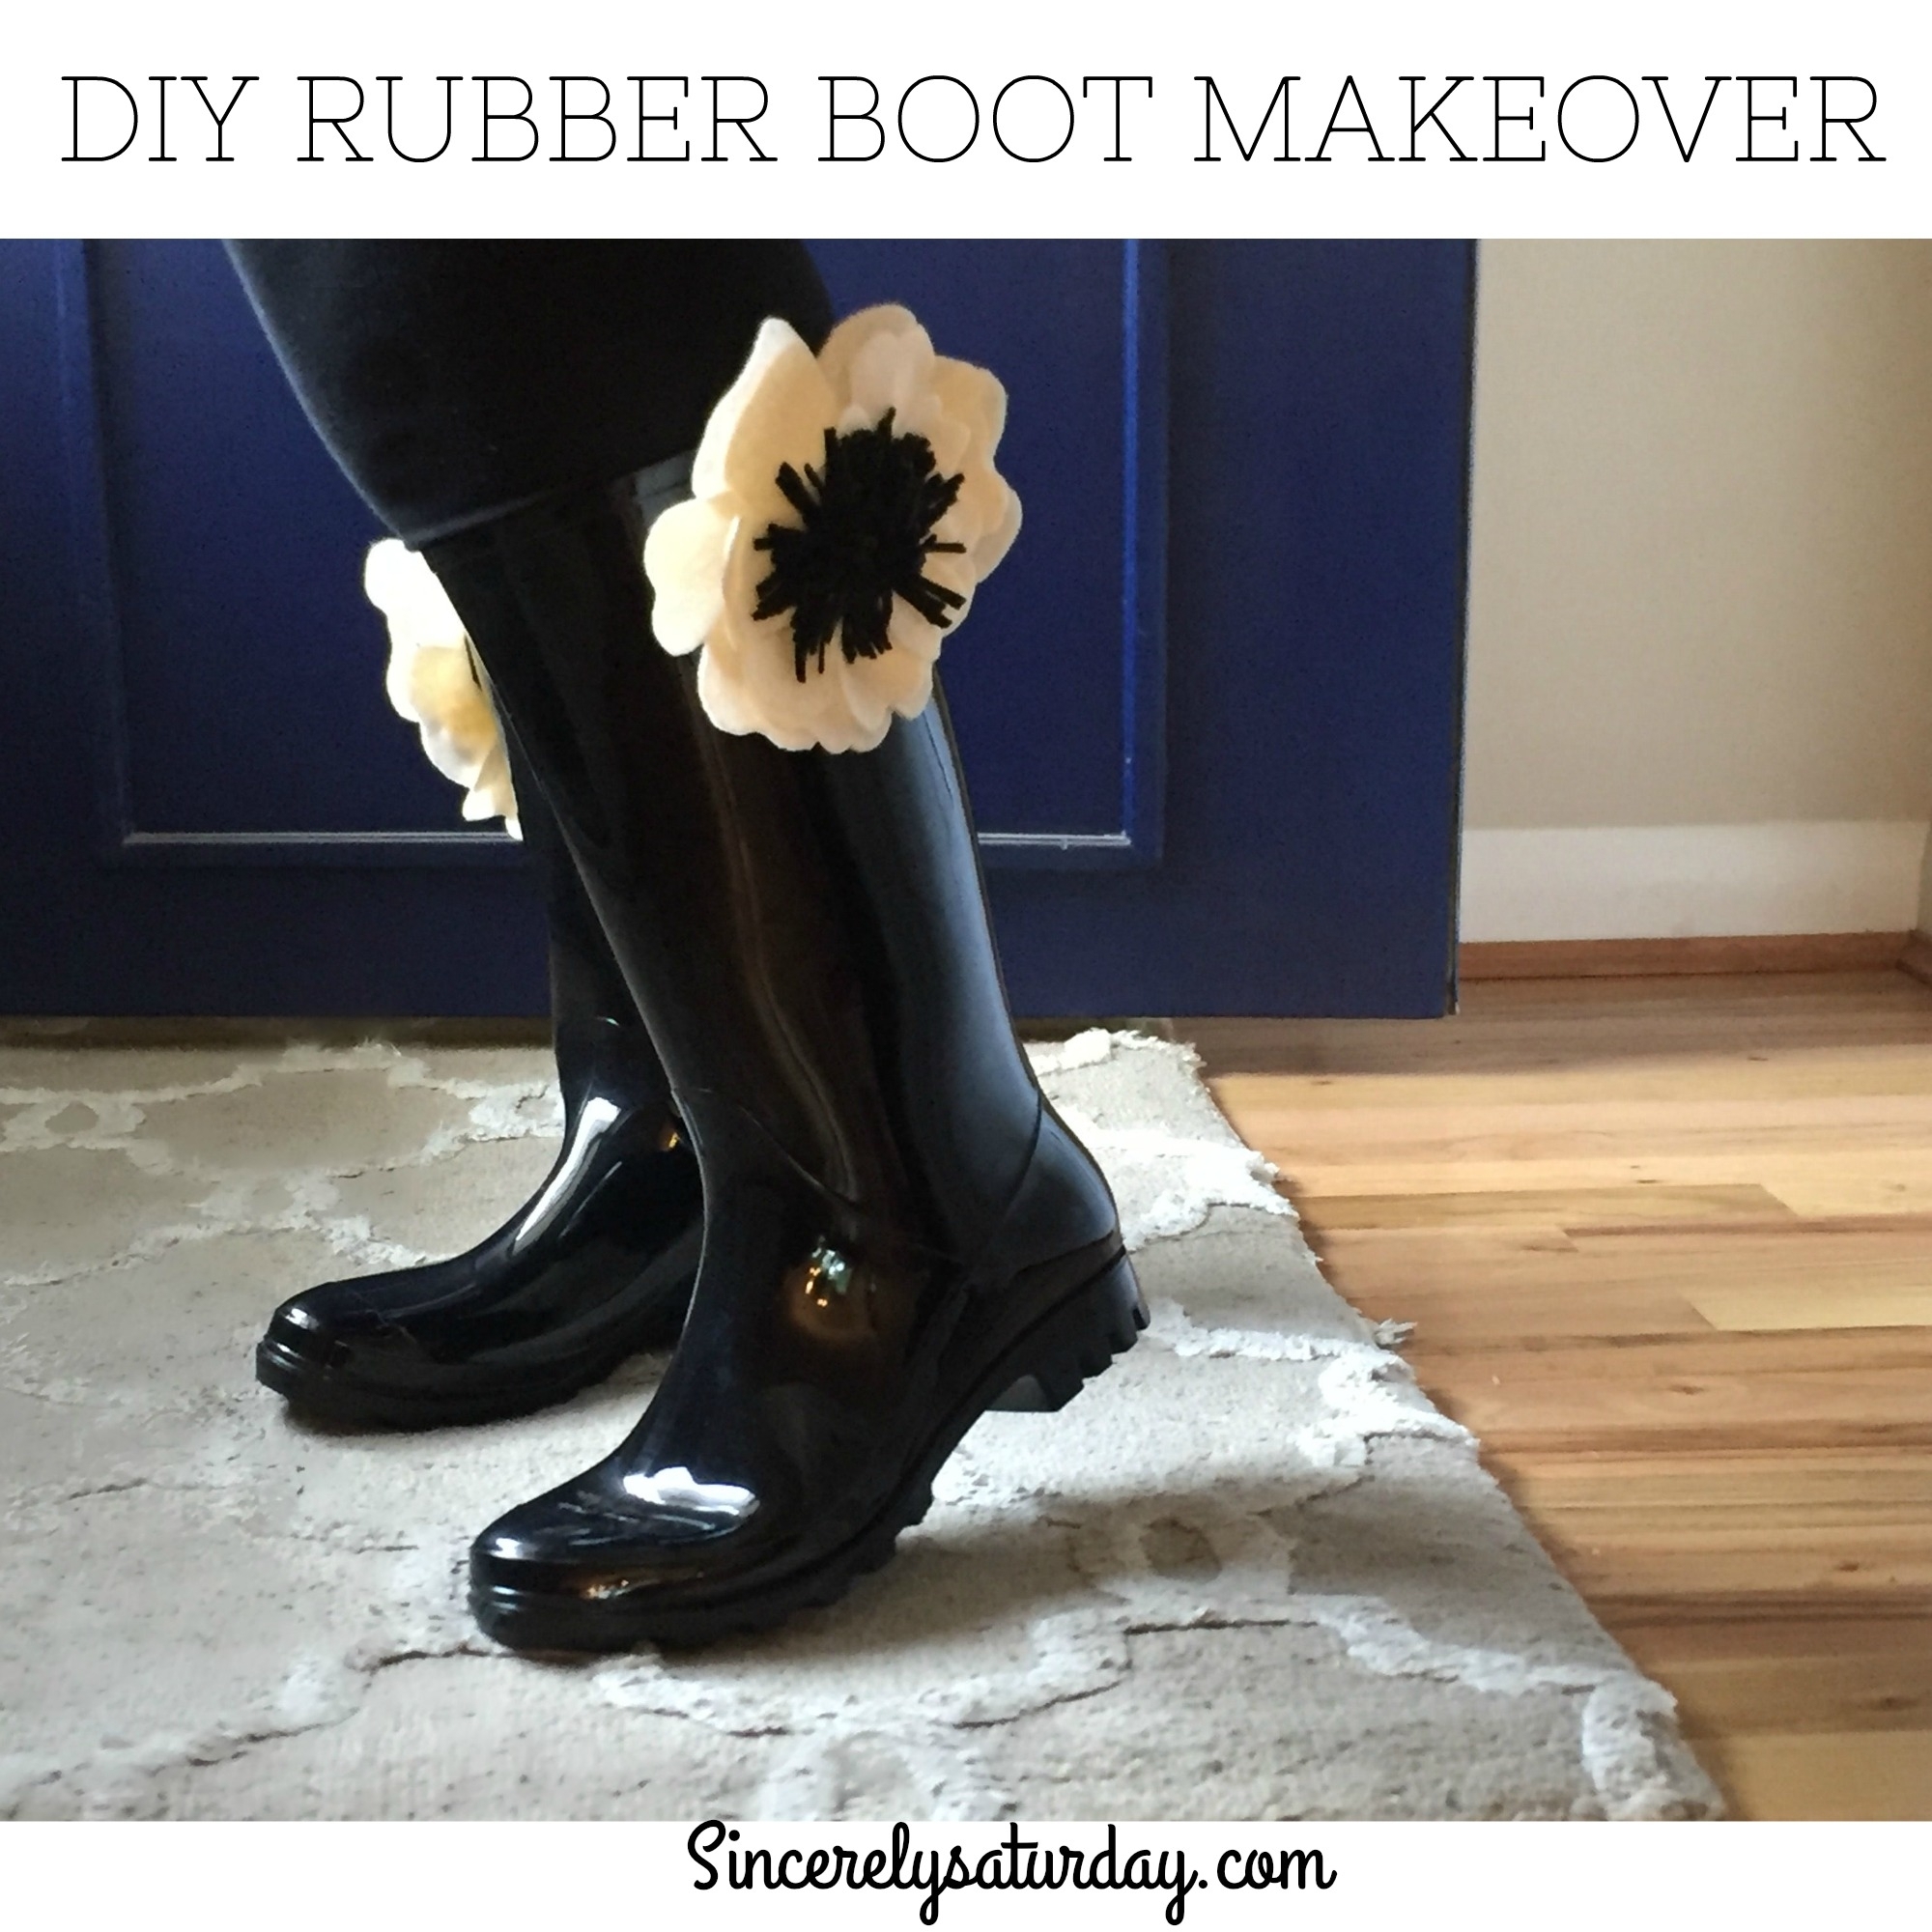
When you think of rubber boots you don’t necessarily think of fashion-forward footwear. Try saying that 5 times fast. Anywho, I created a little something that will make those boring boots go with every outfit for a multitude of occasions. I call them boot blossoms. I first made them over 7 years ago for a parade I was in. They got rave reviews then and I kinda forgot about making them again until a couple of weeks ago.
This DIY is going to be a game changer for all you rubber boot wellie lovers out there. You will need a few specialty items to make them but it will be well worth it.
This post contains affiliate links for your convenience. Please read the Terms of Service and Privacy Policy.
DIY RUBBER BOOT MAKEOVER – Bows, Flowers, and more!
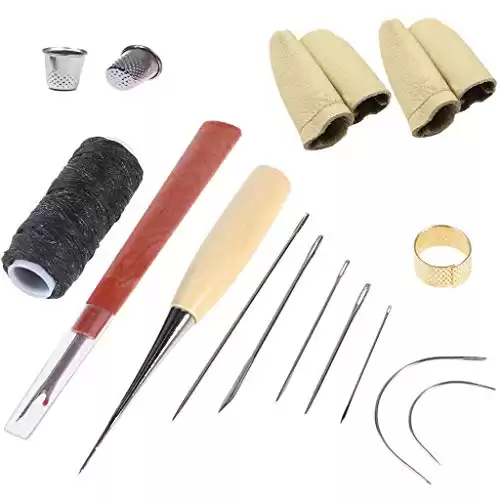
For this DIY rain boot makeover, you will need some tools that you may not have on hand. Luckily, I was able to find a kit that includes all of the tools and thread for this DIY.
TOOLS AND PRODUCTS YOU WILL NEED:
This toolkit includes the Awl, Glove needle, Waxed thread, and the thimbles you will need to attach the snaps.
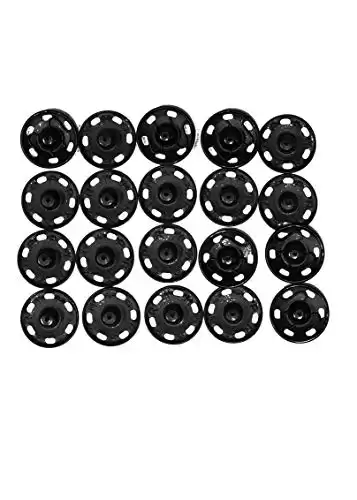
Snaps to sew onto the boot and embellishments you choose. I used size 10 snaps.
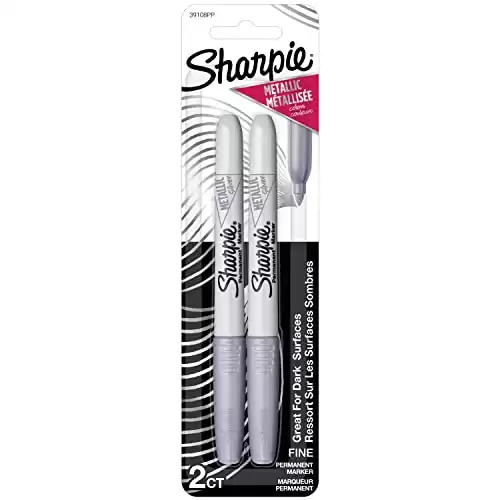
A light-colored Sharpie marker to mark the inside and the outside holes.
A sewing tape measure.
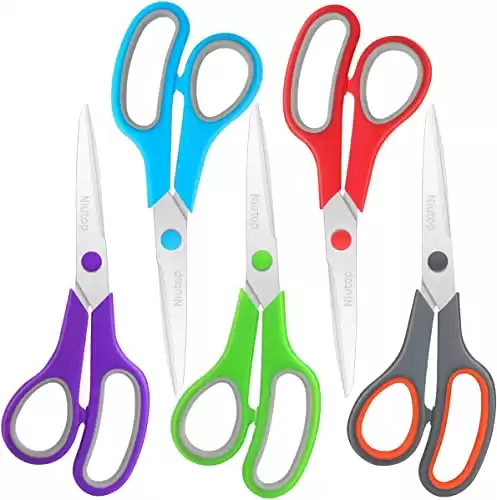
A good pair of scissors.
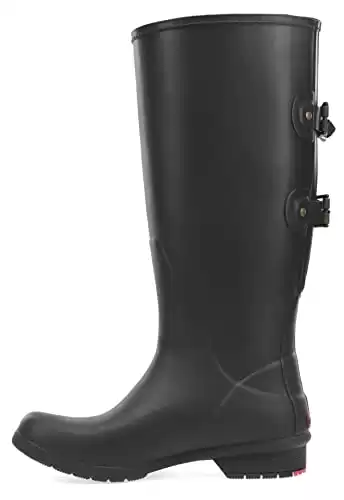
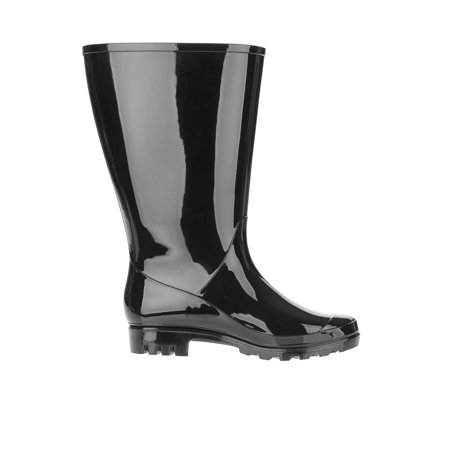
The first boot is from Amazon. It is super comfy and warm for $28.00 (prices vary depending on color and size.) The second boot is from Walmart. It only cost $12.99. The Walmart boot is the one I used for this but I own and love both boots. By the way, these are both wide-calf boots.
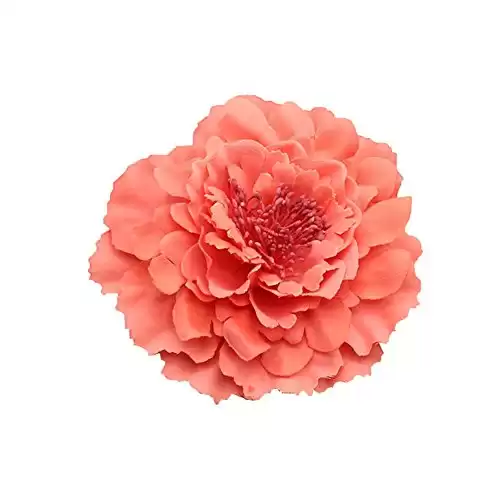
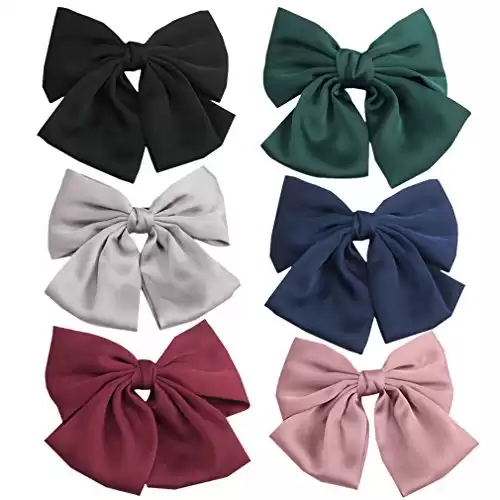
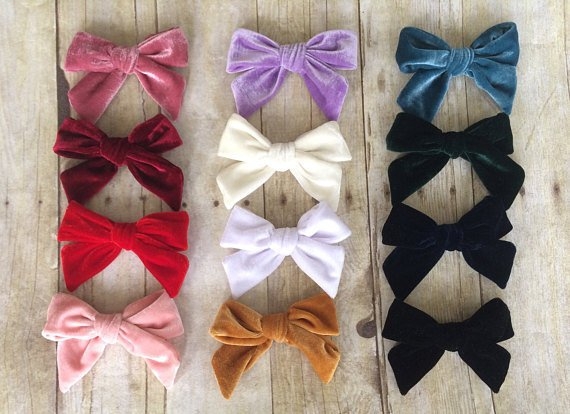
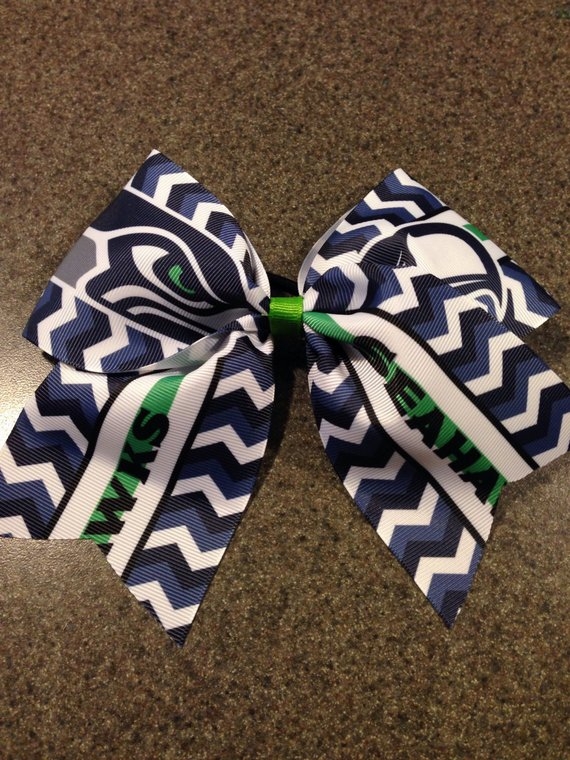
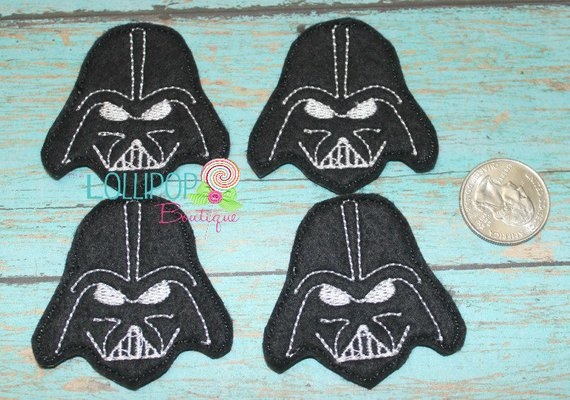
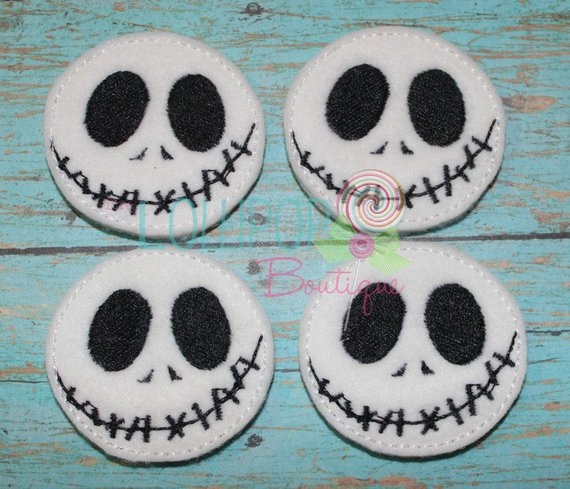
Choose your embellishments! I made all of mine with ribbon and felt I had lying around but you can buy yours. Above I have some examples of things that I found on Amazon and Etsy. Check out your local craft stores. Michaels has a huge selection of floral embellishments for purchase.
Click on the photos and links, they will take you to the item.
Don’t feel like reading? Watch my video tutorial instead.
How to make DIY Rain boot embellishments.
Honestly, this could not be any easier. All you have to do is sew on snaps your boots and to the embellishments you choose. The hardest part is going to be measuring and finding the “center” of the outside calf portion of the boot. The boot that I used for this just so happened to have a line down the front middle and back middle of the boot so I was able to find the center with ease.
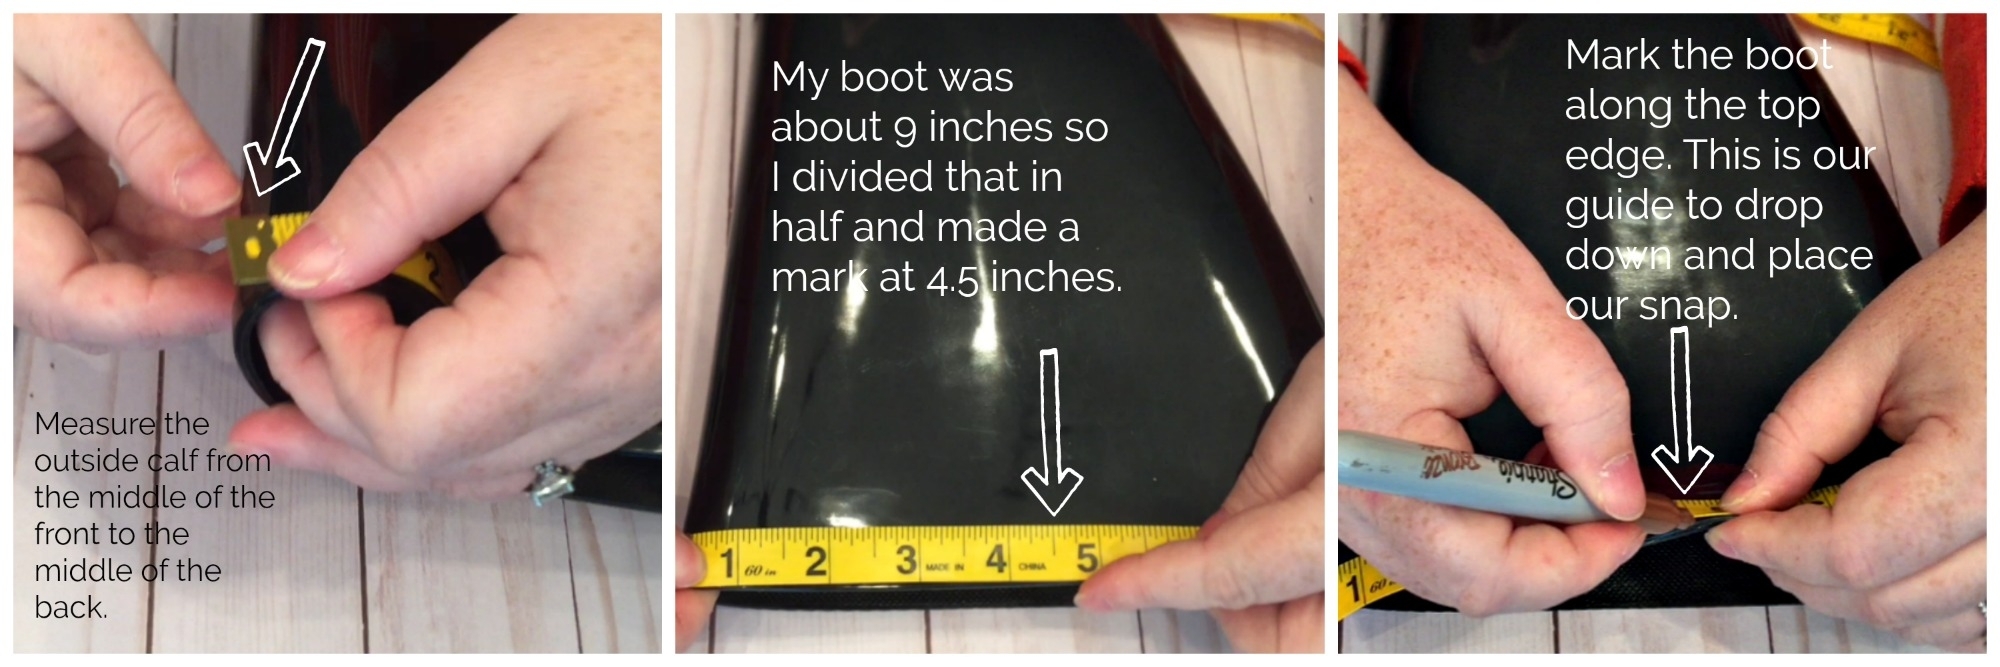
Measure the boot to find the center of the outside calf. Mine was 9 inches so I measured to 4.5 inches and made a mark at the top of the boot.
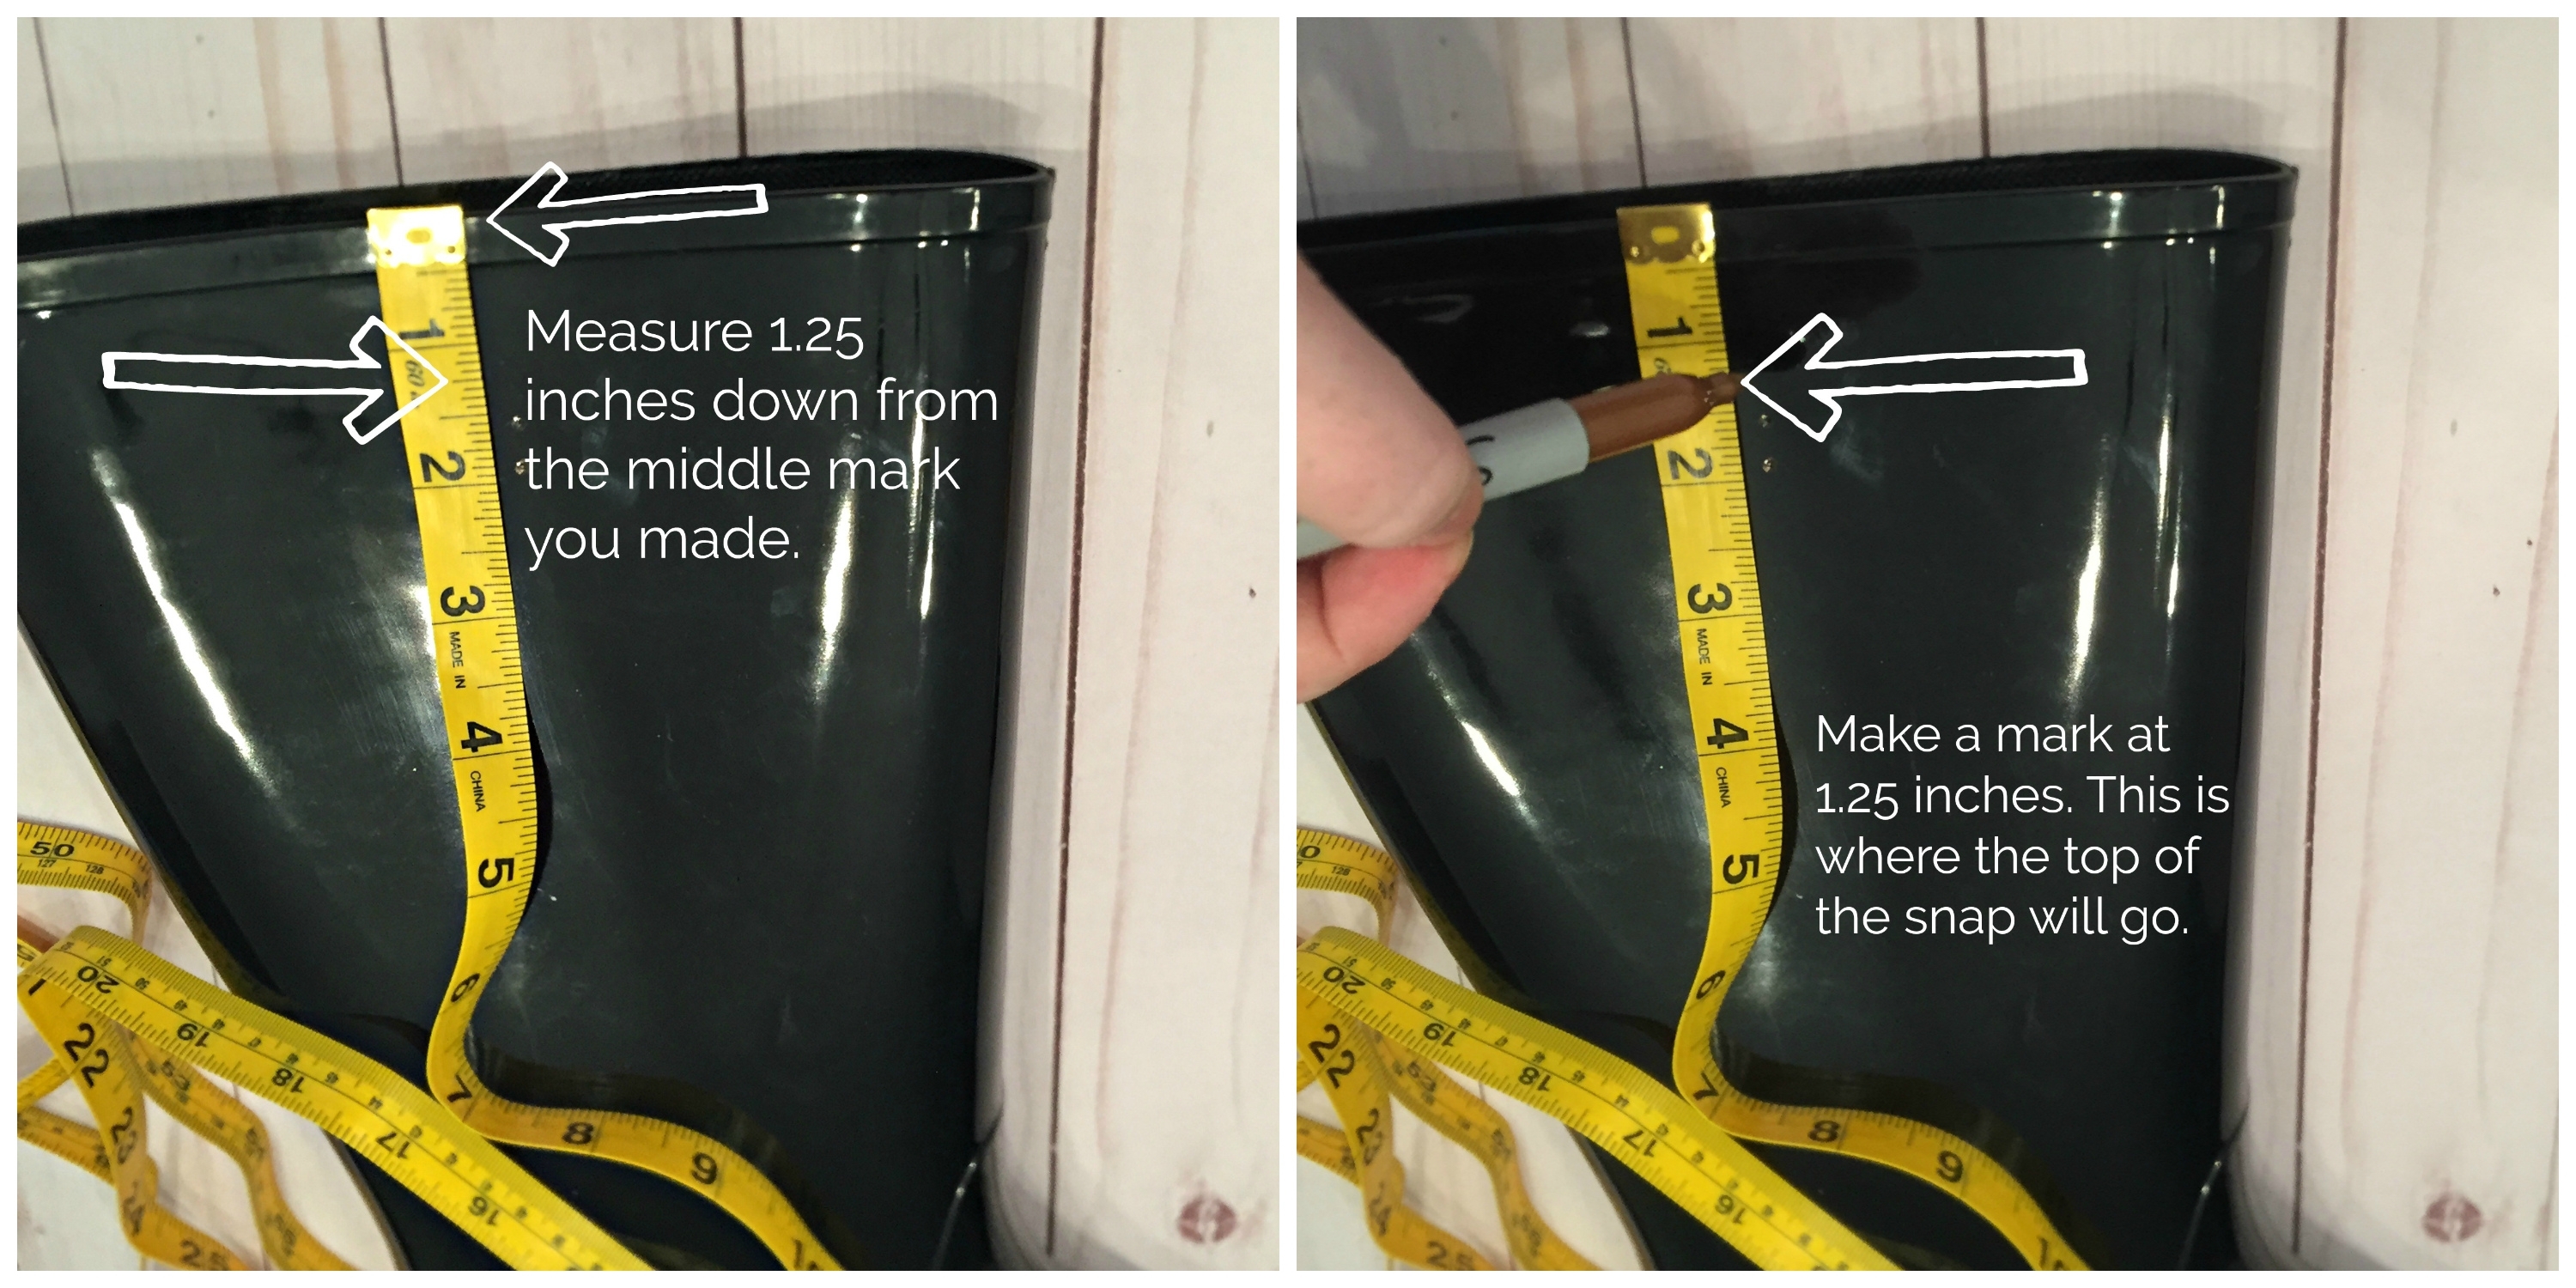
Now from your center mark, measure down 1.25 inches. This is where you will place the very top hole of your snap.

Place the snap (male side down) on the boot and mark all the holes where you will need to punch through with your awl to sew. Honestly, when I first made these 7 years ago I just used a needed to punch through. But trust me when I say that the awl is so much easier!!
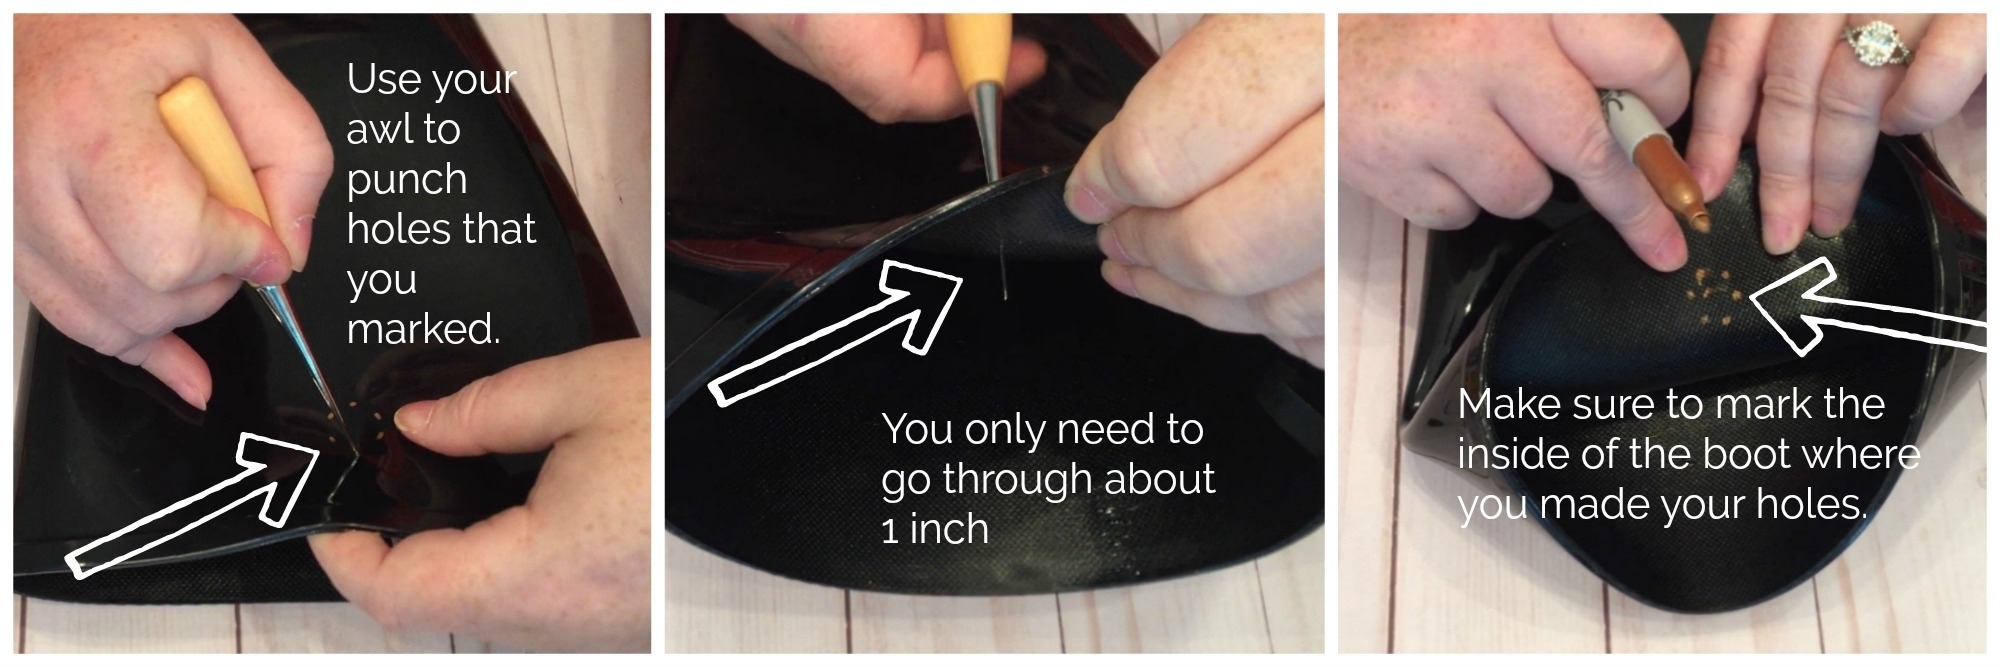
Punch through every mark with the awl. You only need to go in about an inch. Mark the inside of the boot with your sharpie. This is super important! This will make it easier for you when you are sewing.
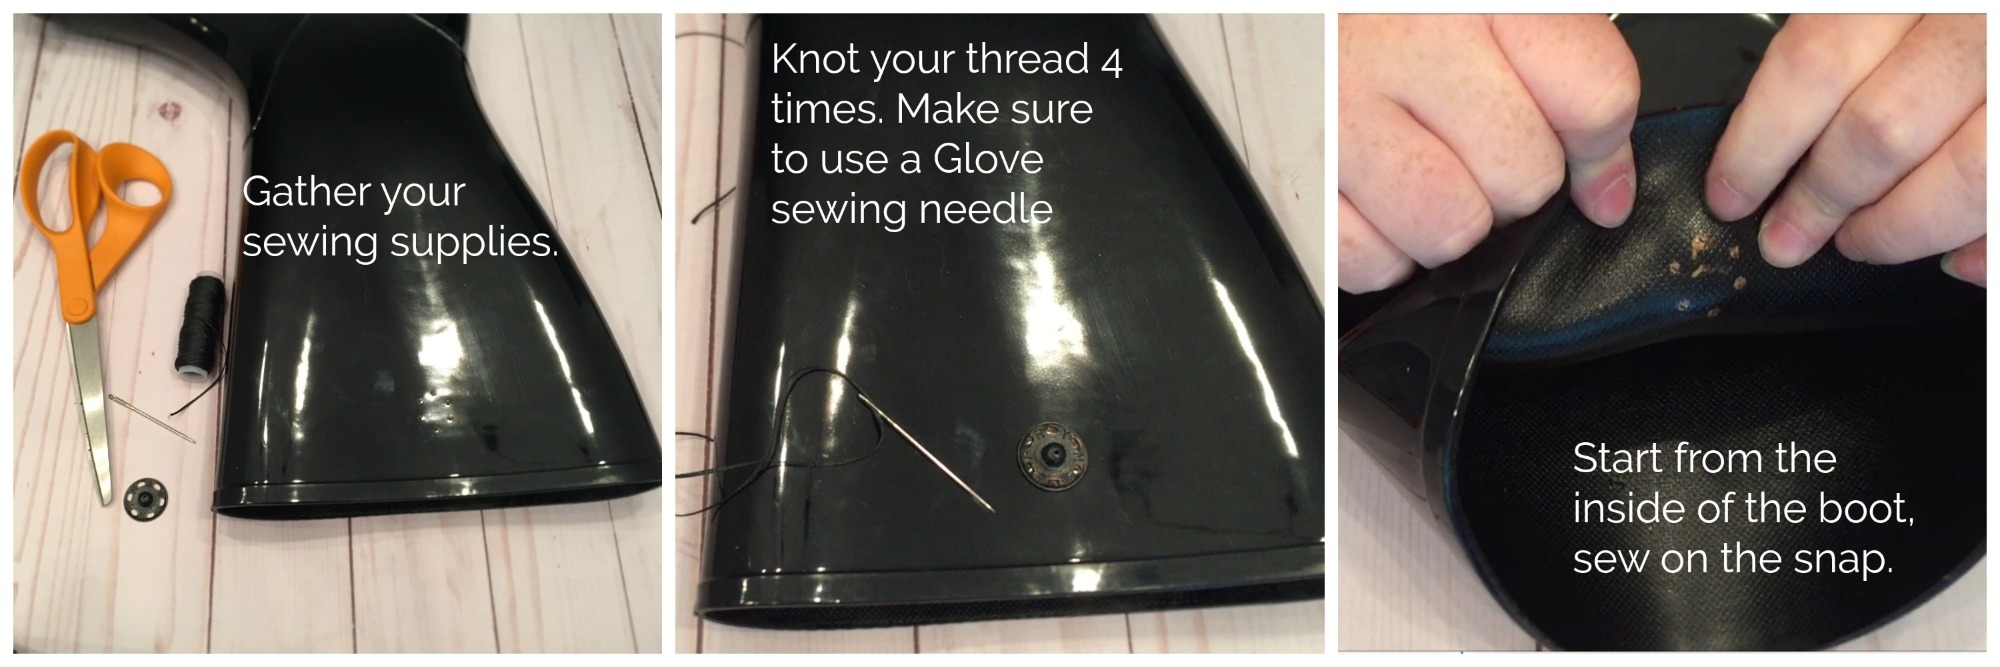
Thread your needle and start sewing from the inside of the boot out. That way the knot is inside and tucked out of sight.
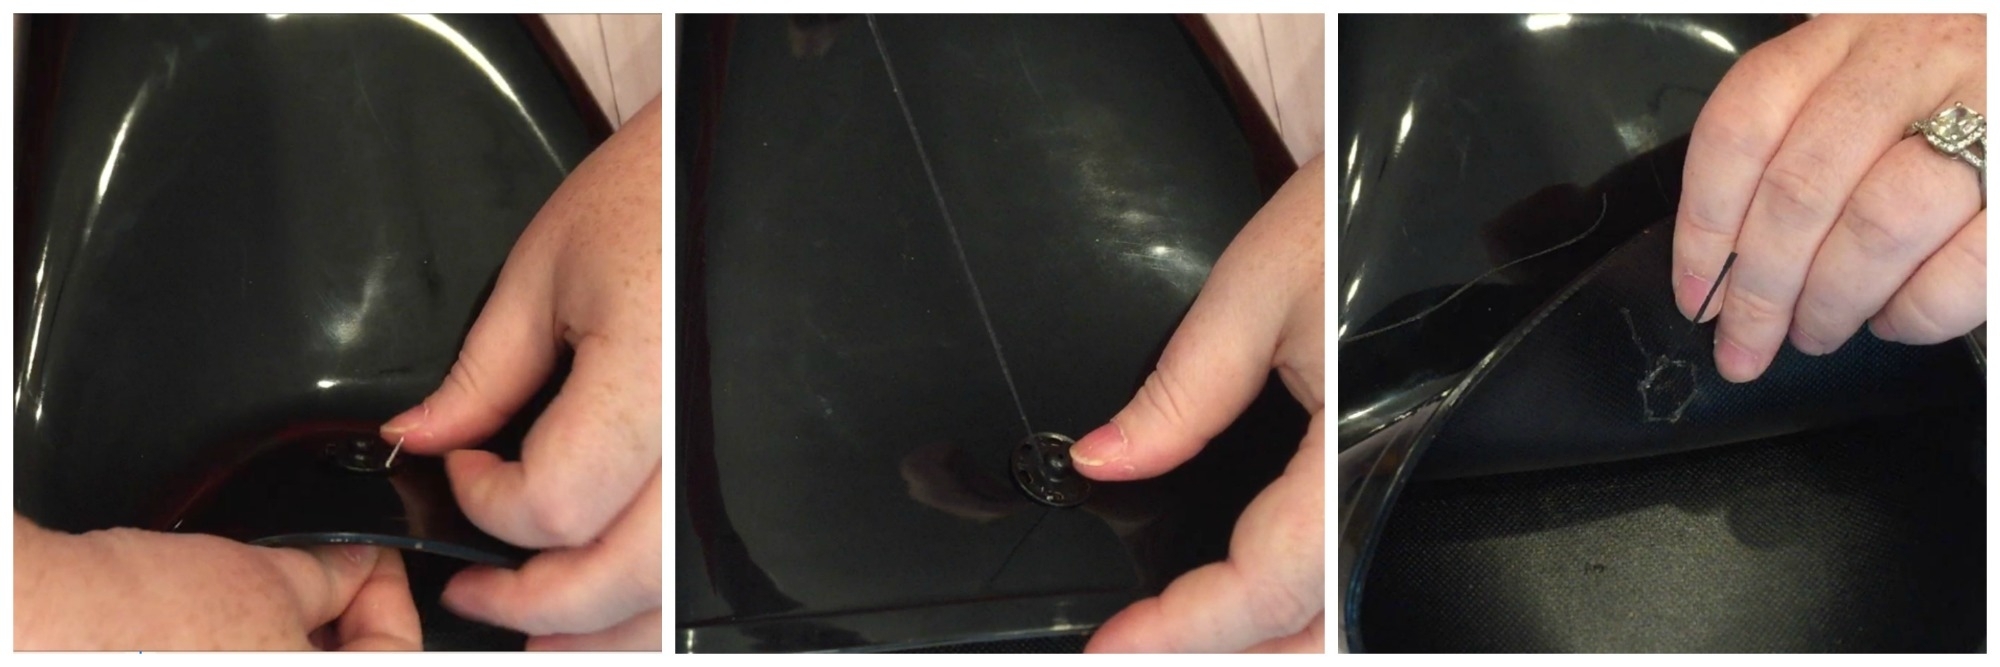
That’s it! Sew you “female” snaps onto your embellishments and you’re on your way.

PIN FOR LATER
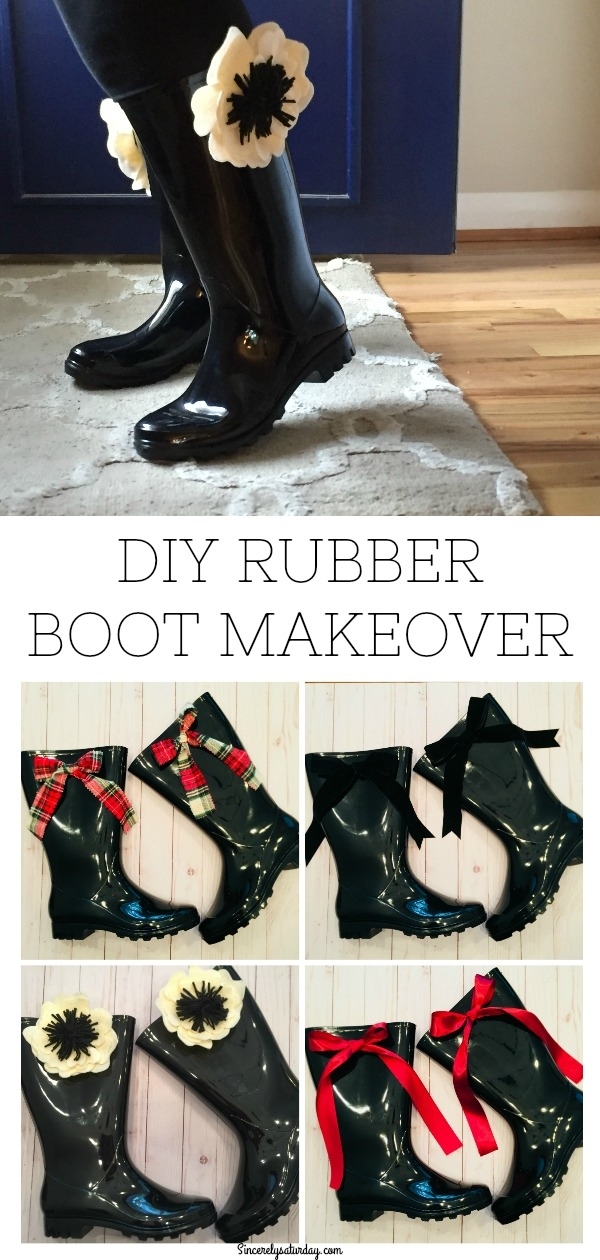
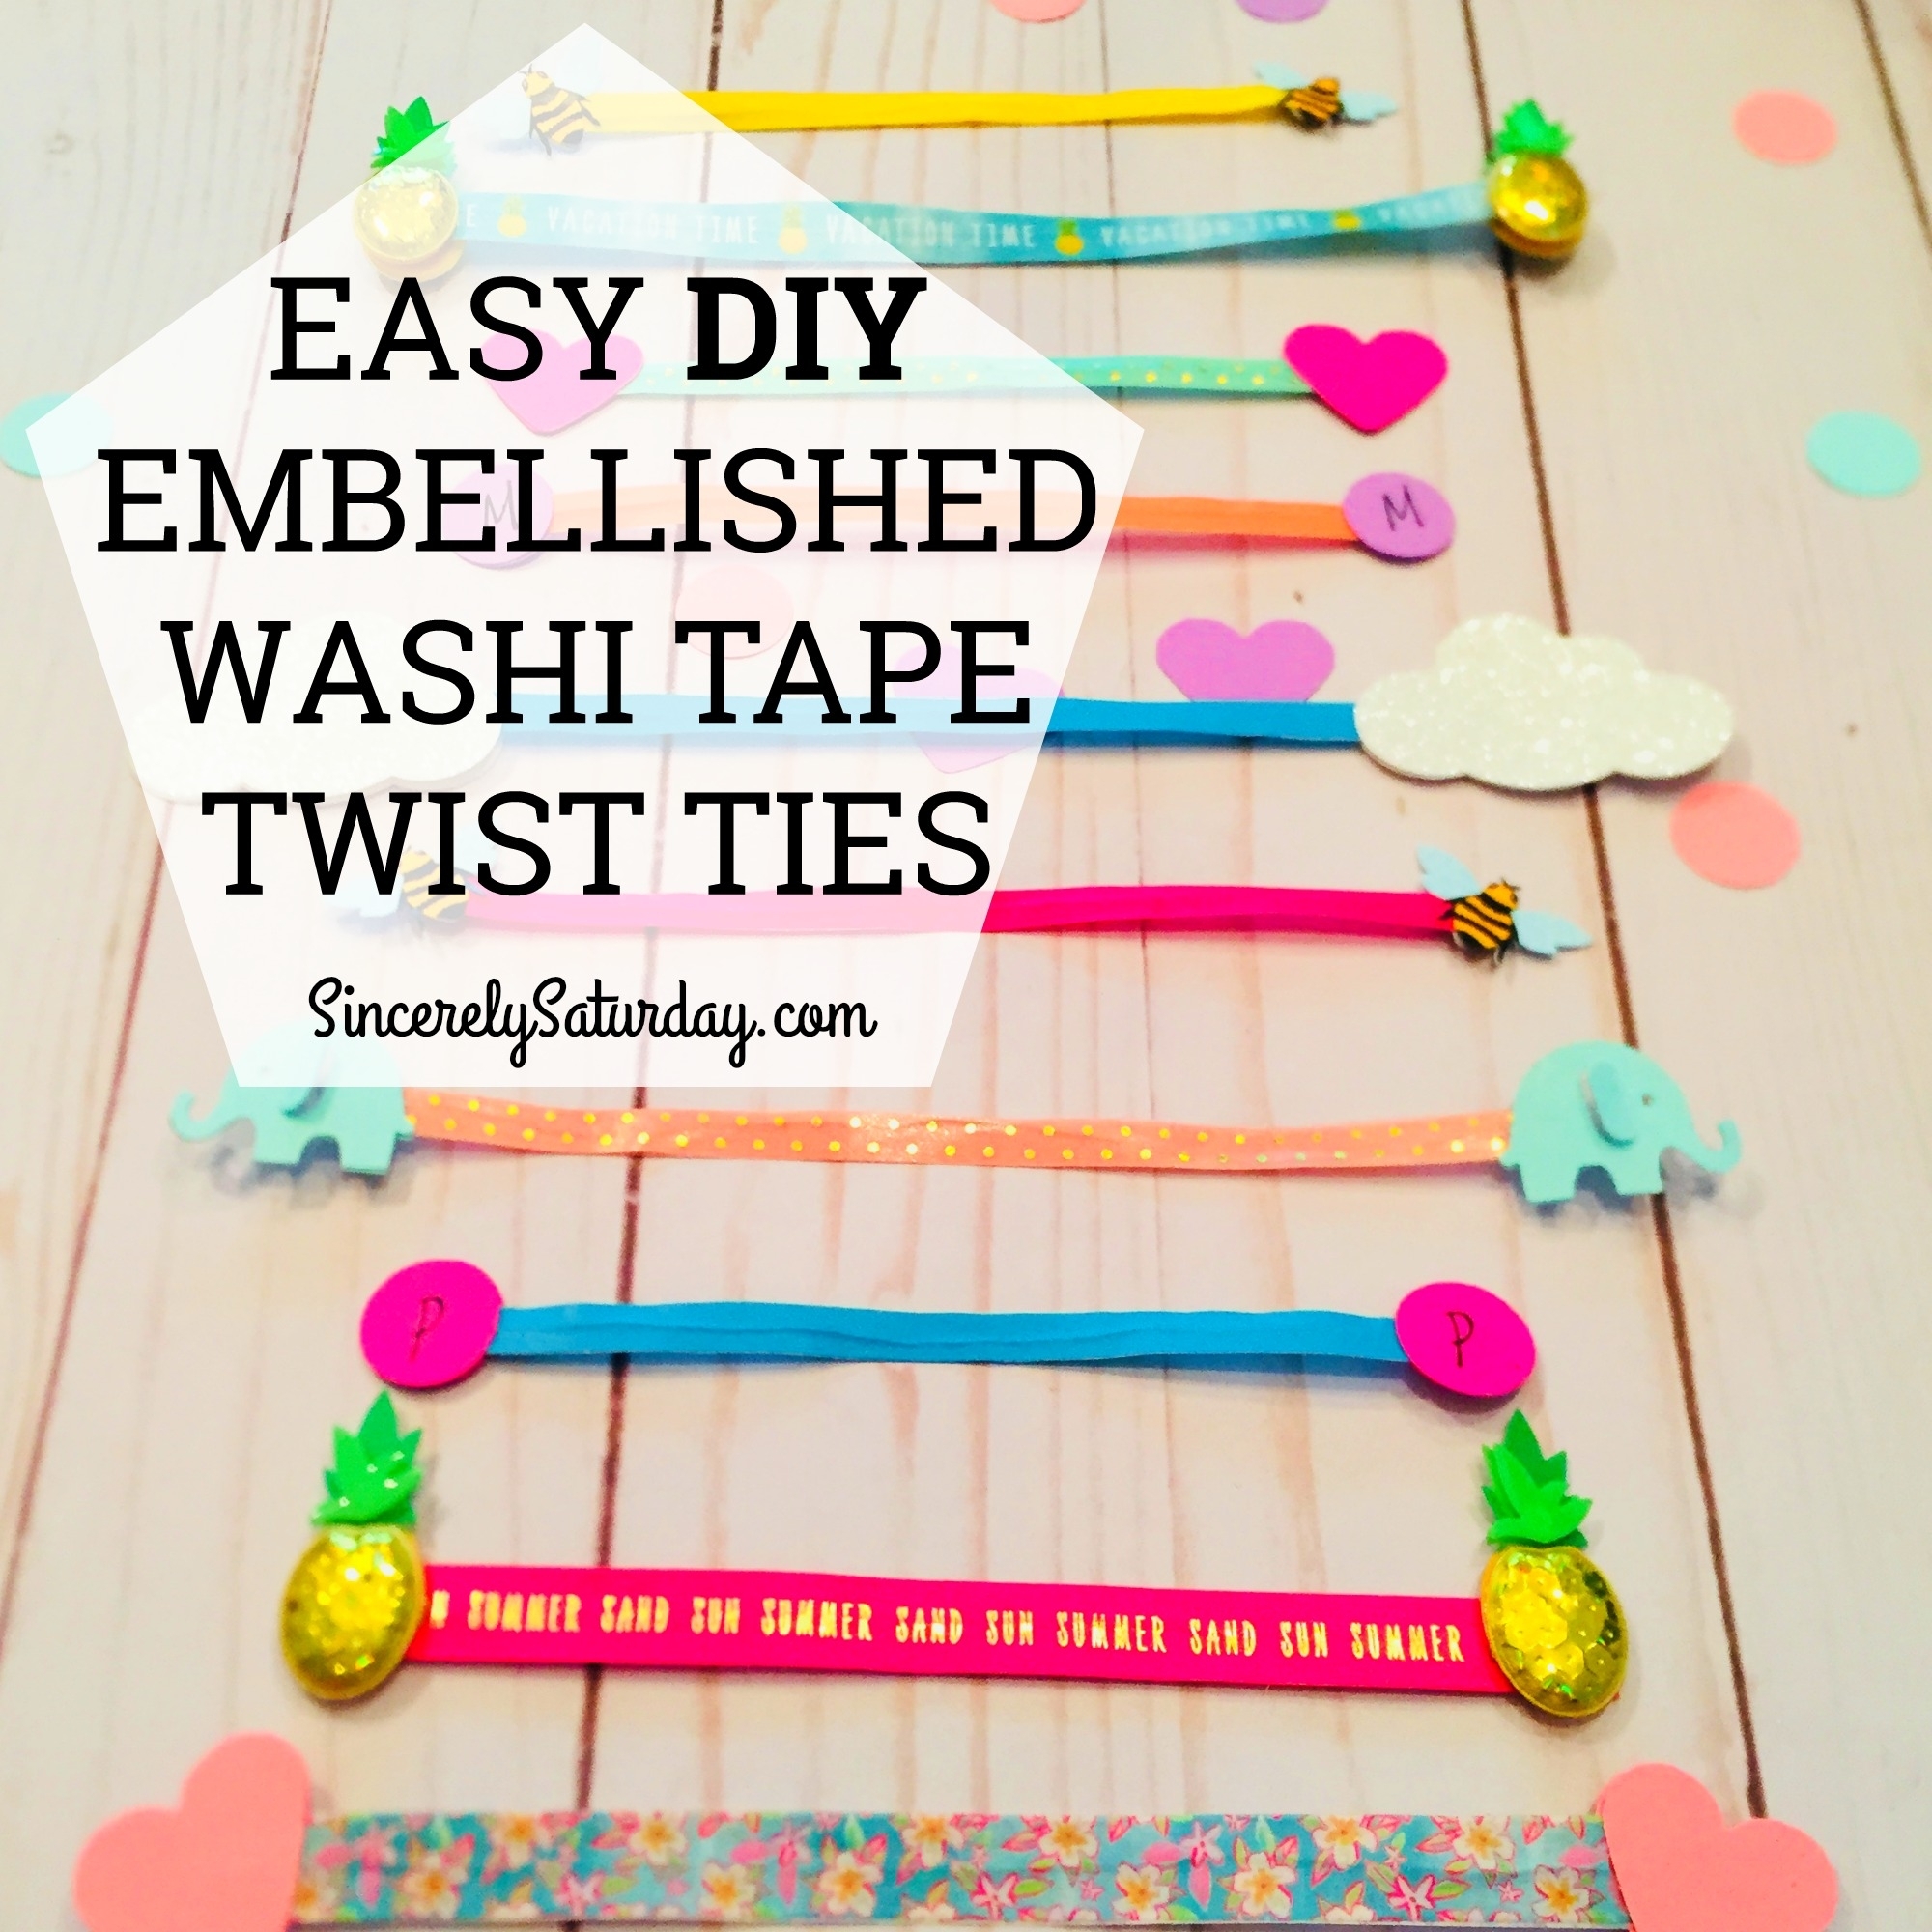
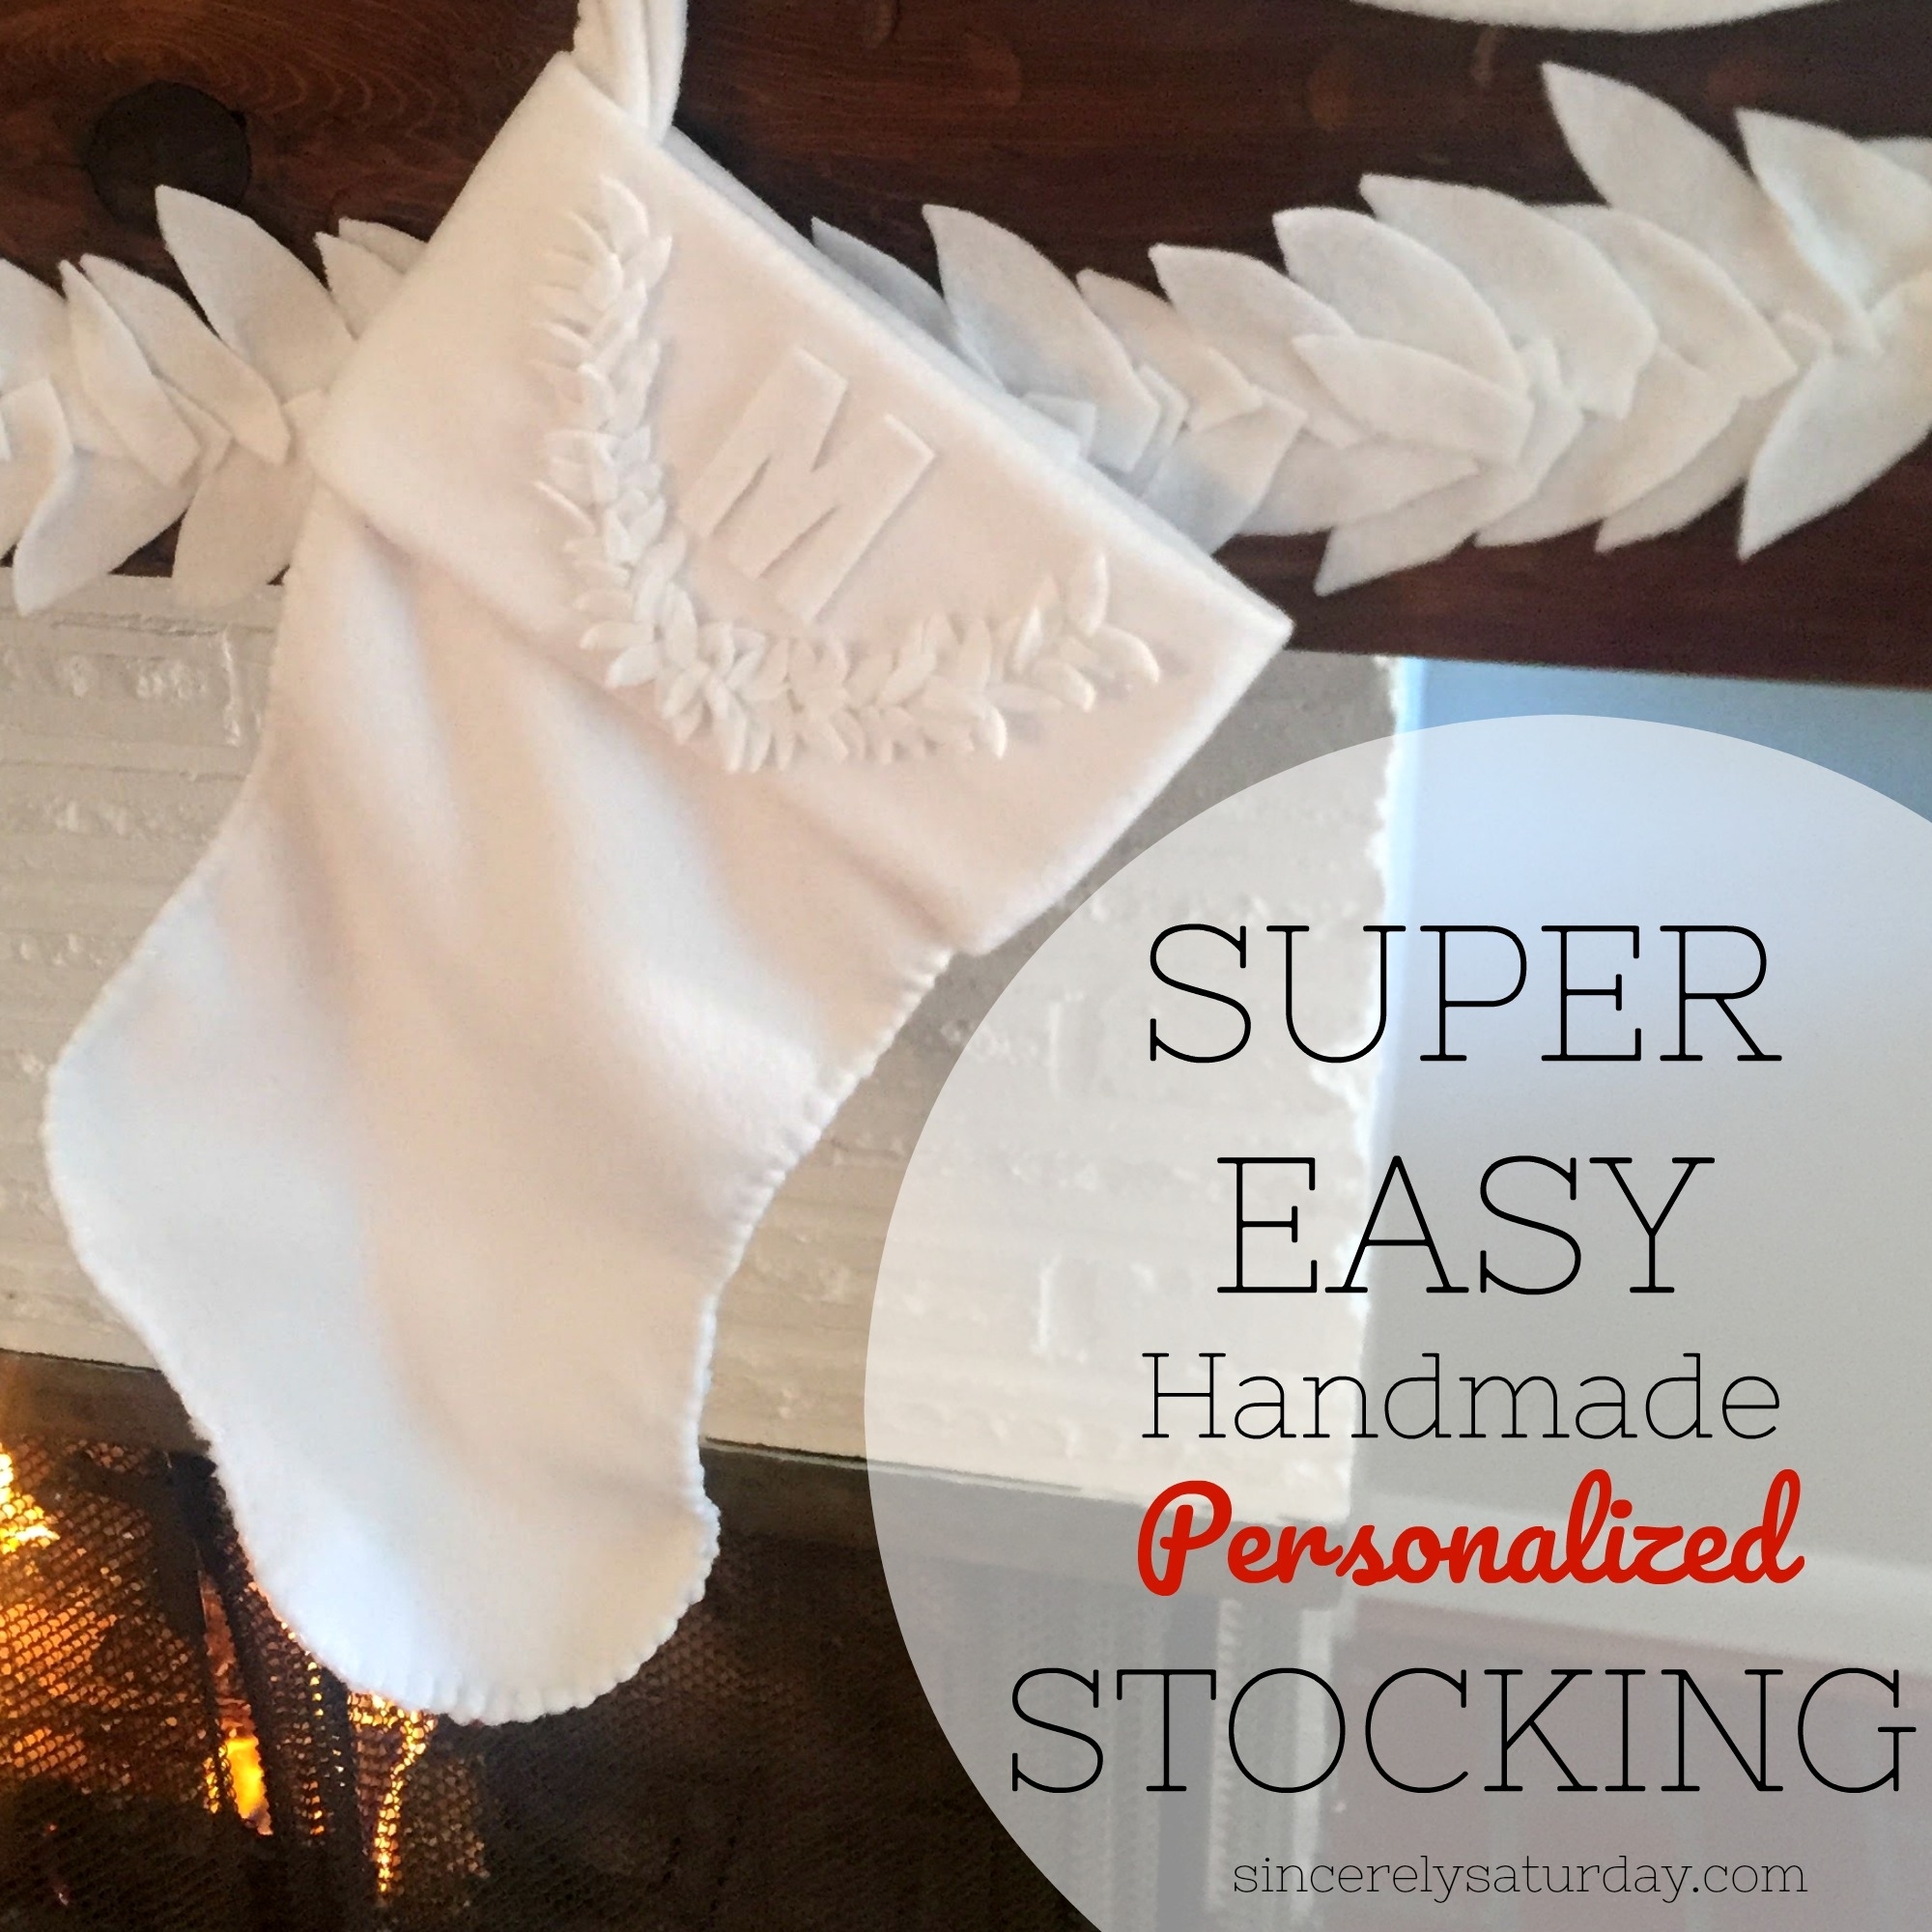
That is what I call “Boot Blossoms,” something for every season! I really hope you enjoy making and wearing these as much as I do! Looking for something else to embellish? Here are my DIY embellished twist ties and my DIY felt monogram stockings. Both are great DIYs that are cheap, easy, and fun to create.




Just in time for the rainy season – thanks!
Ann, you are truly the best!