Have you ever been Pin-spired? You know when you’re on Pinterest and find the solution to a problem, and eureka you’ve been Pin-spired. So maybe I made up the word (shoulder shrug)? But that’s what happened to me after finding this awesome pin and blog, Addicted 2 Decorating. There I found the post on how to make a DIY fireplace mantel. She had created exactly what I’d envisioned and had a great tutorial. I decided it was high time that my fireplace needed its very own DIY rustic fireplace mantel. Unfortunately for me, I have a unique fireplace from the ’50s. That meant I had to come up with my version to suit my “unique” fireplace.
This post contains affiliate links. All products have been independently chosen and tested by Sincerely Saturday. If you make a purchase from a link I may earn a small commission.
It’s fair to say that most people like the hand-hewn rustic old barn wood mantels. I LOVE them, but they don’t love me back (price-wise). Knowing that I could produce the same rustic look for a fraction of the cost; I asked my dad to come over and help me as we were eagerly awaiting the arrival of my new nephew and had a few hours to kill.

Arrived 20 minutes after we finished.
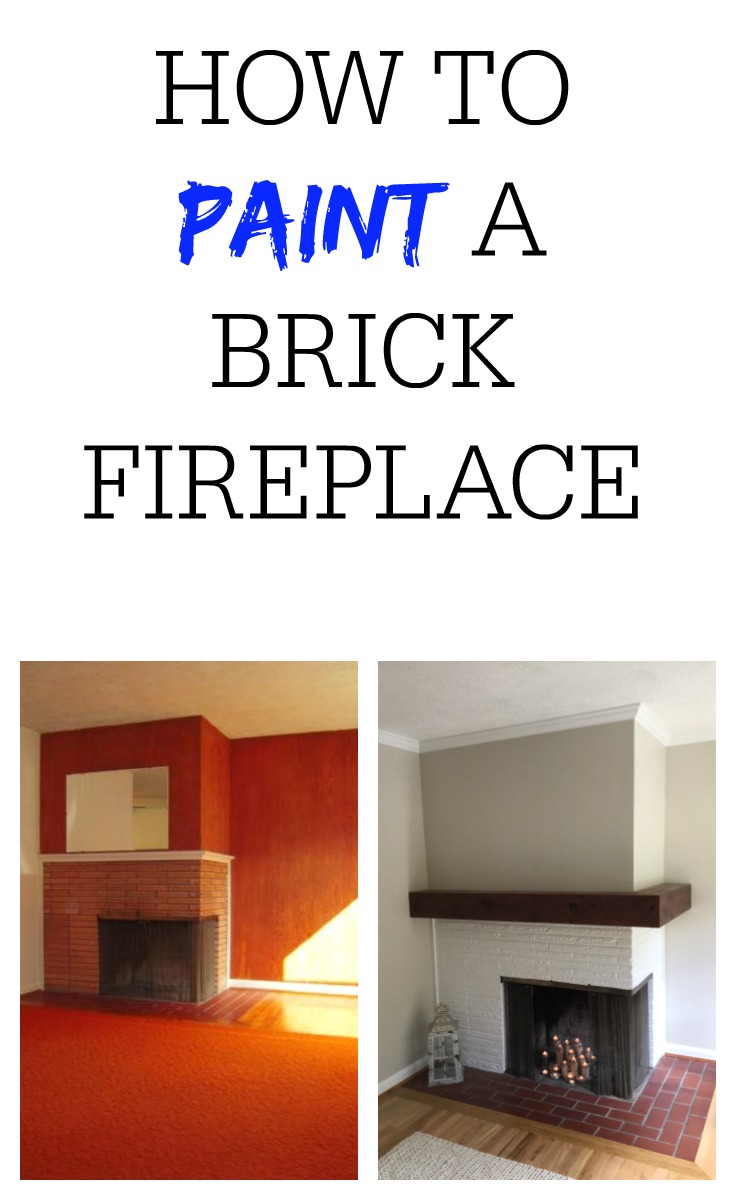
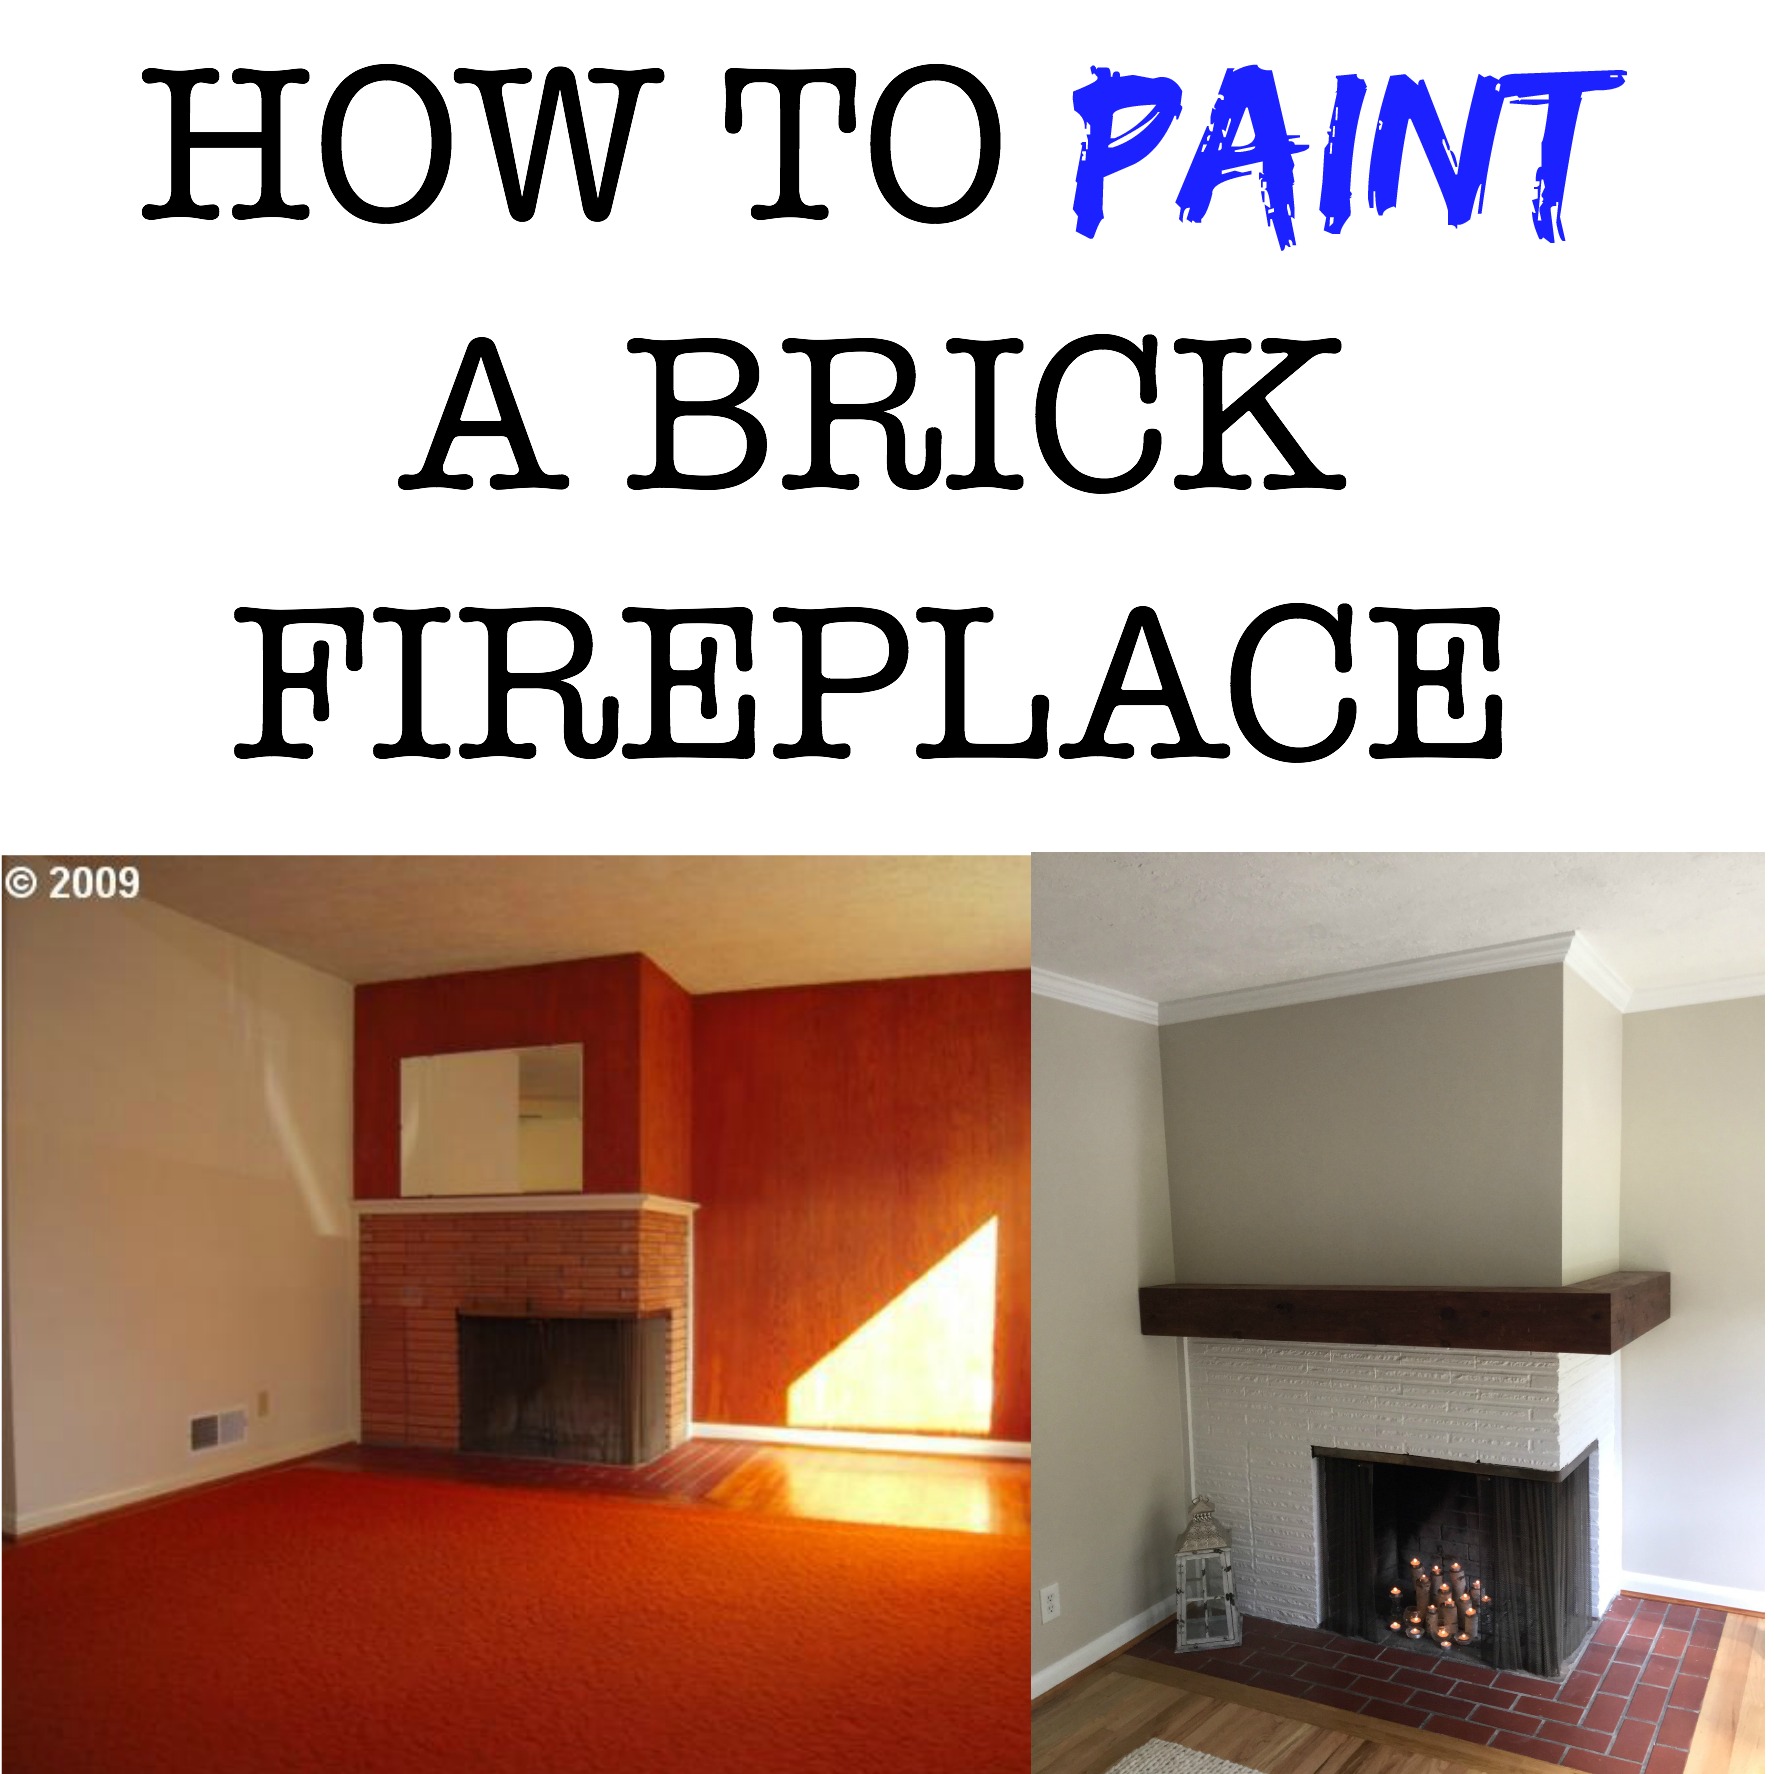
Previously I painted the brick on my fireplace. You can find the directions on how to paint your fireplace here.
Tools I used to build my rustic DIY mantel.
Drill with drill bits
Miter saw (I had to make mitered cuts)
Nail gun with the compressor with 1 1/4 inch nails
Level– I used my 24″ level
Pencil
Pocket Hole Jig (if you’re lucky)
What kind of wood should you use to build the mantel?
When it comes to purchasing wood, I always try to buy local. I bought all my wood from a local woodshop called Mr. Plywood. How very Portlandia of me. After spending a lot of time browsing, I decided to use cedar fencing…Yup, good old fencing.
I chose it for a few reasons: cost and overall rustic look. When selecting the wood, pay very close attention to the overall straightness of it. If you want it to fit tight against the wall, then it needs to be straight! Here is an excellent article on how to pick good lumber. I wanted it to look like a barn beam with lots of knots and gnarls.
The total cost for the wood fencing was about $10.00 for eight pieces. You will need a 2×4 for a ledger board, and stringer supports.
How I built my rustic mantel.
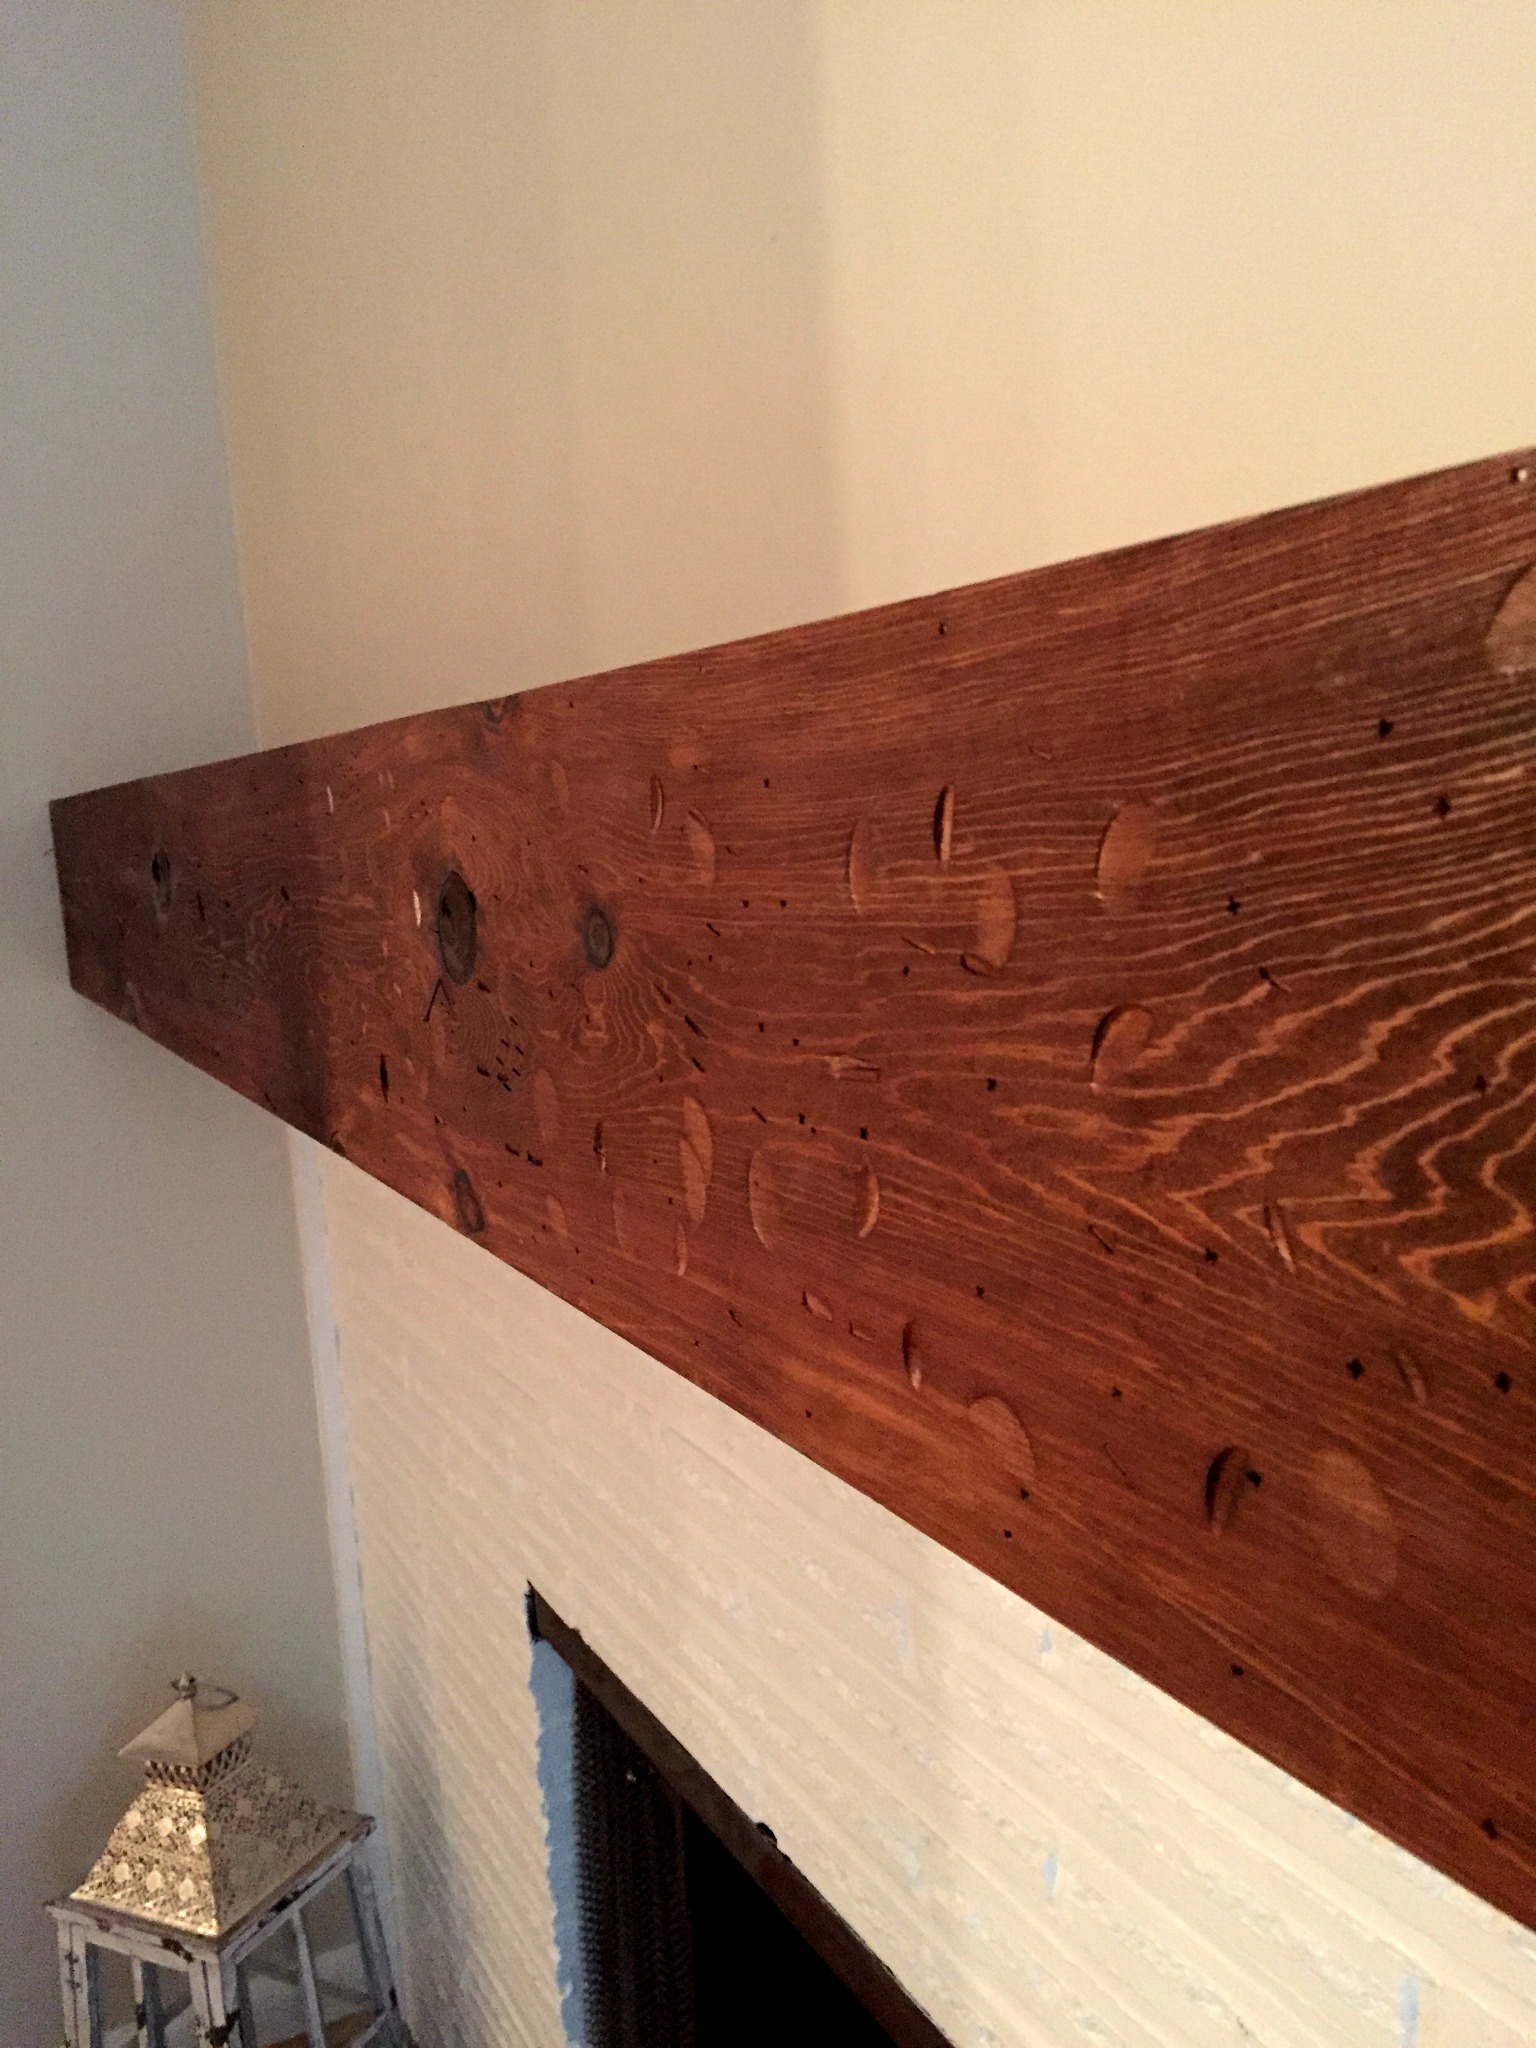
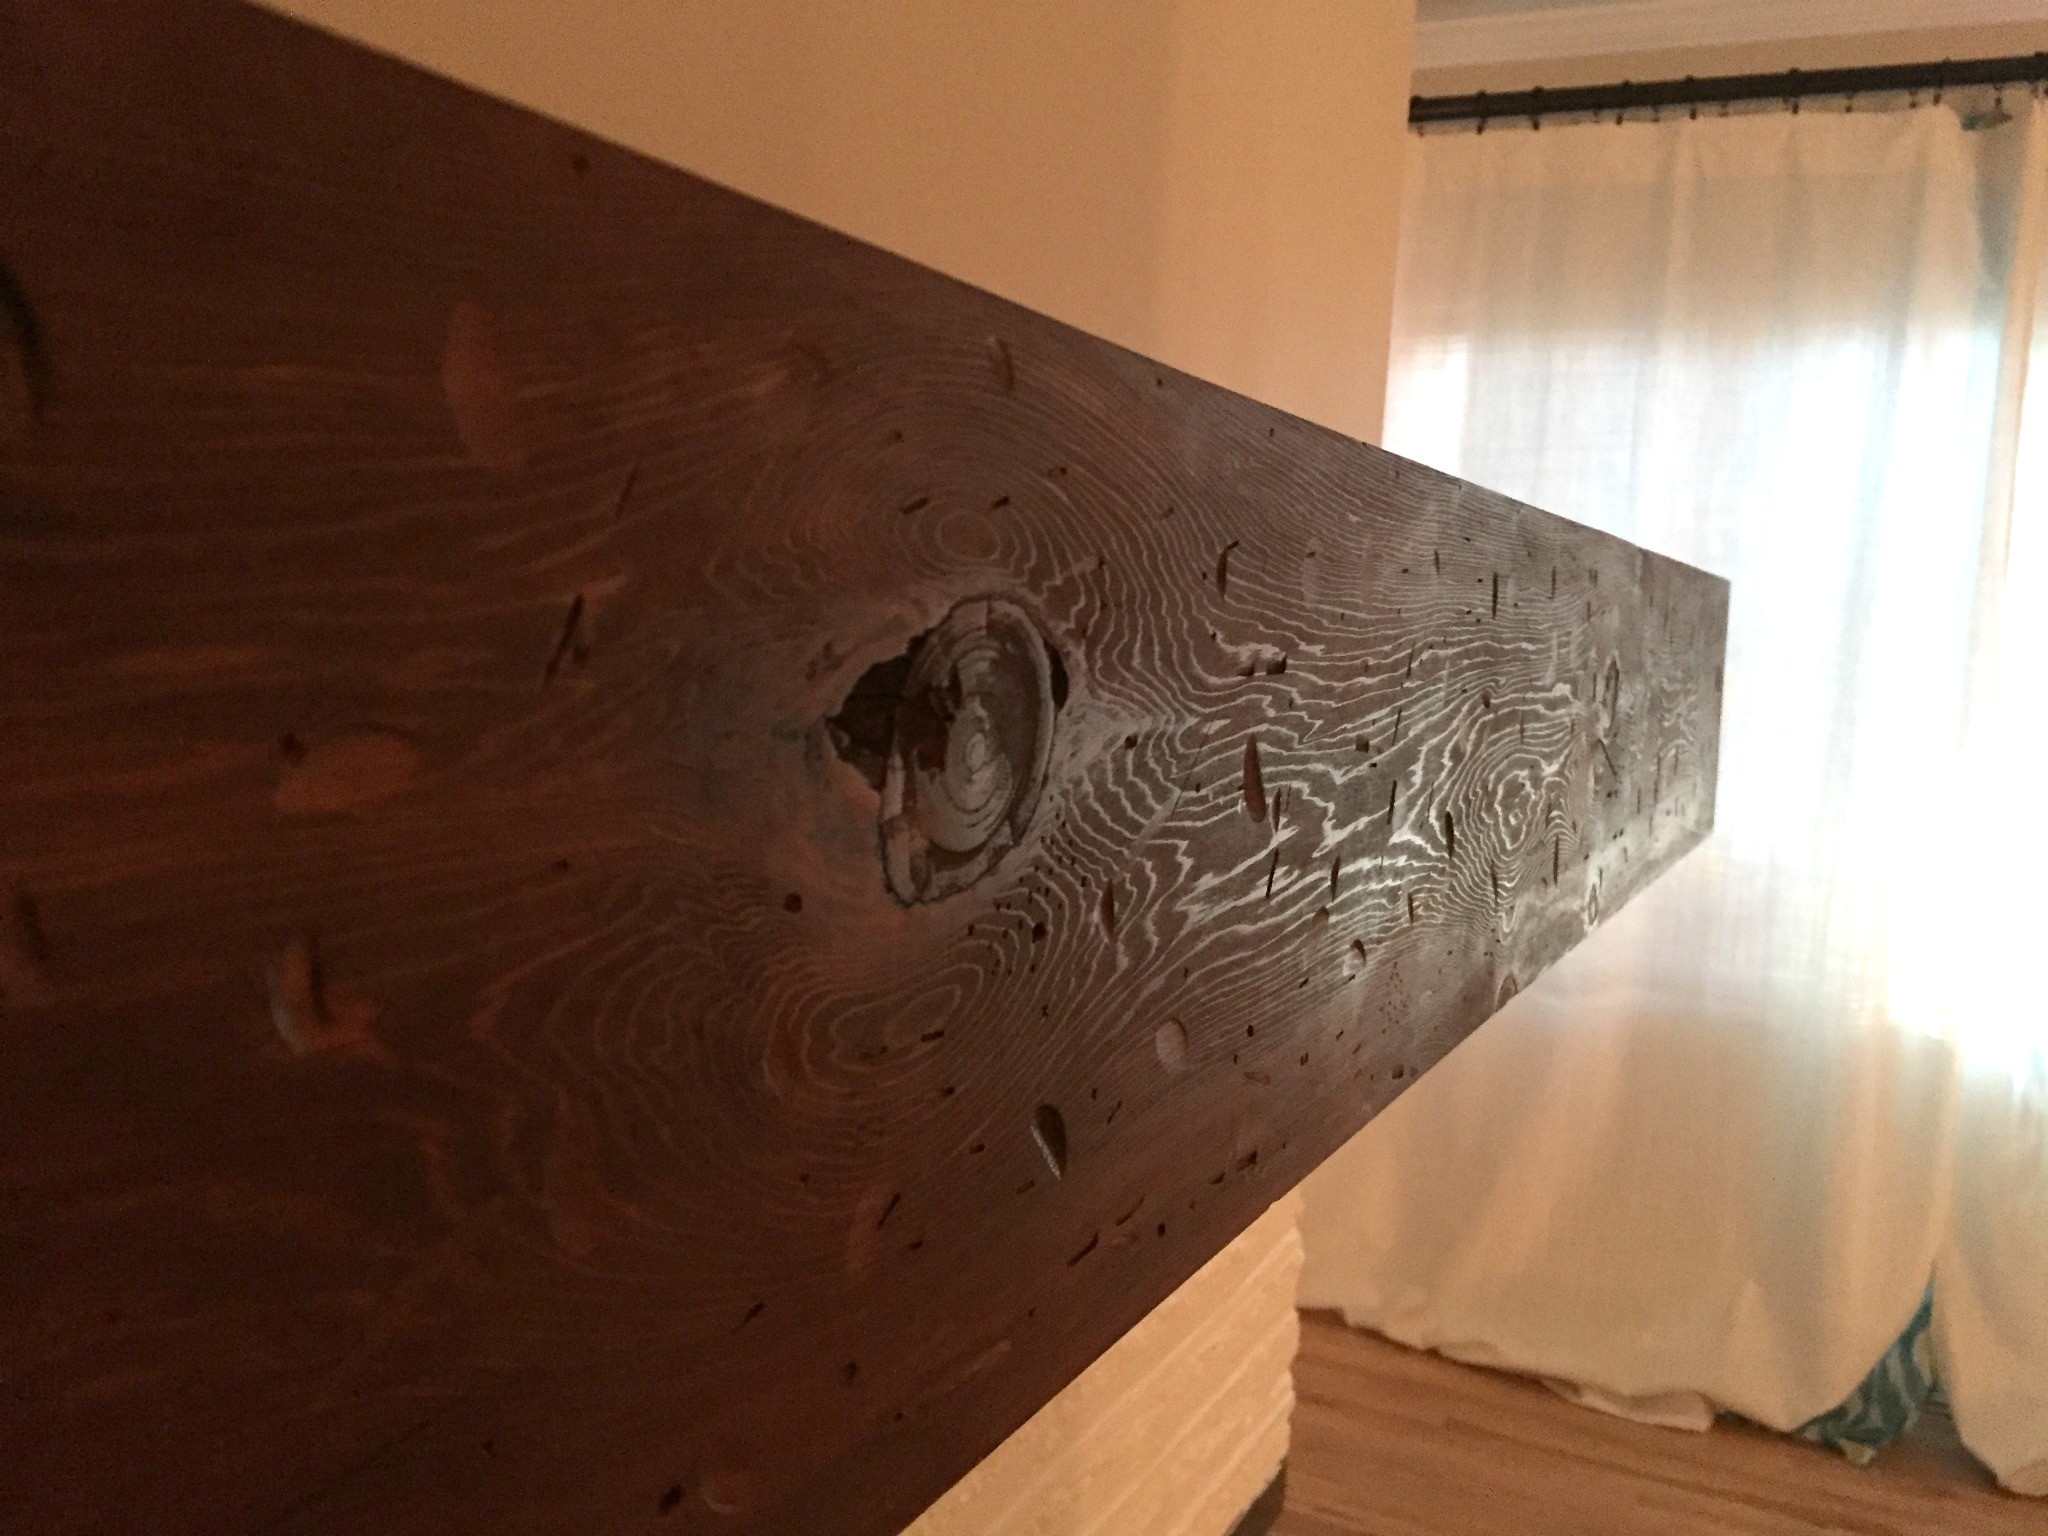
To start this project, I first sanded the boards thoroughly, using 150 grit then 220 grit sandpaper for a smooth finish. Then the fun part. I dinged, gouged and dented one side of 6 boards to make it look like barn wood.
When it came to choosing the front-facing board, I wanted the piece with the most “character,” it has large knots and gnarls. After beating up my wood. LOL.
I made sure that everything was still very smooth and applied one coat of Minwax Jacobean 2750. I allowed it to dry and then sanded the wood with 220 grit sandpaper and wiped it clean before applying my final layer of the Minwax Jacobean 2750.
While waiting for the stain to dry, I marked off where the studs were above my fireplace with a stud finder and pencil. This is where I was going to hang the 2×4 ledger board that would be the support for the mantel.
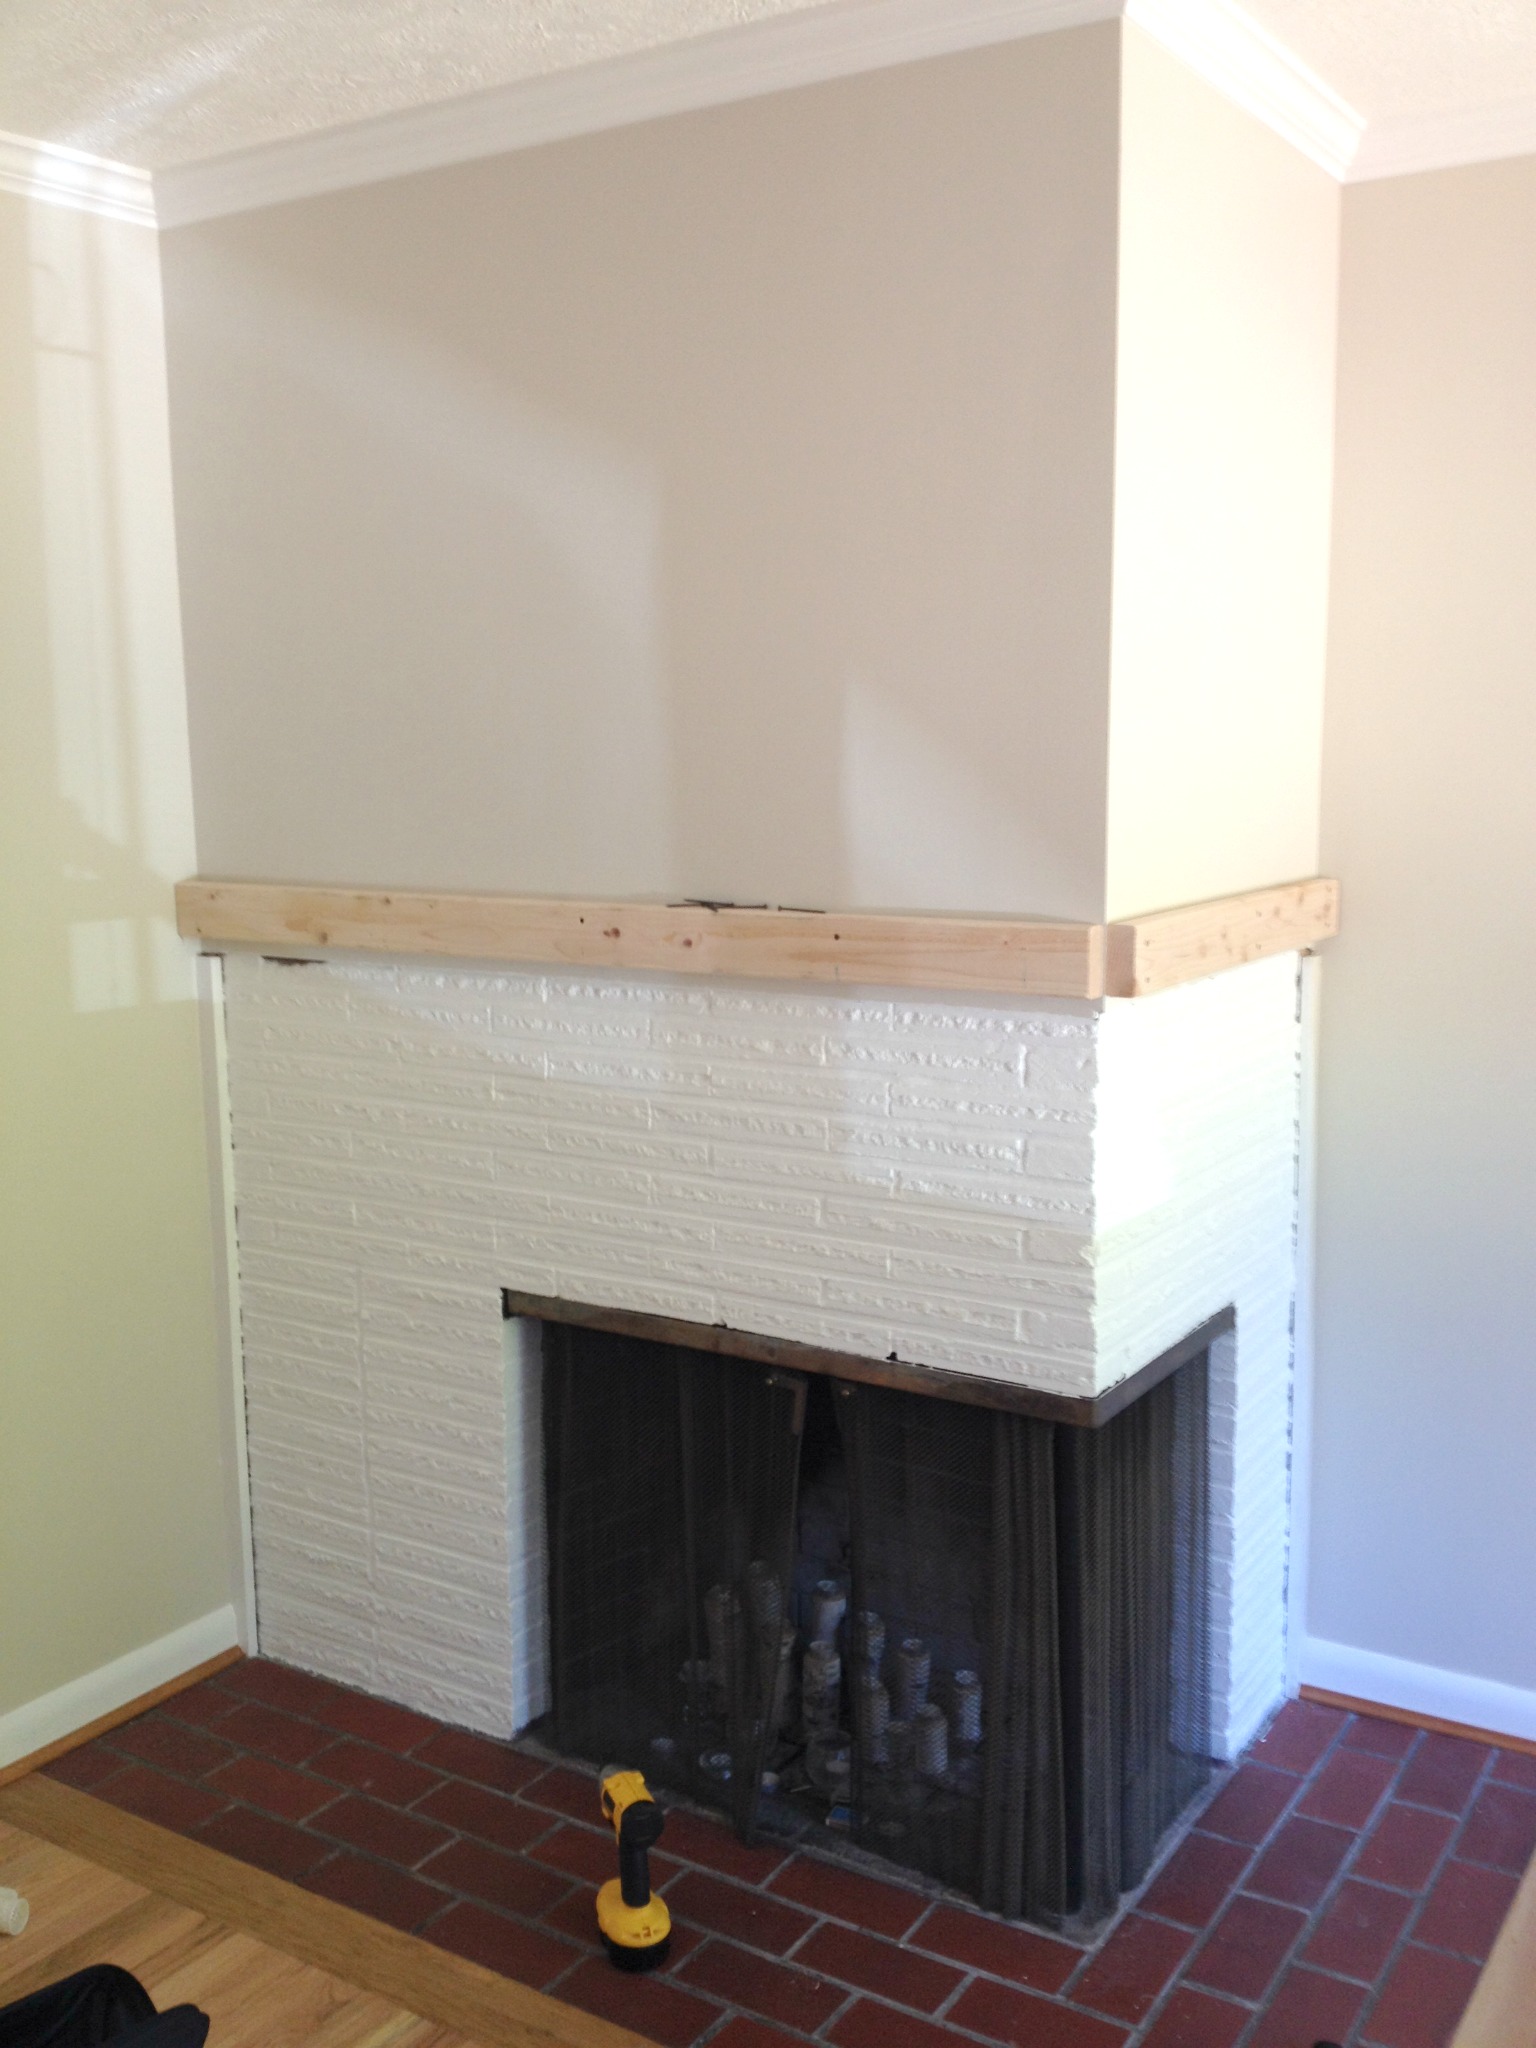
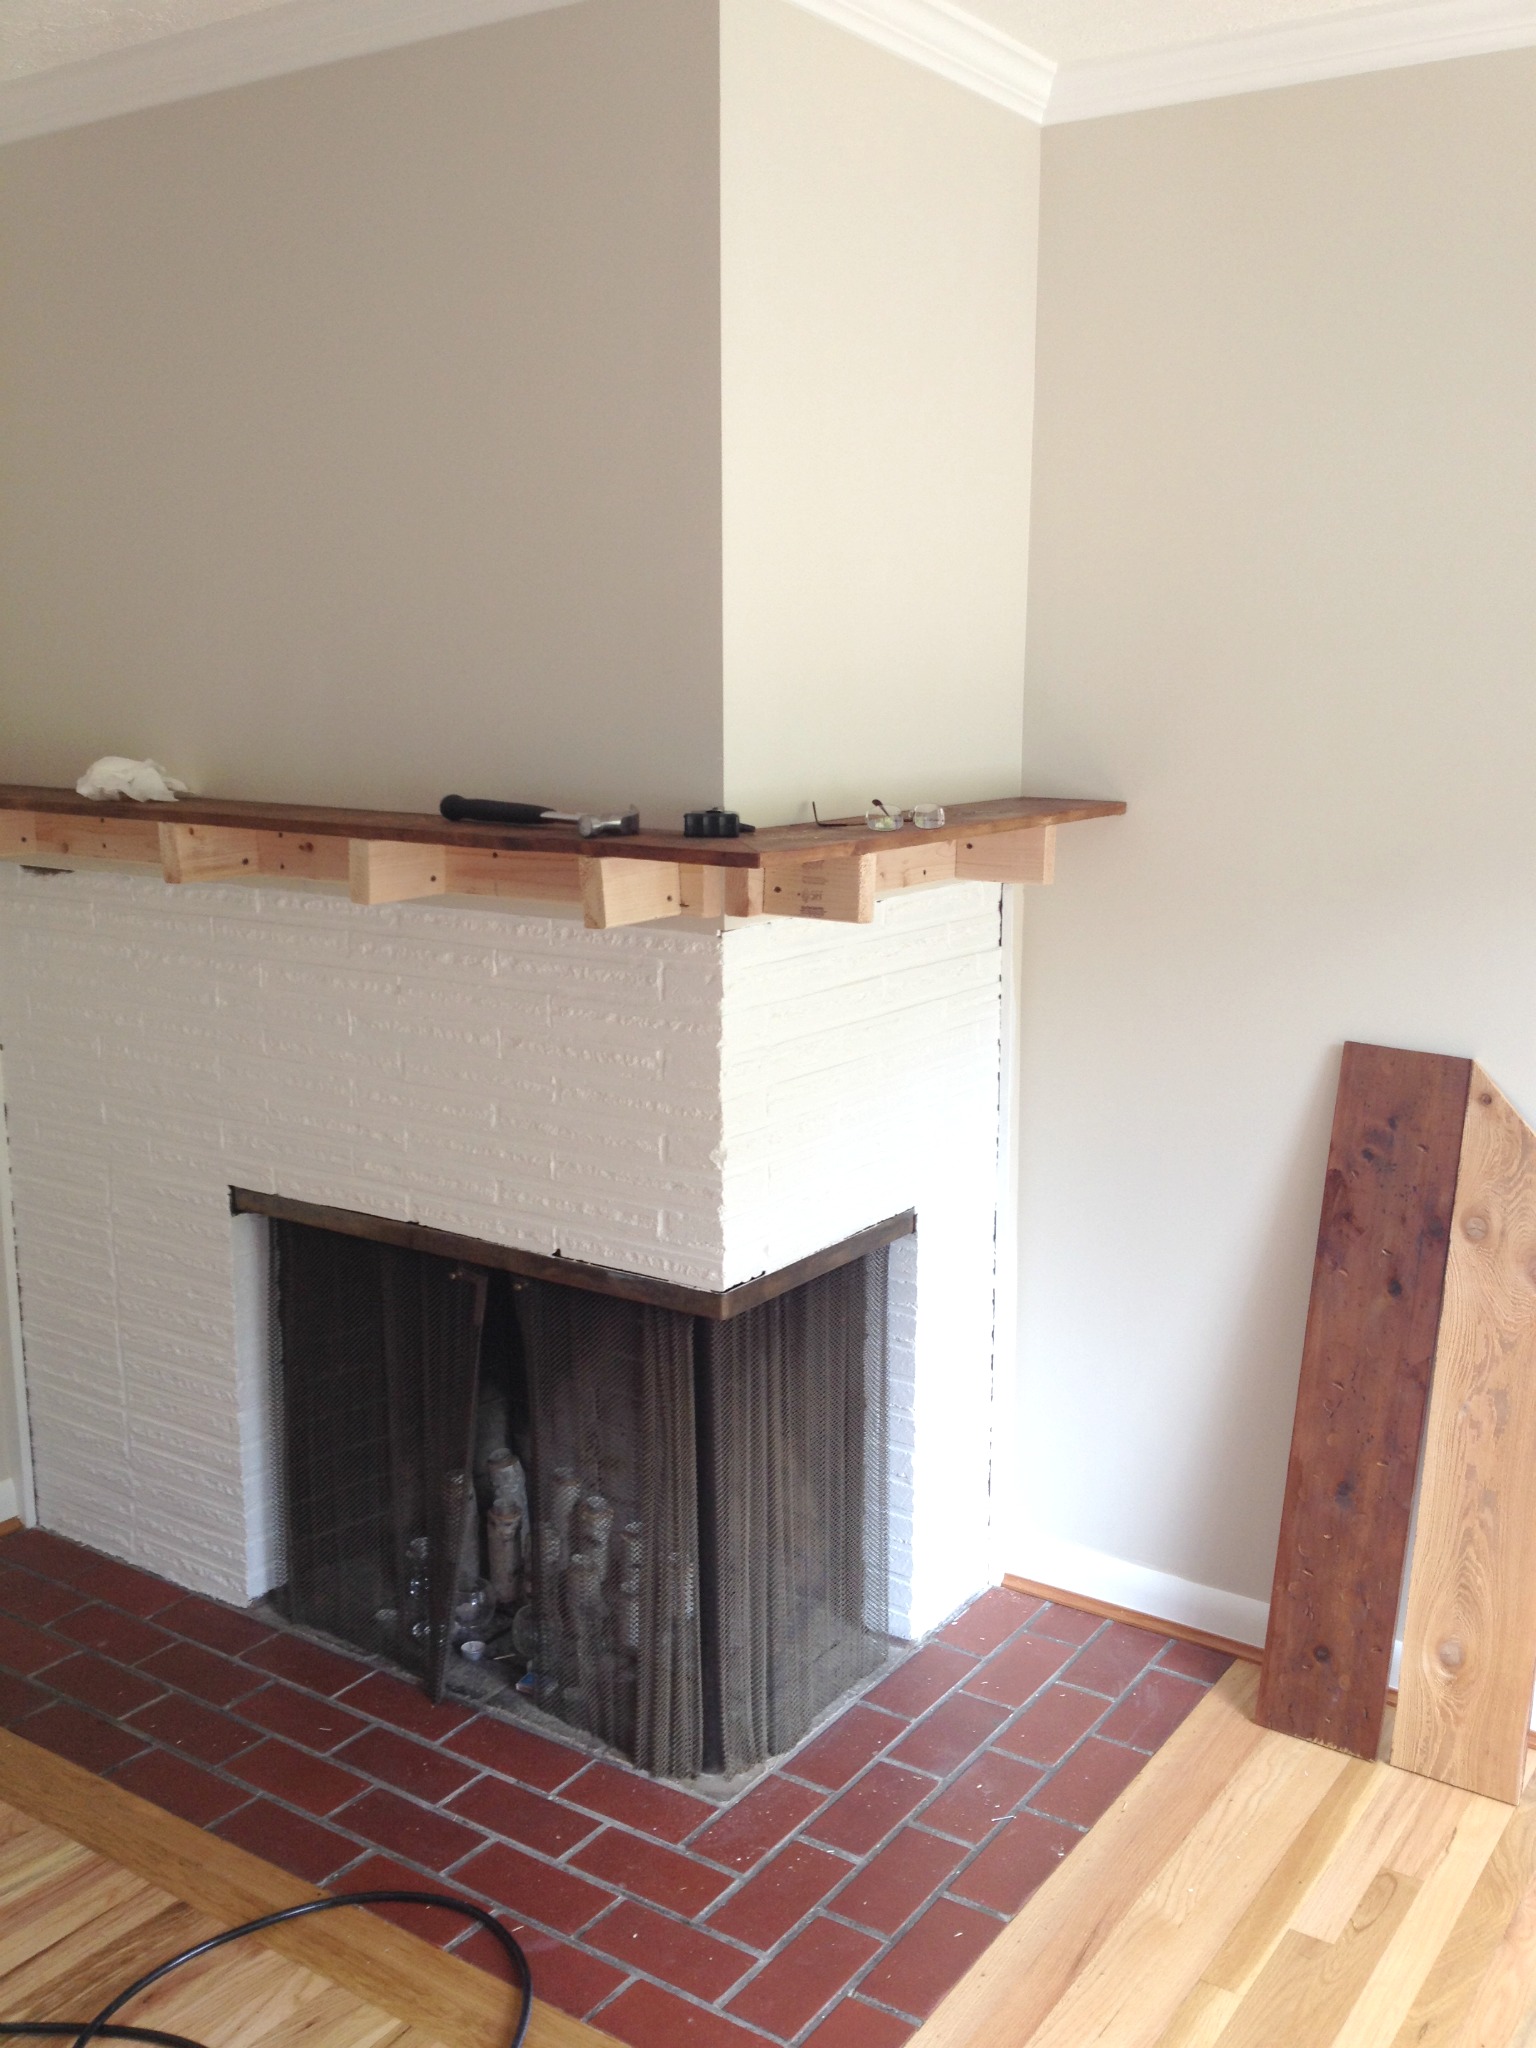
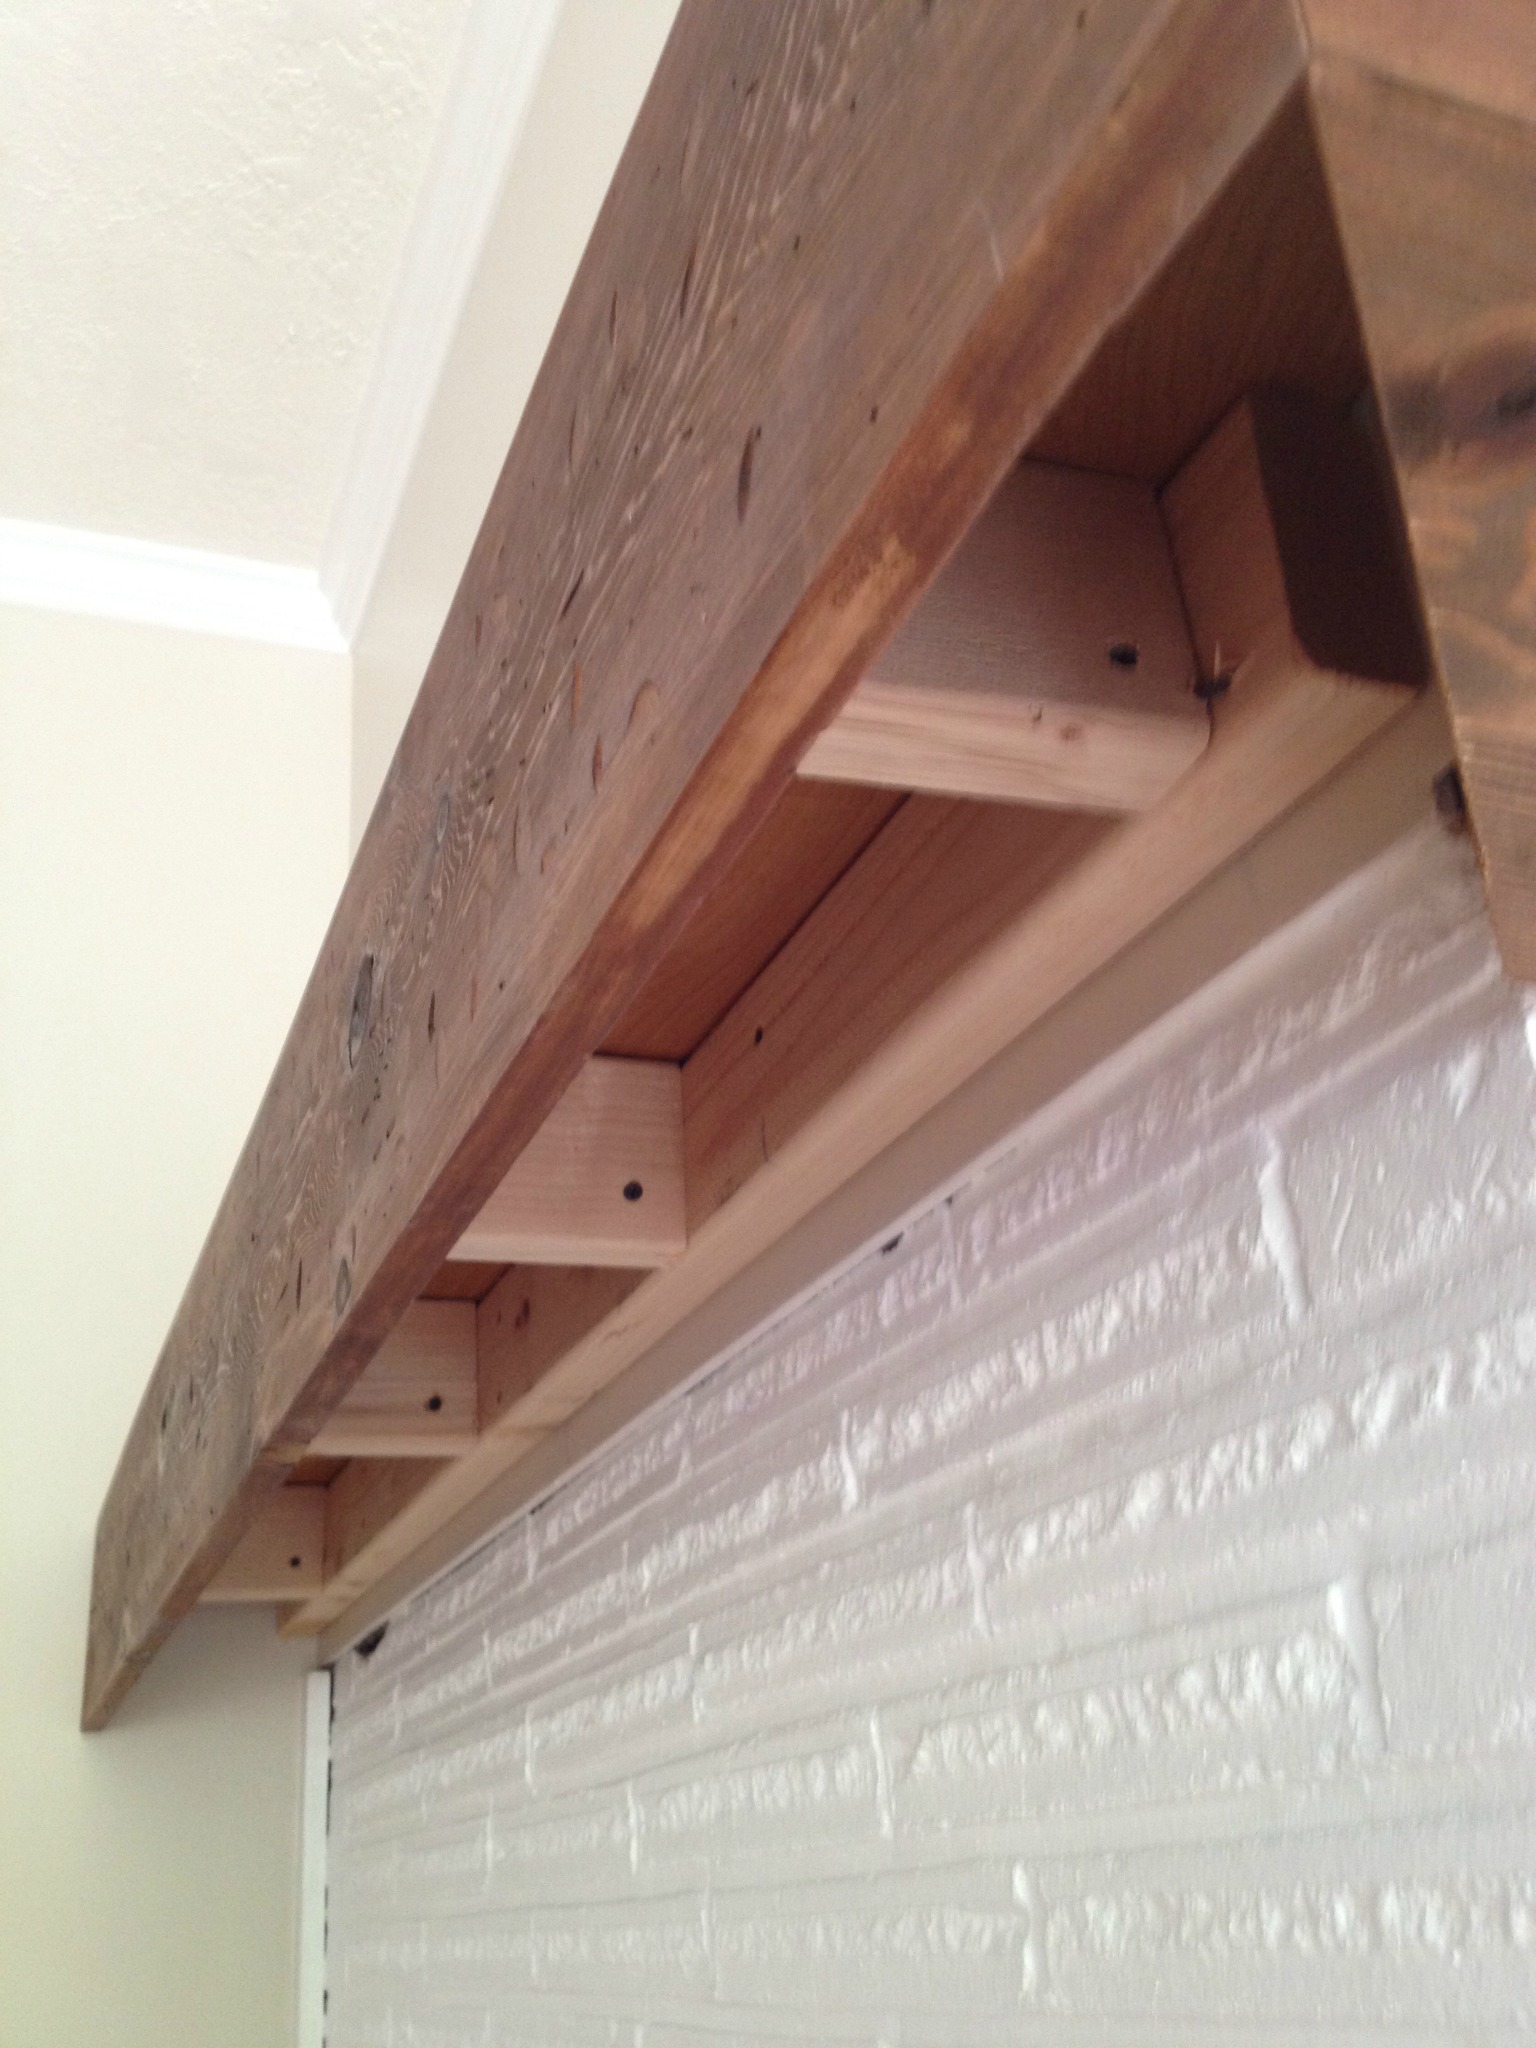
Once I found the studs I screwed in the ledger board using 3″ wood screws and then attached the supports in place. I made a mistake in not screwing the supports on the ledger board before putting it up. Hindsight…
***Next time I’m getting a Pocket hole Jig to make the holes for the shorter support boards it would have made for a faster job. Because I didn’t have a jig I drilled pilot holes and then screwed the pieces together.***
Assembling the mantel was a bit of a challenge. My dad and I decided it would be best to attach the boards one by one so we could ensure that everything was level. This worked very well for us, but I wish we could have assembled it all and then mounted it.
I am NOT a Woodworker/Carpenter! I say that because I know that there are better, more efficient ways of doing this. I’m a DIY’er and nothing more.
To secure all the board’s together, we used a 1 1/4″ nails spaced 4 inches apart. Each board was nailed in individually with a nail gun, as shown in the pictures above. I did not use screws to secure the boards. I wanted to be able to use a nail set and cover the nail holes with putty, to make this mantle look like it was made from one piece of wood. 
NOTE: Everyone’s fireplaces are going to be different lengths and dimensions; therefore, I am not going to provide the exact measurements for my fireplace mantel. Also, you may not have studs to screw into, so you will have to find another way to attach your mantel.
Now Santa finally has a place to put all that coal. LOL! Leave me a comment if you have any questions or want to say hi!
CHEERS!







Looks great!
Thank you so much! Im so happy you checked out my blog. Hope you’ll enjoy all the goodies I have in store for the next couple months.
I must say, that is a very nice looking fireplace. I really like what you did with the mantle along with painting the brick white. It looks very clean and modern. Great job.
Thanks for posting
Oh my, thank you. I really appreciate you liking my DIY. Also thanks for taking the time to comment. If You would like to subscribe I have some good Diy’s on the way.
What color and brand is your wall paint? It looks like Behr Wheat Bread?
Hi Rachel. For the life of me I can’t remember the exact name of the paint. I know that it’s the Behr brand and I had a swatch with three coordinating colors on it. I believe one of the names had sandstone in it? When I get back home I’ll find it for you and let you know.
Cool combination !!!
The fireplace gives a nice,warm and cozy feel.
Santa will definitely feel better this time. 🙂
Thanks Alex! Have a happy cozy holiday season.
Hi Melissa.
Great looking mantel!
How has it been in the long run? Do you have fires in the fireplace? (looks like led candles in there?)
Any cracks or splitting?
I am wondering if I need to purchase kiln dried wood to prevent cracking.
Hi Steve! So sorry for the delayed response. The mantel has absolutely no splits in it at all. When choosing the fence planks I bought them from a place where they were indoors and dry. I dinged them up to make them look rustic and have had no issues with cracking, splitting, or gaps. Hope this answers your question.
Groovy!
Do you burn wood in the fireplace?
I am guessing that might make a difference.
I have been advised to order Fohc (free of heart centre) kiln dried fir. It is more than $10, and 4 weeks away minimum?!
Your method looks tempting!
Yes! I burn both wood and pressed logs. I can understand wanting to have kiln-dried wood. For me, I have had no problems at all. The mantel is now almost 6 years old and is a sturdy beast.