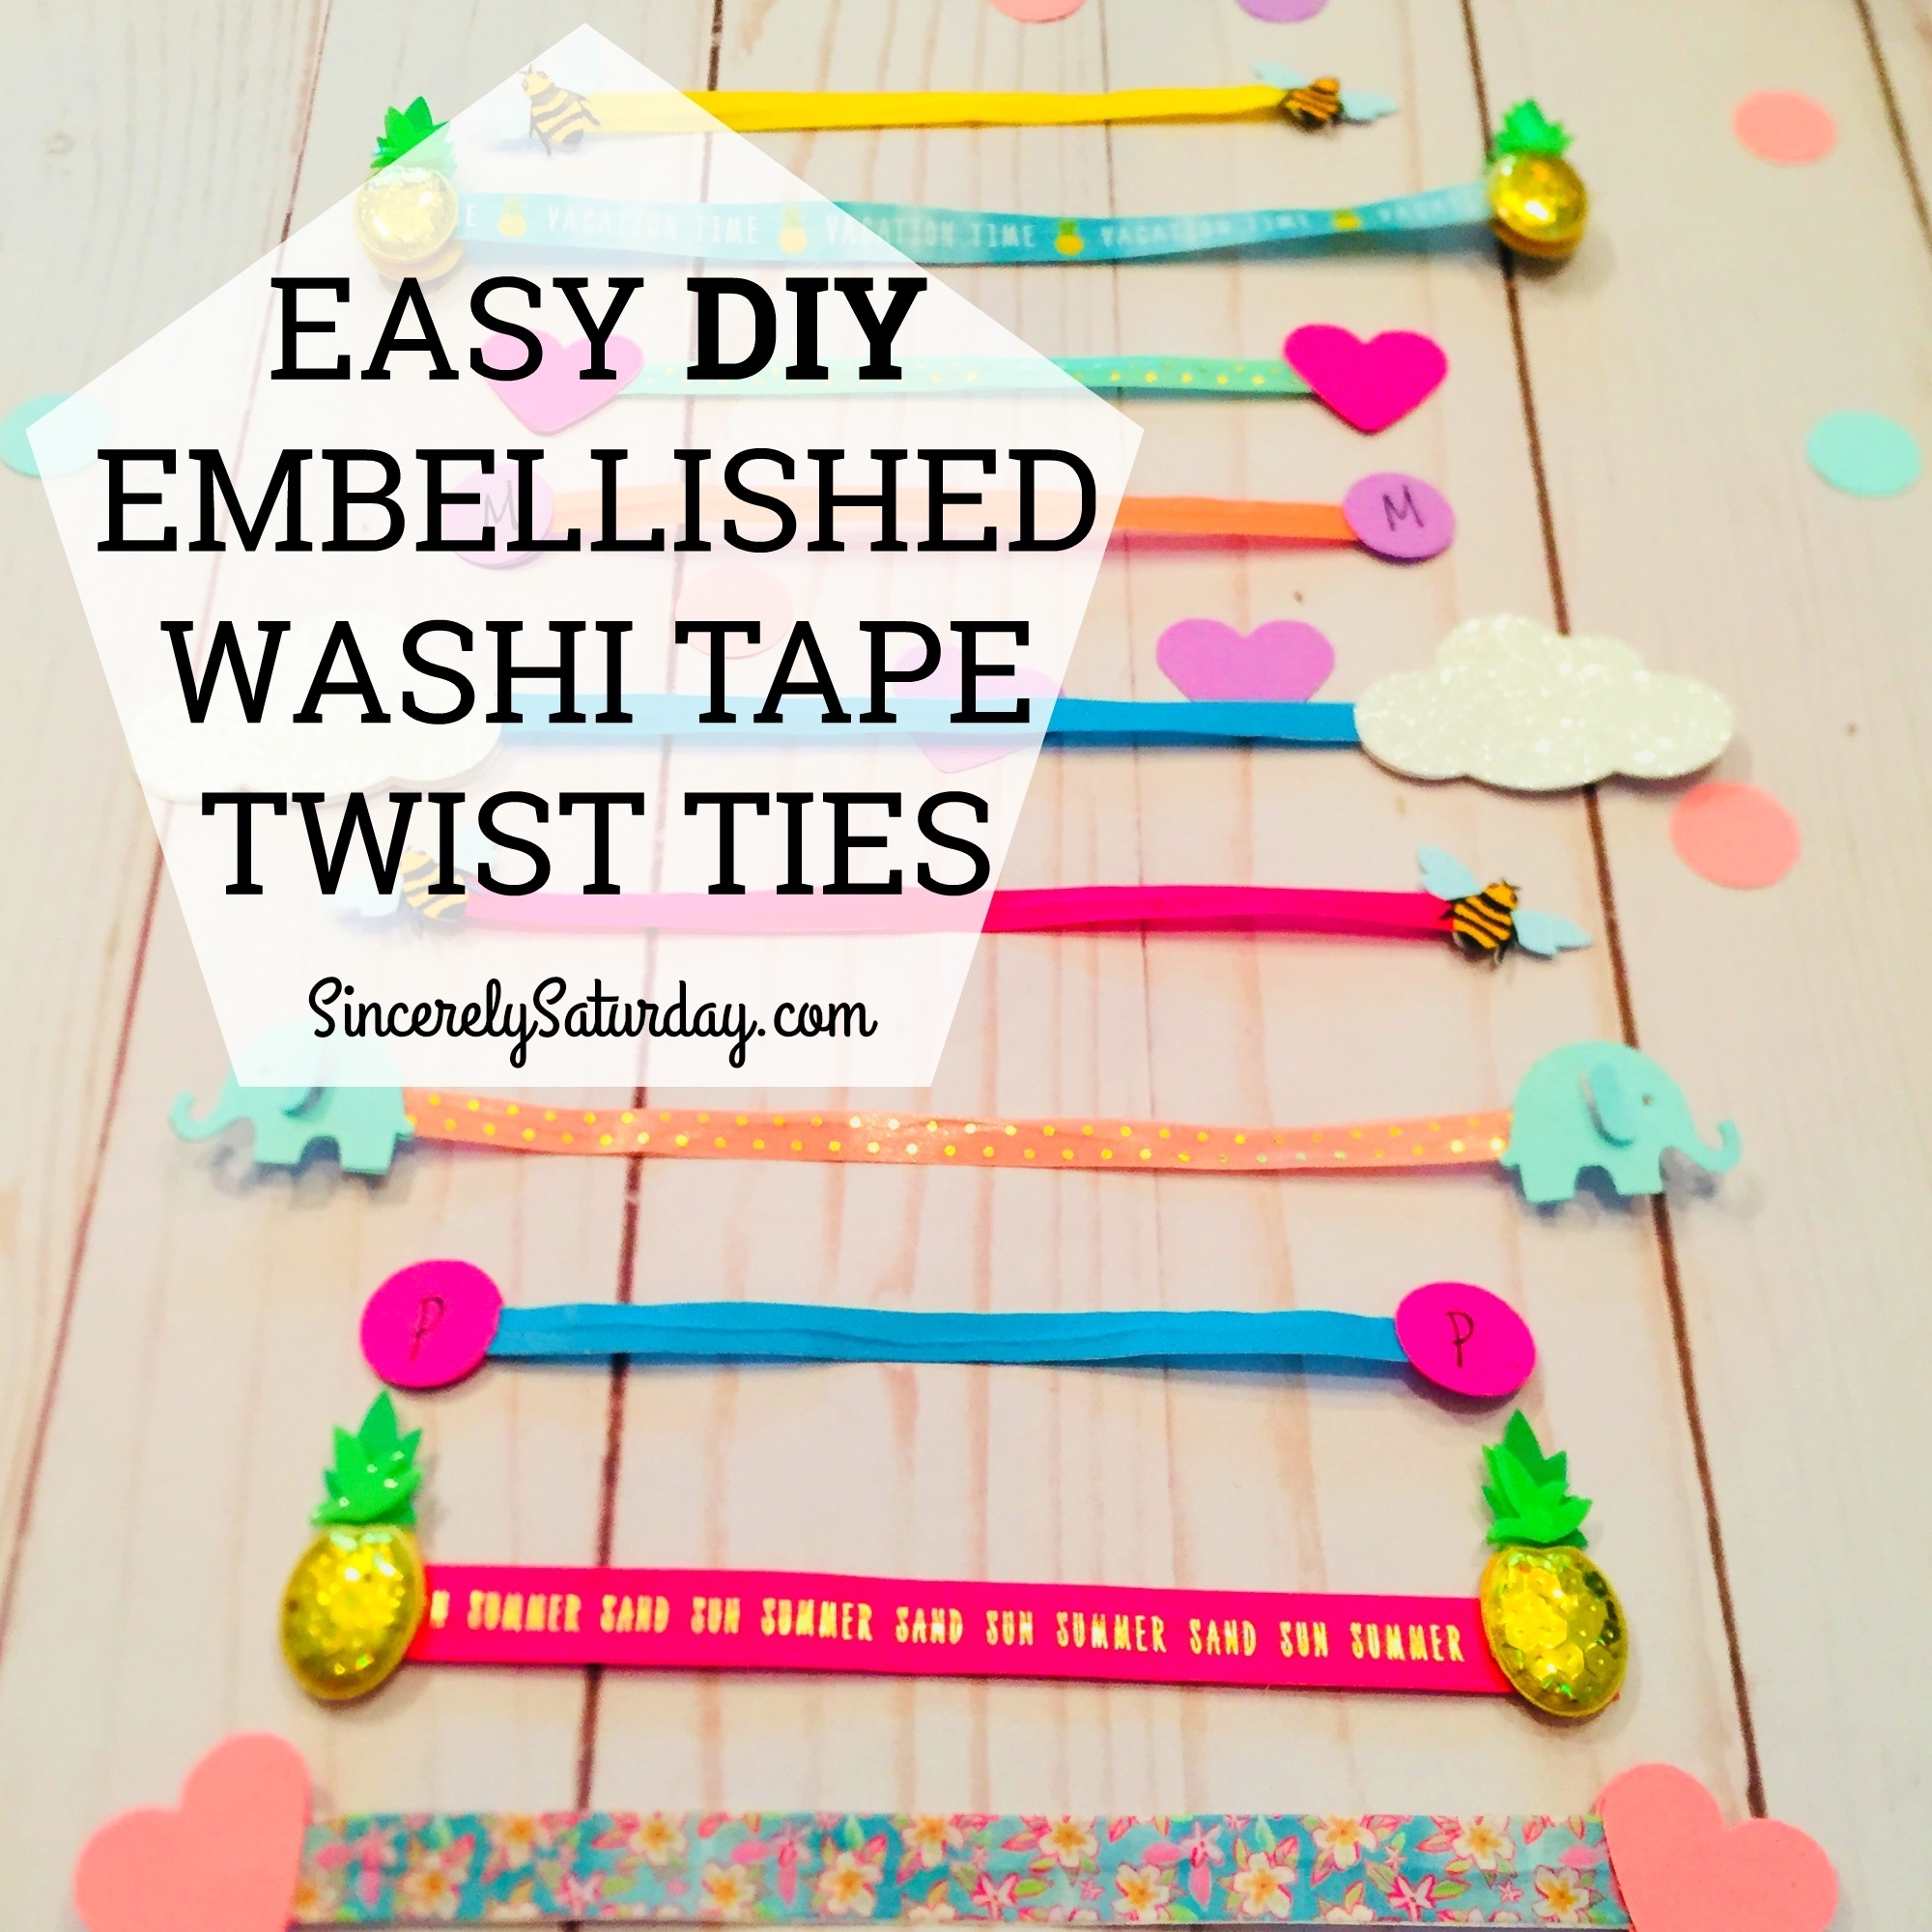
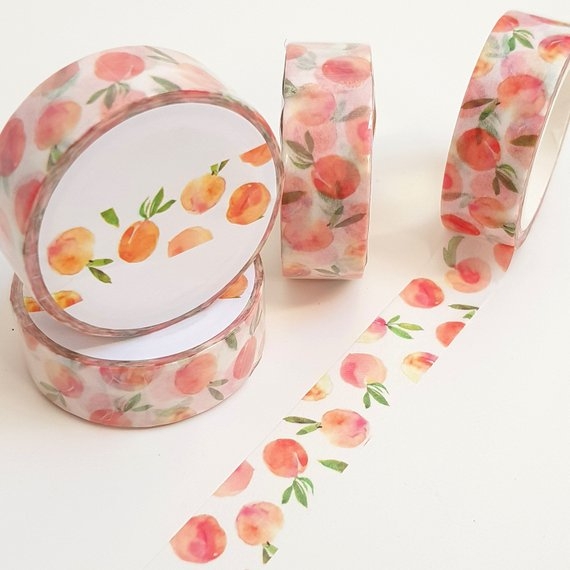
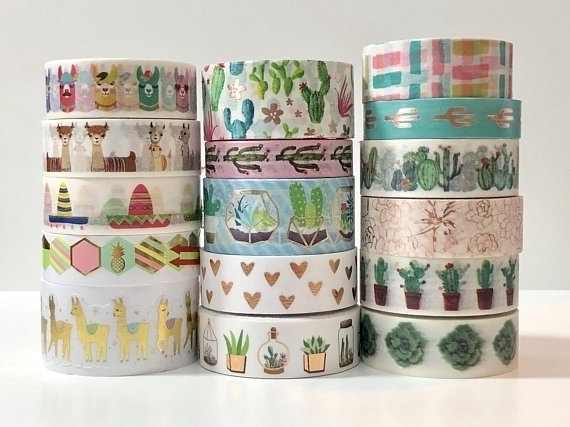
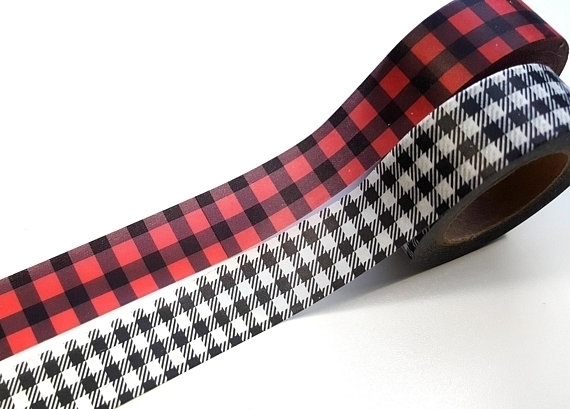
 If you’re anything like me you love Washi tape. It comes in so many widths and prints that the options are seemingly endless. The one problem with Washi tape is, I can never figure out what to do with it all.
While traveling in Cambodia earlier this year I stumbled into a little stationery shop to find twist ties that had been embellished on each end! Epiphany, make Washi tape twist ties and then embellish them! Finally, a way to use all that fun Washi tape I have stockpiled.
DIY Washi tape twist ties
This post contains affiliate links for your convenience. Please see my Terms of Service and Privacy Policies for more information.
Supplies:
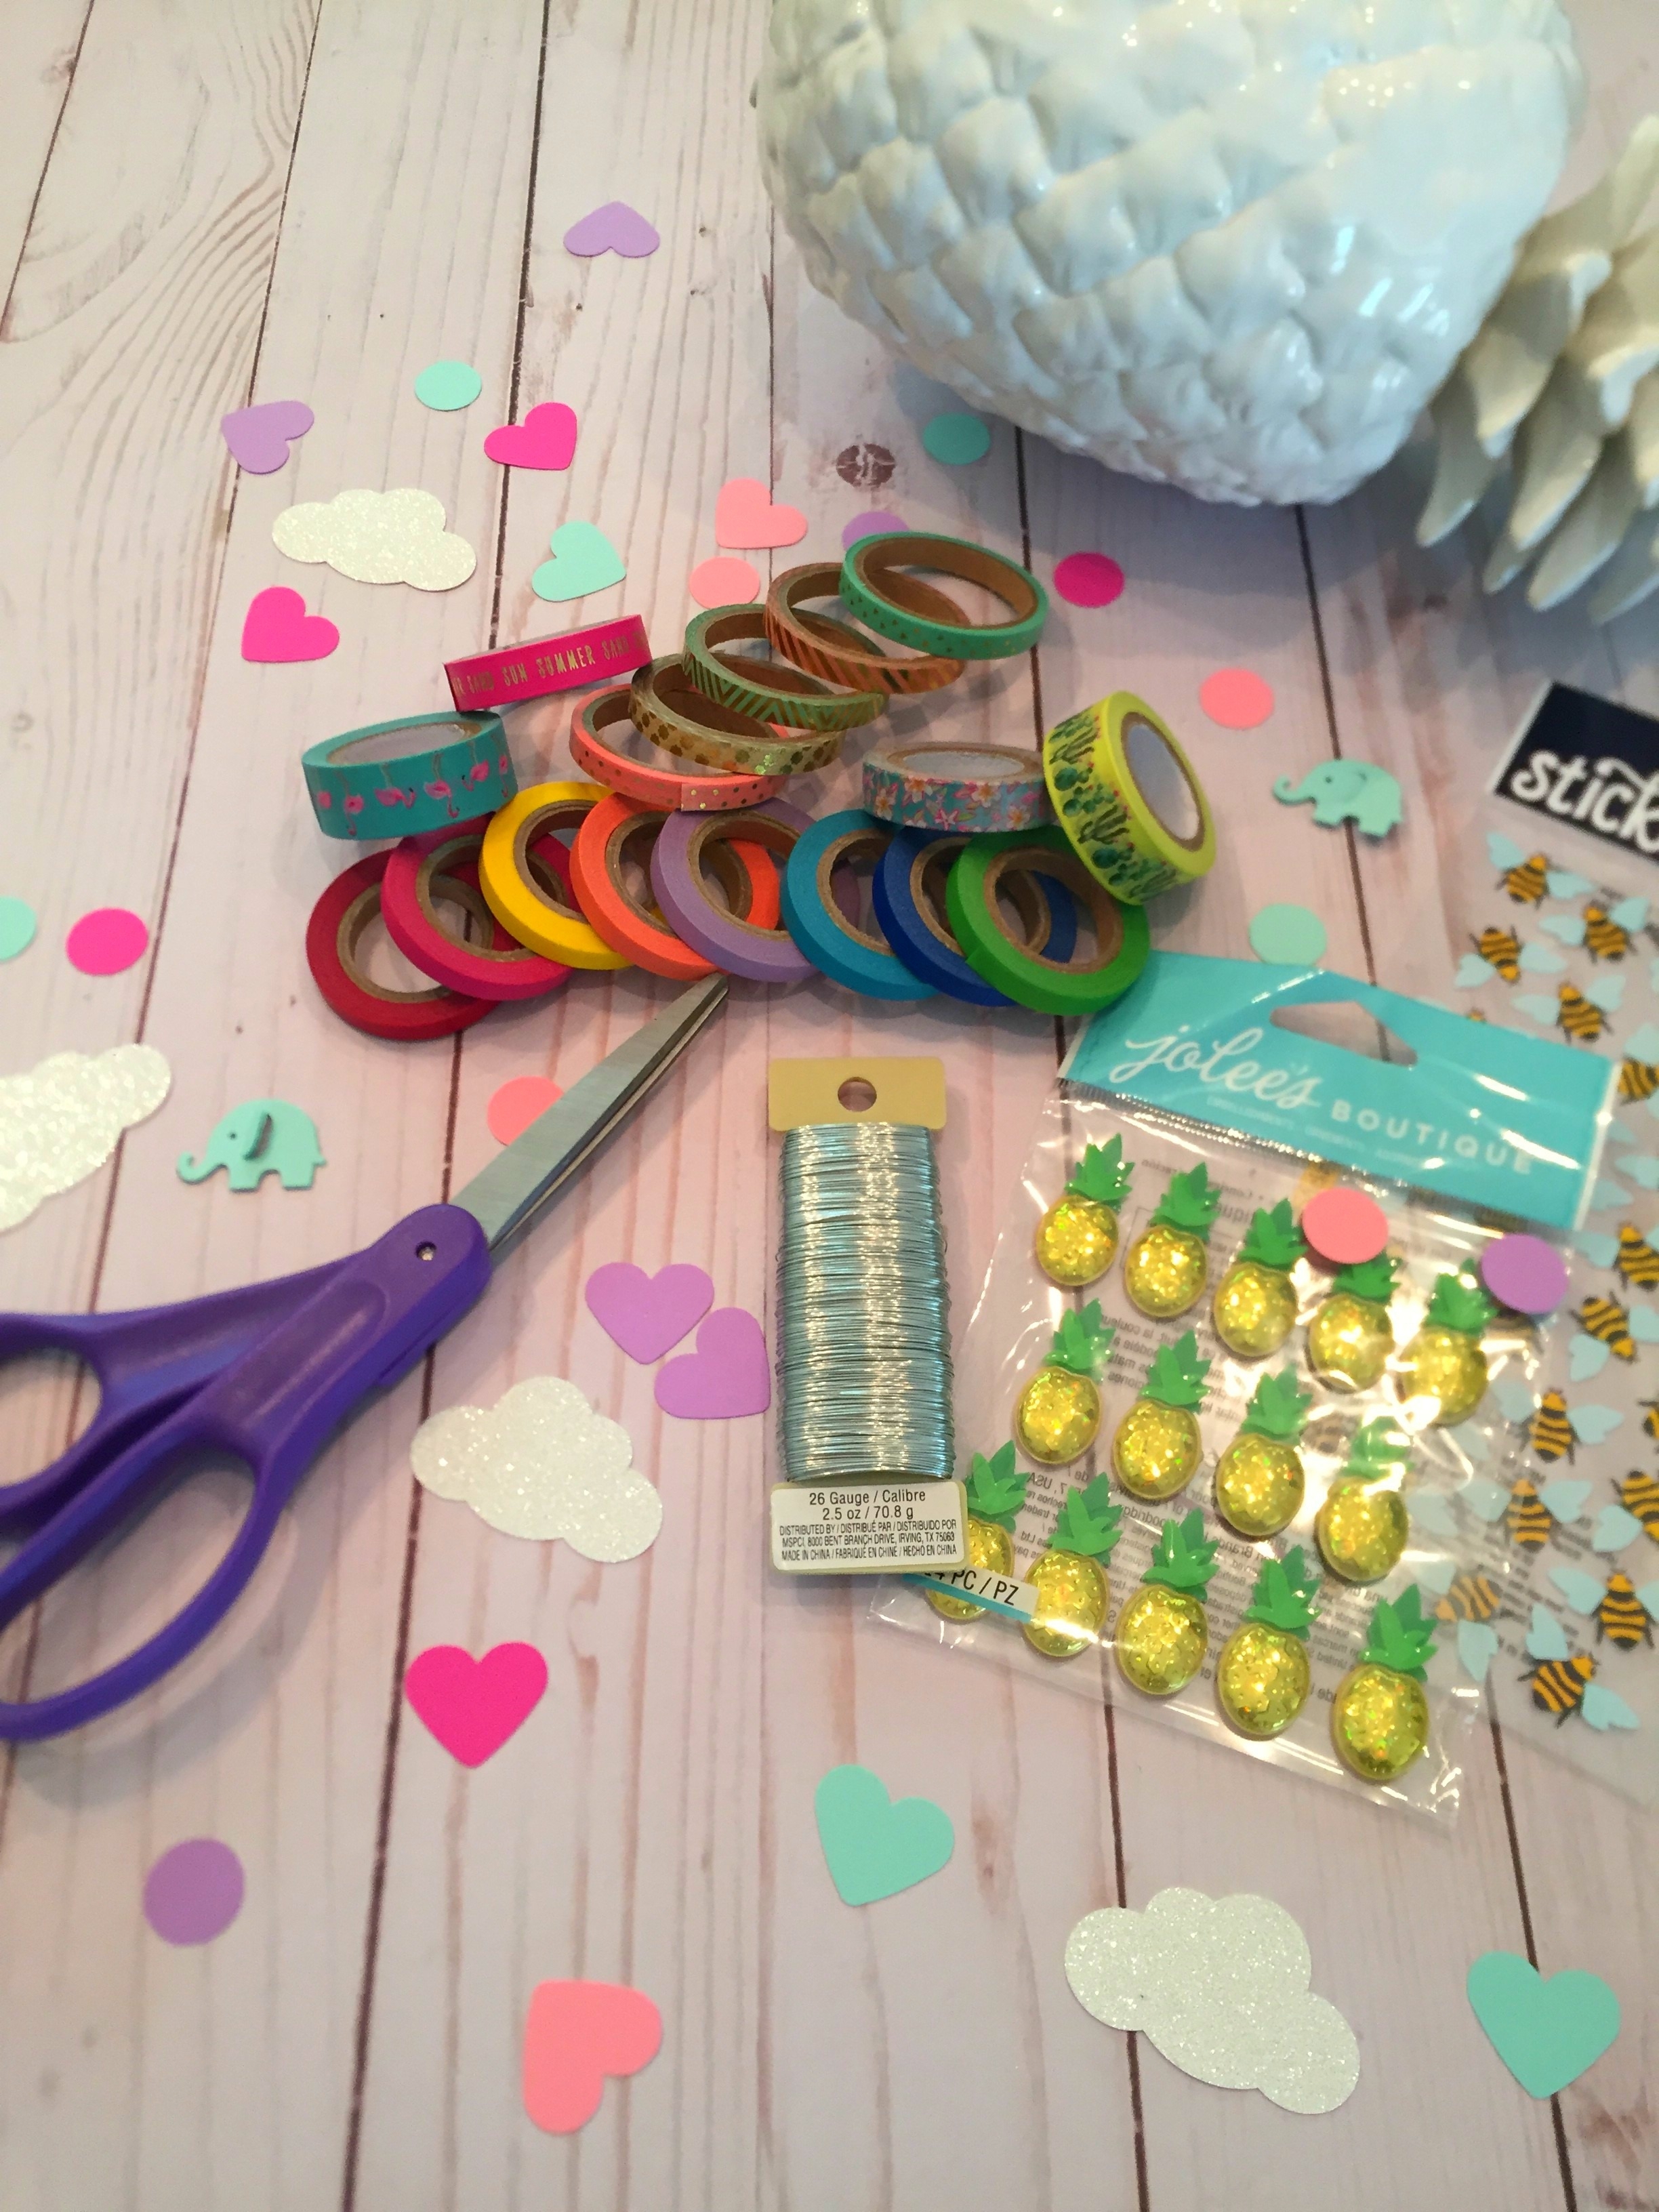
Washi tape
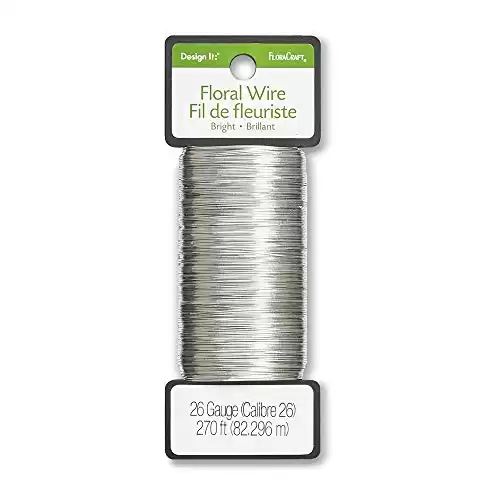
26 gauge floral wire
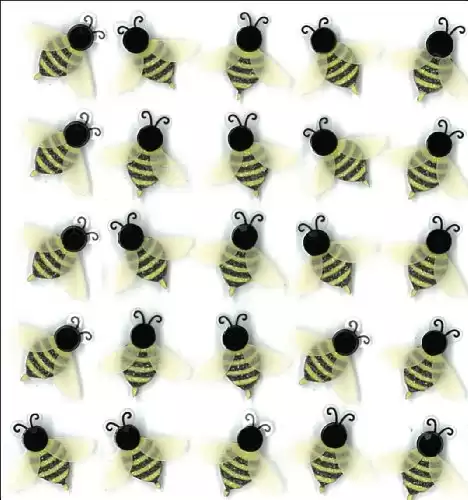
stickers or equal size and shape


Optional Embellishments
paper punches (optional)


pompoms (optional)

buttons (optional)

tiny bells (optional)

Let’s make these DIY embellished Washi twist ties!
(Video tutorial below)
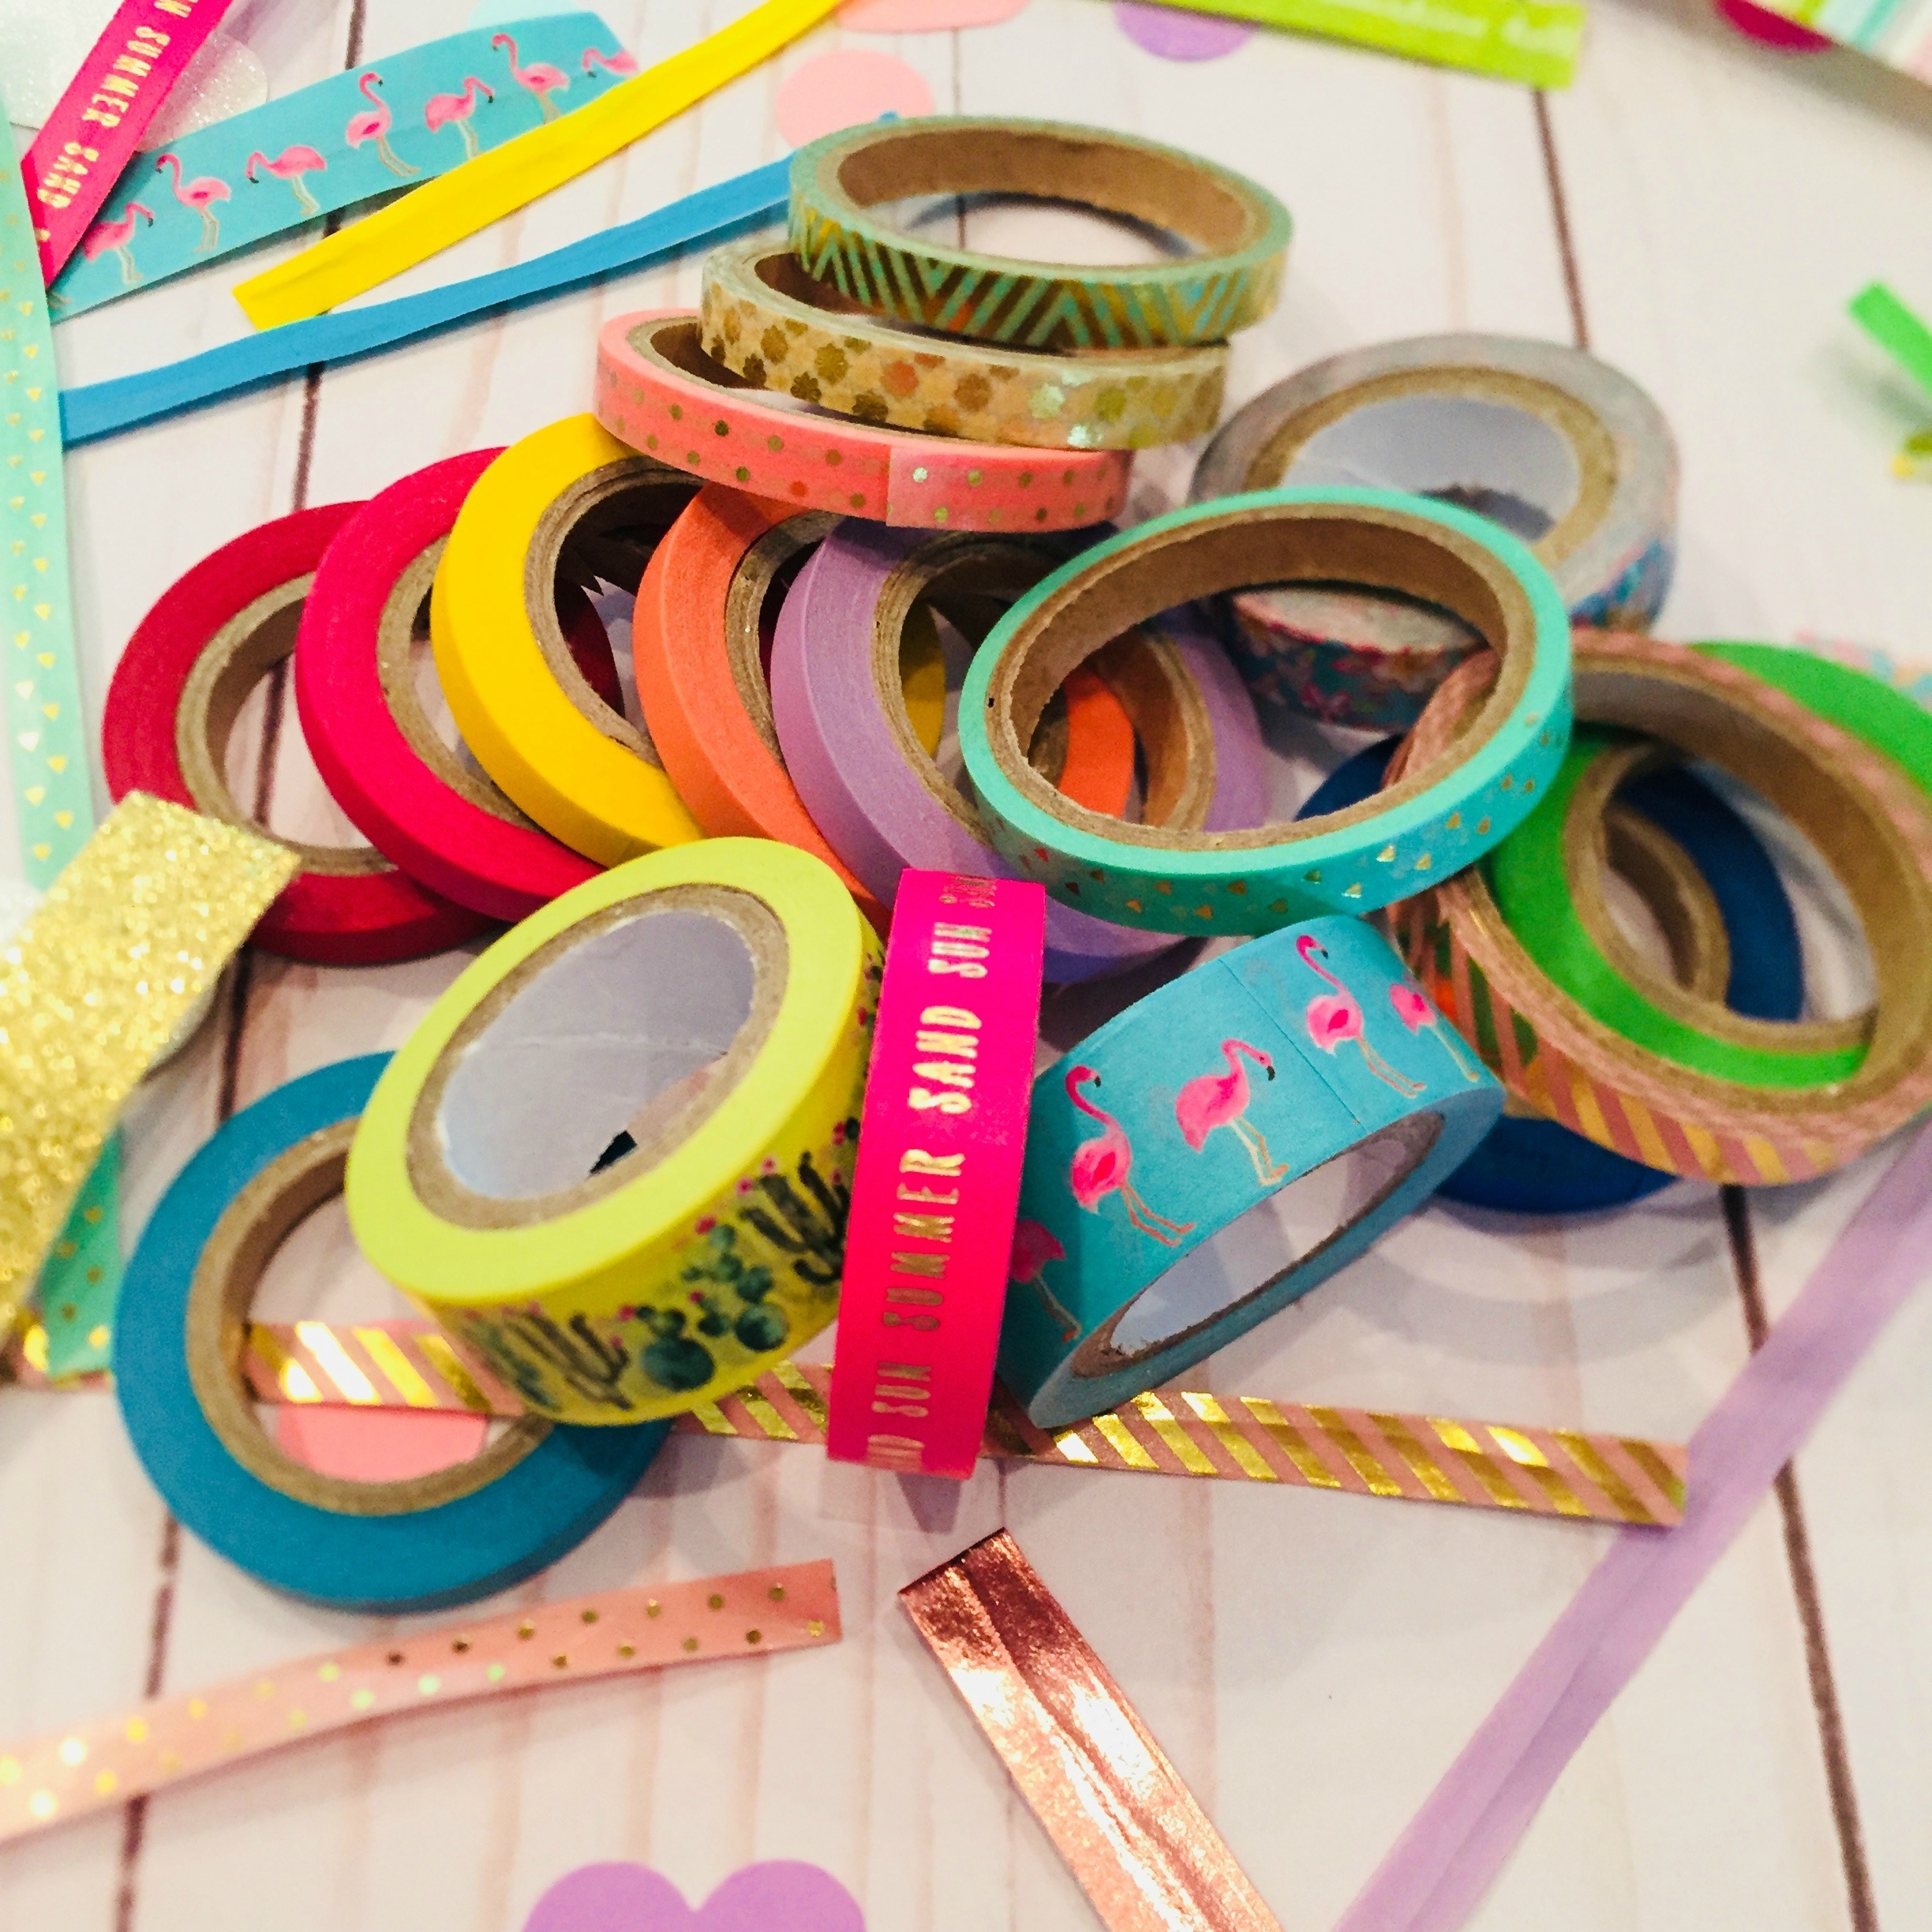 Begin by selecting your Washi tape. I used several different widths of tape and they all turned out amazing.
Cut your floral wire into whatever lengths you need. I made all of mine about 4 inches each. I think that they would look super cute if they were a little shorter, maybe 3 inches?
Open the Washi tape being careful to not tear it off the roll. Lift up the tape and let it dangle, using gravity to keep the tape straight.
Pin for later! 
Place your wire in the center of your tape. Fold the tape over on itself where the wire ends. Again, let gravity help you.
Once you have folded the tape over, pinch the folded edge over carefully making sure to match up the edges on both sides. Don’t worry if you mess up as Washi tape is super forgiving! Work your way down the Washi tape pressing the tape together firmly. Once you reach the bottom cut off the excess tape.
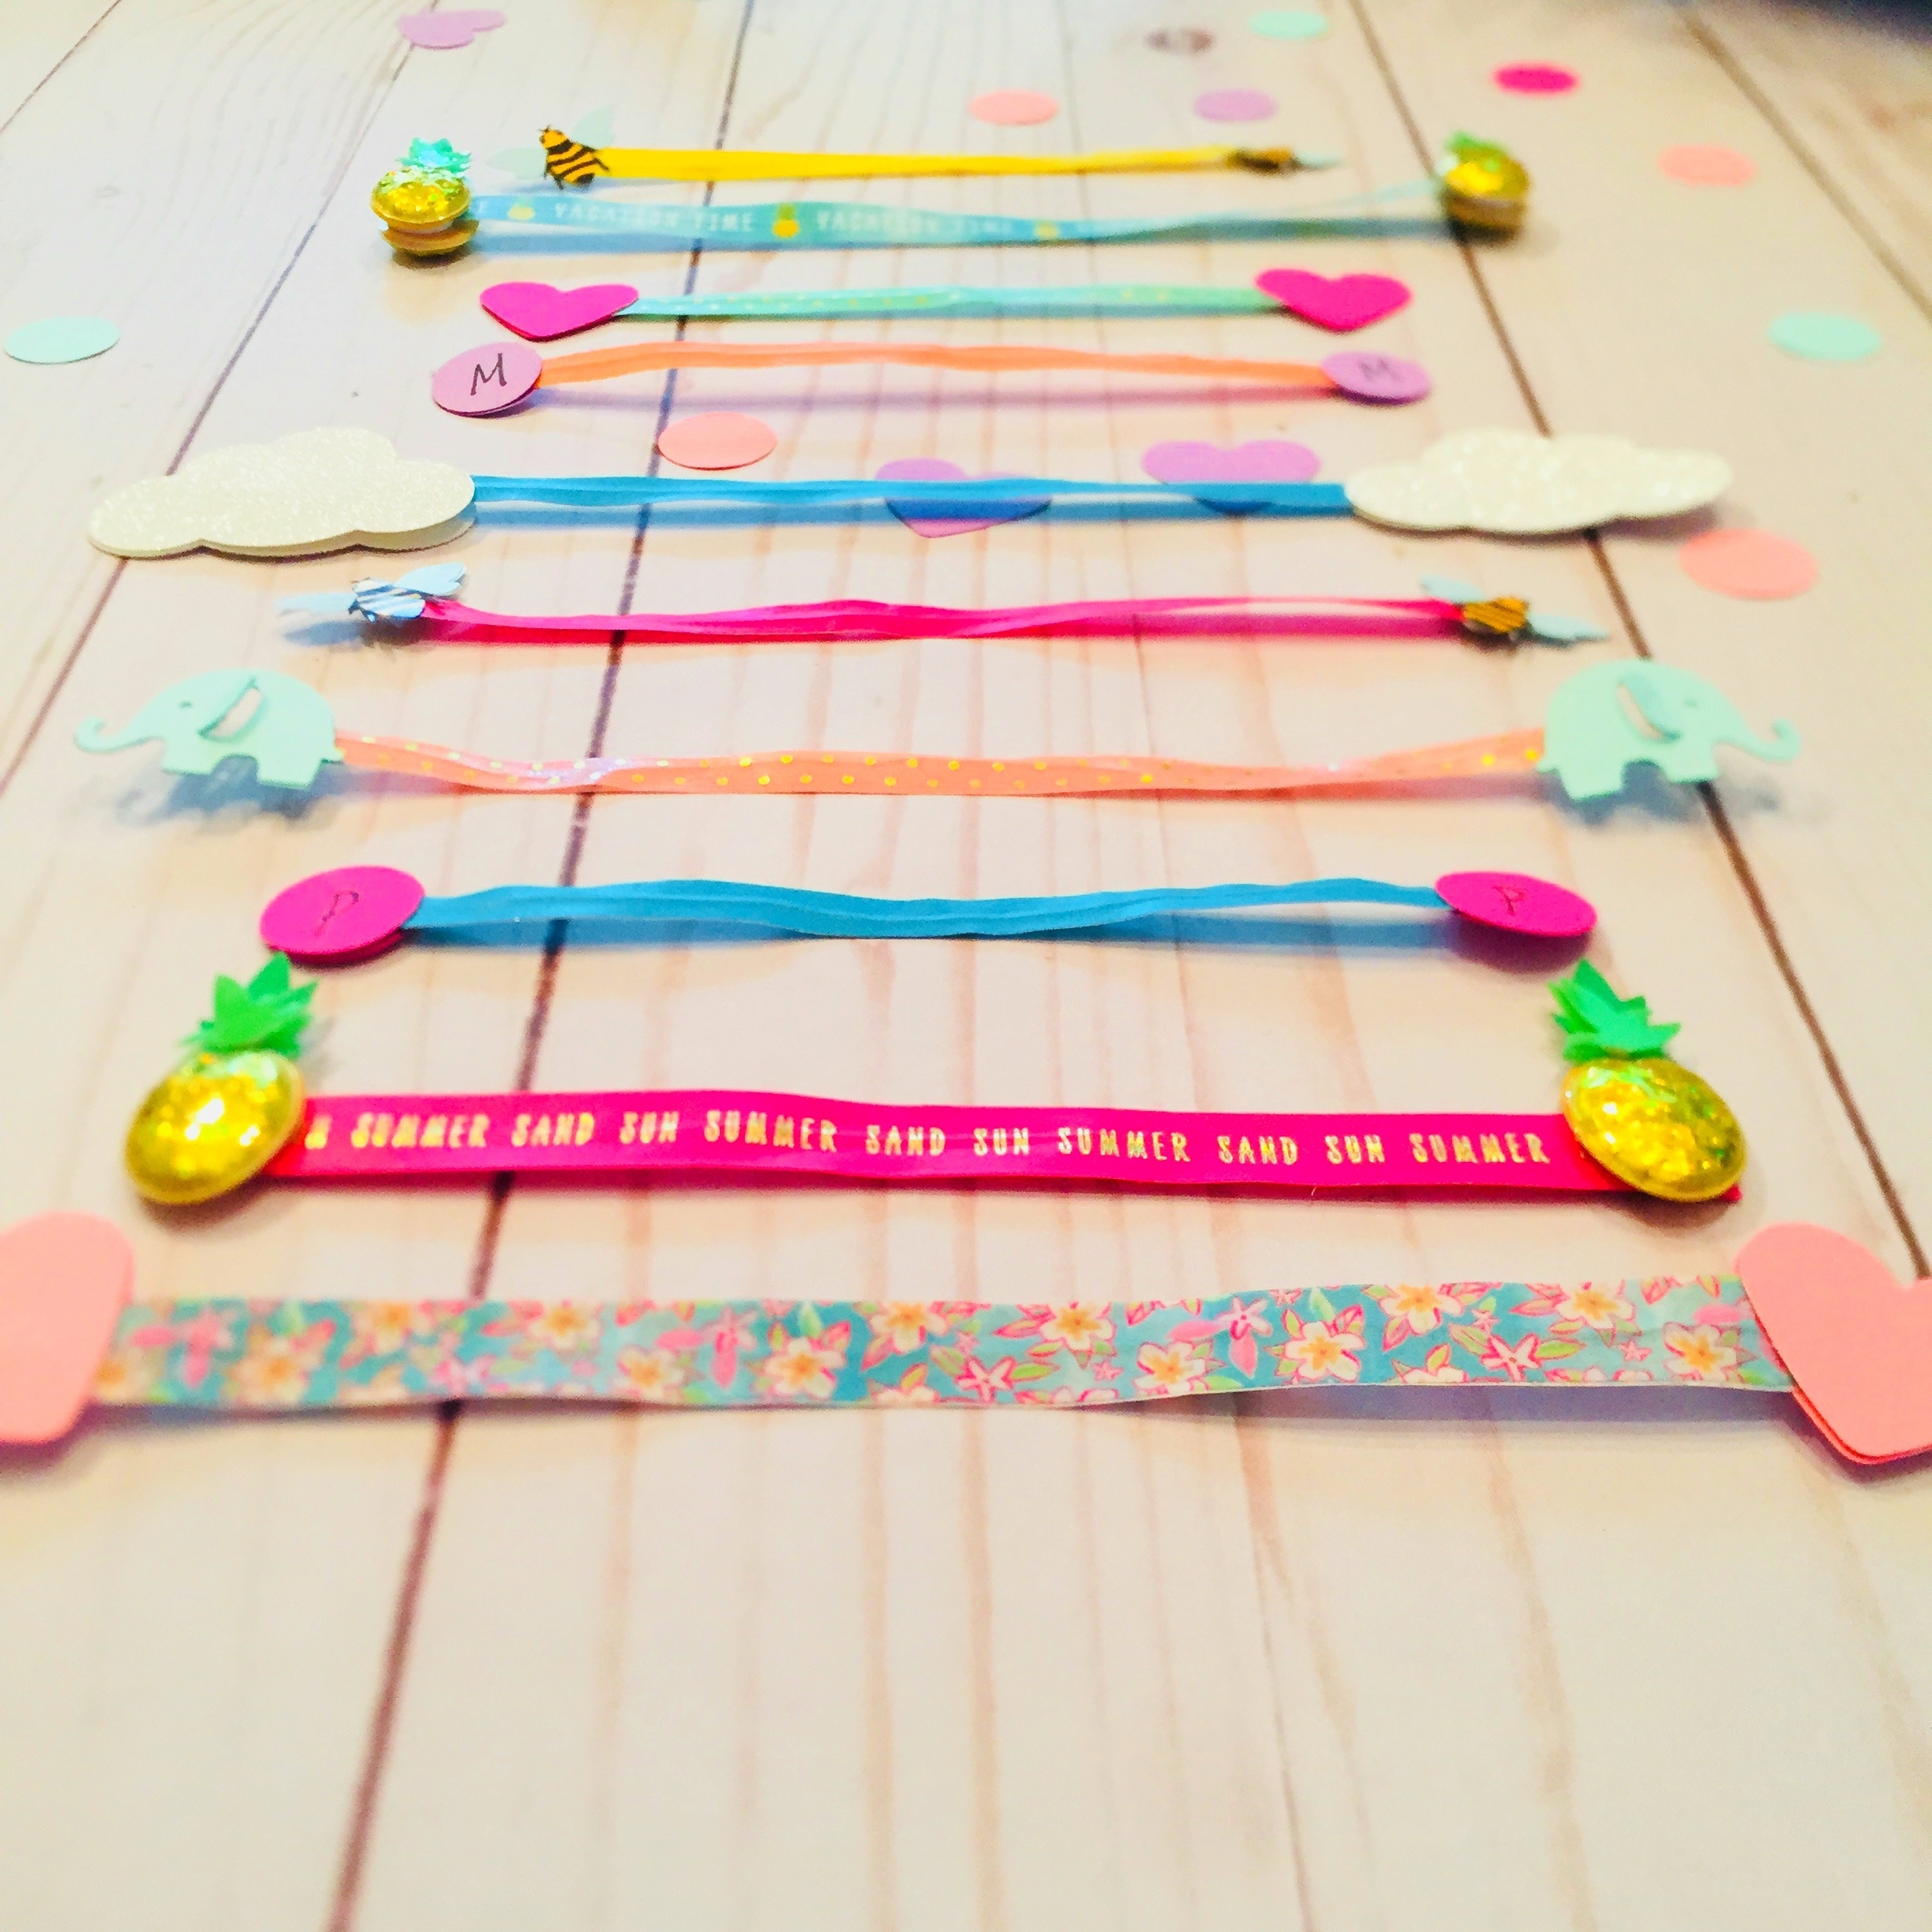 Now for the fun part, adding the embellishments. Apply whatever embellishments you have chosen to use. If you are using stickers make sure to choose stickers that are exactly the same shape and size as you will need to add them to both the front and back of each side of the twist tie.
TIPS:
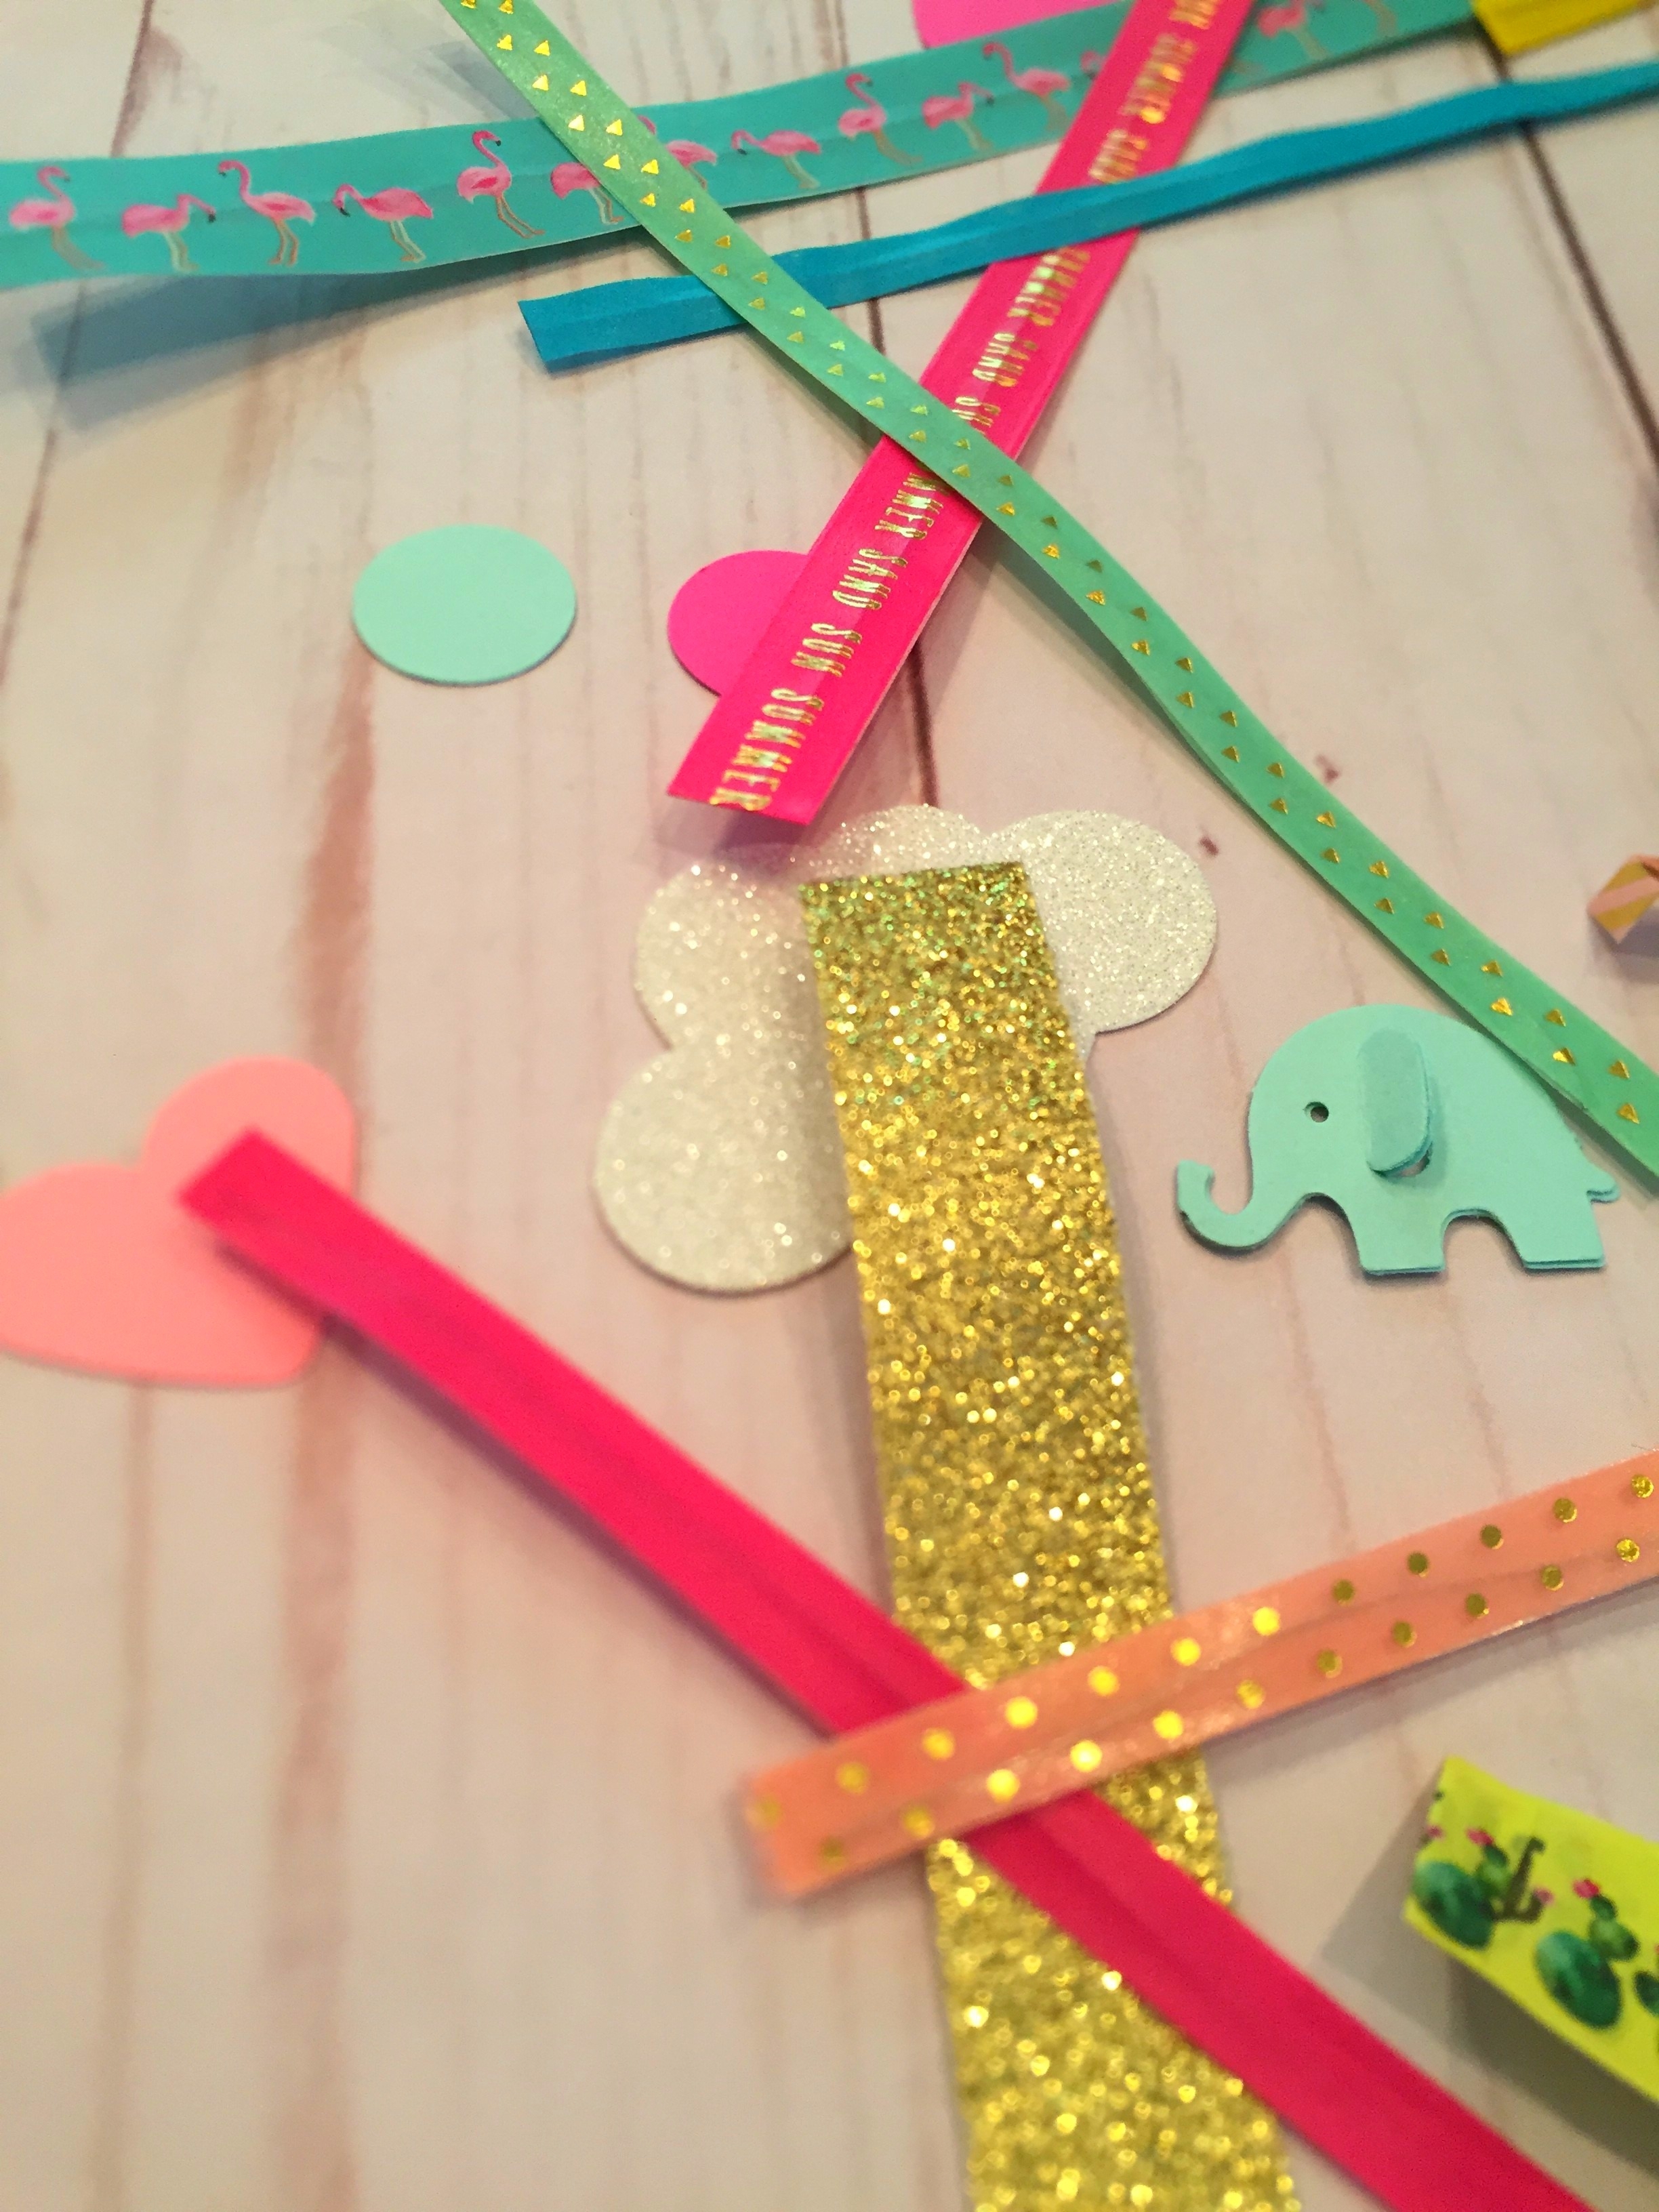 Some Washi tape is super see-through, it still looks cute but you may want to choose solid color backgrounds as opposed to white as the main tape color.
Any gauge wire will work. I tried a few different gauges and found that the 26 gauge worked well for me.
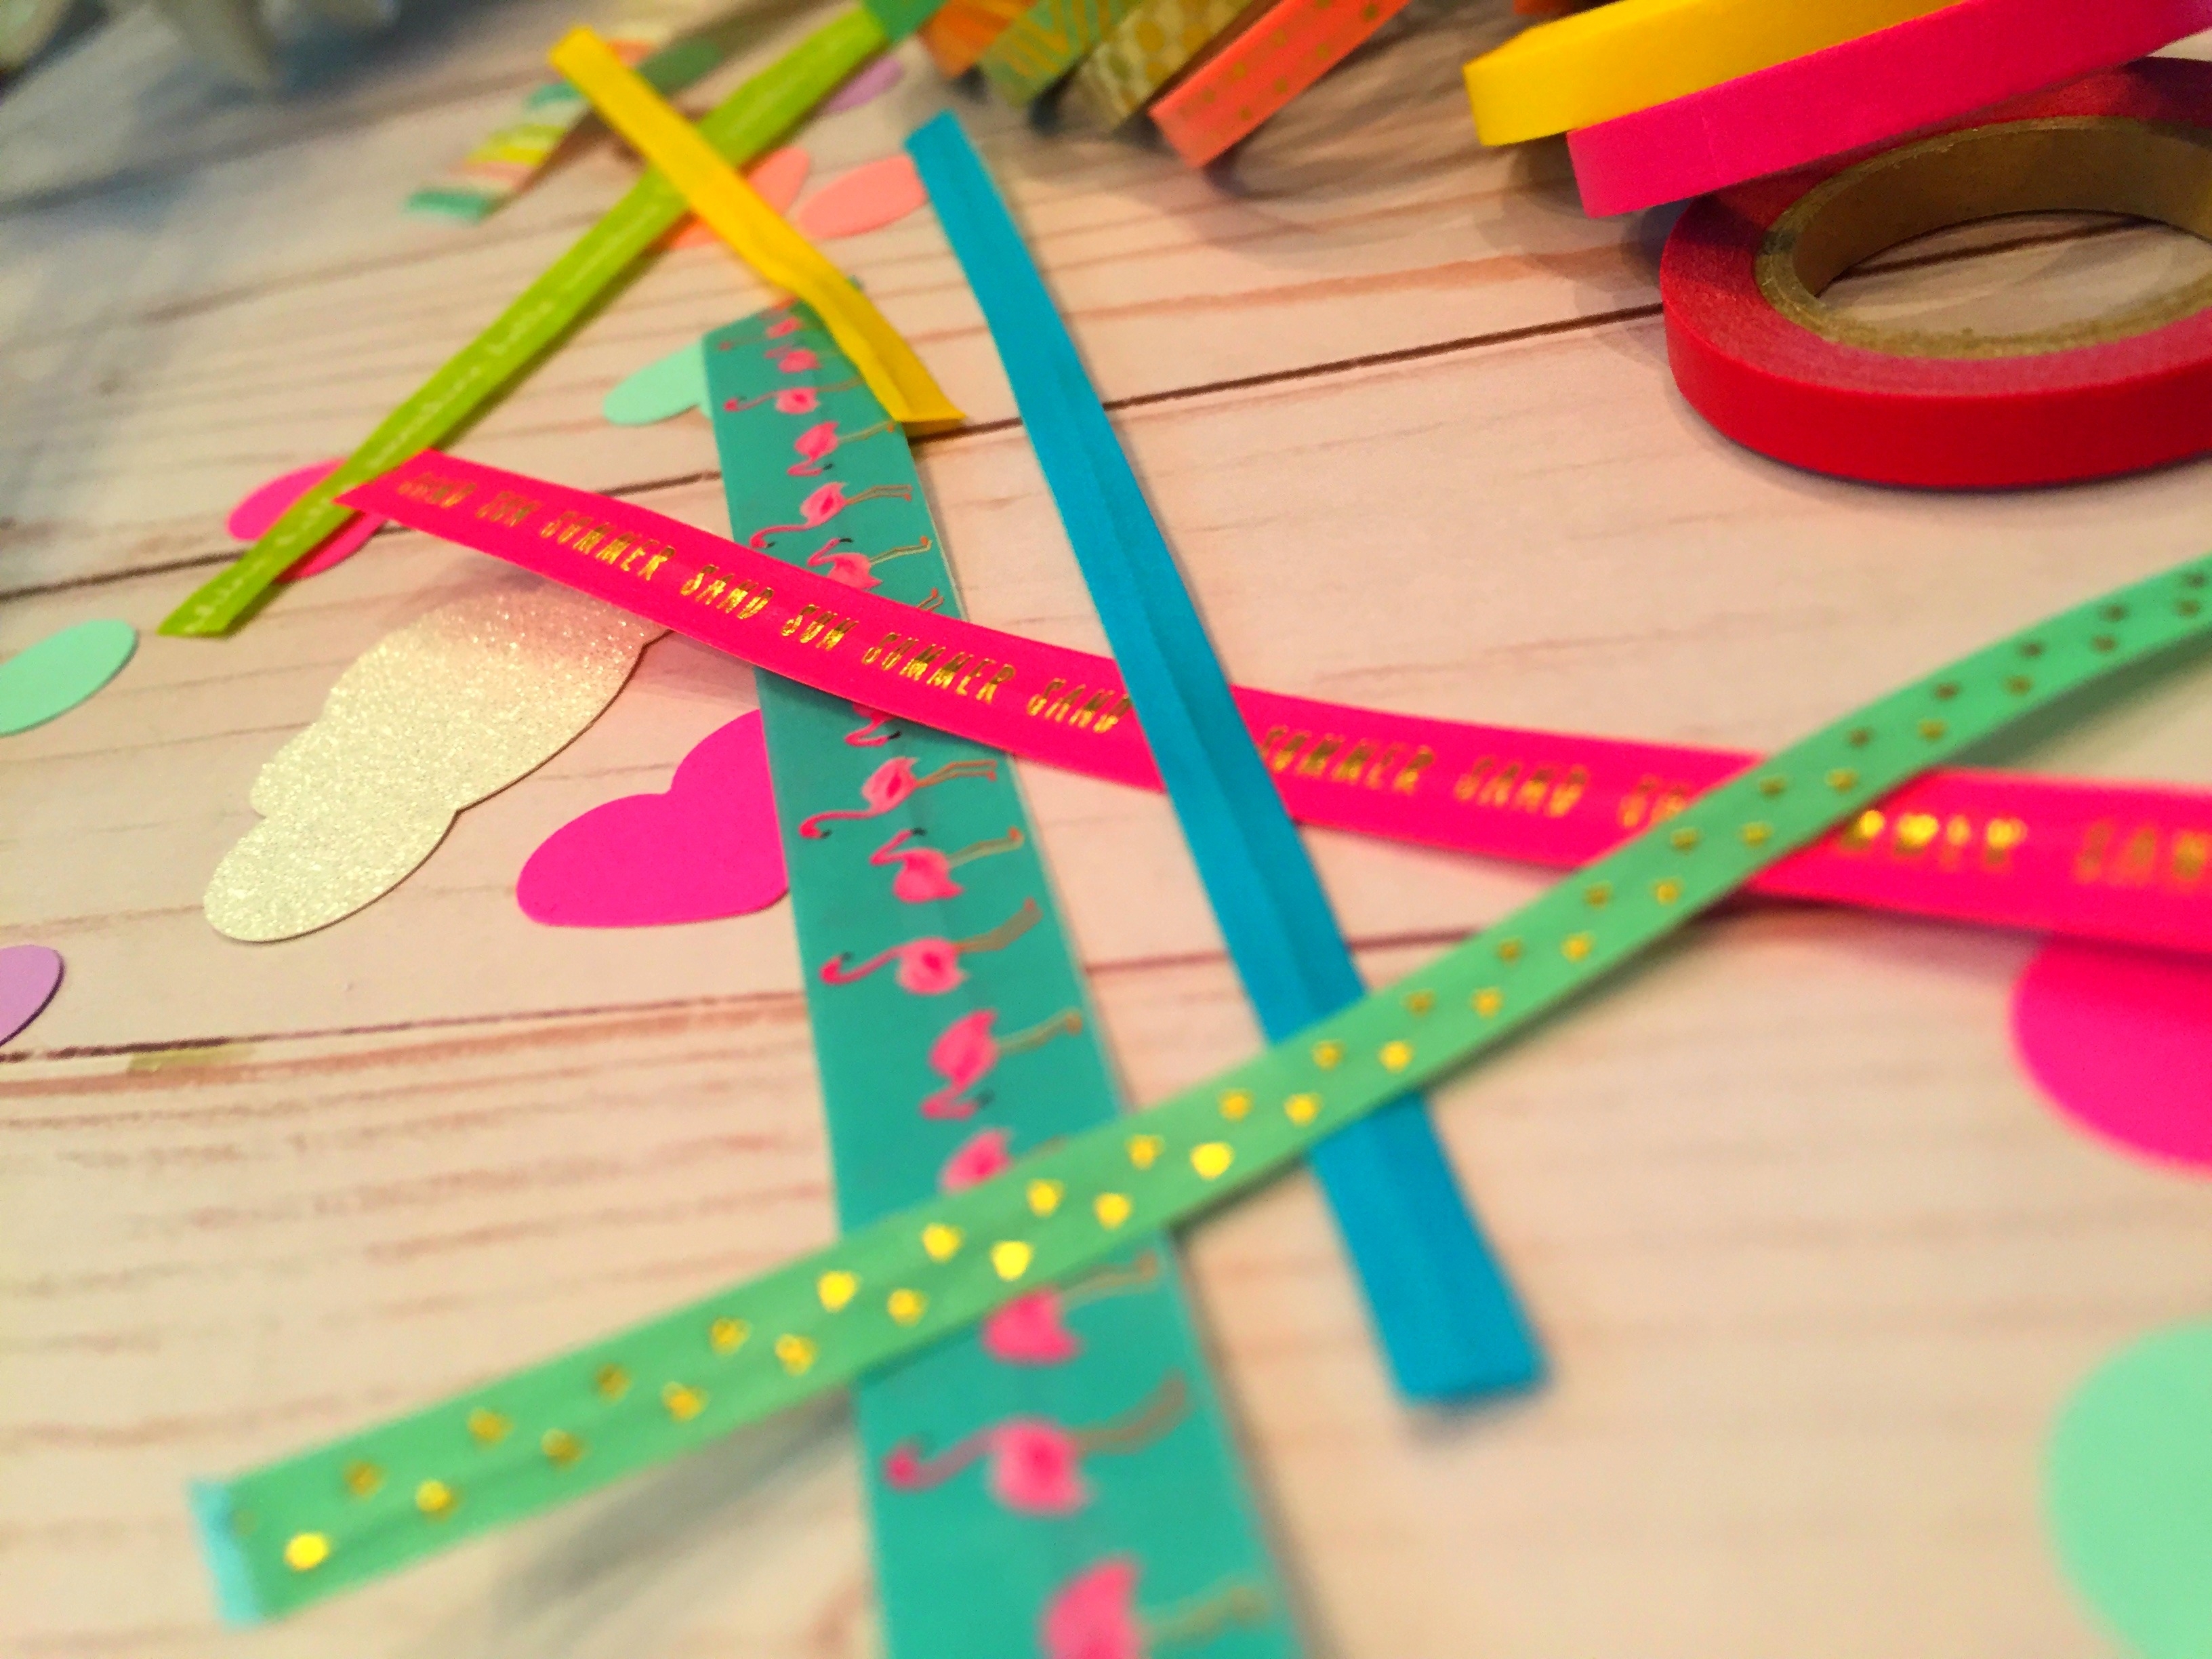
Don’t worry if the wire isn’t perfectly straight. Once the wire is stuck on the tape it won’t matter. If your wire has kinks in it use two sets of pliers and “stretch” the wire to straighten it.
Some Washi tape feels “waxy” and is a little harder to work with. Don’t worry if your tape feels like this. Just have a little patience and you’ll see that you can make these twist ties easily.
Paper punches work really well. If you have a directional punch make sure to flip your paper over so you have mirror images of the punch. That way you can add one to the front and the back and they will match perfectly.
YOU DON”T HAVE TO MAKE THE TWIST TIES. Lol. Yes, that’s right. If you’ve already purchased twist ties or they came with the goodie bag’s that’s okay. Just skip making the Washi tape twist ties and use what you have on hand!
Skip all the reading and watch the video tutorial here:
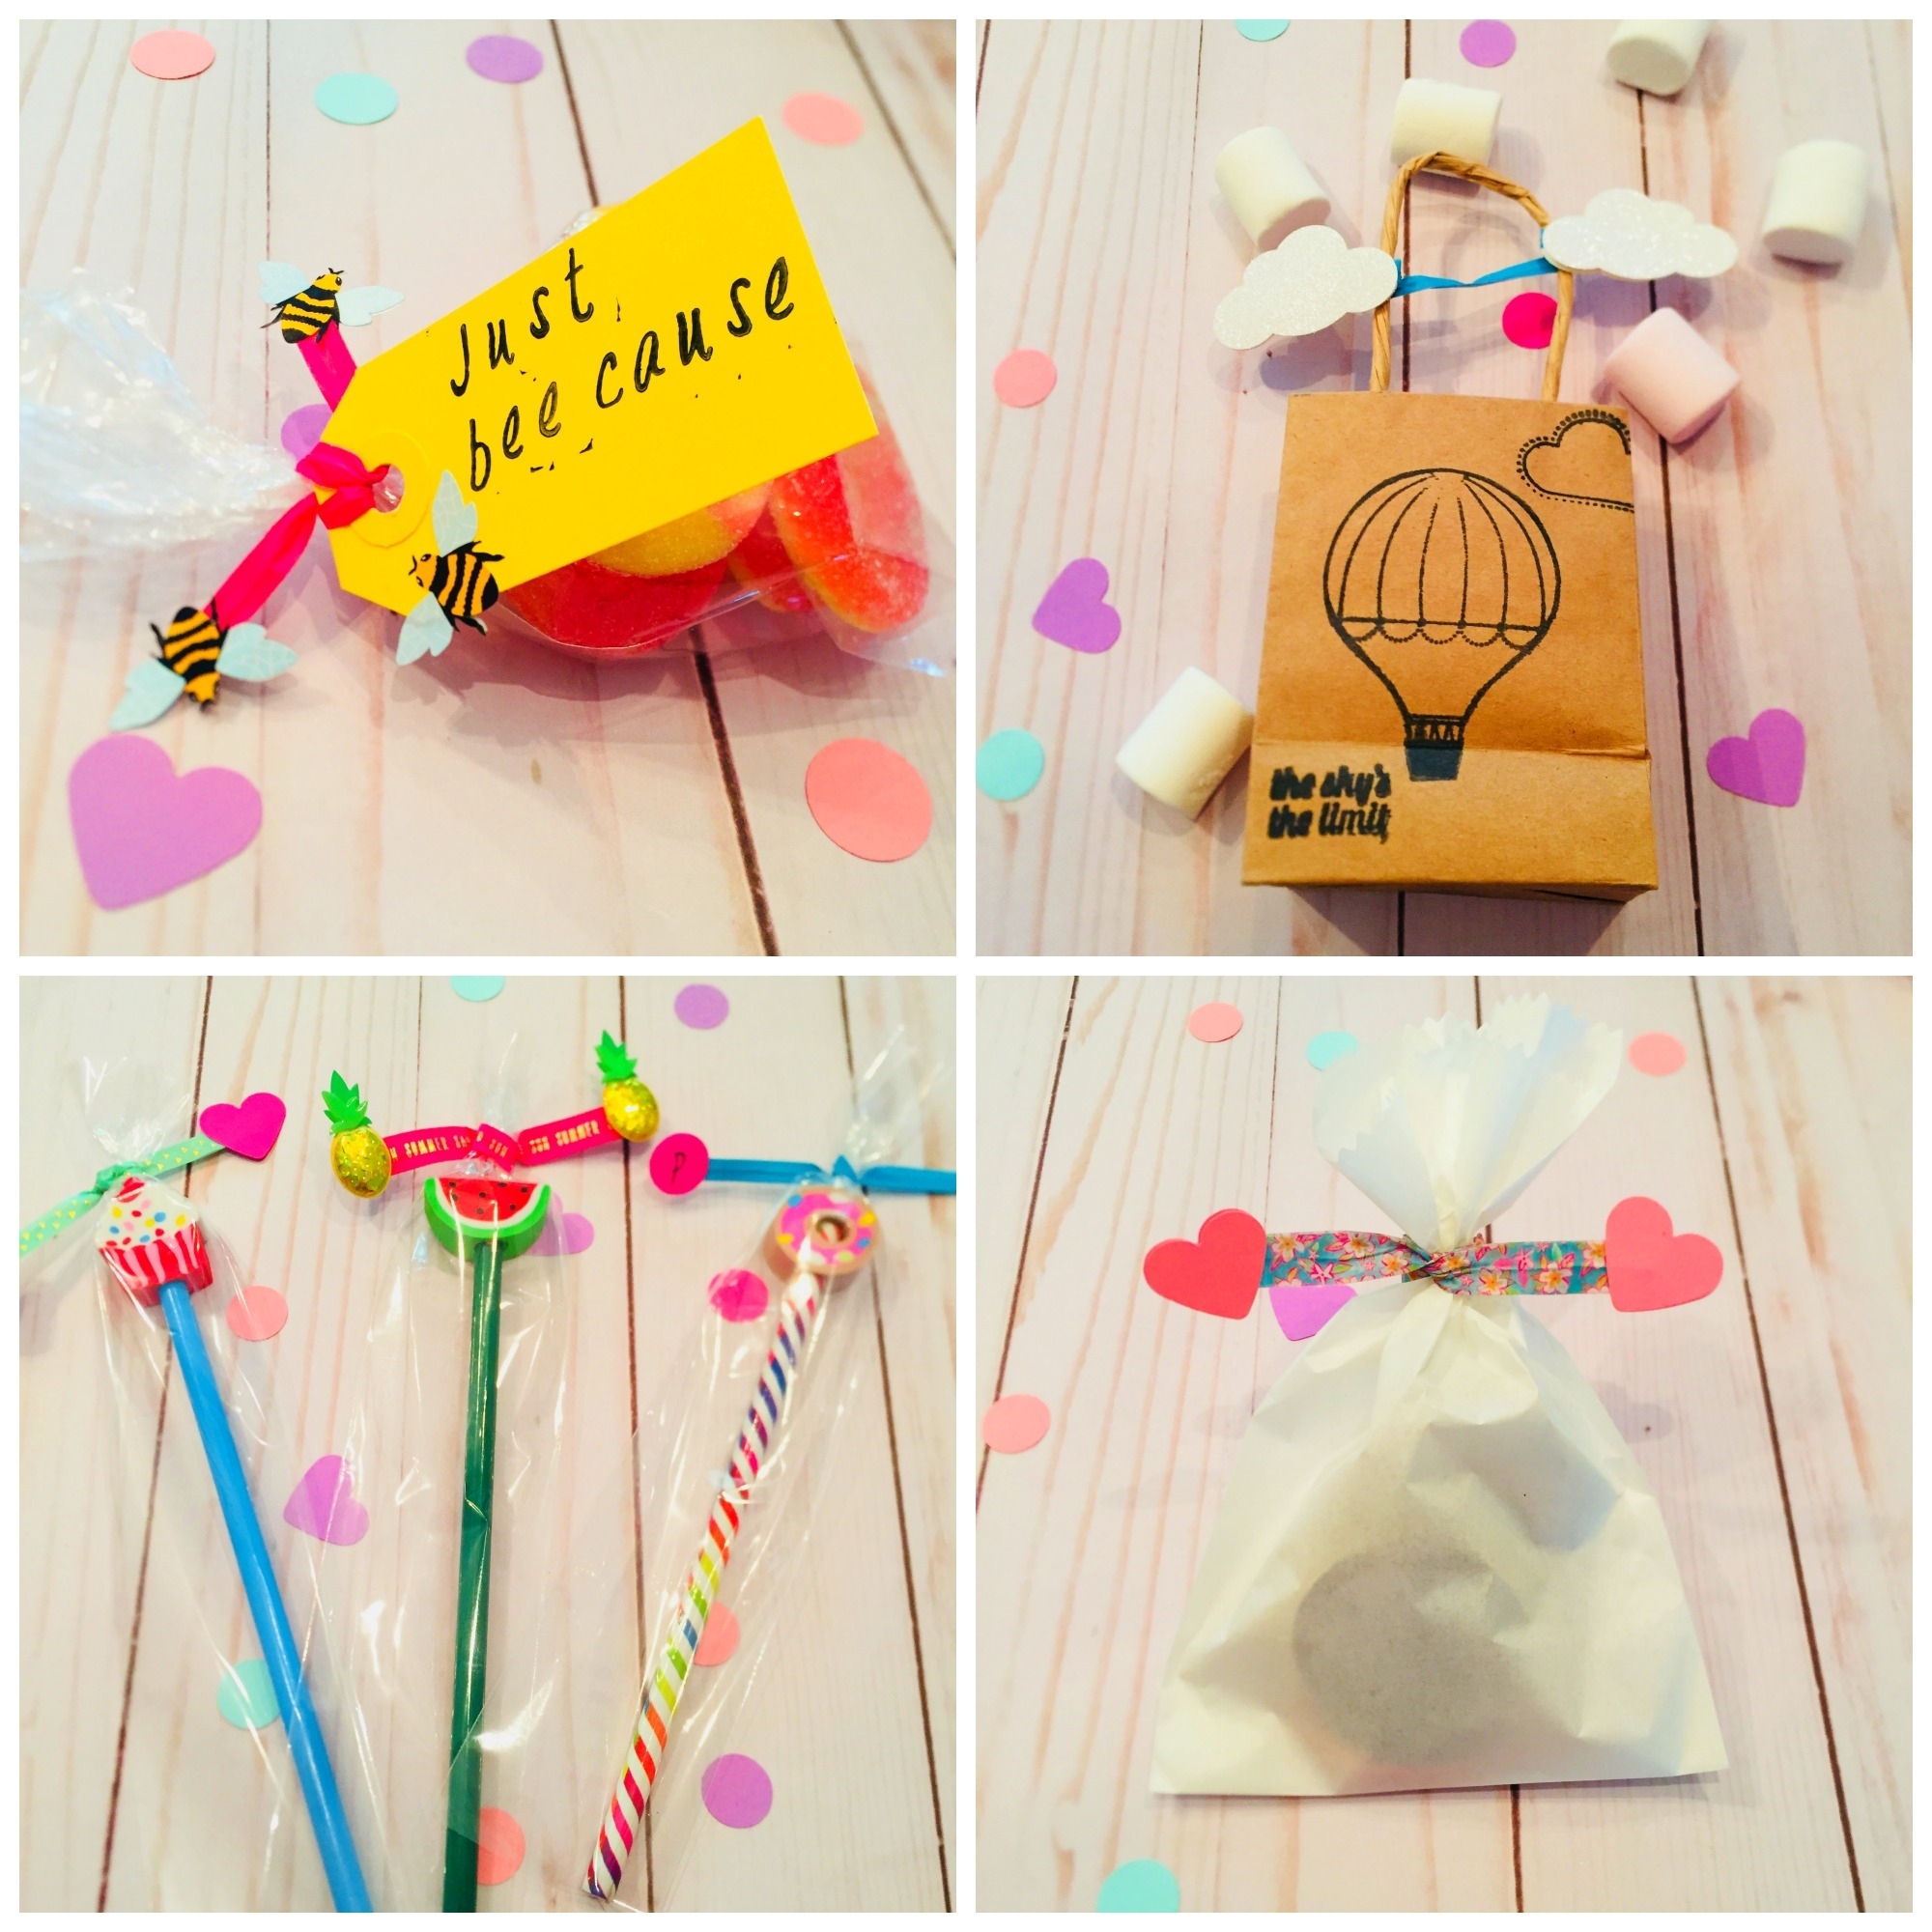 That’s it! One of the simplest DIY crafts I have ever made but one that will surely impress far beyond how easy it is to make!! Add these twist ties to favors and gifts for a little custom touch. So cheap and easy you can make them in abundance for a huge party or wedding without breaking the bank.



Leave a Reply