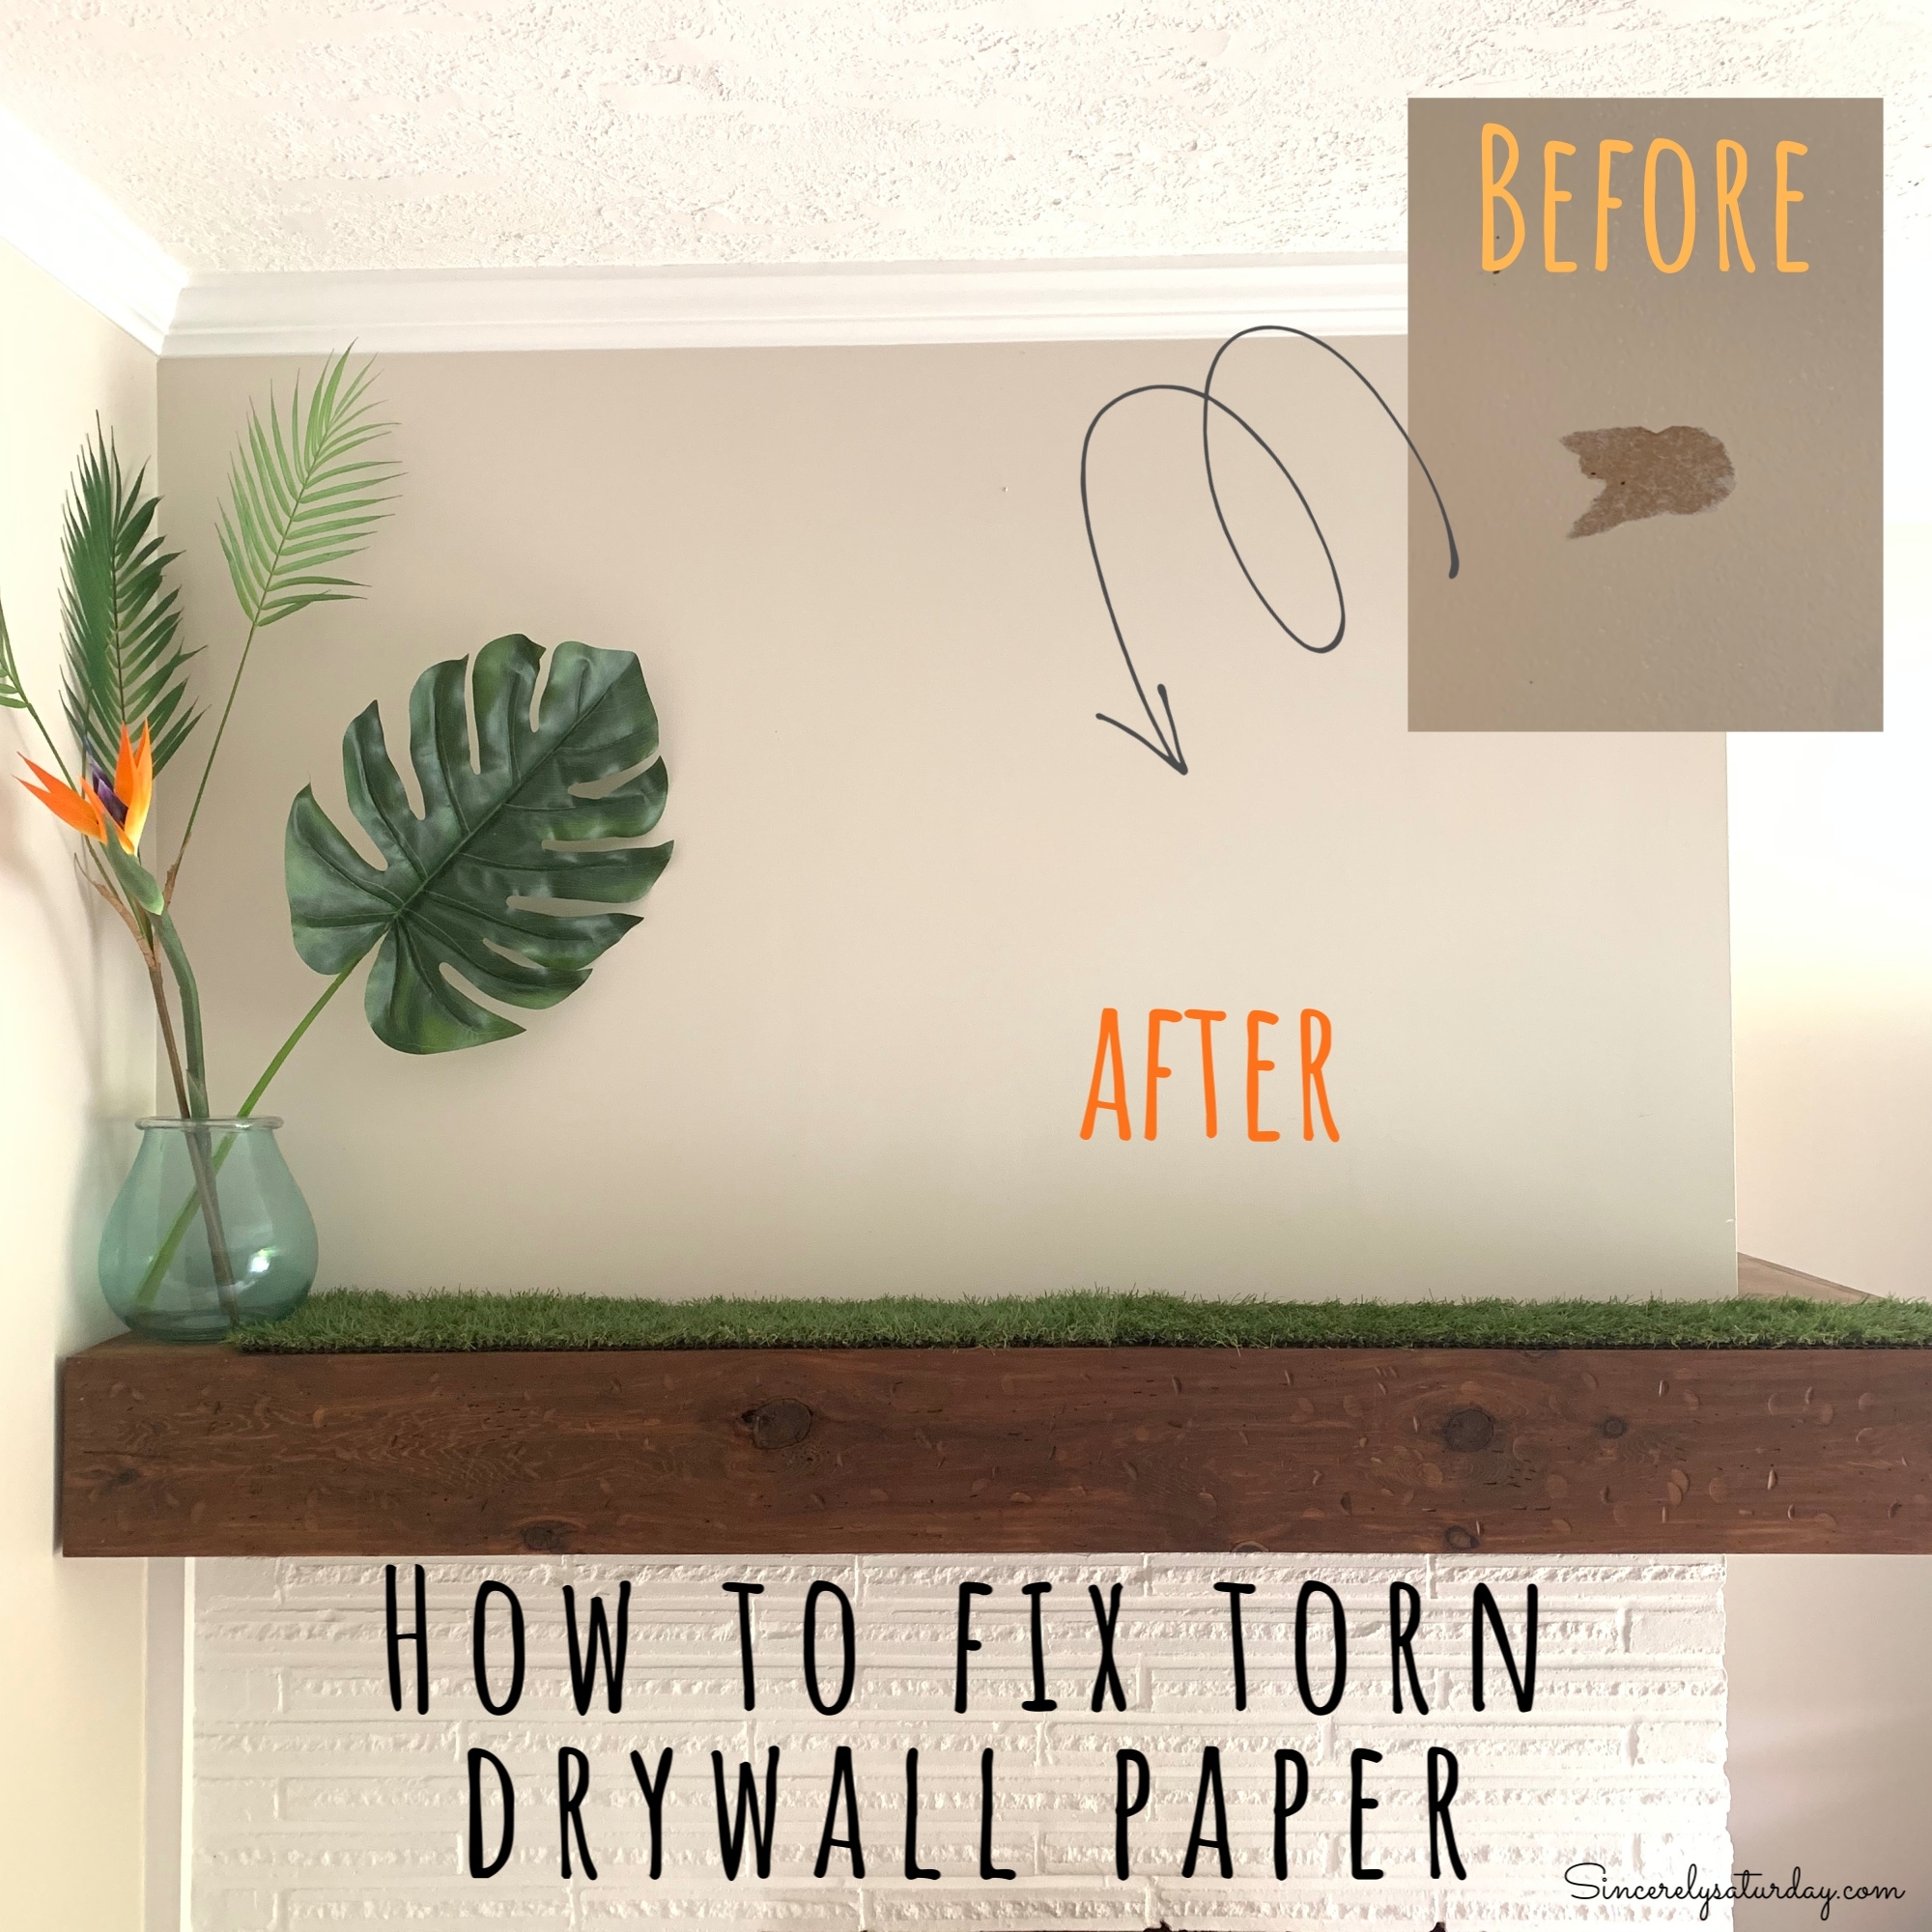
 Anyone who has lived in a house or apartment with drywall has experienced mishaps with drywall. Torn drywall paper is a pain to fix if you don’t know the proper steps to follow to make it look great.
In this post, I am going to how to fix torn drywall paper. Firstly, I am a DIYer and have been fixing drywall my whole life as I grew up in a house that was in perpetual repair. So, I consider my drywalling and repairing skills to be above average.
This post contains affiliate links. If you make a purchase, I make a small profit at no additional cost to you. It keeps the lights on!
Torn drywall paper? Don’t worry; you can fix that.
To repair a tear in your drywall paper, you will need specific tools and products to make your finished product invisible.
What you need to fix a drywall paper tear:
To purchase any of these products, click on the pictures.
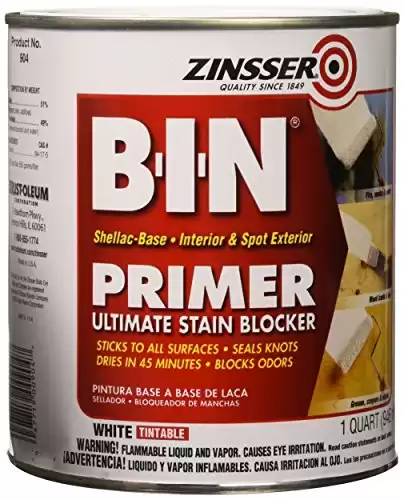
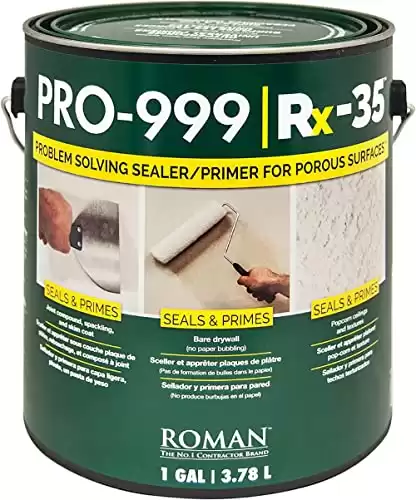
Shellac based primer: There are many primers on the market. For repairing drywall paper, you will need something that is not water based. Below you will find two brands that are readily available and work well at sealing the paper for repair.
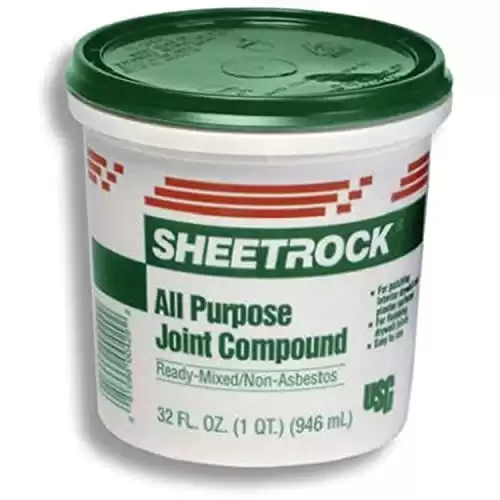
Joint compound: For someone who has never worked with joint compound, I recommend a slow setting compound, as to give you sufficient time to work. I also like the premixed joint compound for my personal use.
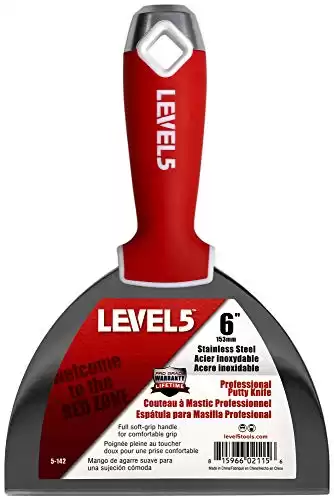
A sizeable, flexible blade/putty knife: The idea behind the larger size is that you will be able to cover the tear itself and “feather” out the edges to create a seamless transition, so your repair is virtually invisible. Purchase a blade the is at least 2-4 inches larger than your tear. The exception to this rule is if you are repairing a large tear or whole wall, then use a blade that is as large as you can handle.
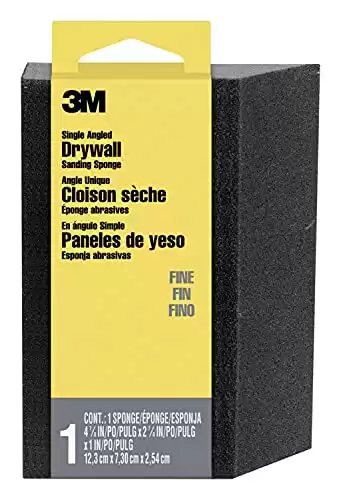
Drywall sanding sponge: When sanding joint compound, you need fine grit sandpaper or a sanding sponge. I have used both and feel that the sanding sponges are more natural to control and leave a superior finish to just using sandpaper.
New Drywall primer: Any time you put up new drywall you need to prime it so that it is ready for paint. This is especially true when you are working with joint compound. If left to its own devices, joint compound will absorb paint at an uneven rate and leave your walls looking modeled and stained. BUY THIS AT YOUR LOCAL HARDWARE STORE!
Wall paint color: Lastly, you need to paint over your repair with whatever paint you desire. I love my paint color. It’s called sandstone cove by Behr paint. It is a beautiful natural color that has no yellow or pink undertones. BUY THIS AT YOUR LOCAL HOME DEPOT!
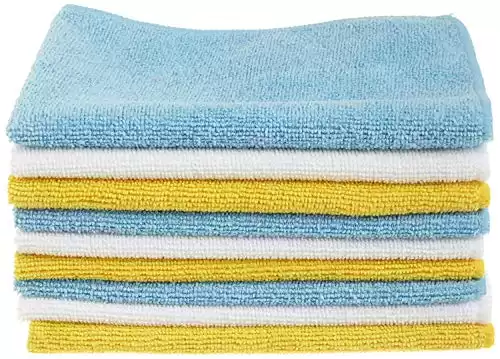
Tack cloth: For cleaning up the walls and paint spills I use a damp washcloth.
Tutorial:
I hope you find this video tutorial helpful. I am just a DIYer and not a professional. So if you have a significant repair and have never attempted drywalling before you may want to get a professionals help.
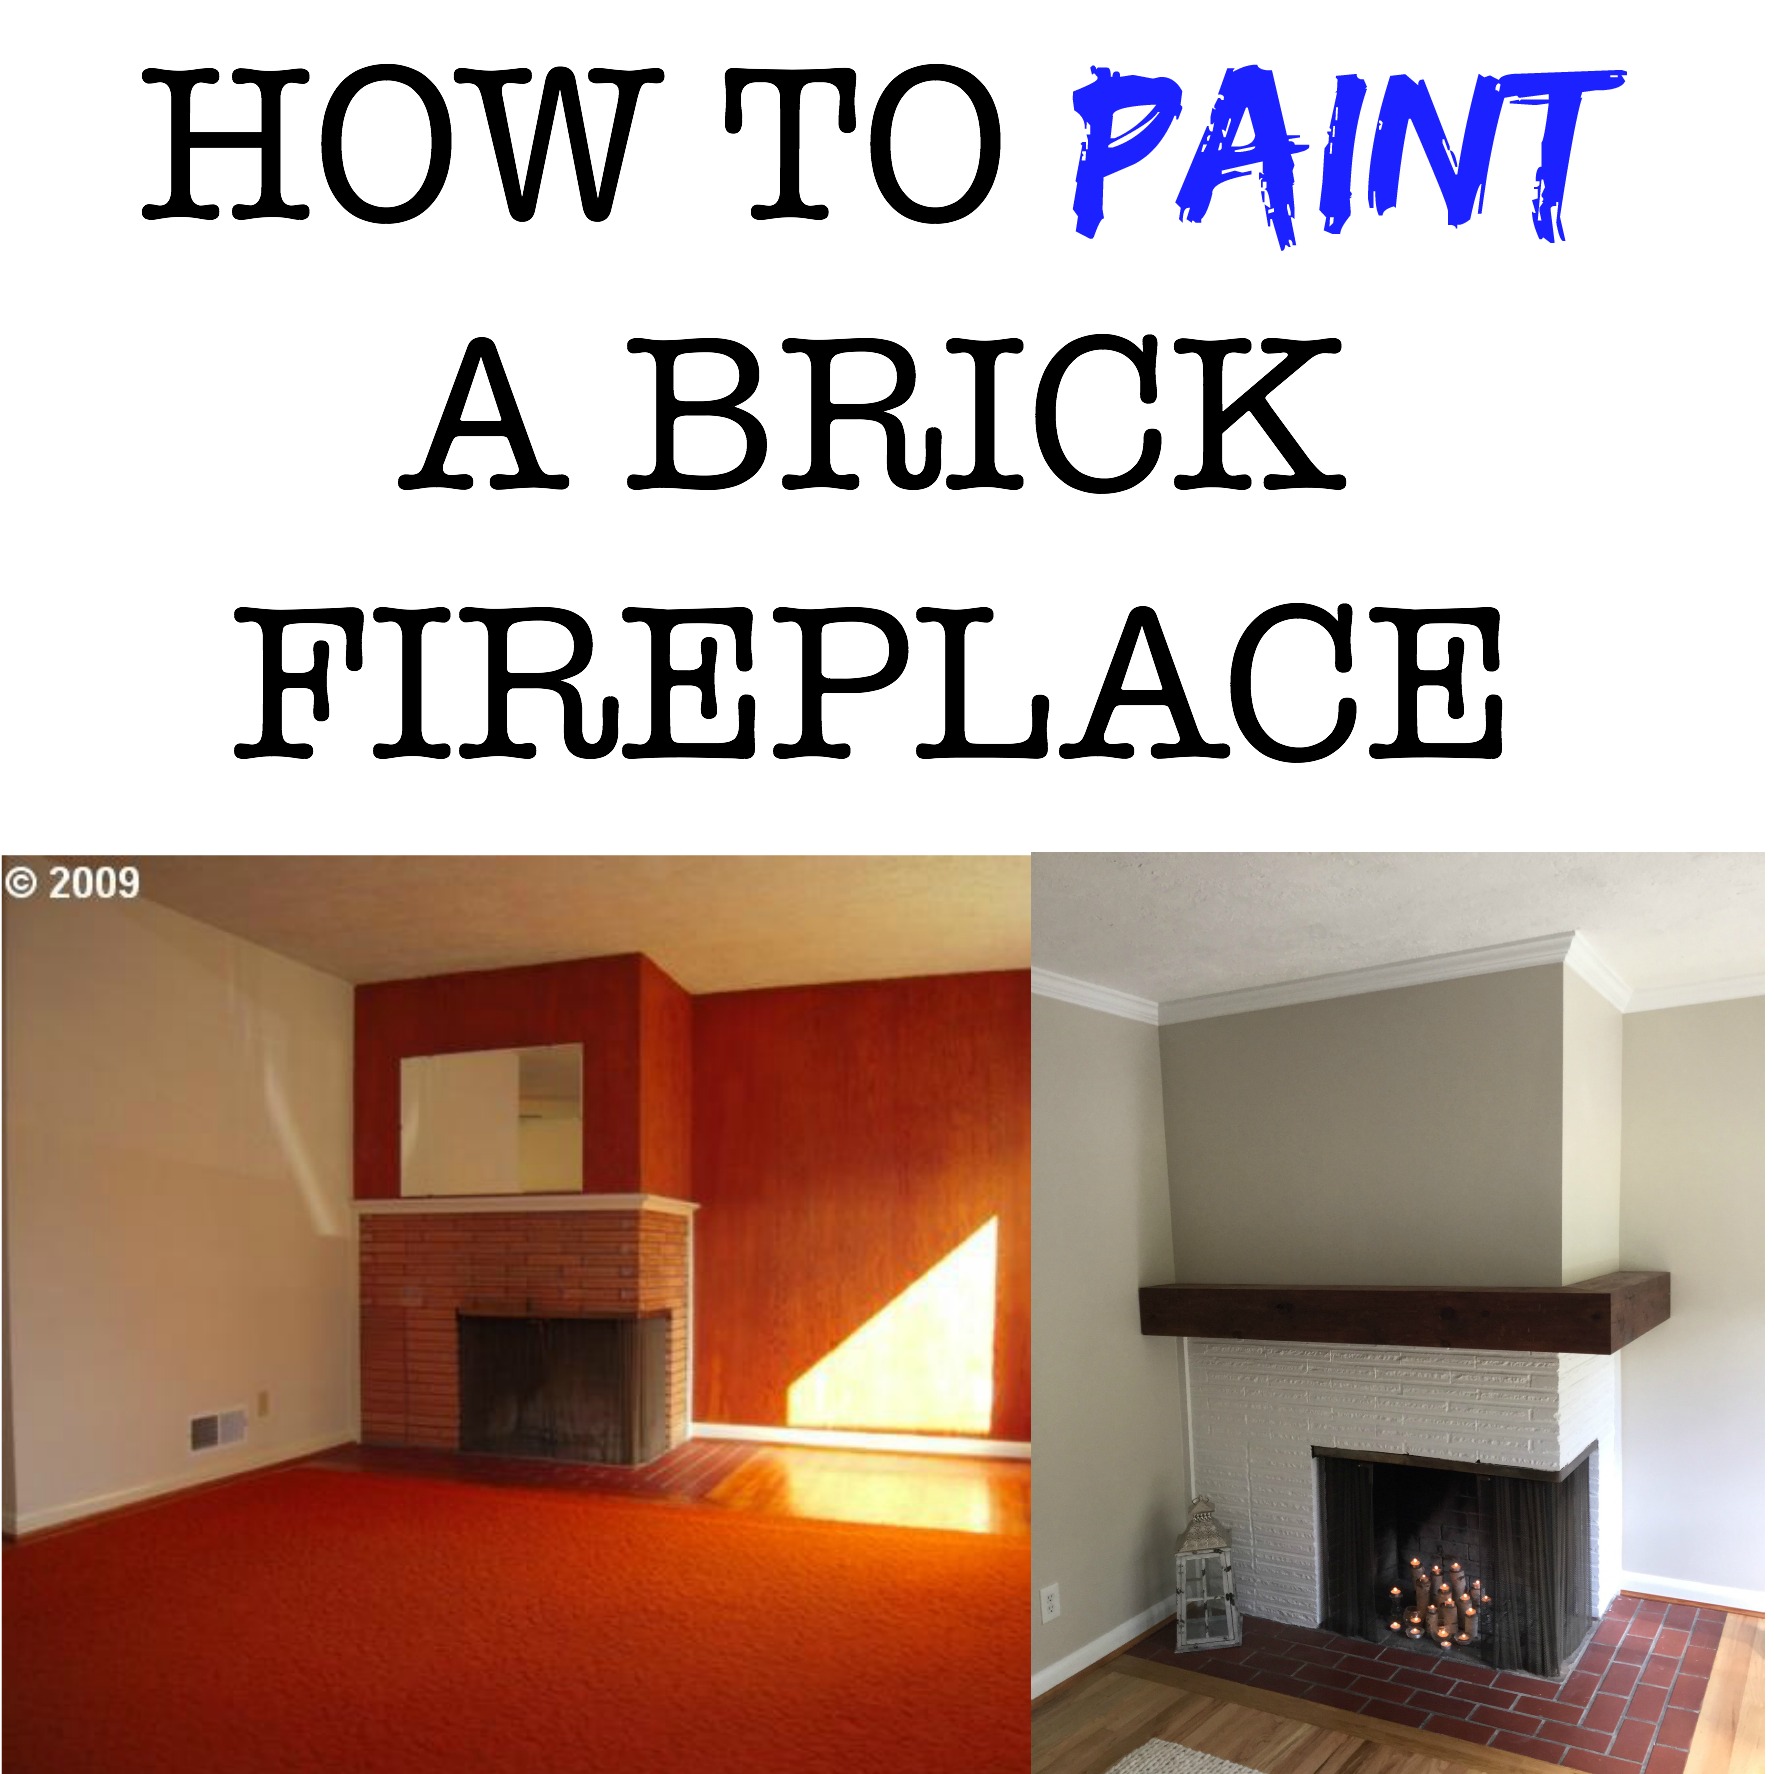
If you need any advice on how to properly paint a brick fireplace, I’ve gotcha covered.


Great tutorial – thank you!
Wow! I didn’t I can still repair this! Planning to change the whole wallpaper. LOL. Anyway, thanks for sharing!
Well done & great job! Nice step-by-step tutorial!
Repairing drywall paper seems easier than repairing drywall, and now I know how to do both, thank you!
Terry Omaha recently posted…Hello world!
This was a fantastically creative article. I really like your effort on how to repair drywall paper. I also write a lot of articles on home improvement. if you like to read please visit USA Wordle. Thanks, admin for writing a cool article. I’m waiting for your next article. Thank you
USA Wordle recently posted…How to Clean Cabinets before Painting?