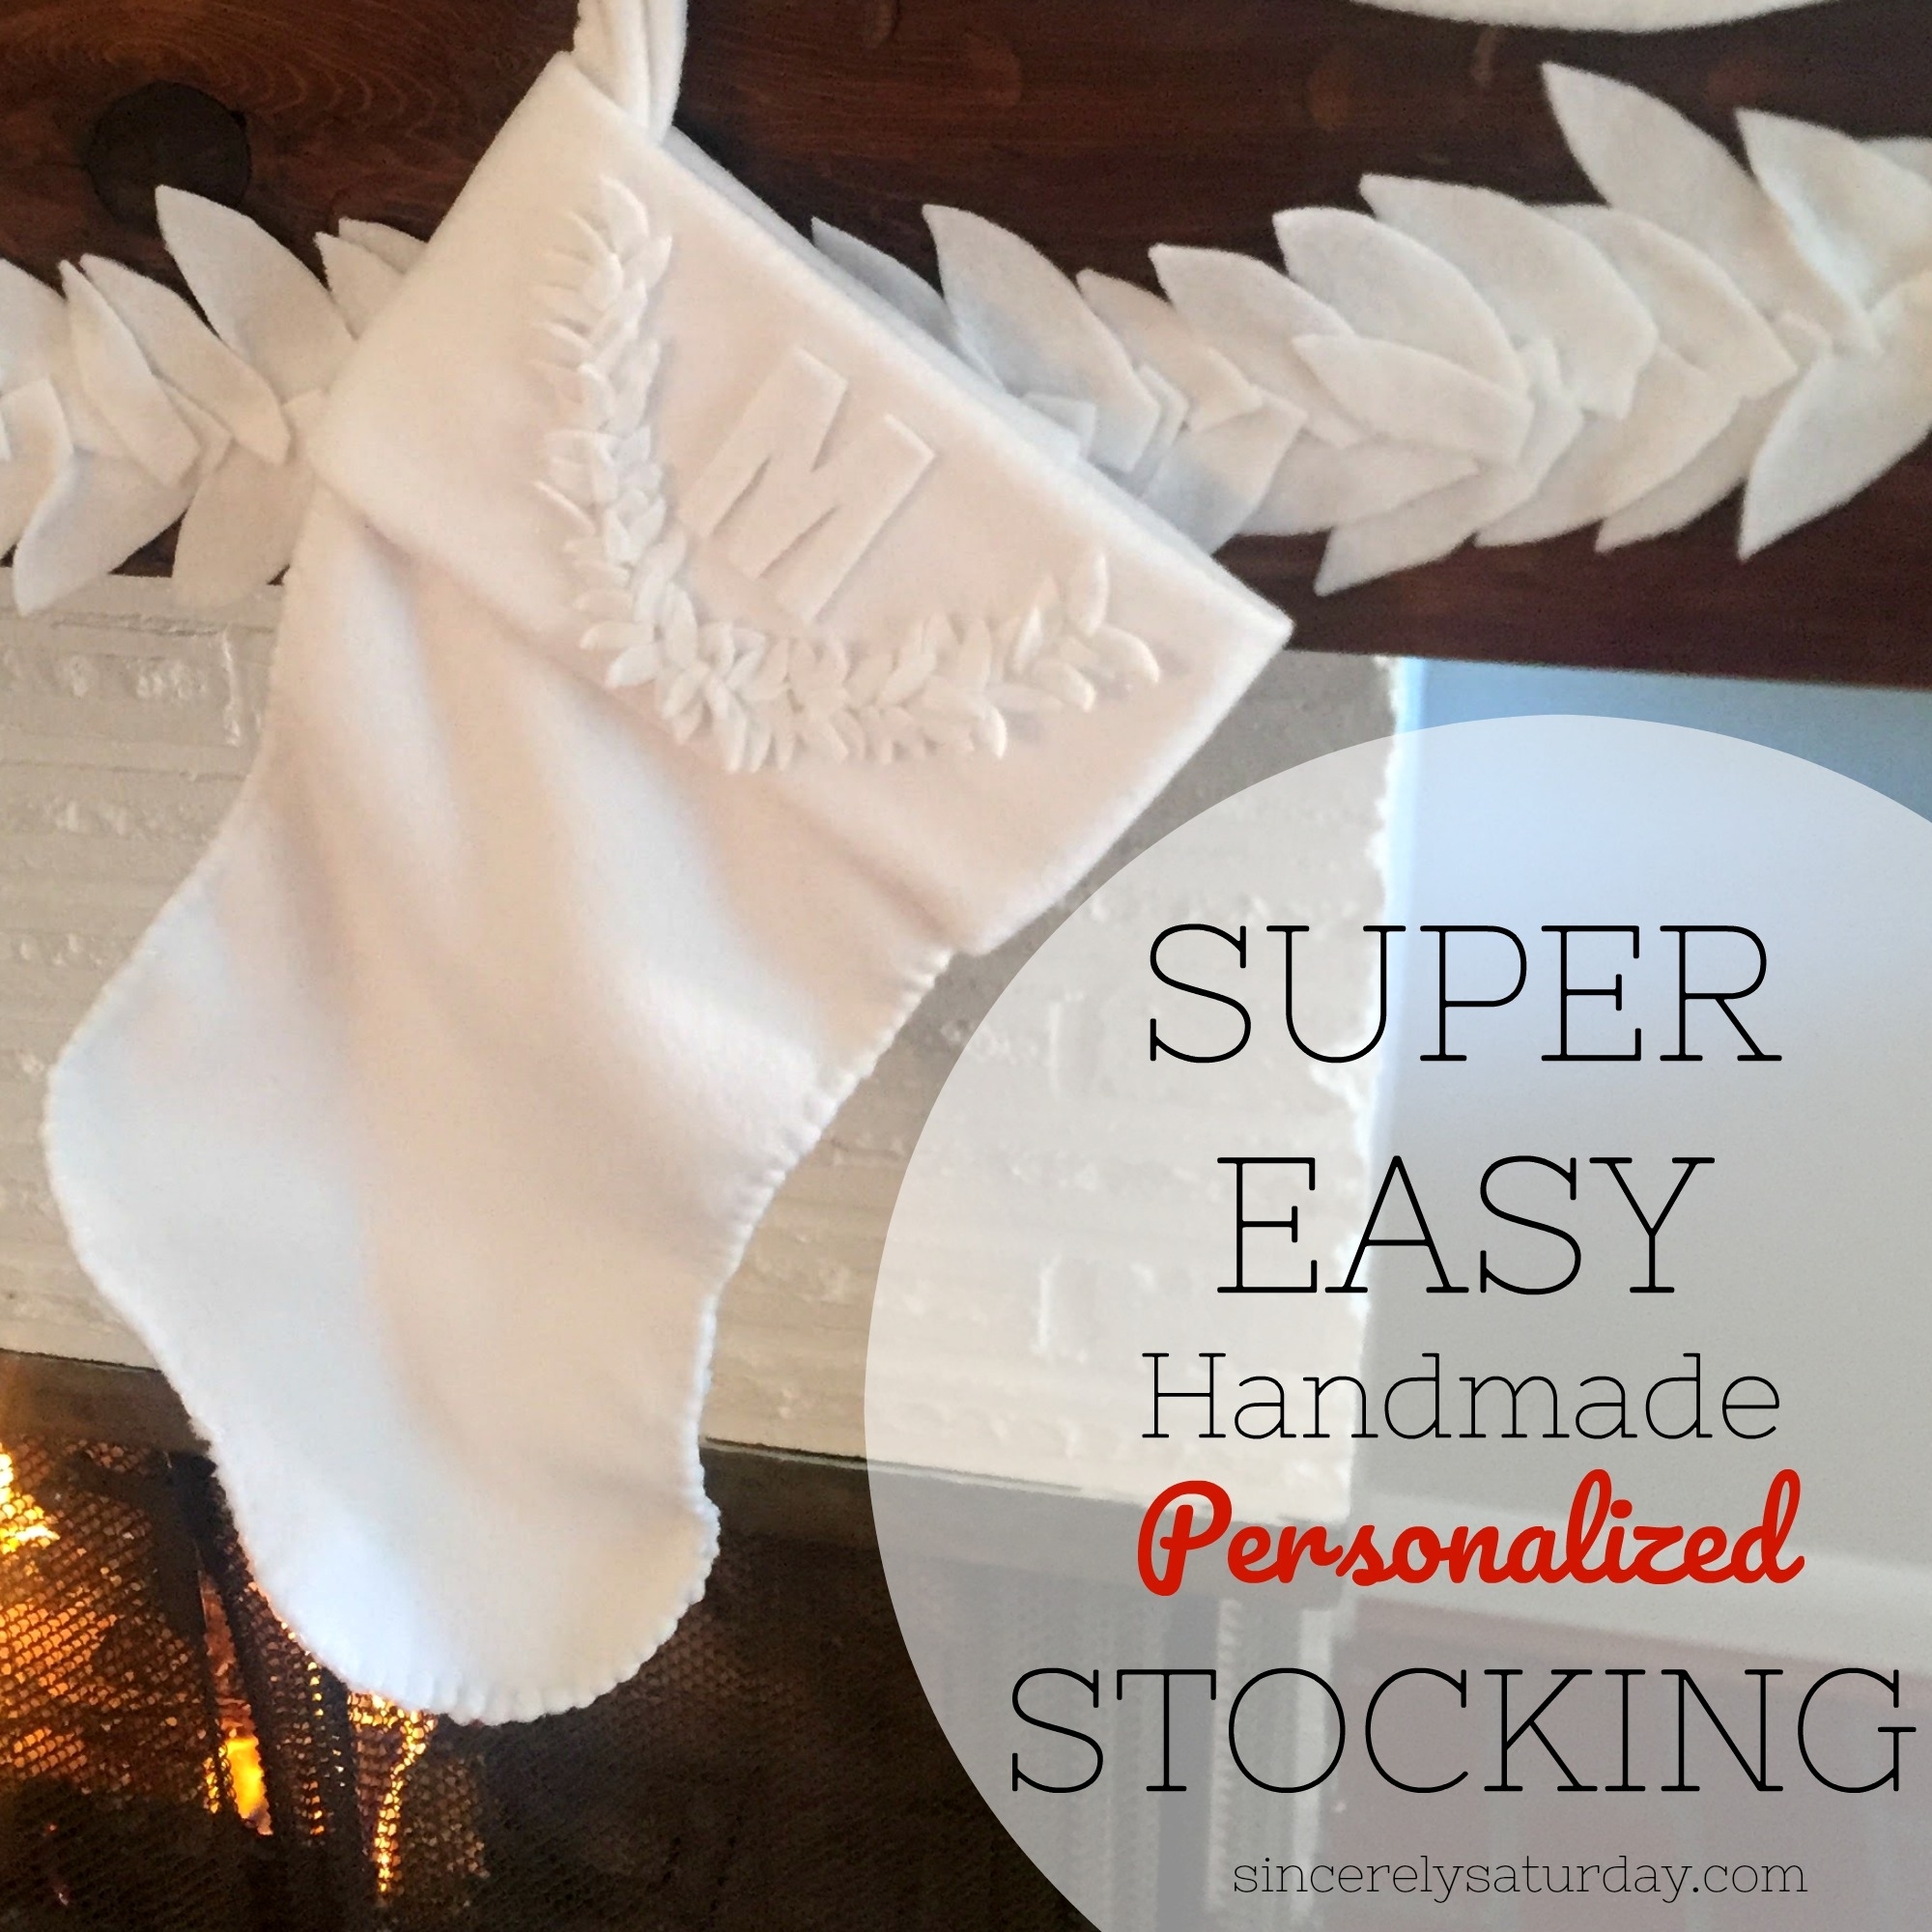
 Looking for a super easy handmade personalized stocking? Well, I have a fun and easy DIY that you will love for years to come.
Let’ say that I’m a bit of a Christmas freak. Understatement of the century! I love Christmas with every ounce of my being. Not for the gifts but for the feeling and togetherness of family and friends.
This year I decided that I wanted to have an ALL white Christmas. Enter the new stockings. I thought that I could make a super cute stocking and a garland for my mantel out of fabric. I bought 2 yards of fleece from Joann’s and got to work.
You don’t have to have superior sewing skills to make these stockings. I used the blanket stitch for these stockings. Here is a link (click here) to a video of how to do that stitch. Try it it’s super easy.
If you don’t feel like reading the tutorial just watch the video below!
Super easy handmade personalized stockings
Supplies you will need are:
The fabric of your choice – I used white Anti-pill fleece
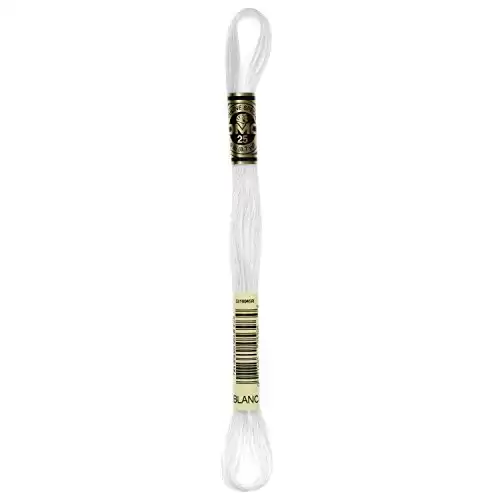
Embroidery floss (If you want to sew)
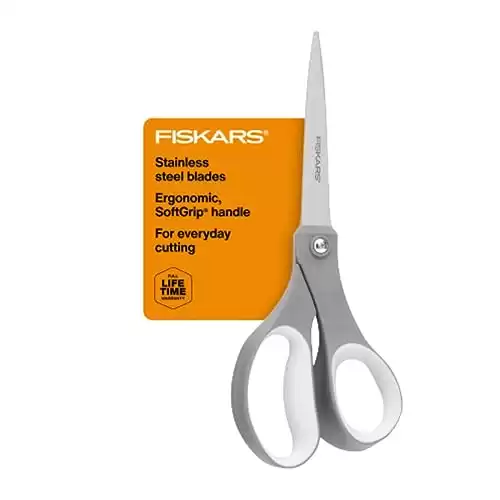
Scissors
Hot glue
Stocking template – This is the template I used
Letter template – Just google the letter you want to use and choose one that you like.
Cute template for decoration – Google what kind of decoration you want. I used an antler template and free-handed the wreath.
Stocking assembly
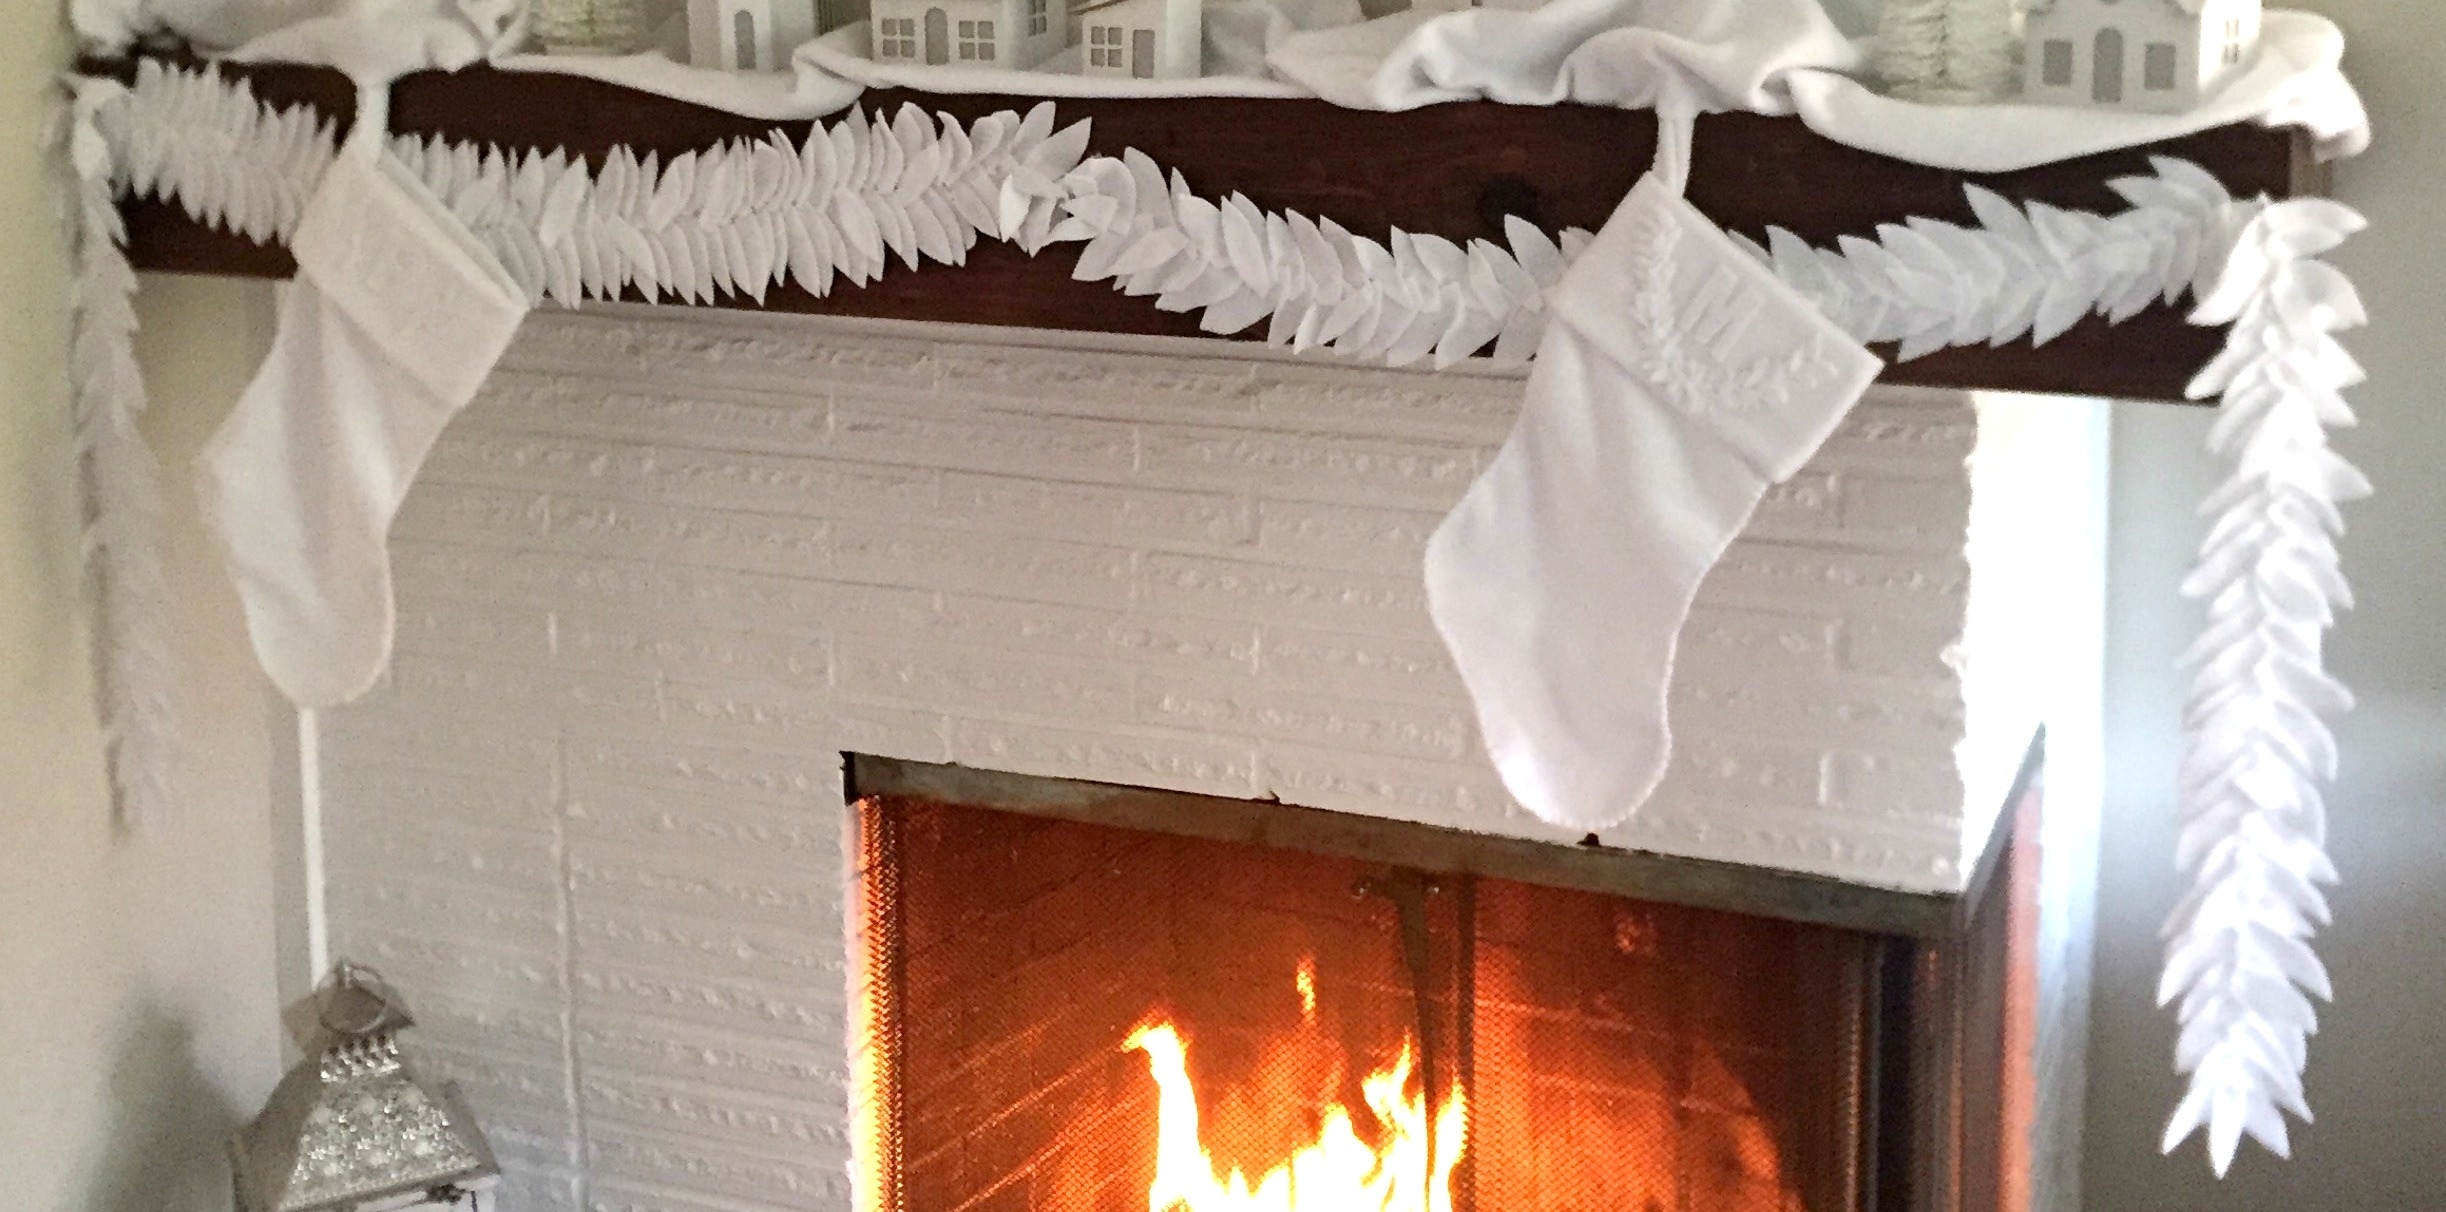 First, you’re gonna want to print and cut out your templates. I wanted a particular shape for my stockings but there are hundreds of different templates to choose from. So pick the one that fits your decor the best.
After preparing your templates, place the stocking template on the fabric and trace around. Flip the template over and trace again. You will need to do this to have two sides of the stocking.
Use the extra fabric to make the stocking tab, decorations, and cuff. For the cuff, I used a piece that measured 21 inches long and 11 inches tall. Just fold it in half and glue it together, leaving the ends open. The tab for the stocking measures 8 inches long and 2 inches wide. I sewed the tab together for strength.
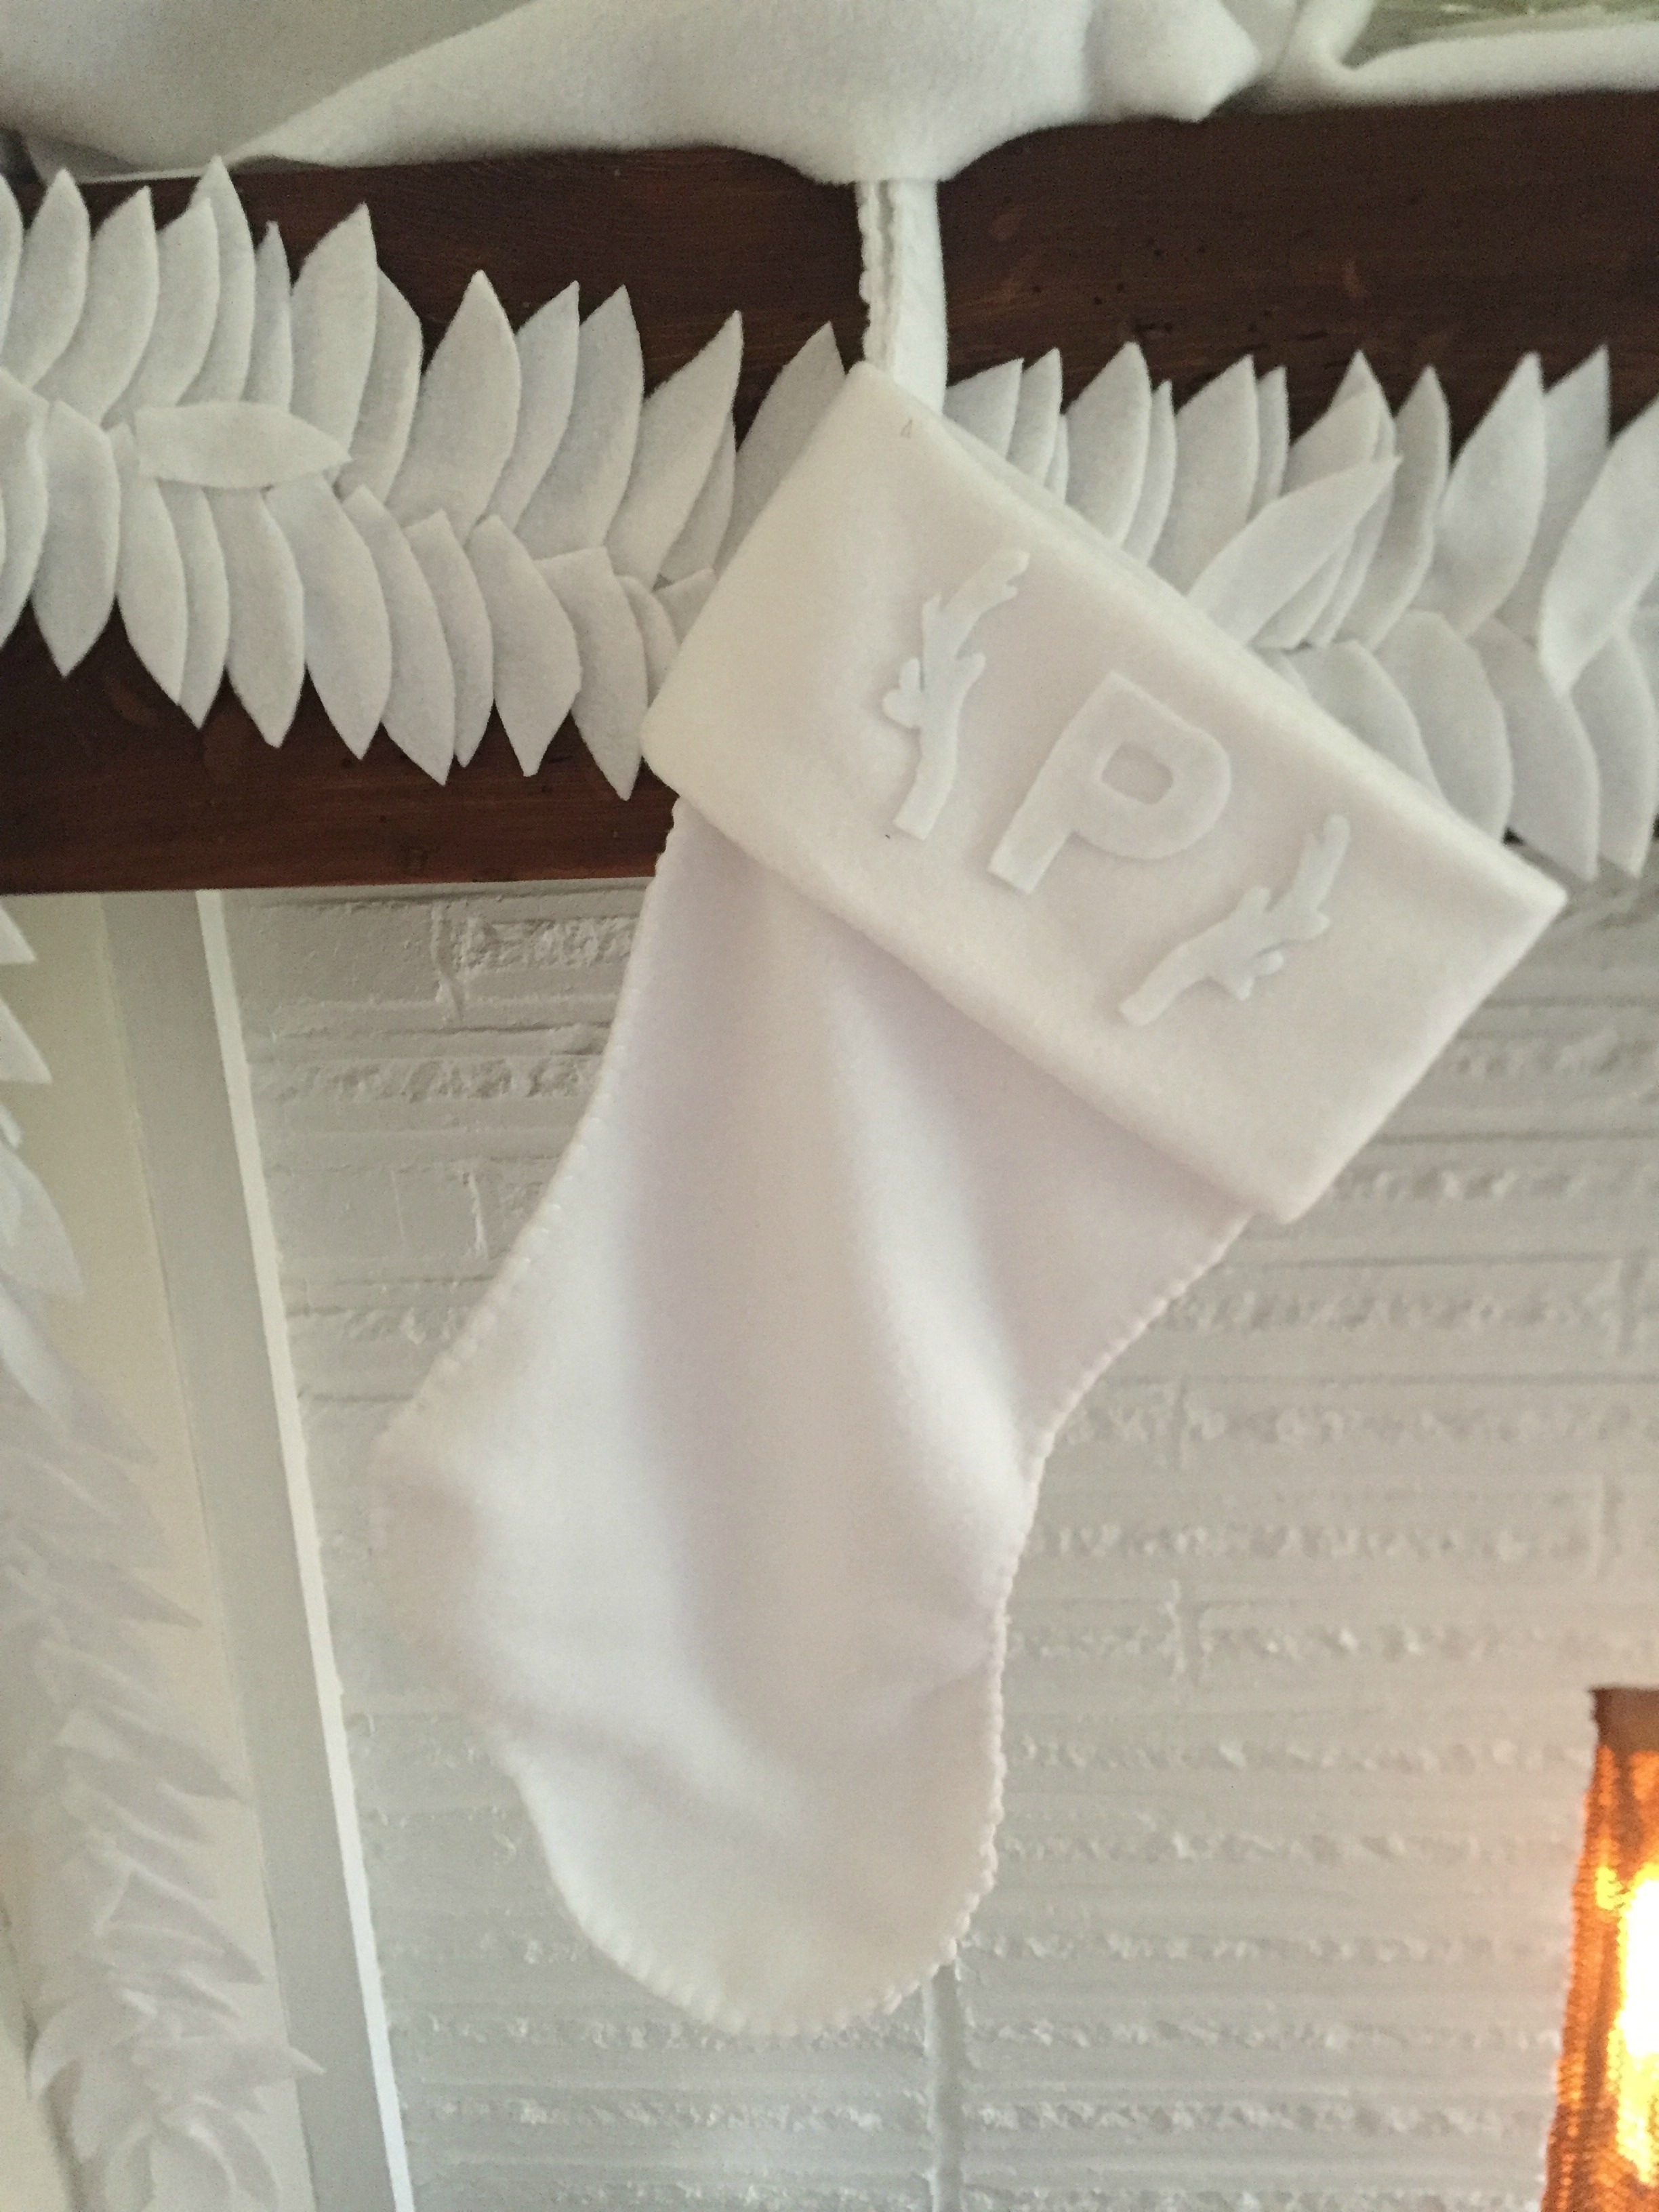 For your letter and decoration just simply trace and cut your letter. Make sure that if you are using a specific side of fabric, trace and cut the letter in reverse so you have the letter the right way. I made that mistake with the letter “P” and had to cut it out twice.
Assemble your stocking halves together. I pinned my two halves together but you don’t have to. Sew around the entire stocking leaving the top open (duh).
Fold the fabric in half for your tab and sew it closed. Attach the tab along the seam, making sure to sew it really well as it will be holding the entire weight of the stocking and its goodies!
Heat up your glue gun.
Take the cuff fabric and fold it so that there is no “seam” showing in the front. Glue closed.
Apply your decorations to the front of the cuff. After the glue has dried remove any glue strings.
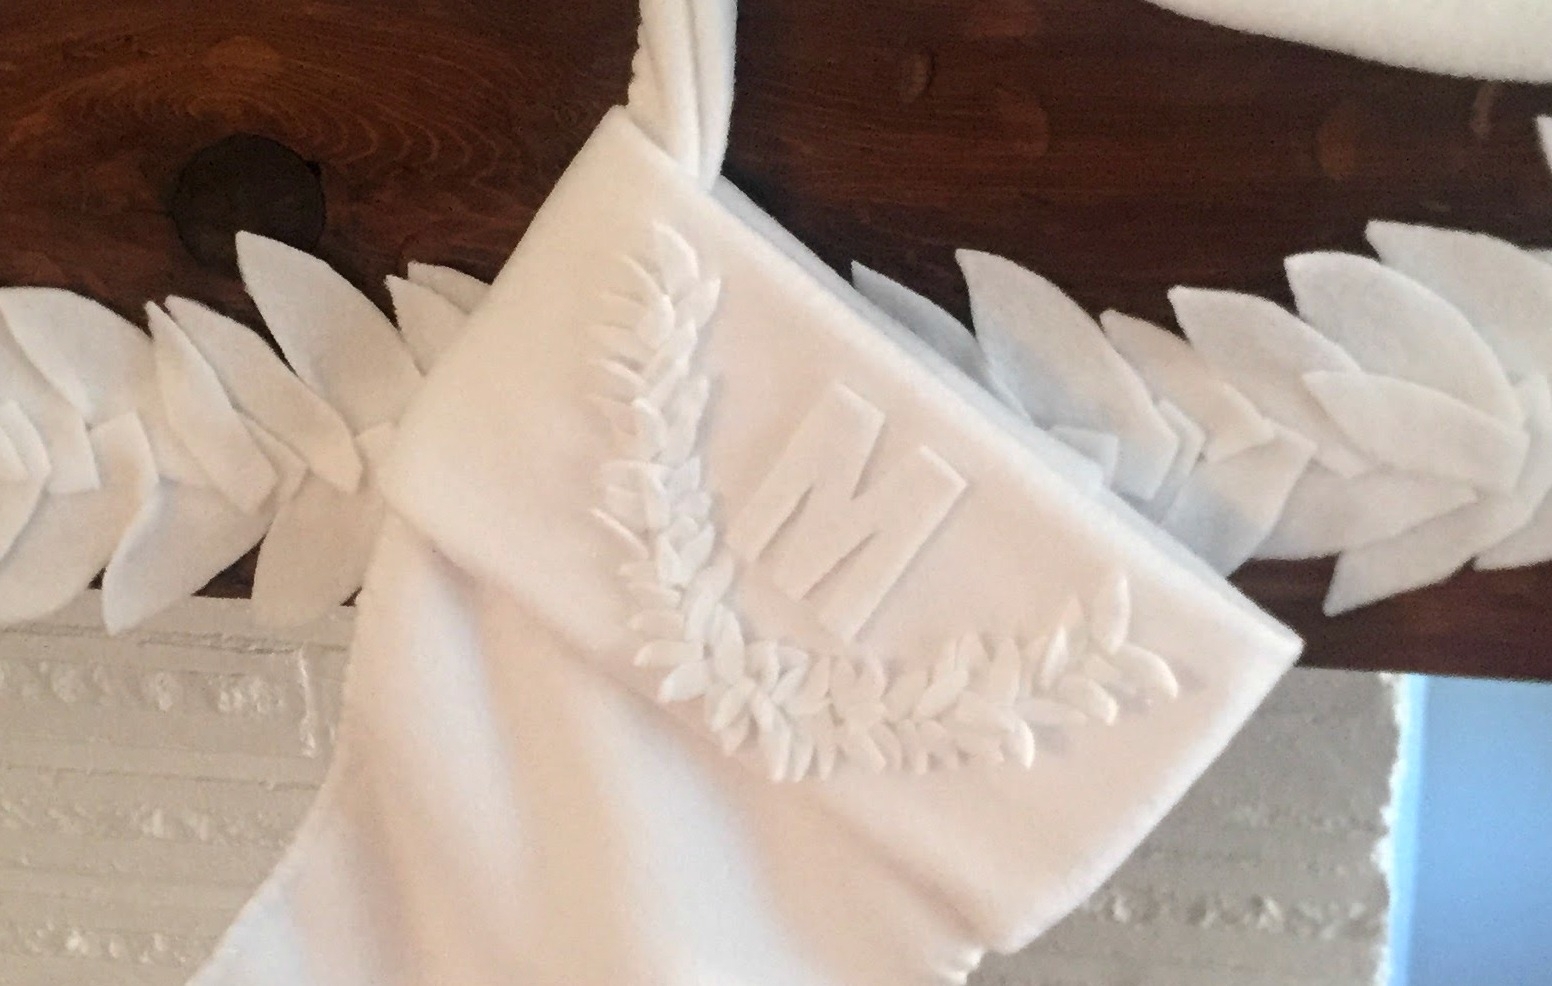 Attach the cuff to the stocking. First gluing the front down and then the back. I measured the cuff a little long so I had some wiggle room to attach it. I did have to cut some of the fabric off on the back of the cuff and tucked it into itself for a more finished look.
Viola! Super easy homemade Christmas stockings that are personalized and cheap!
I can’t wait to share my other Christmas DIYs with you. Subscribe so you don’t miss a thing. Coming in the near future is my super cheap and easy fabric garland, my Christmas mantel transformation for under $50.00 and morse code bracelets.




This is beautiful! Merry Christmas!
Such an elegant look!