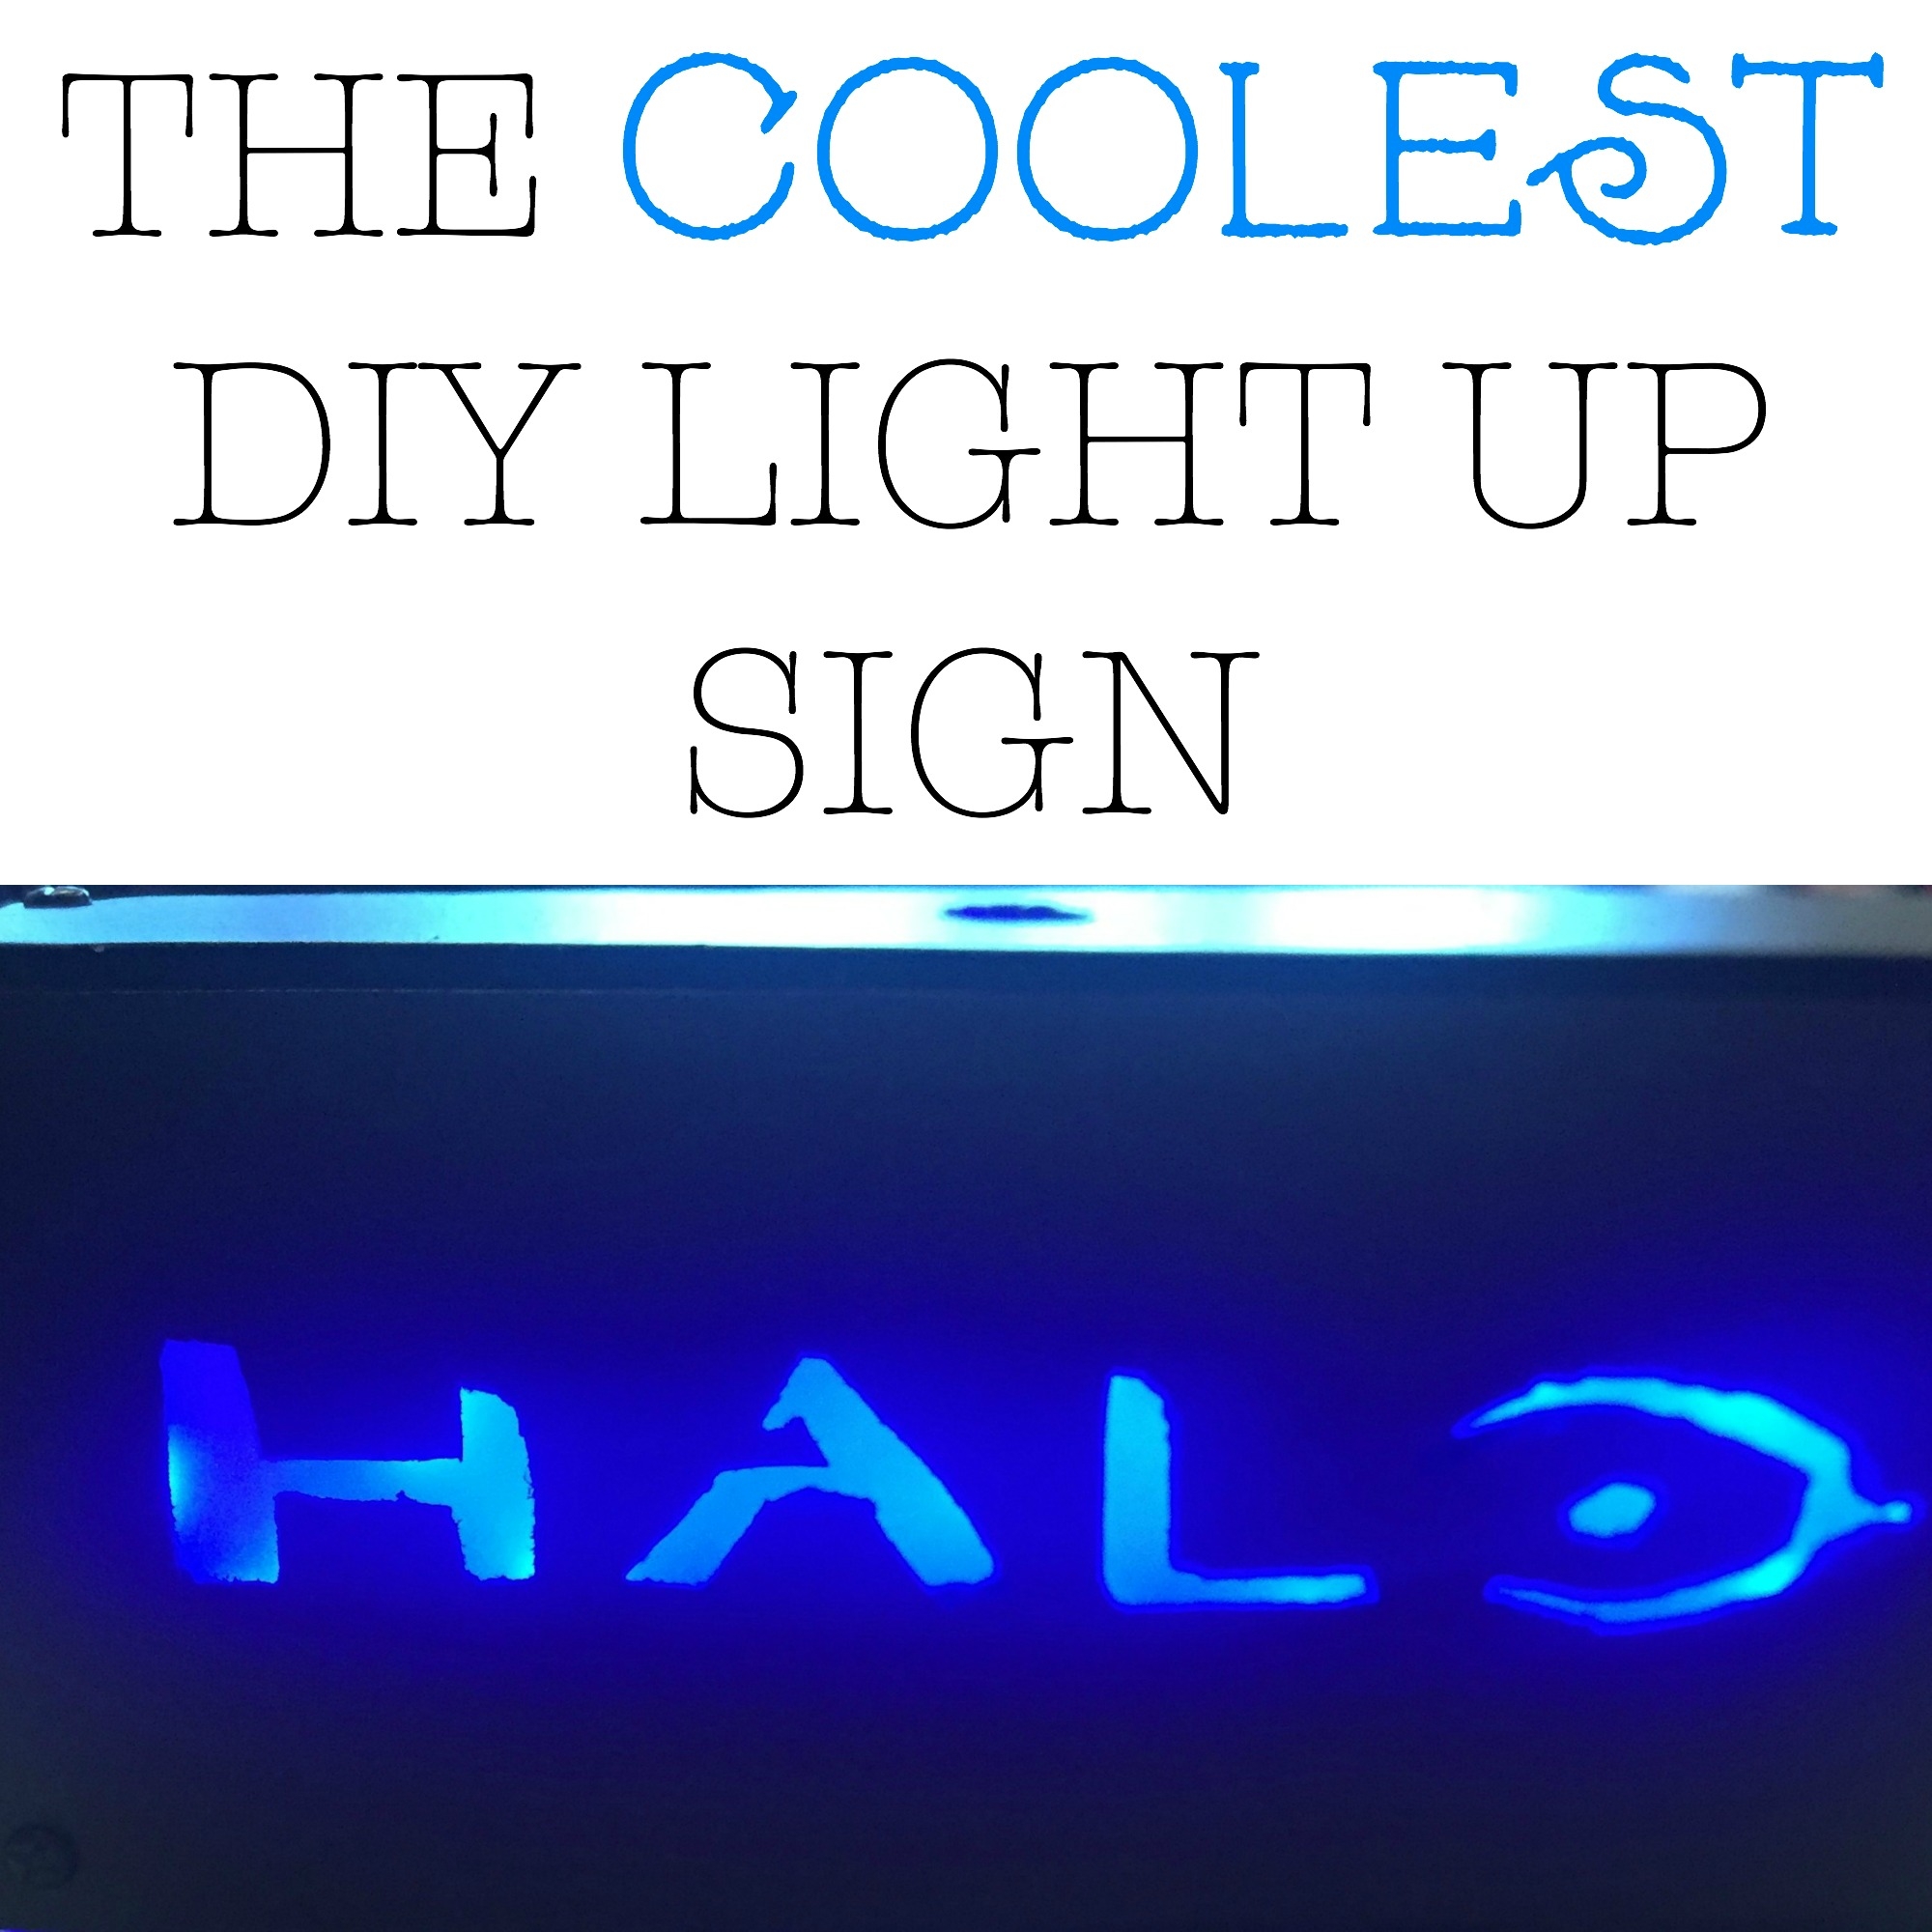
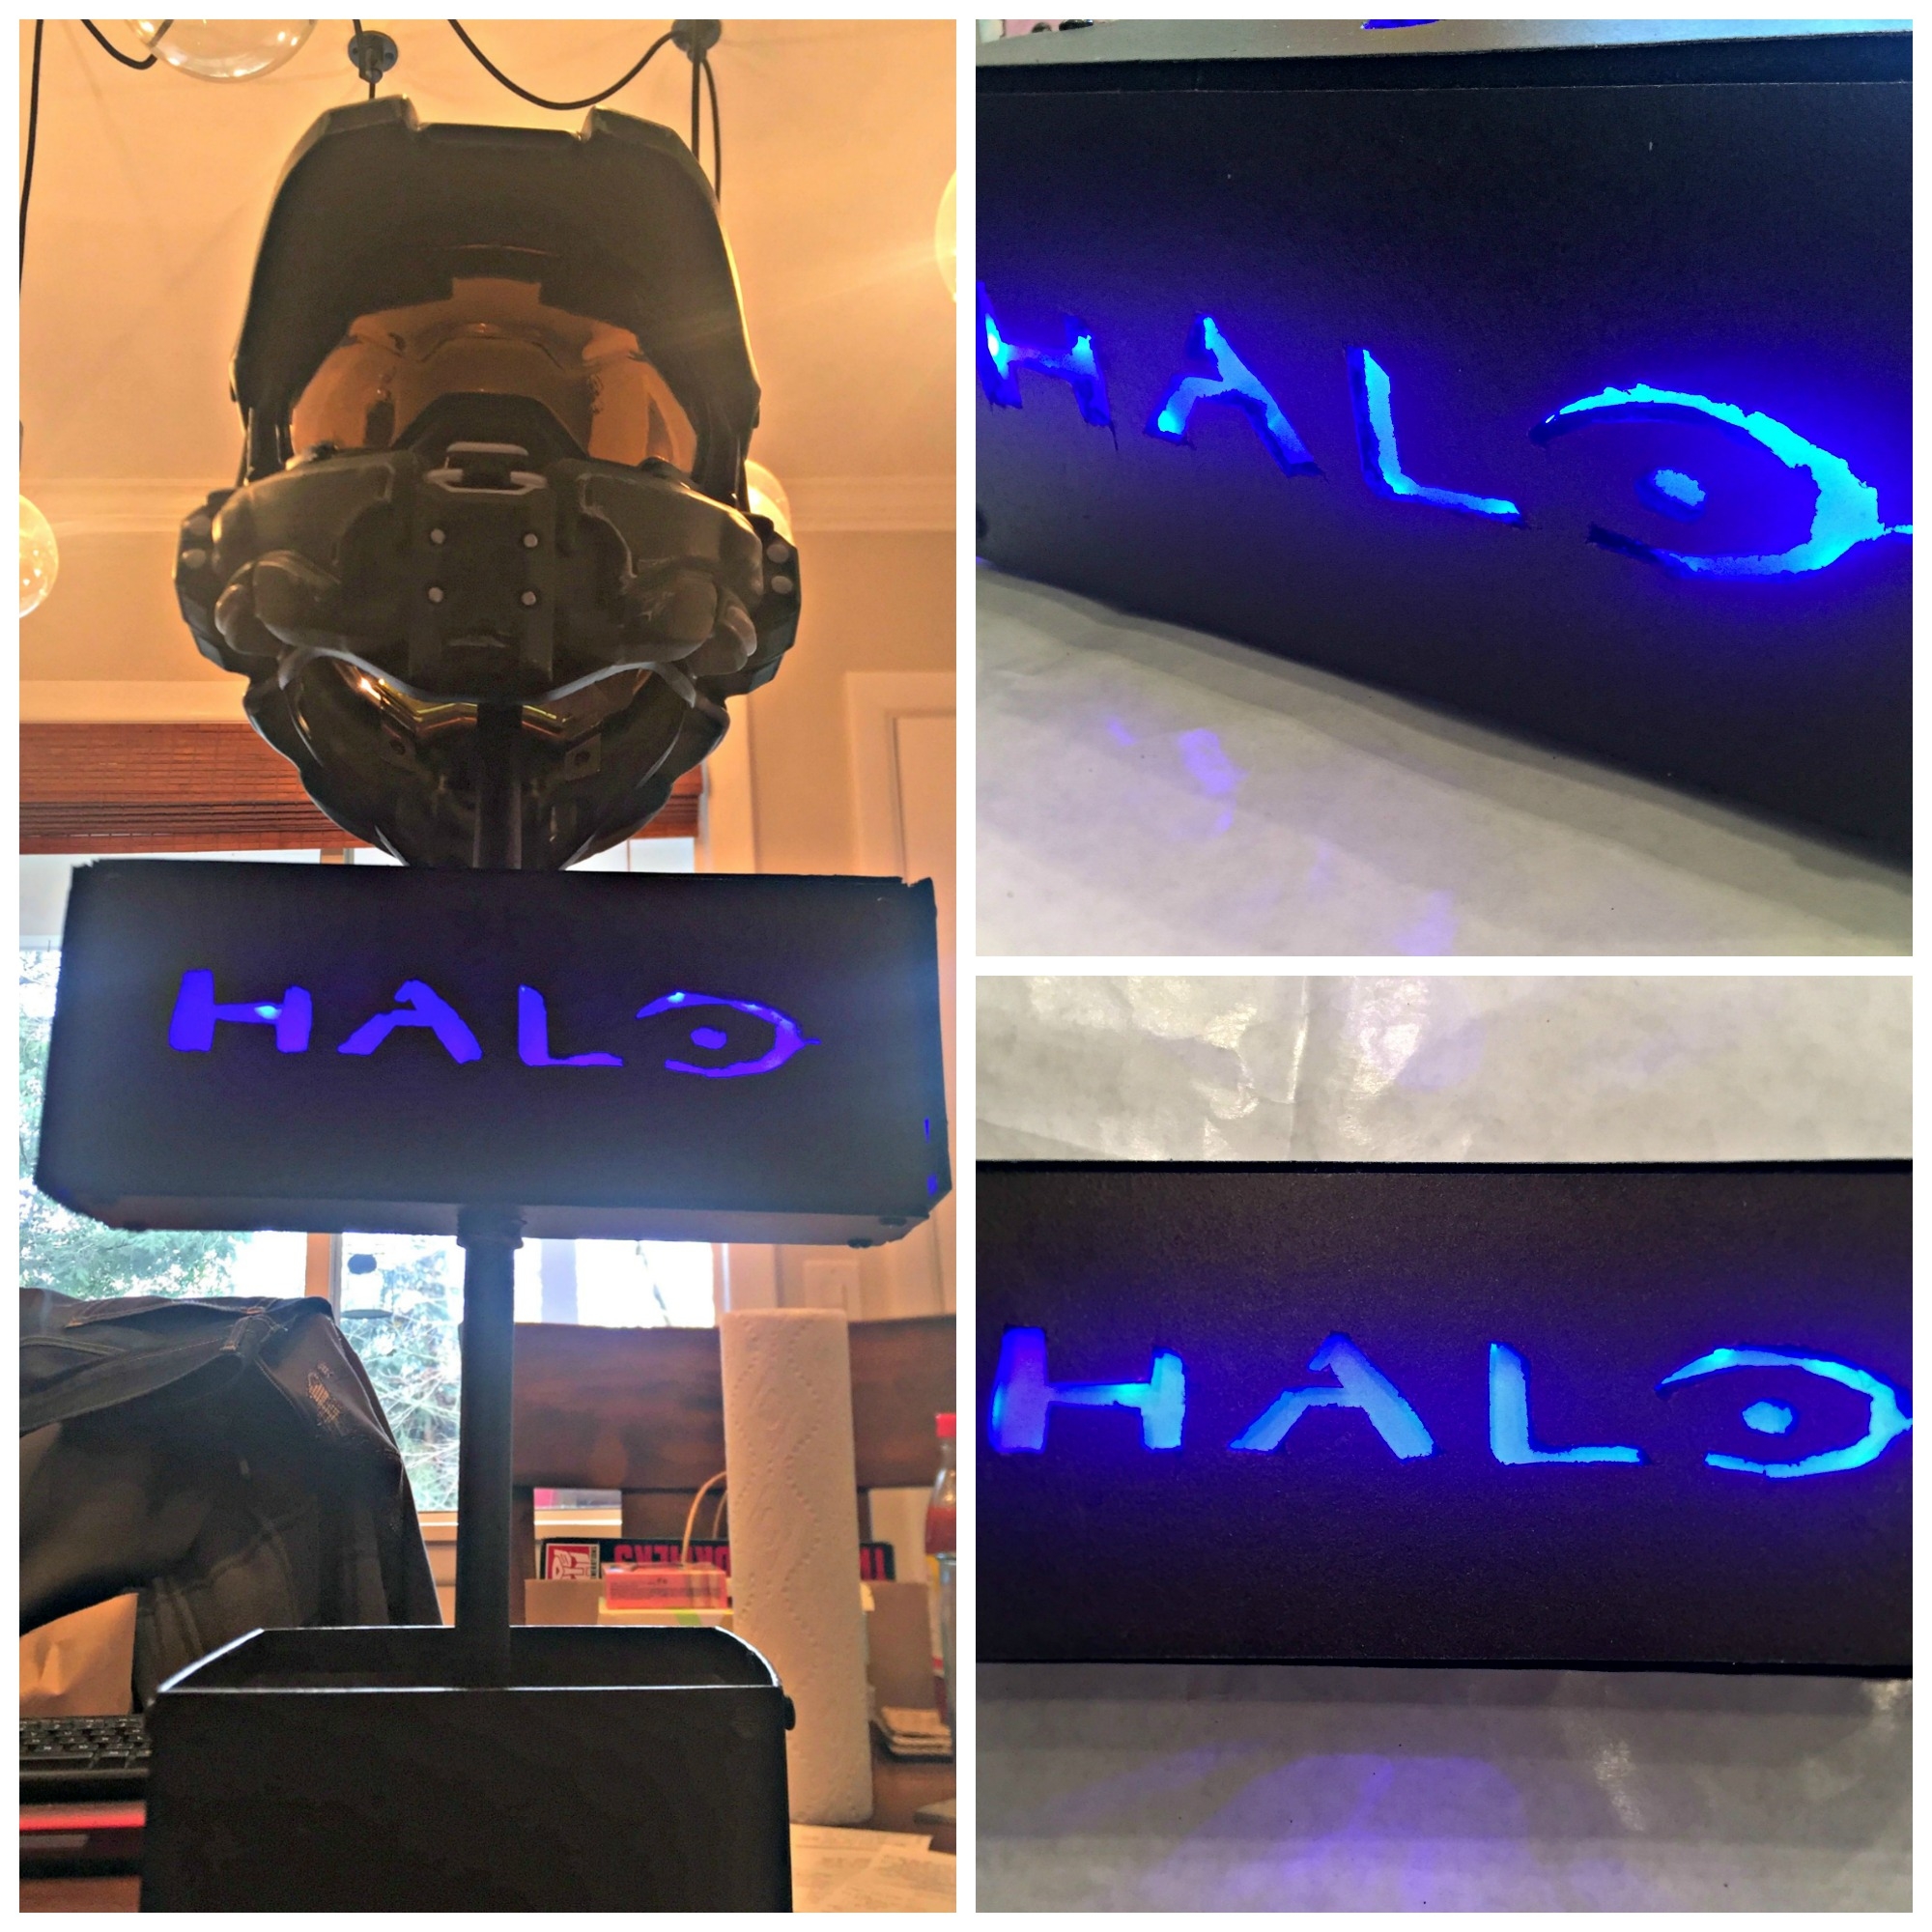
Halo (the game) offers cool gameplay but no merchandise for parties. I had to think of something for one of my nephew’s birthday parties. My options were to print and cut out pictures of the master chief and his vehicles or whip up something fabulous. So I “whipped” and came up with a sick centerpiece for the party. It’s the coolest DIY light-up sign.
This was my first time attempting this type of project. It took some planning and a little trial and error. What I came up with was a foam board box that I carved the image into and back-lit it with LED. In total, the signs cost me about $10.00 per light up sign.
This post may contain affiliate links. I do not advertise or recommend anything I do not use myself. All opinions expressed are 100% my own.
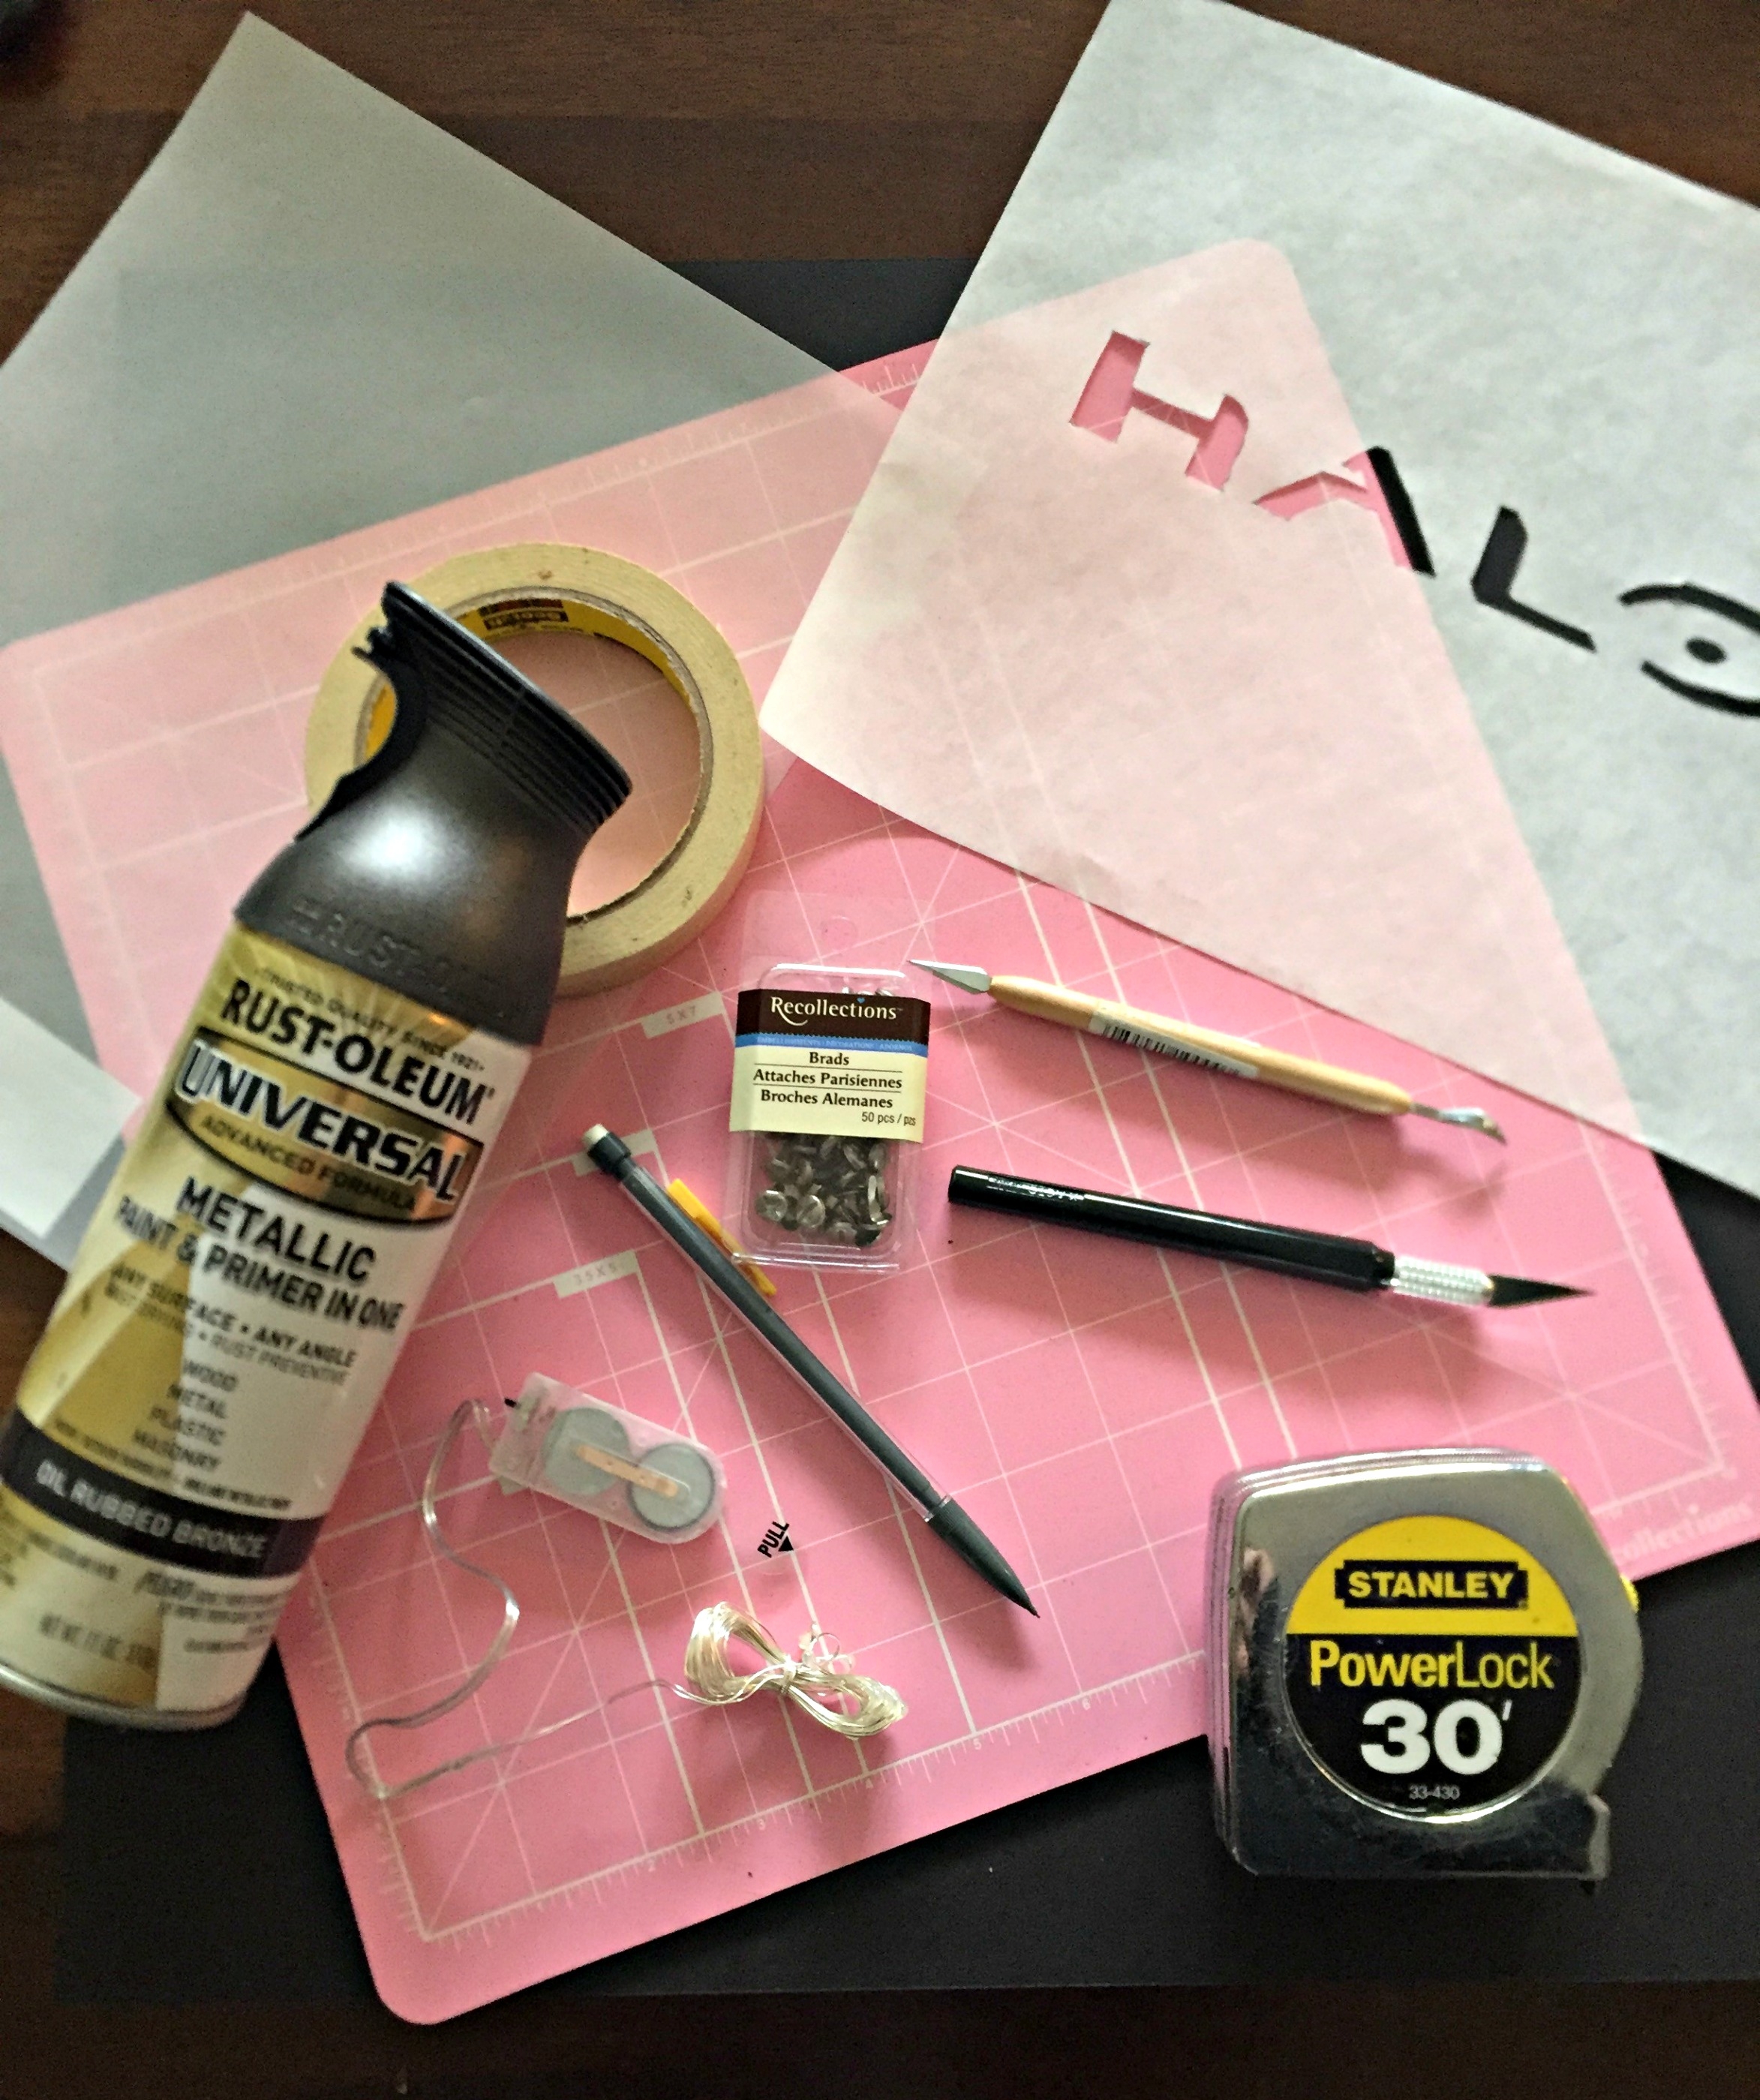
SUPPLIES:
Foam board (3 pack) – $ 5.74, check your local dollar store as well.
Exacto knife – $6.86
Pencil – $4.80
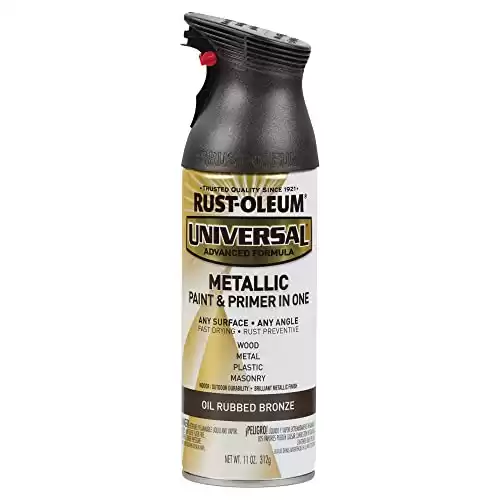
Spray paint – $11.00 on Amazon. Could be cheaper at the local hardware shop.
Self-healing cutting mat – $12.99
Brads – $2.99
Velum – $11.91 (you can buy single sheets at your local craft store.)
LED lights – $9.59
Template – $0.00 – I took a piece of tracing paper and found the logo on google and traced it from my laptop screen.
Tape – $3.29
Hot glue gun with hot glue – $7.99
_________________________________________________________________________
INSTRUCTIONS FOR DIY LIGHT UP SIGN:
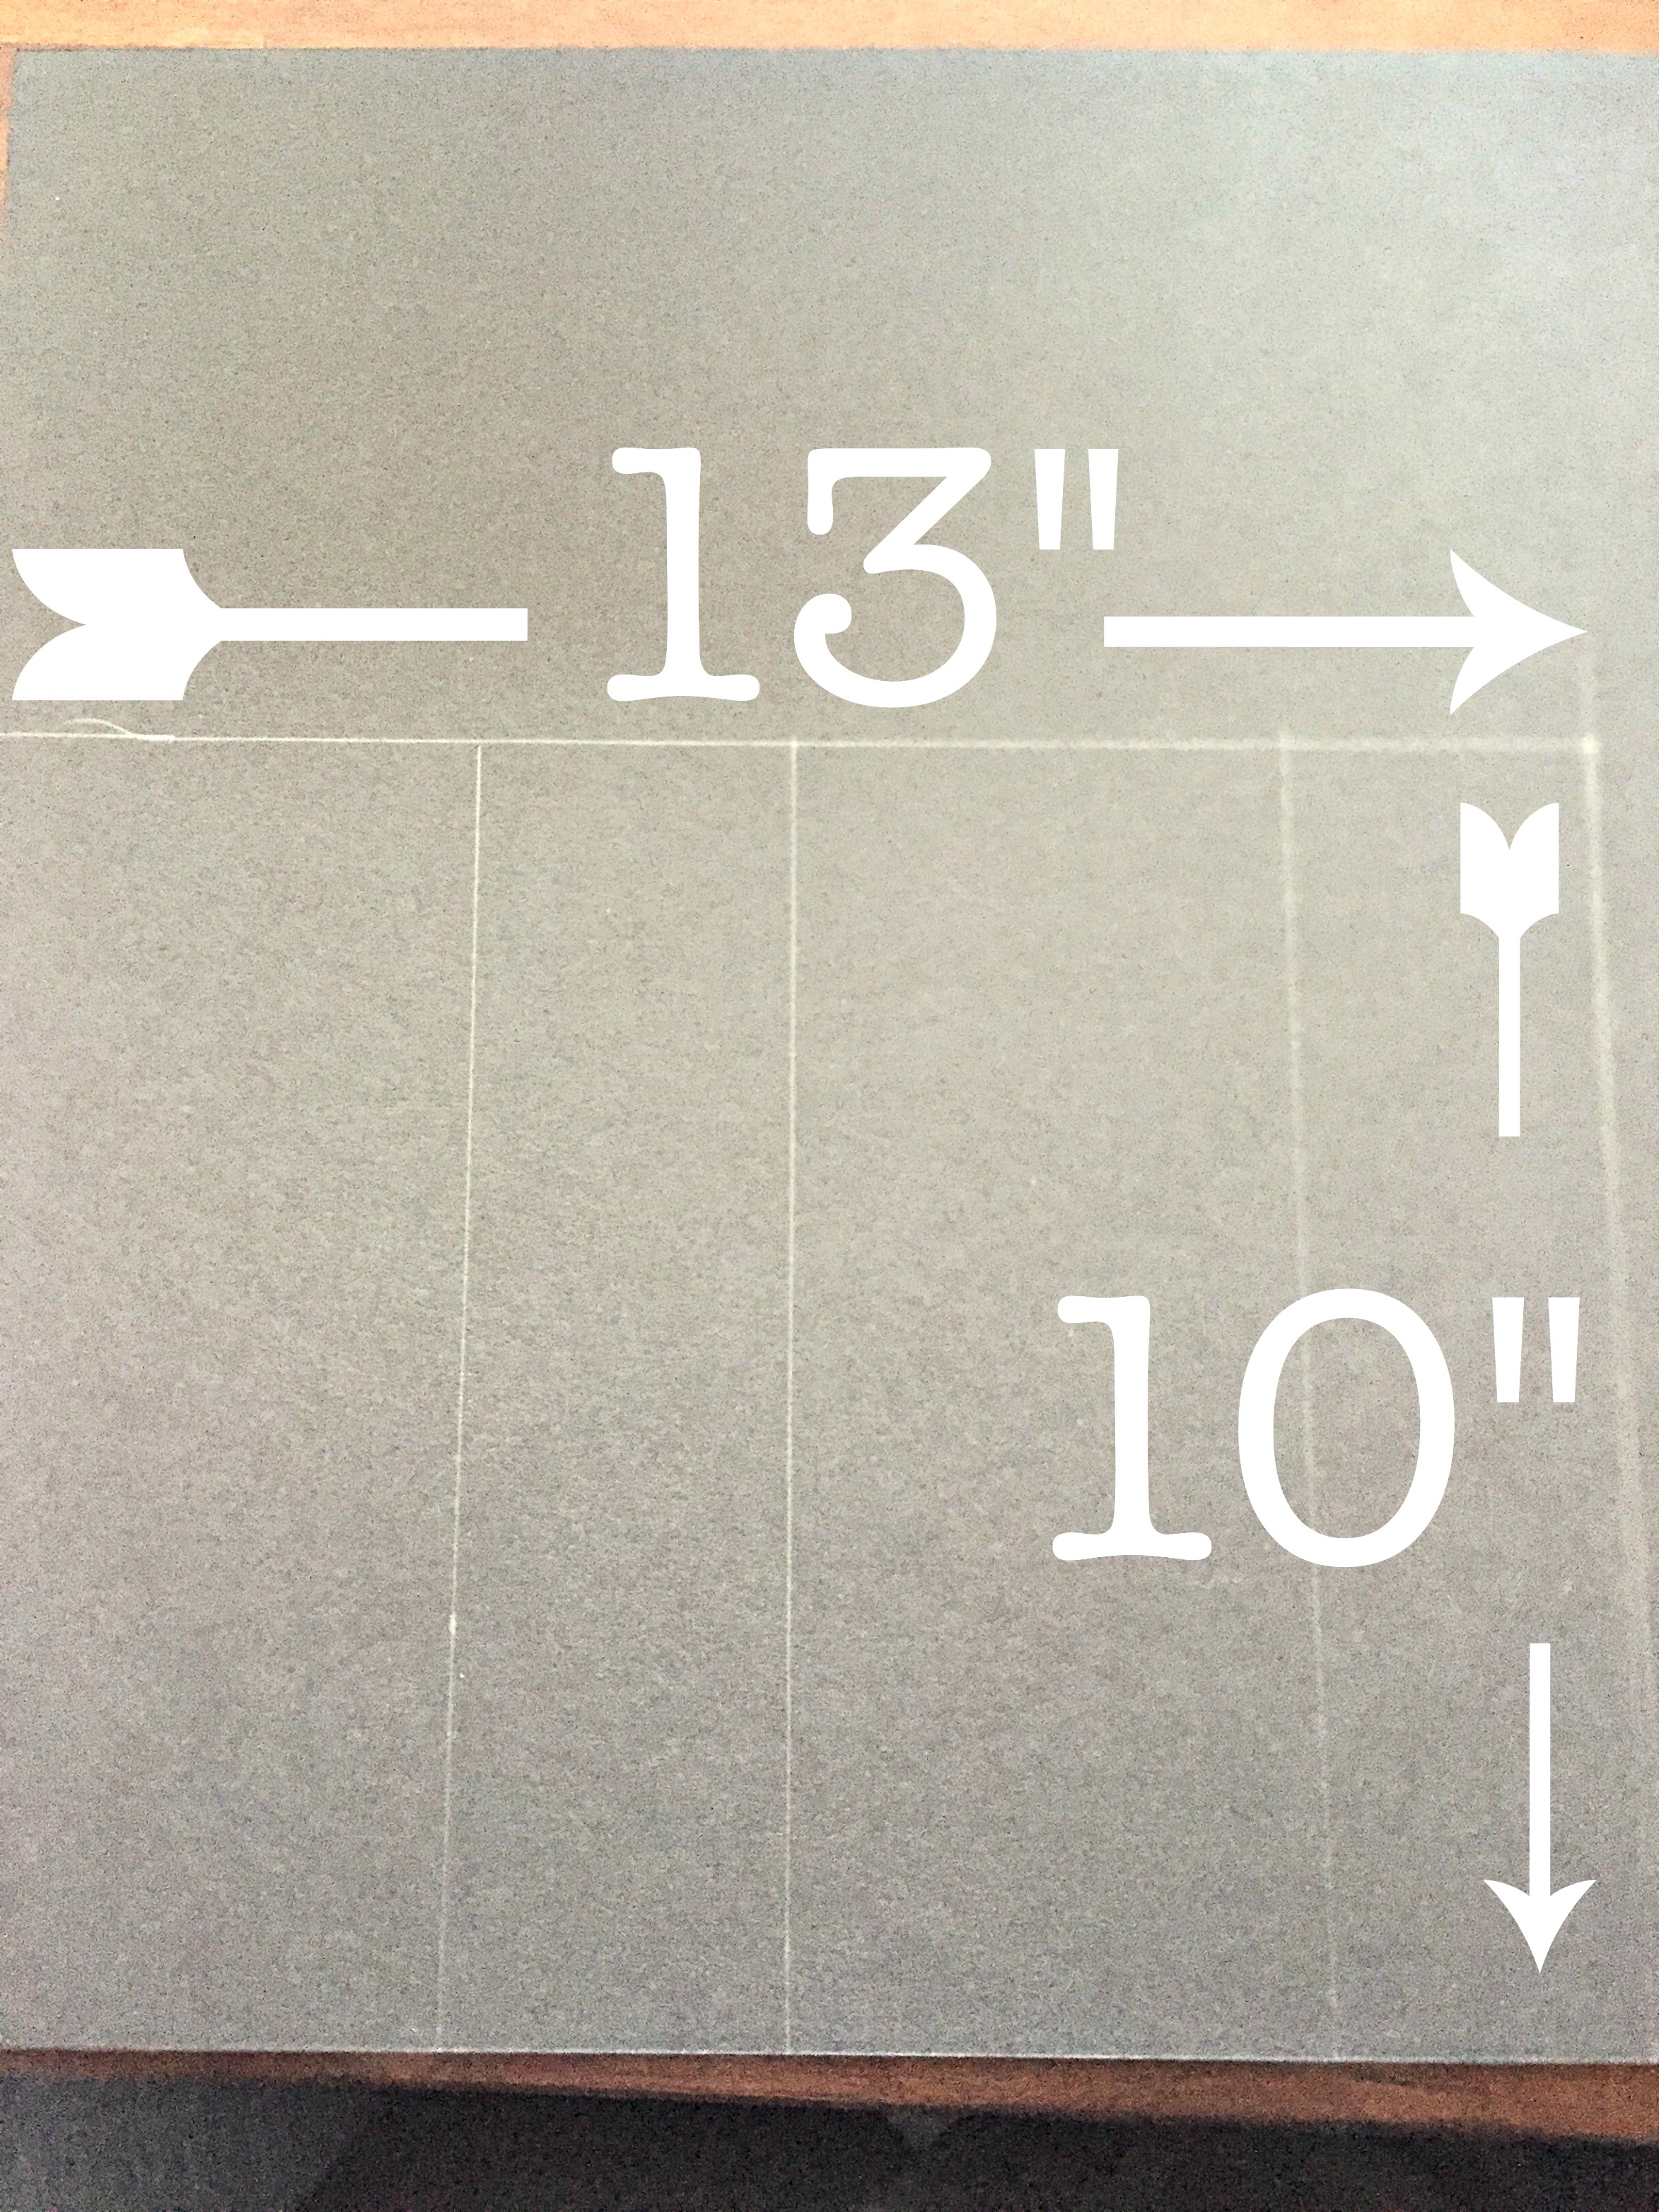
For my sign, I measured 13″ tall x 10″ wide.
Then measured alternating sections first 4″ then 2 1/2″ and so on until I had four sections
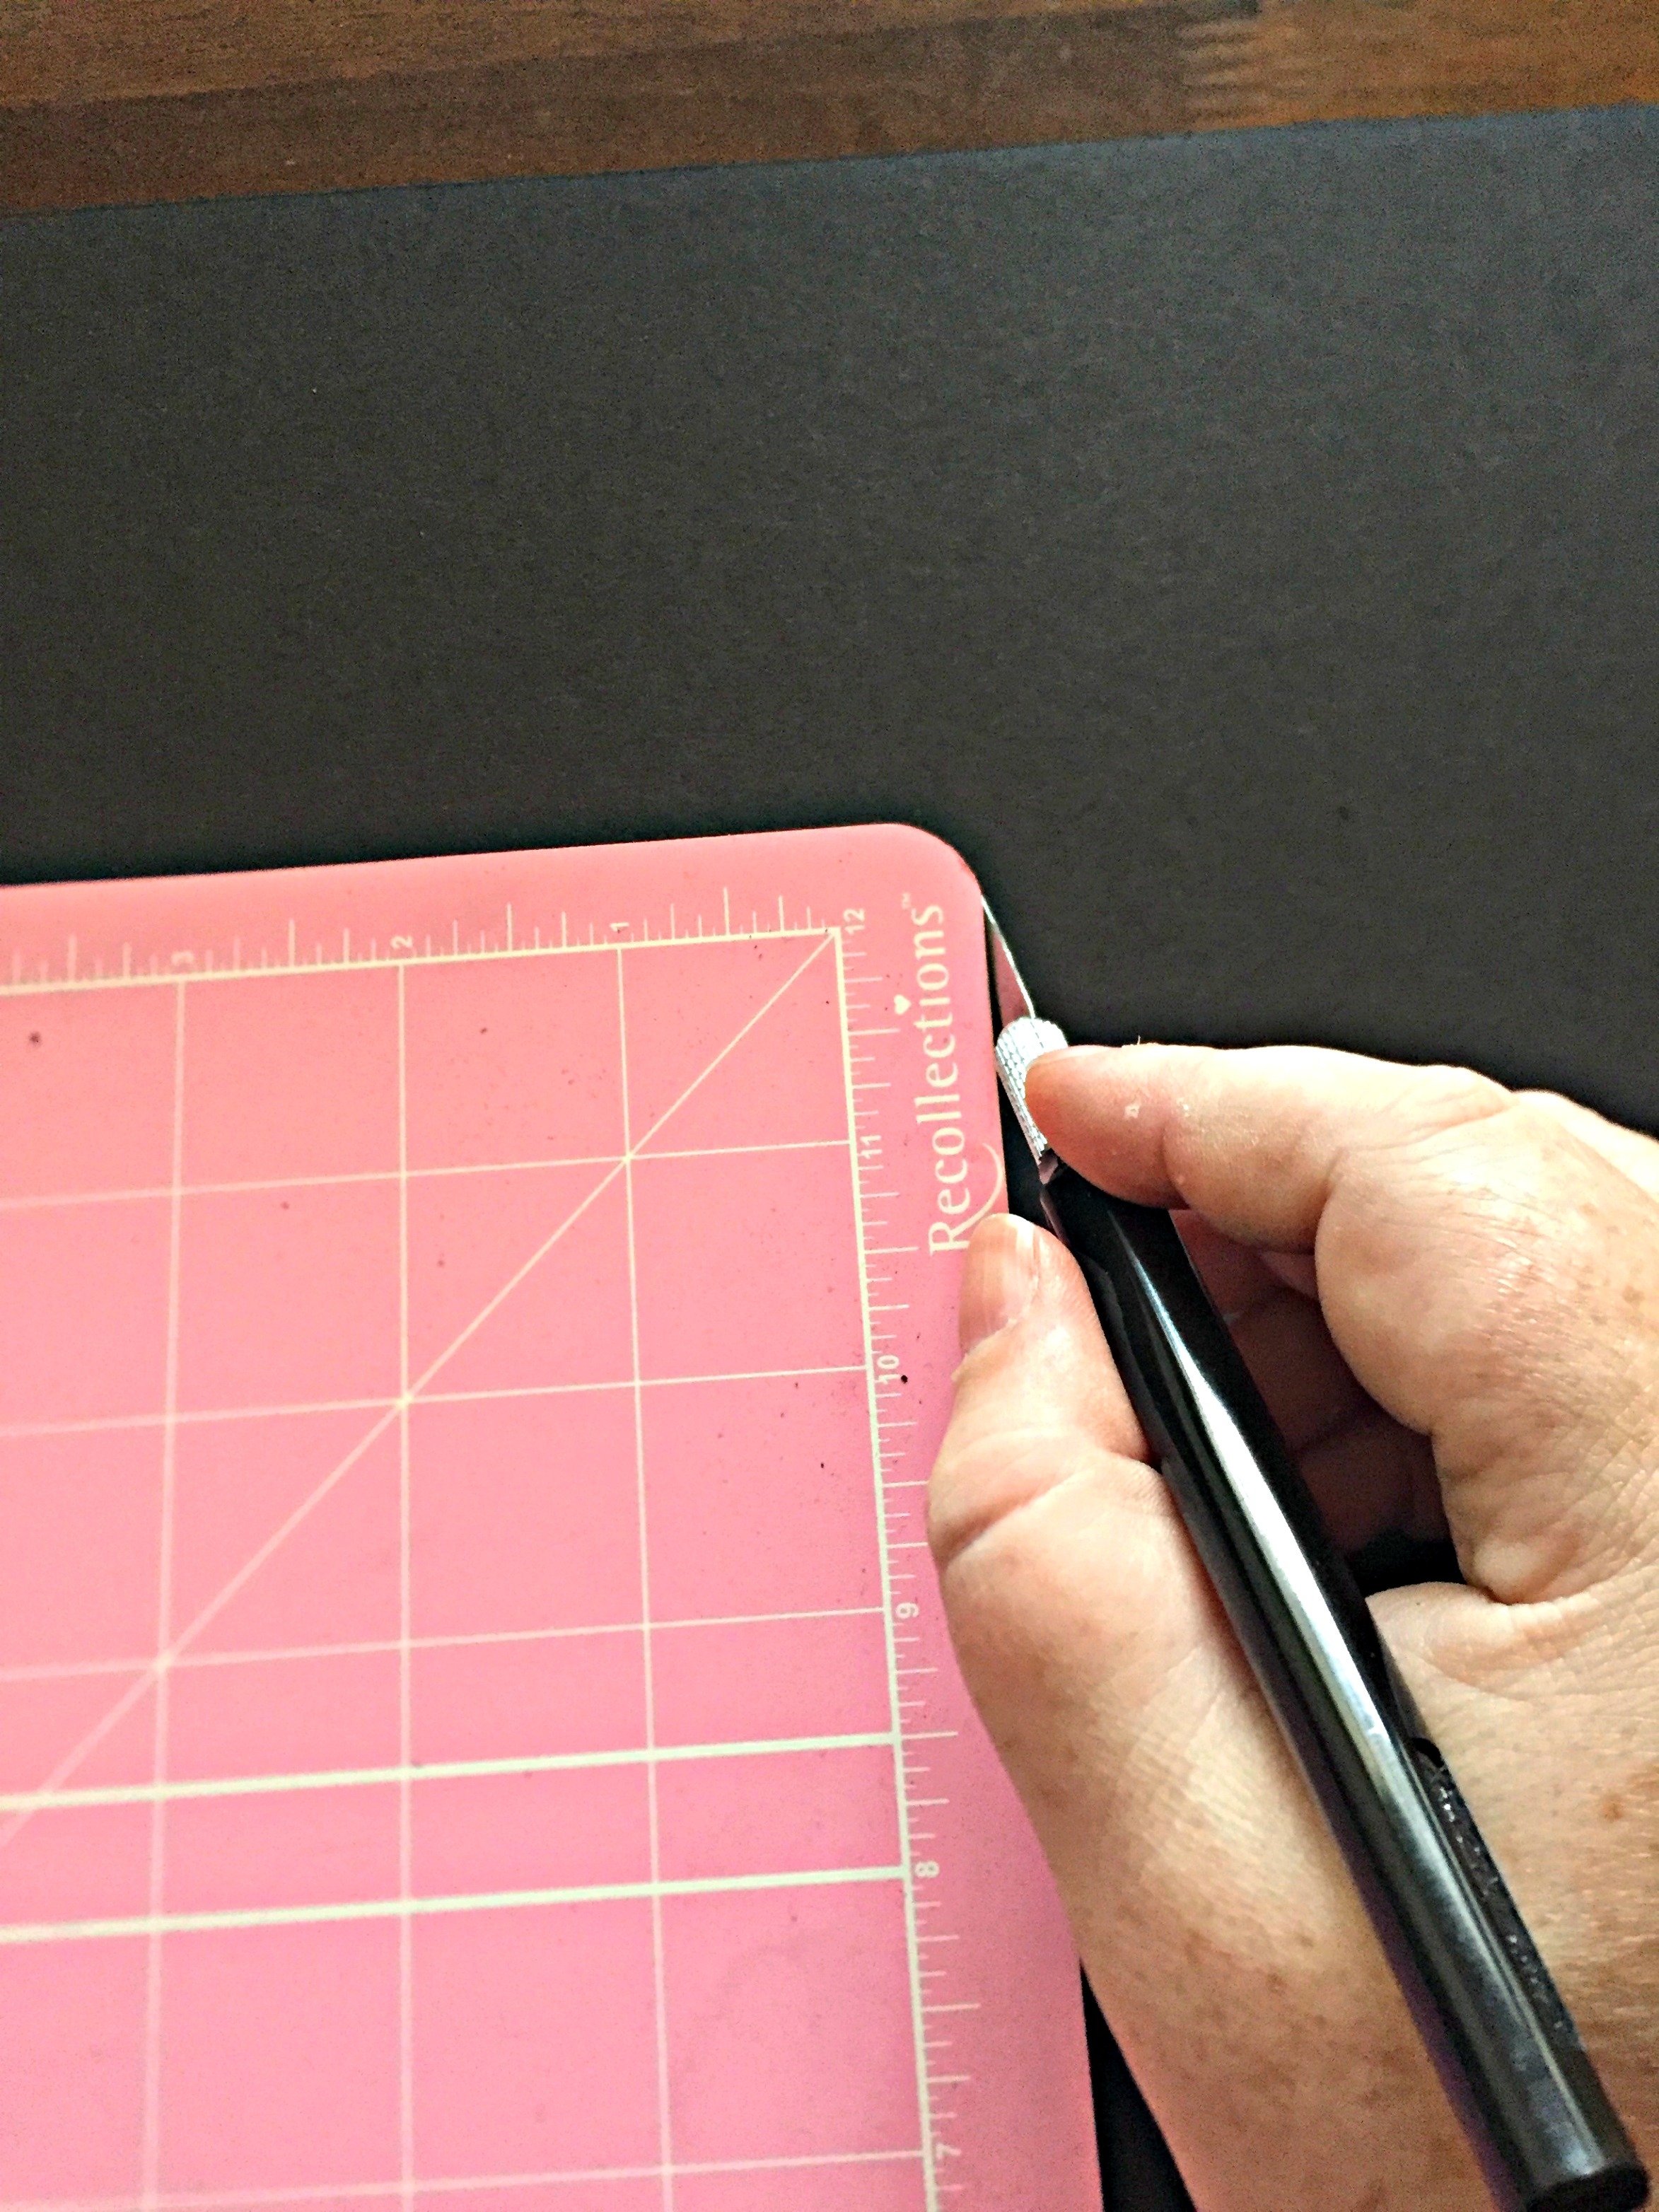
Place a straight edge along the lines and score the top piece of paper. Making sure not to cut all the way through.
Cut the outside lines to release the box from the foam board.
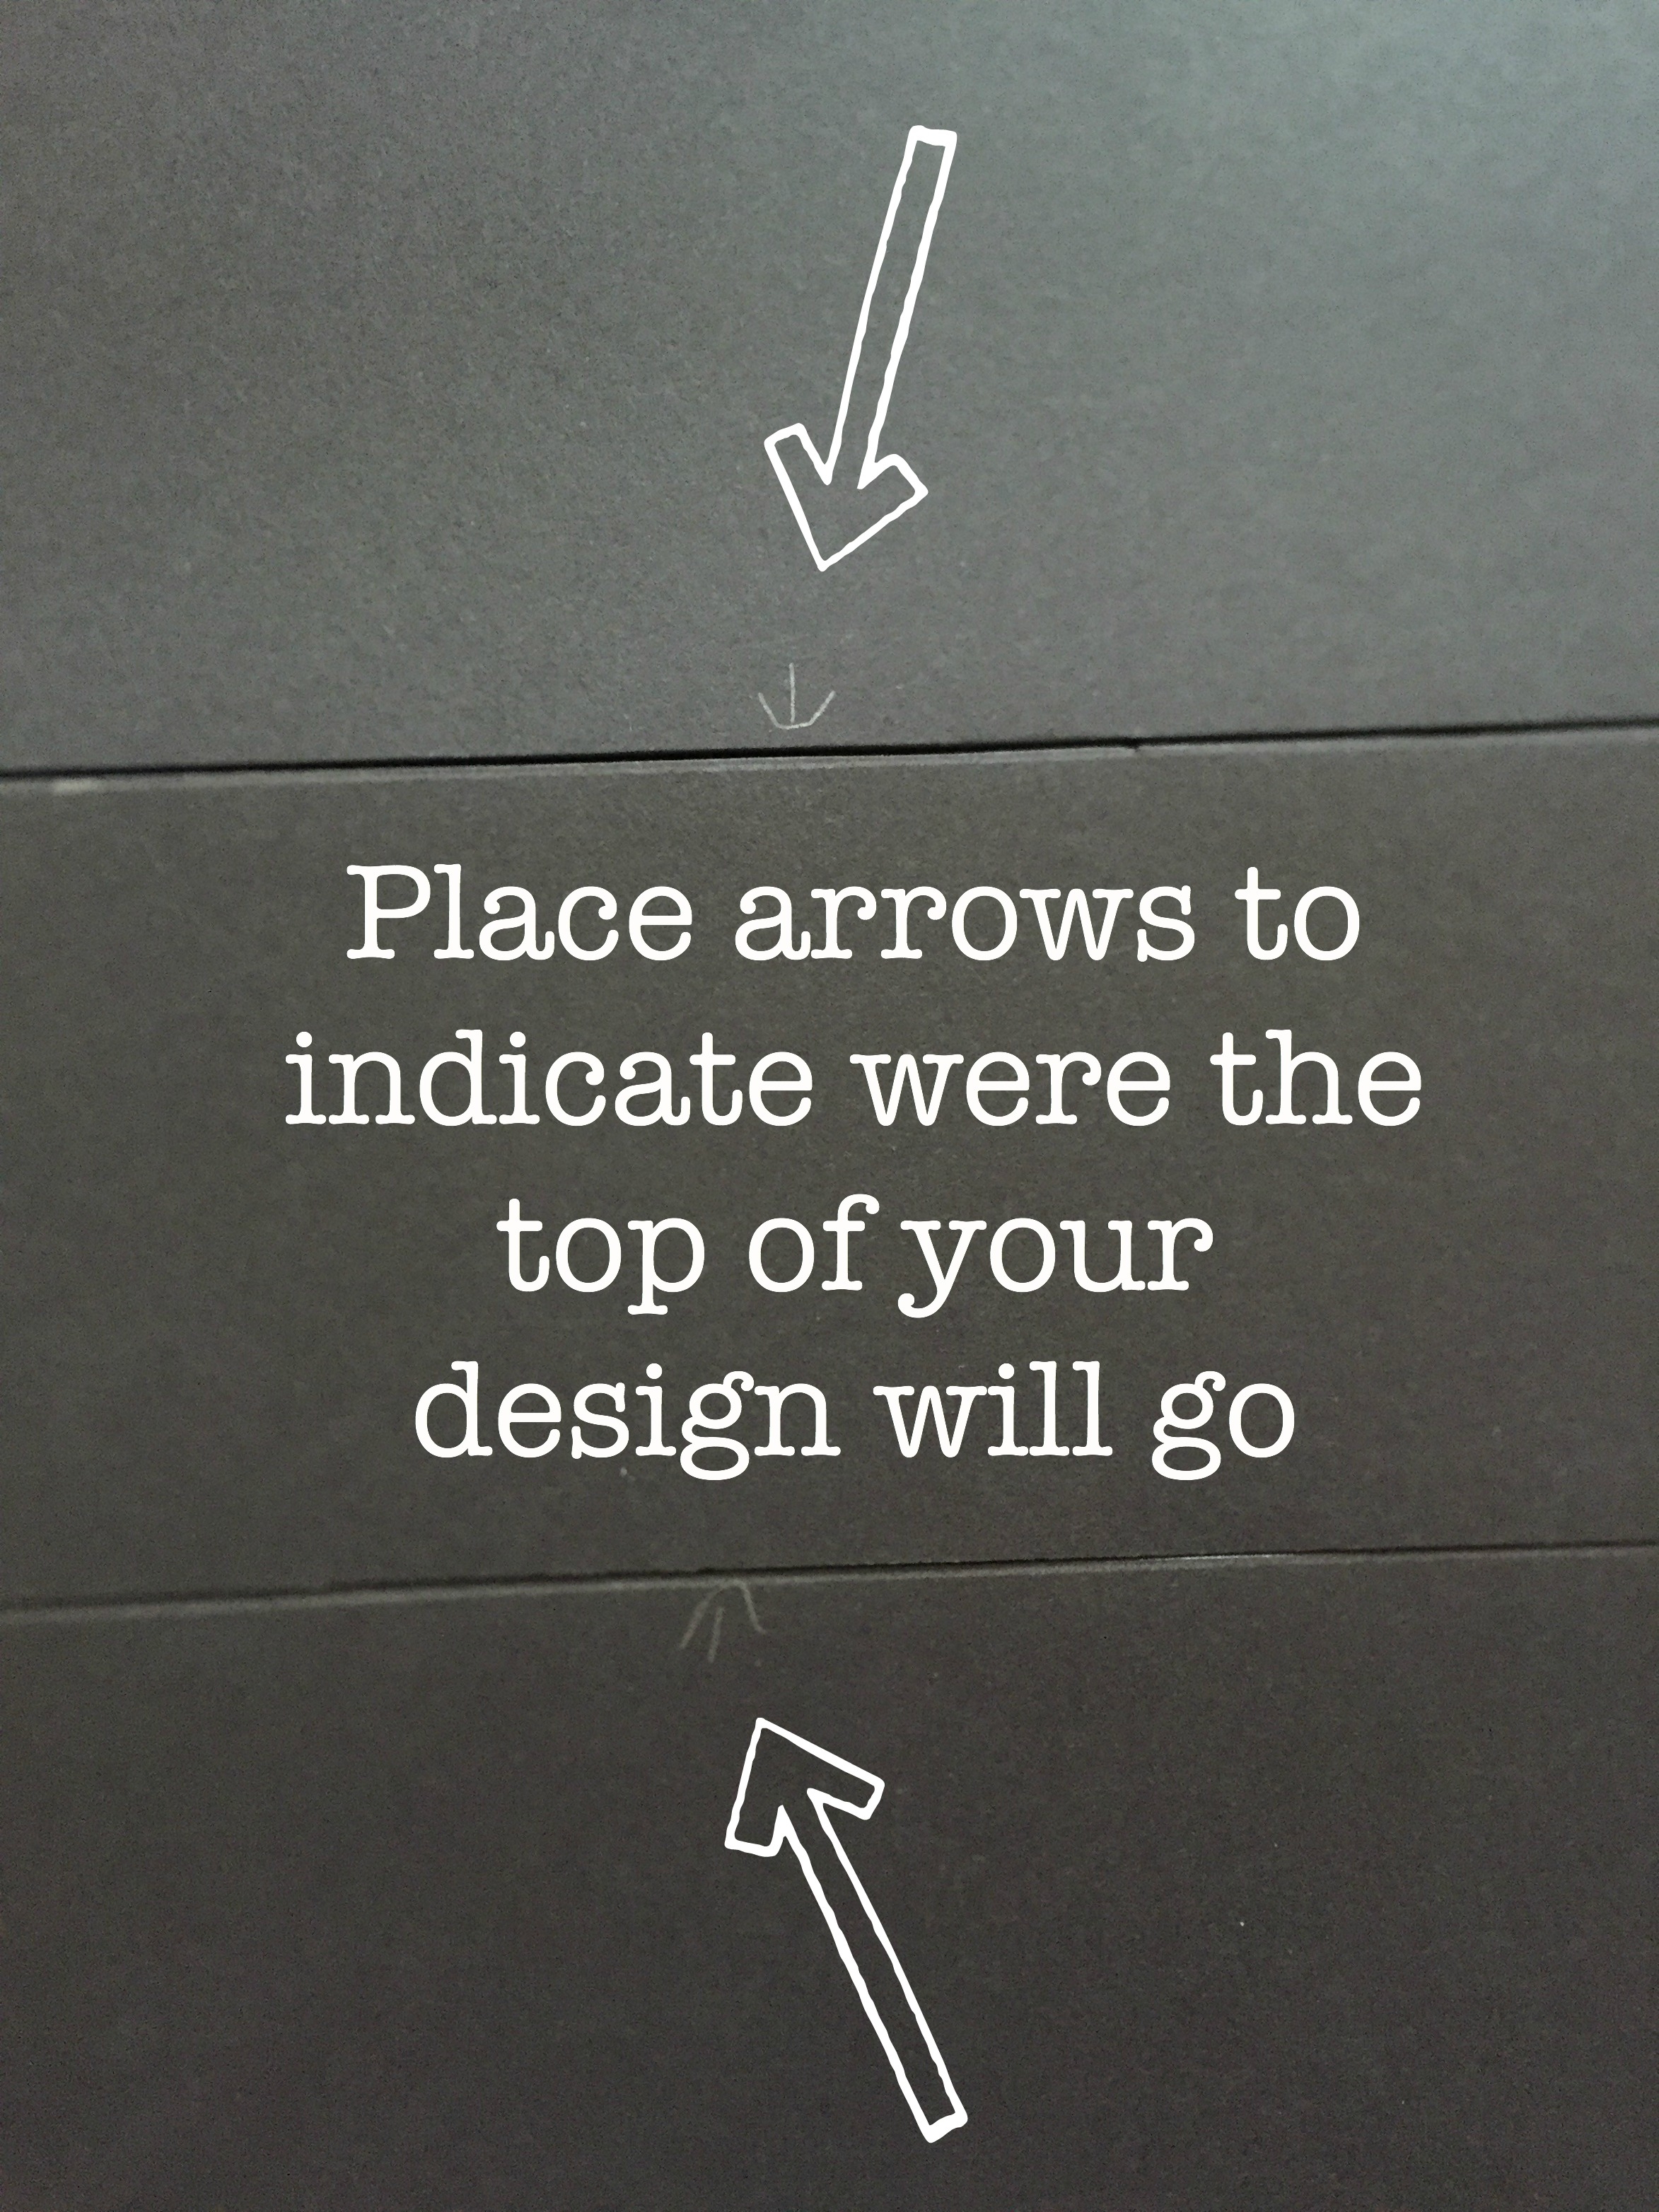
Mark which sides you will be tracing and carving the design and place an arrow to indicate where the top is. Not necessary if you are making a one-sided design.
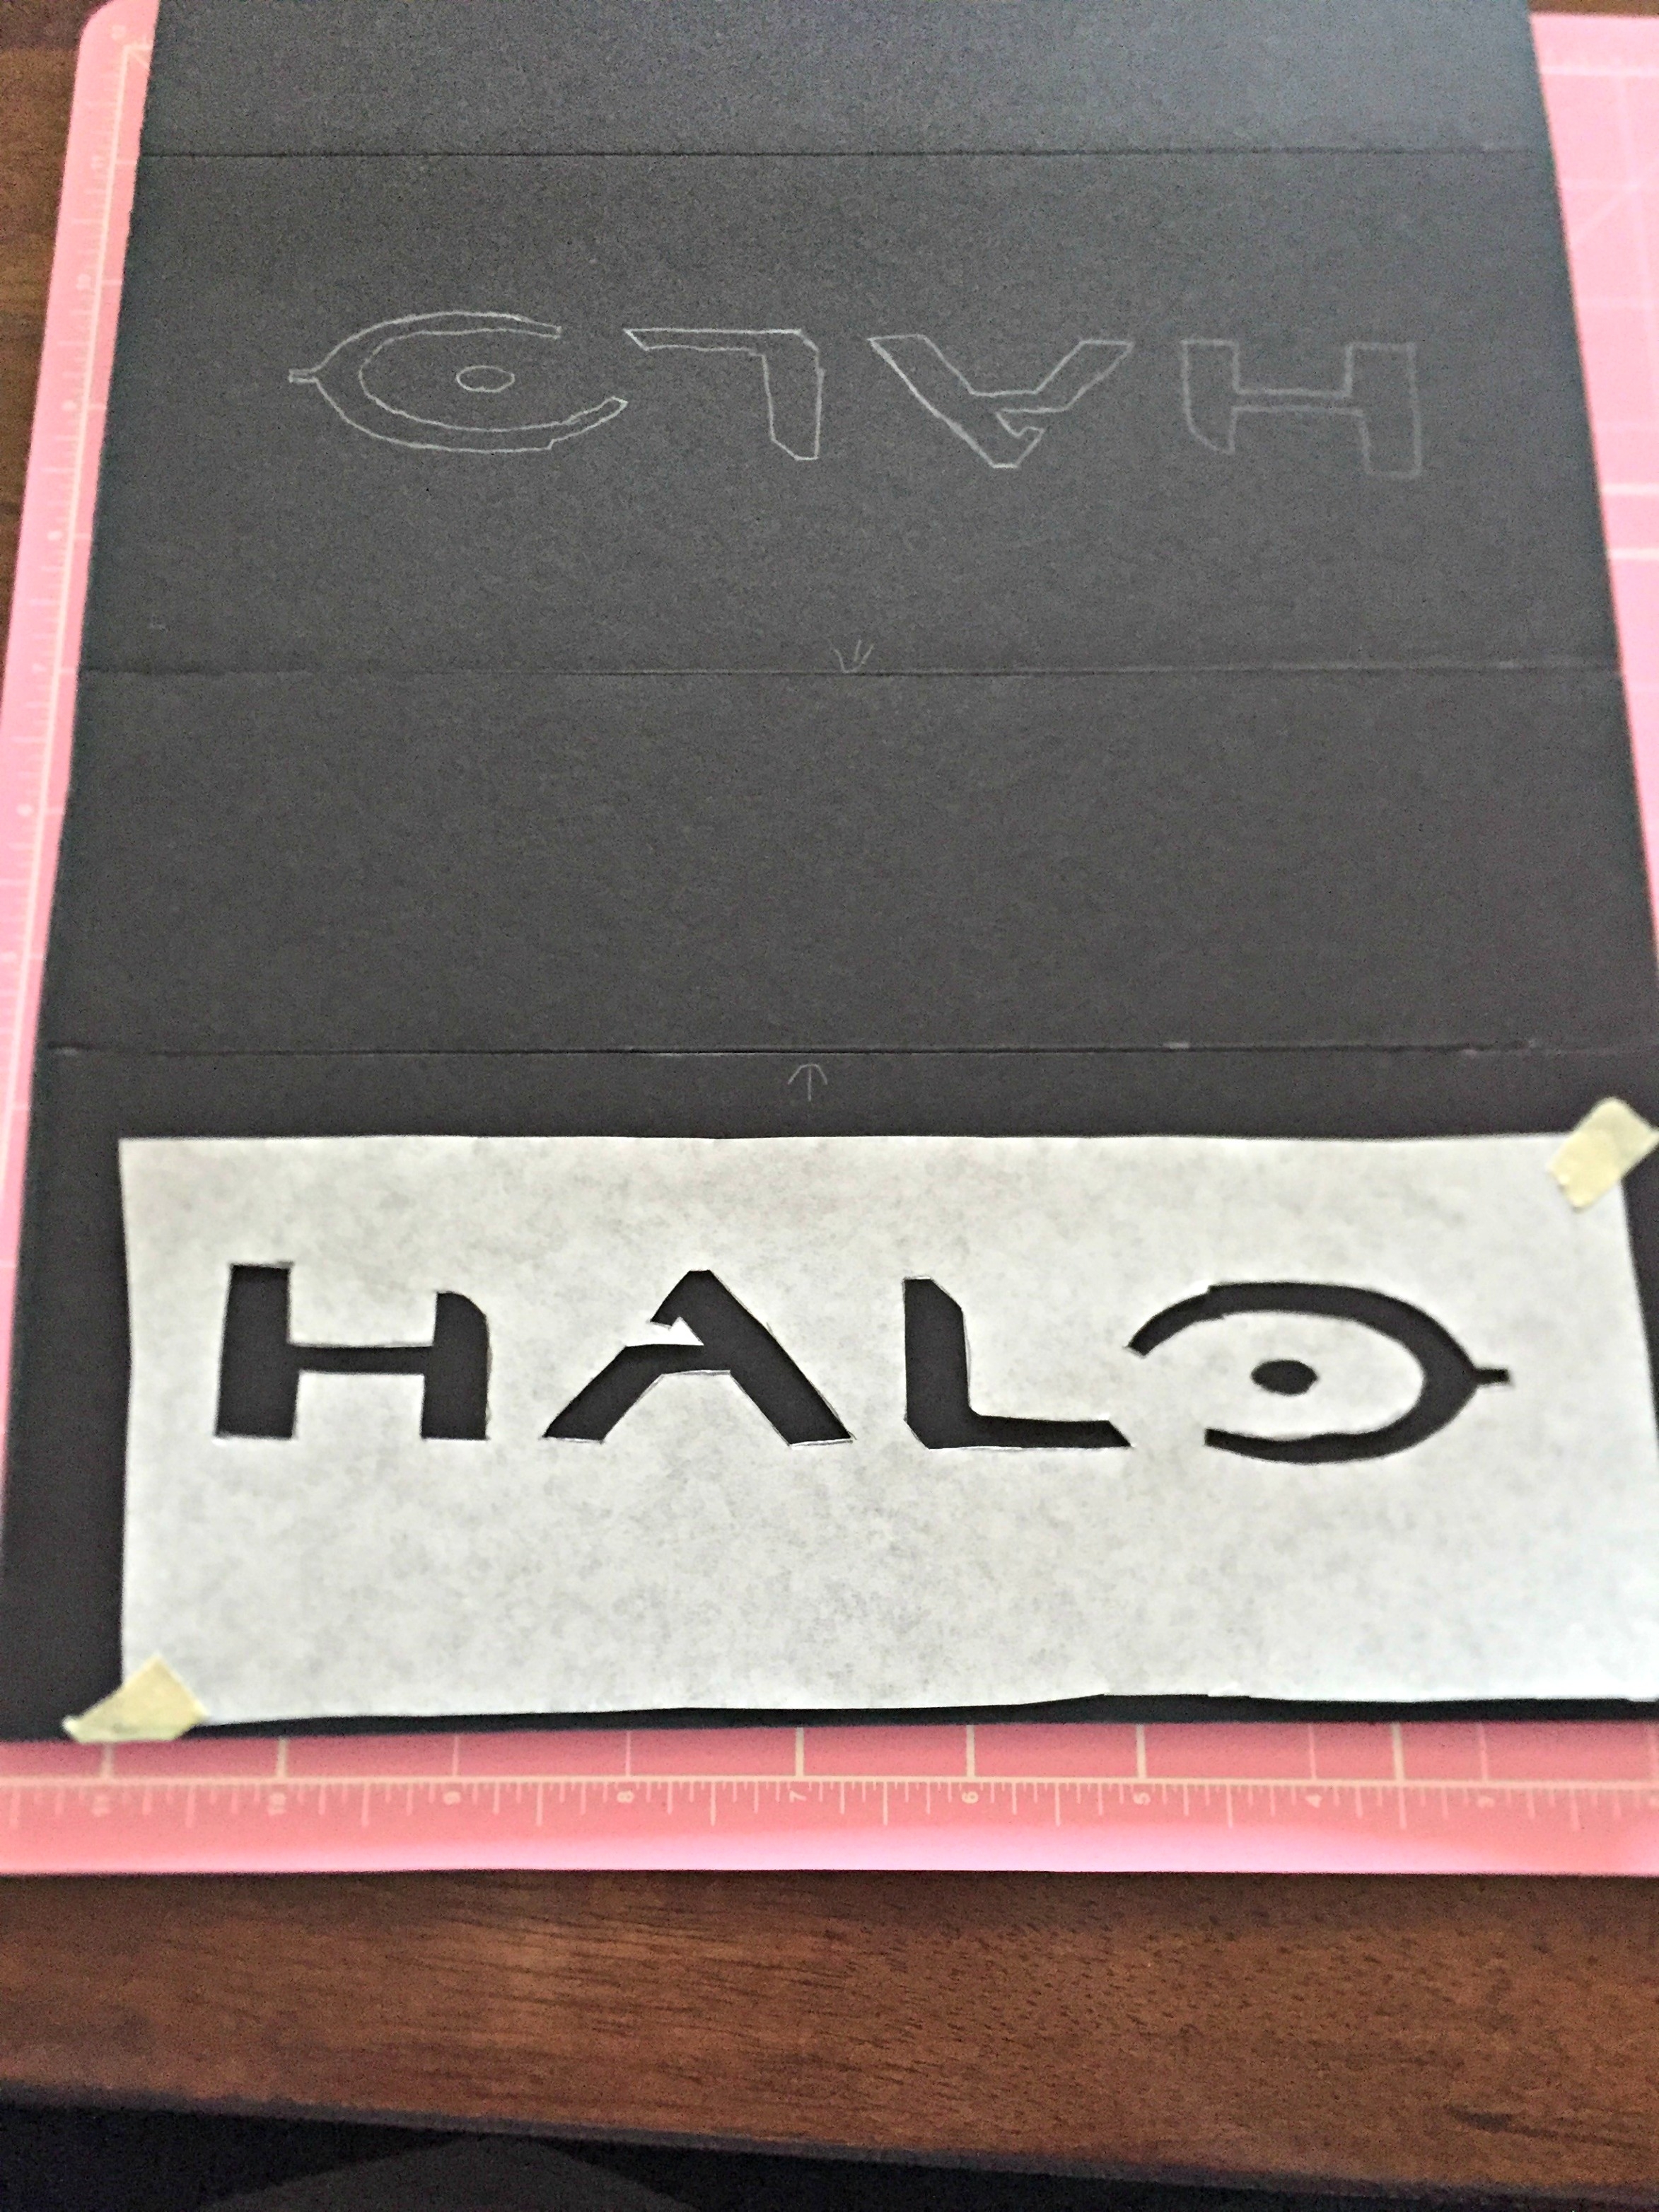
Place your template on to the foam board and trace your design.
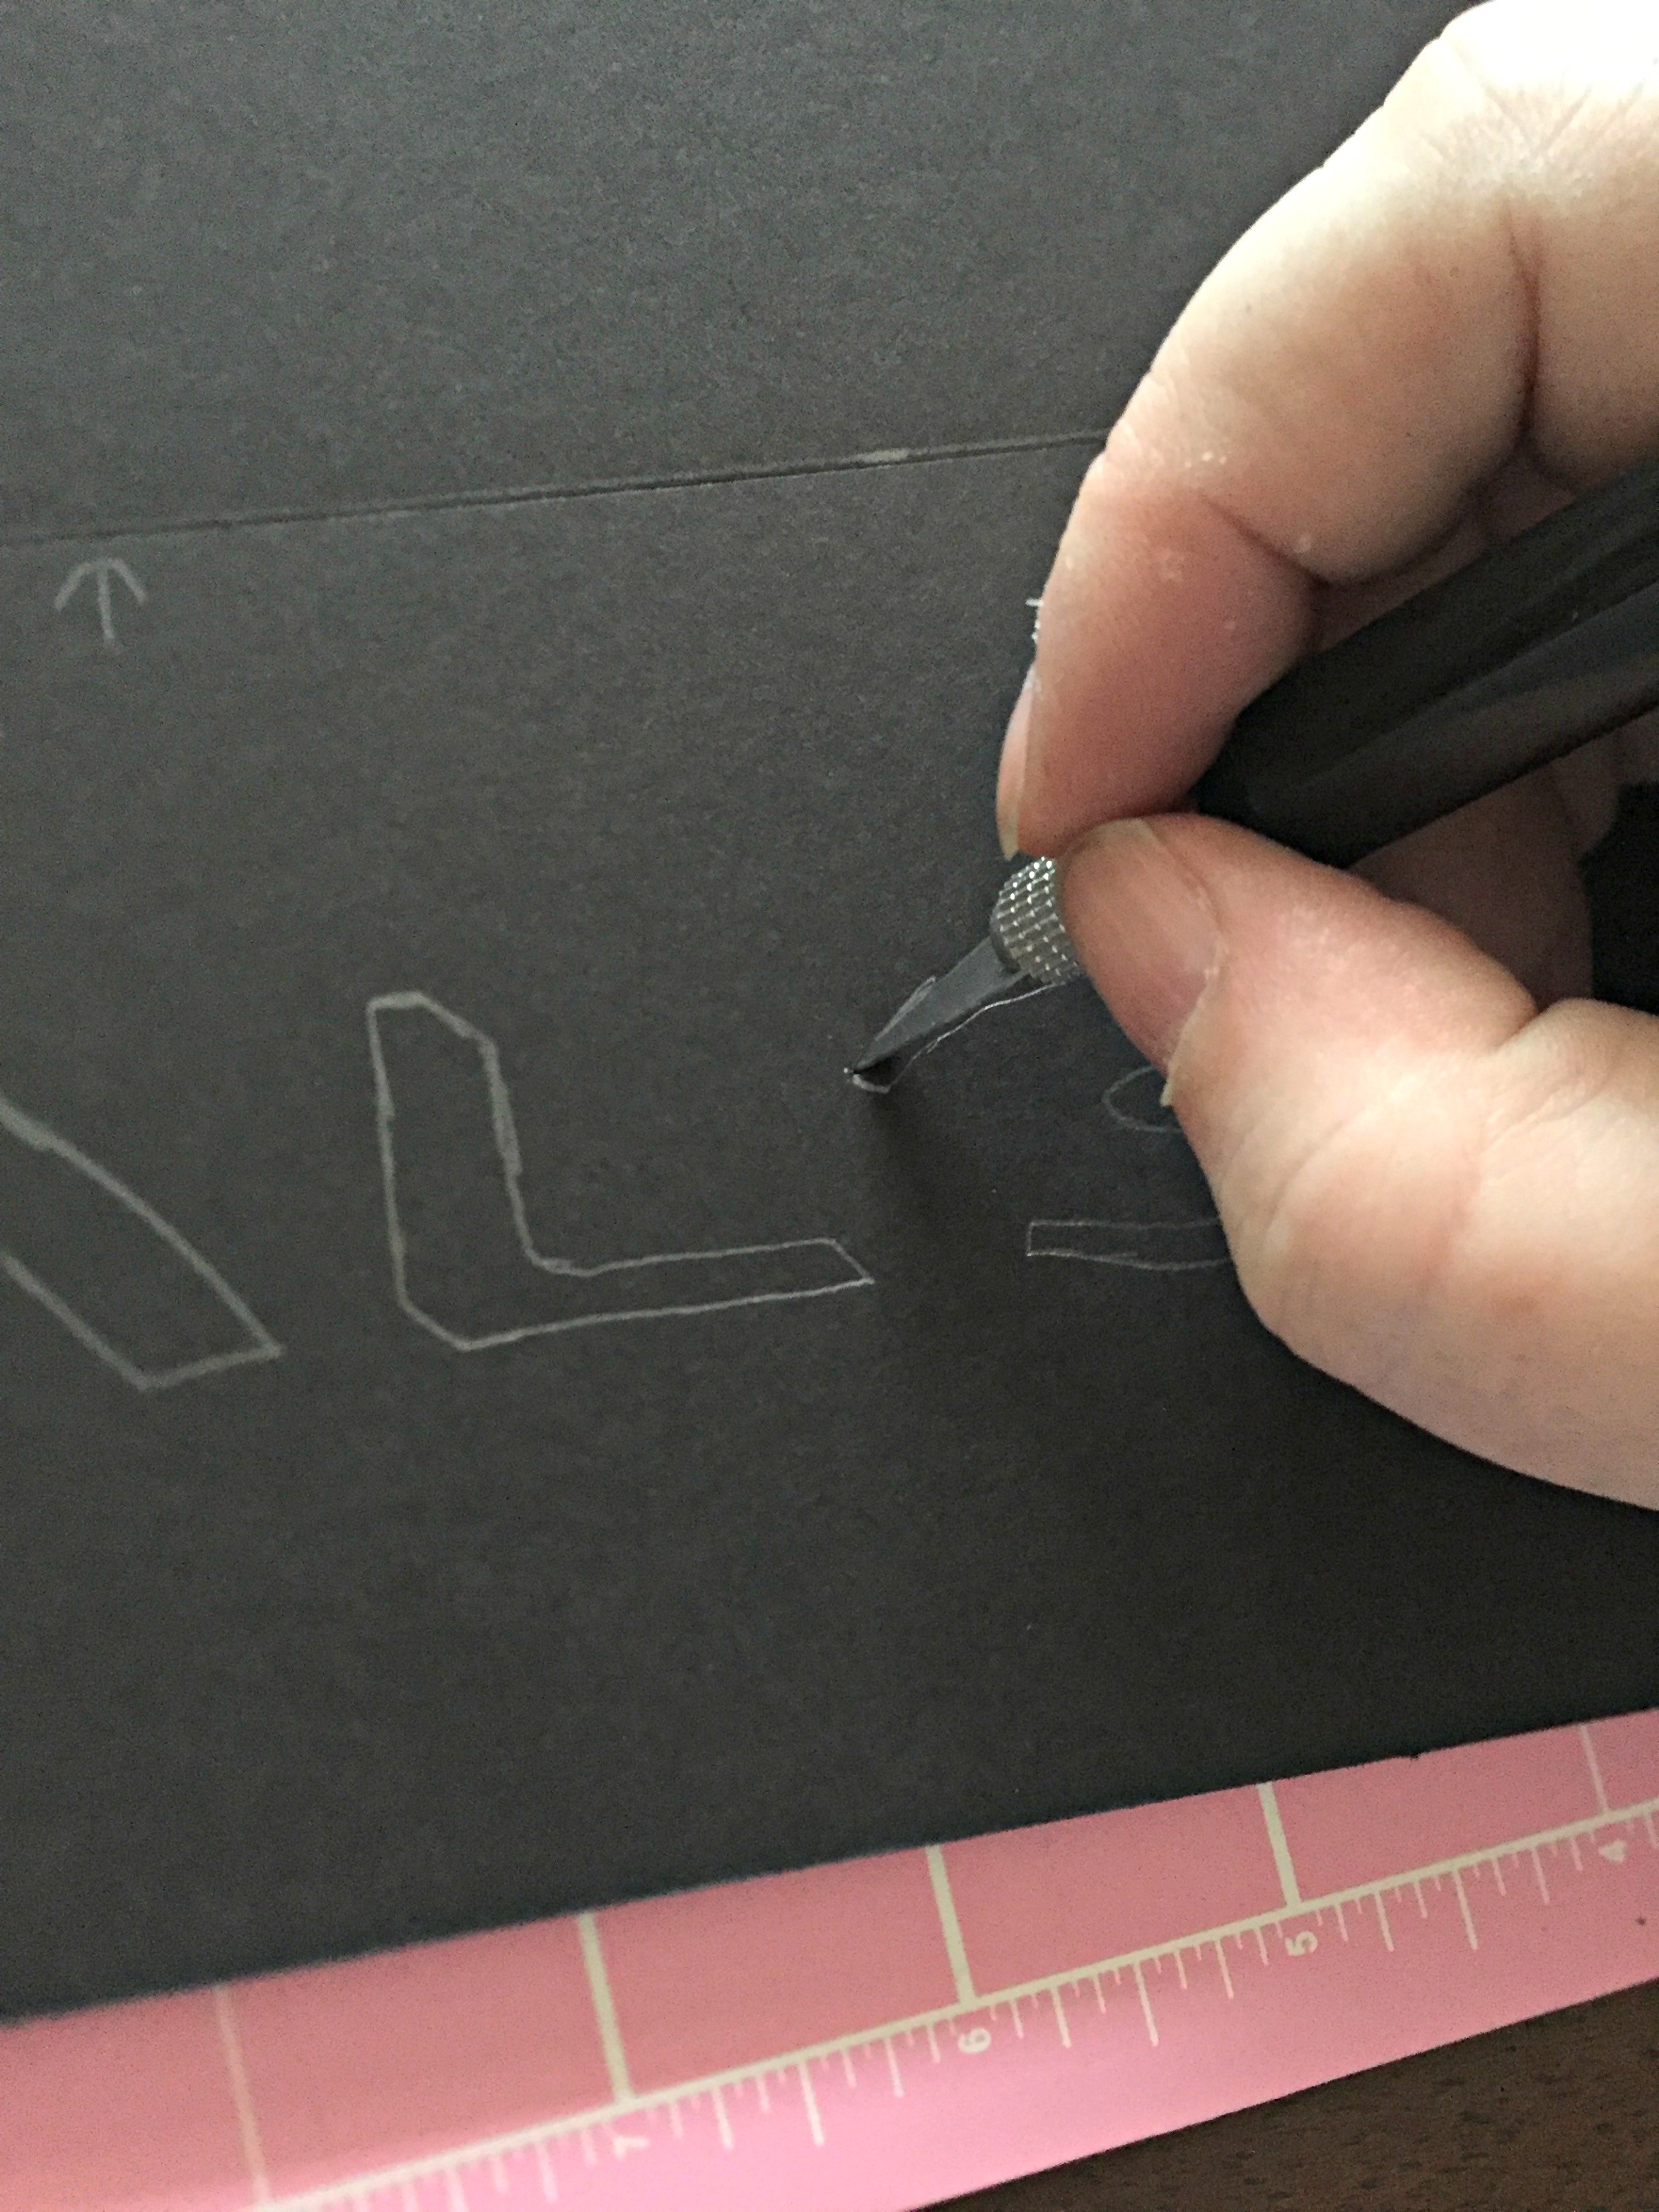
Place your board on the self-healing mat. Cut out your design using an Exacto knife. Take it slow, so you don’t cut yourself and make any mistakes.
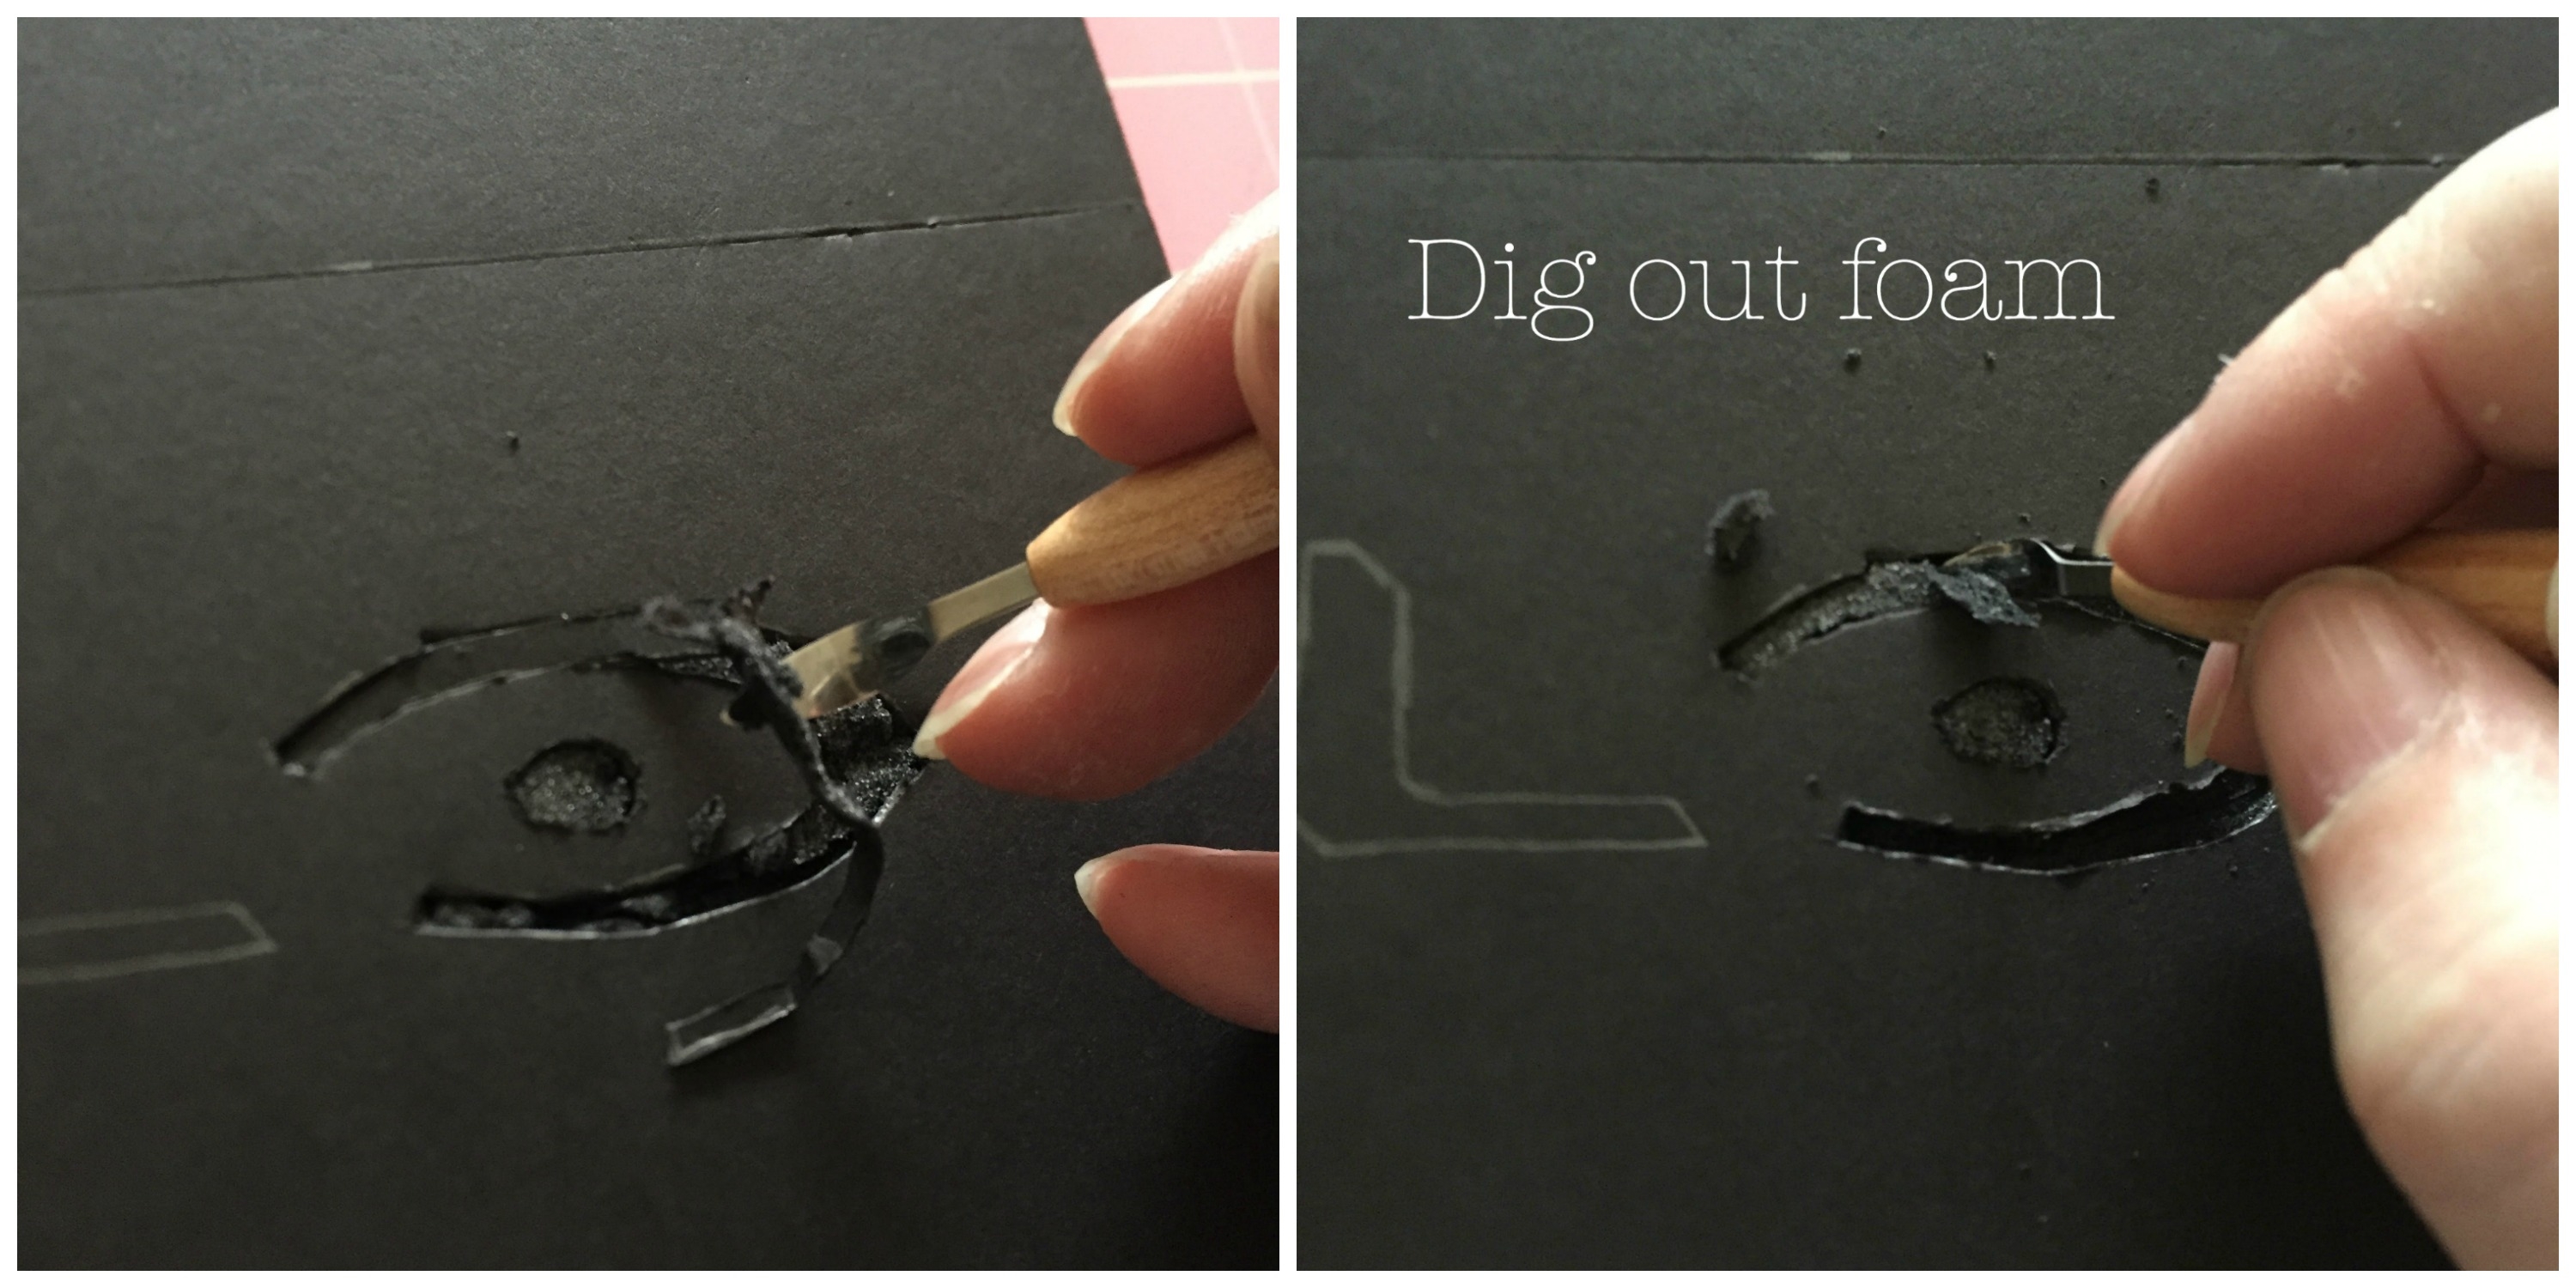
Cut through the top of the design and then “dig” out all the foam from the inside.
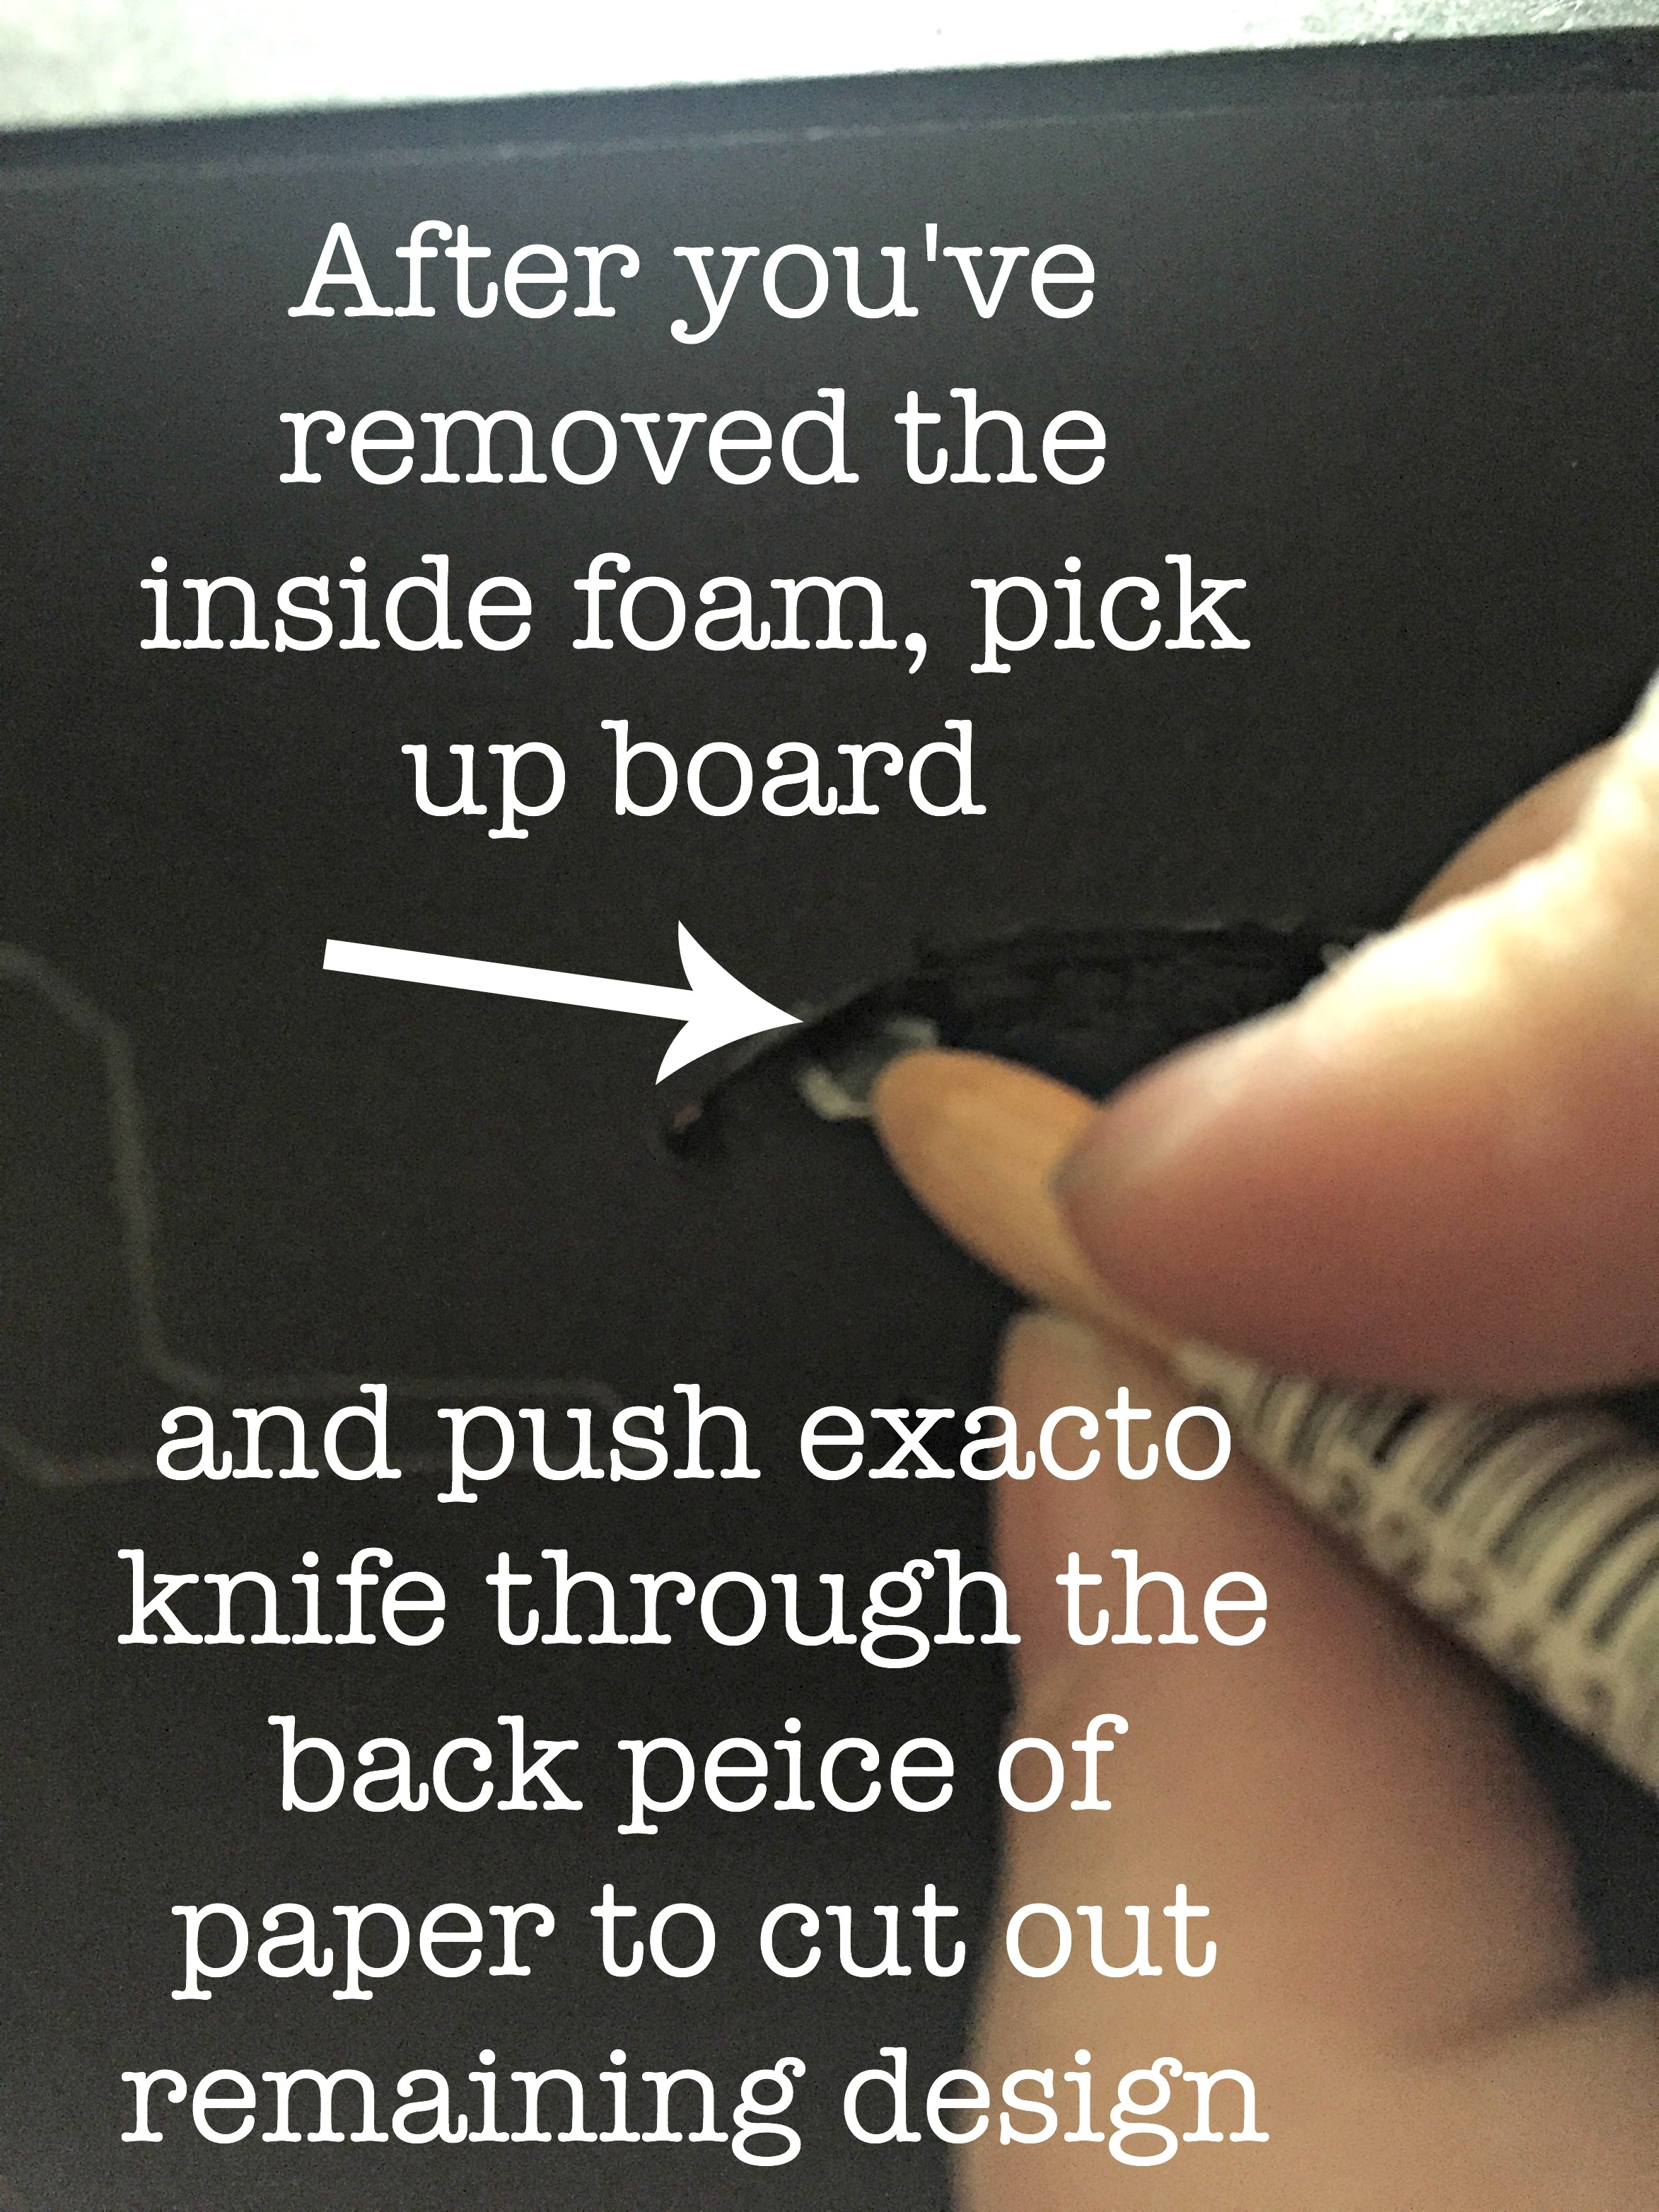
Pick up your foam board and carefully insert the Exacto knife through the back of your design to remove the rest of the paper.
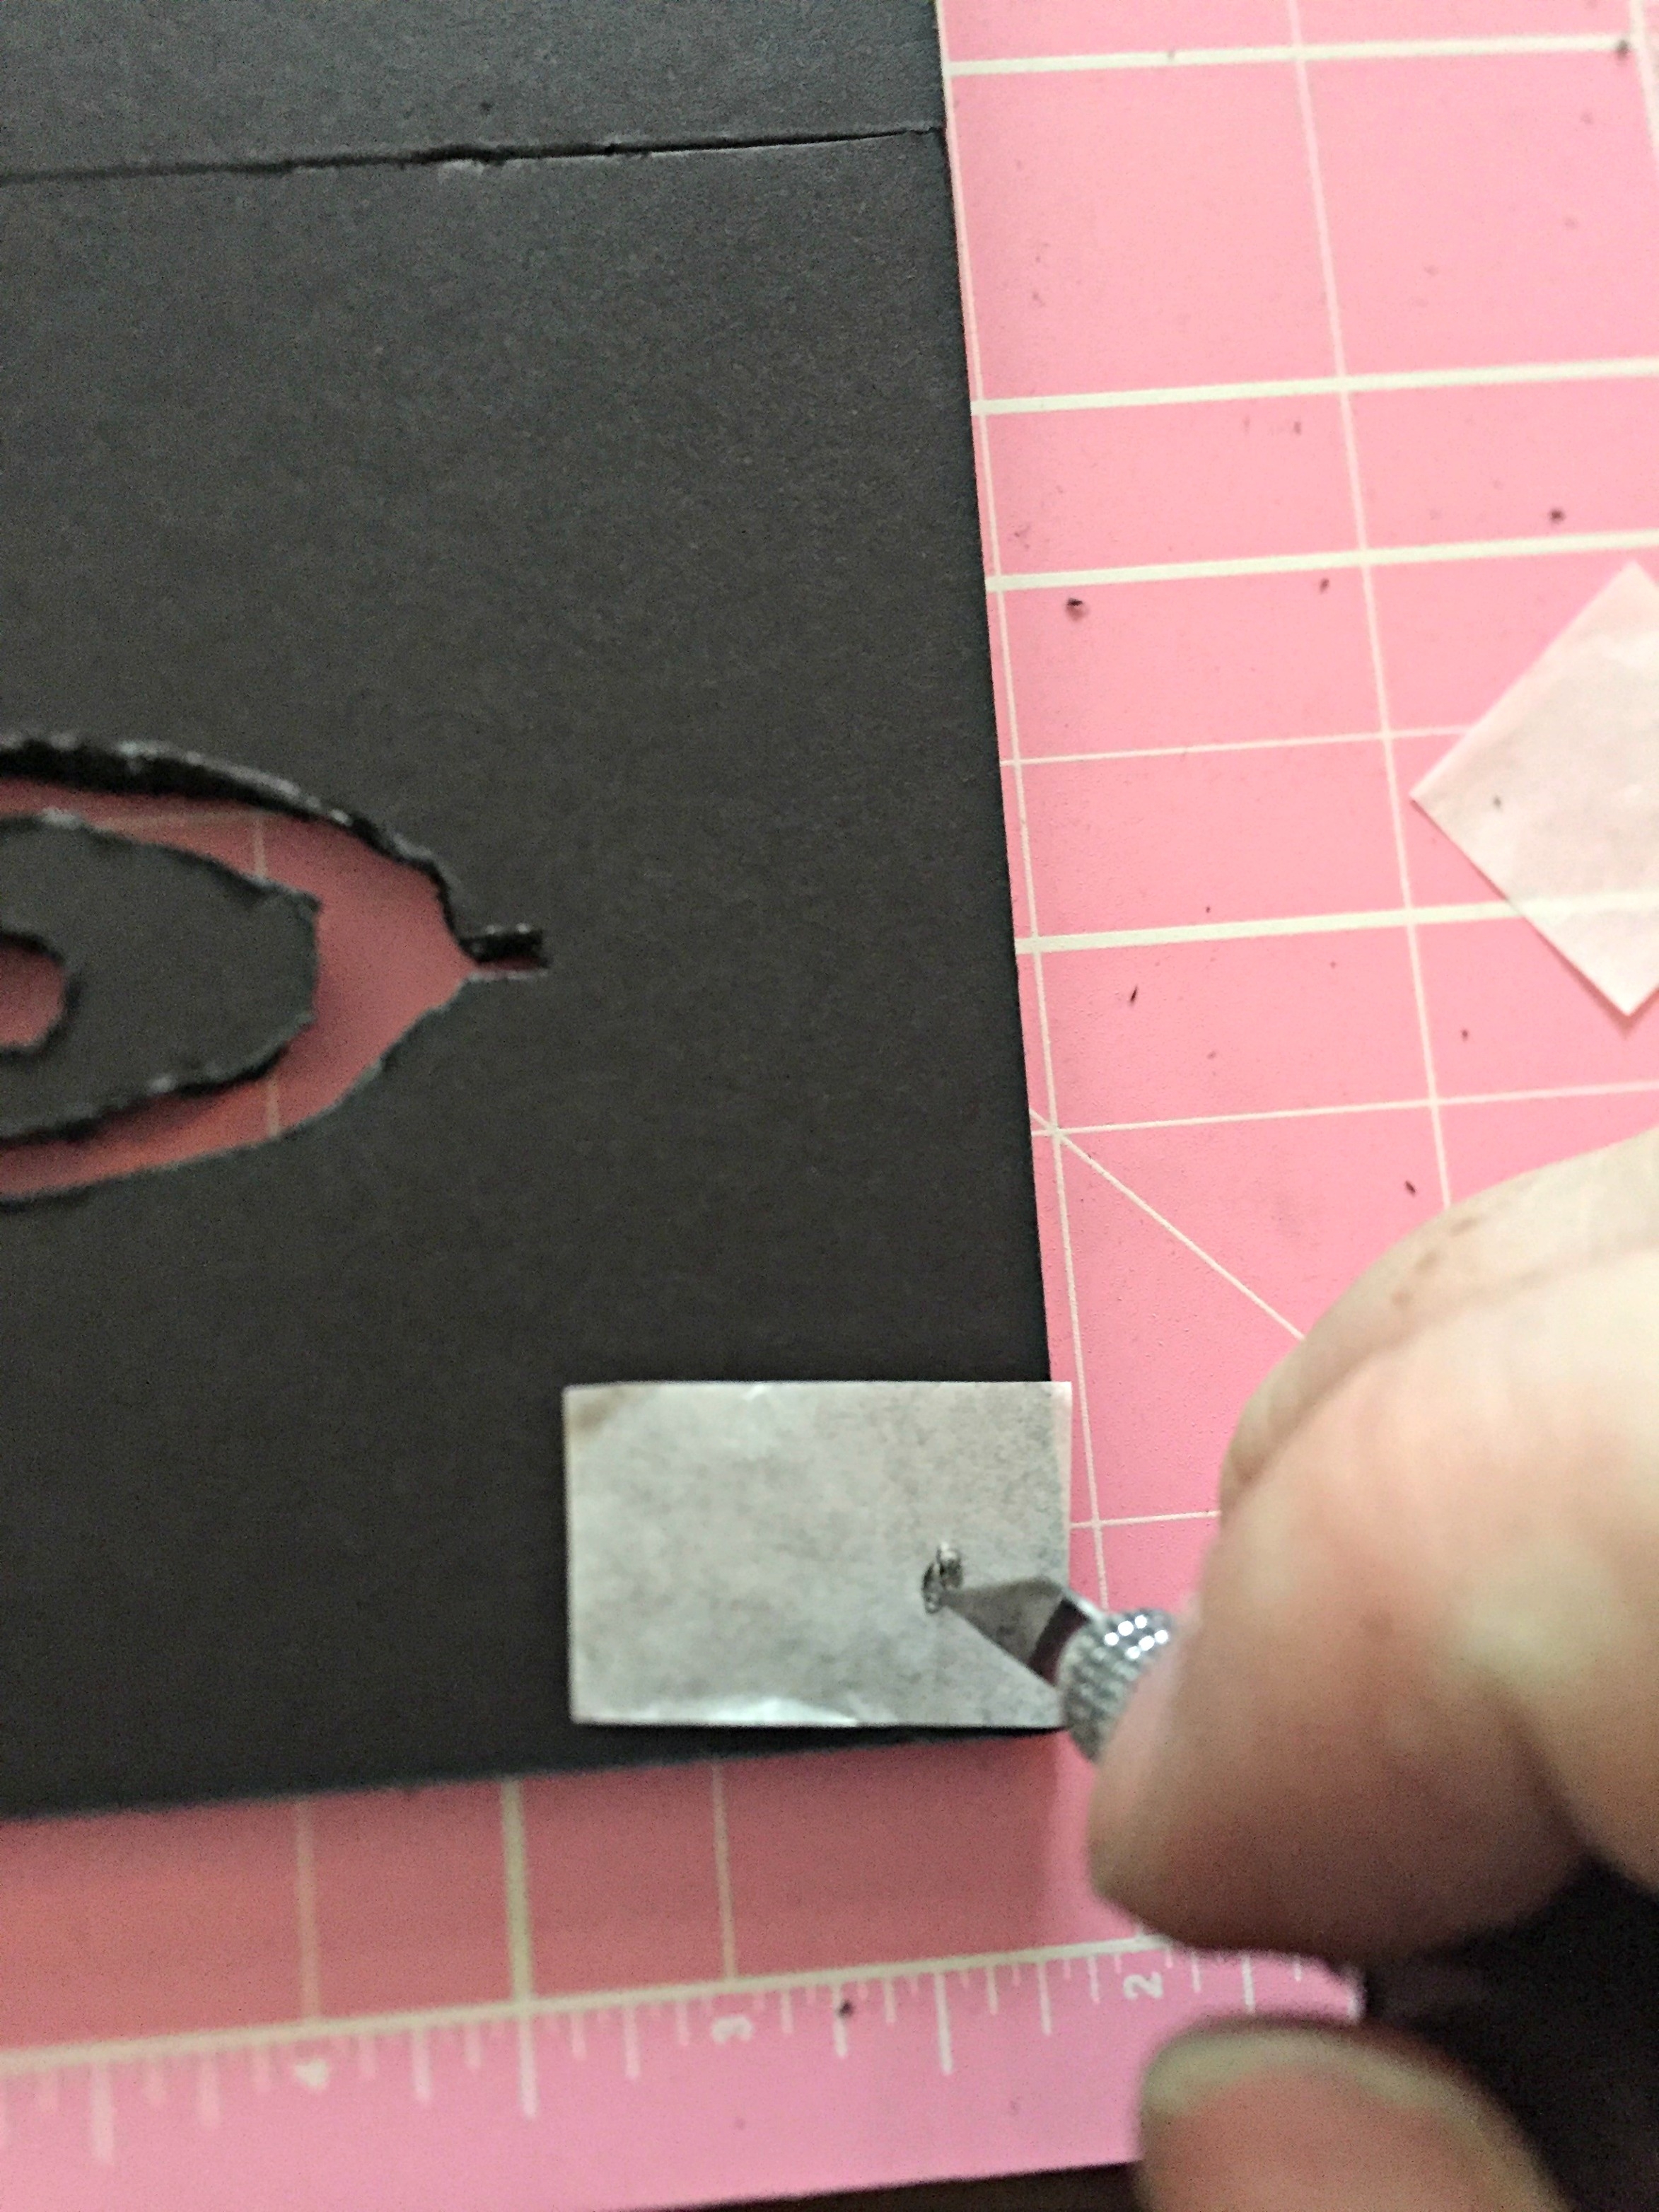
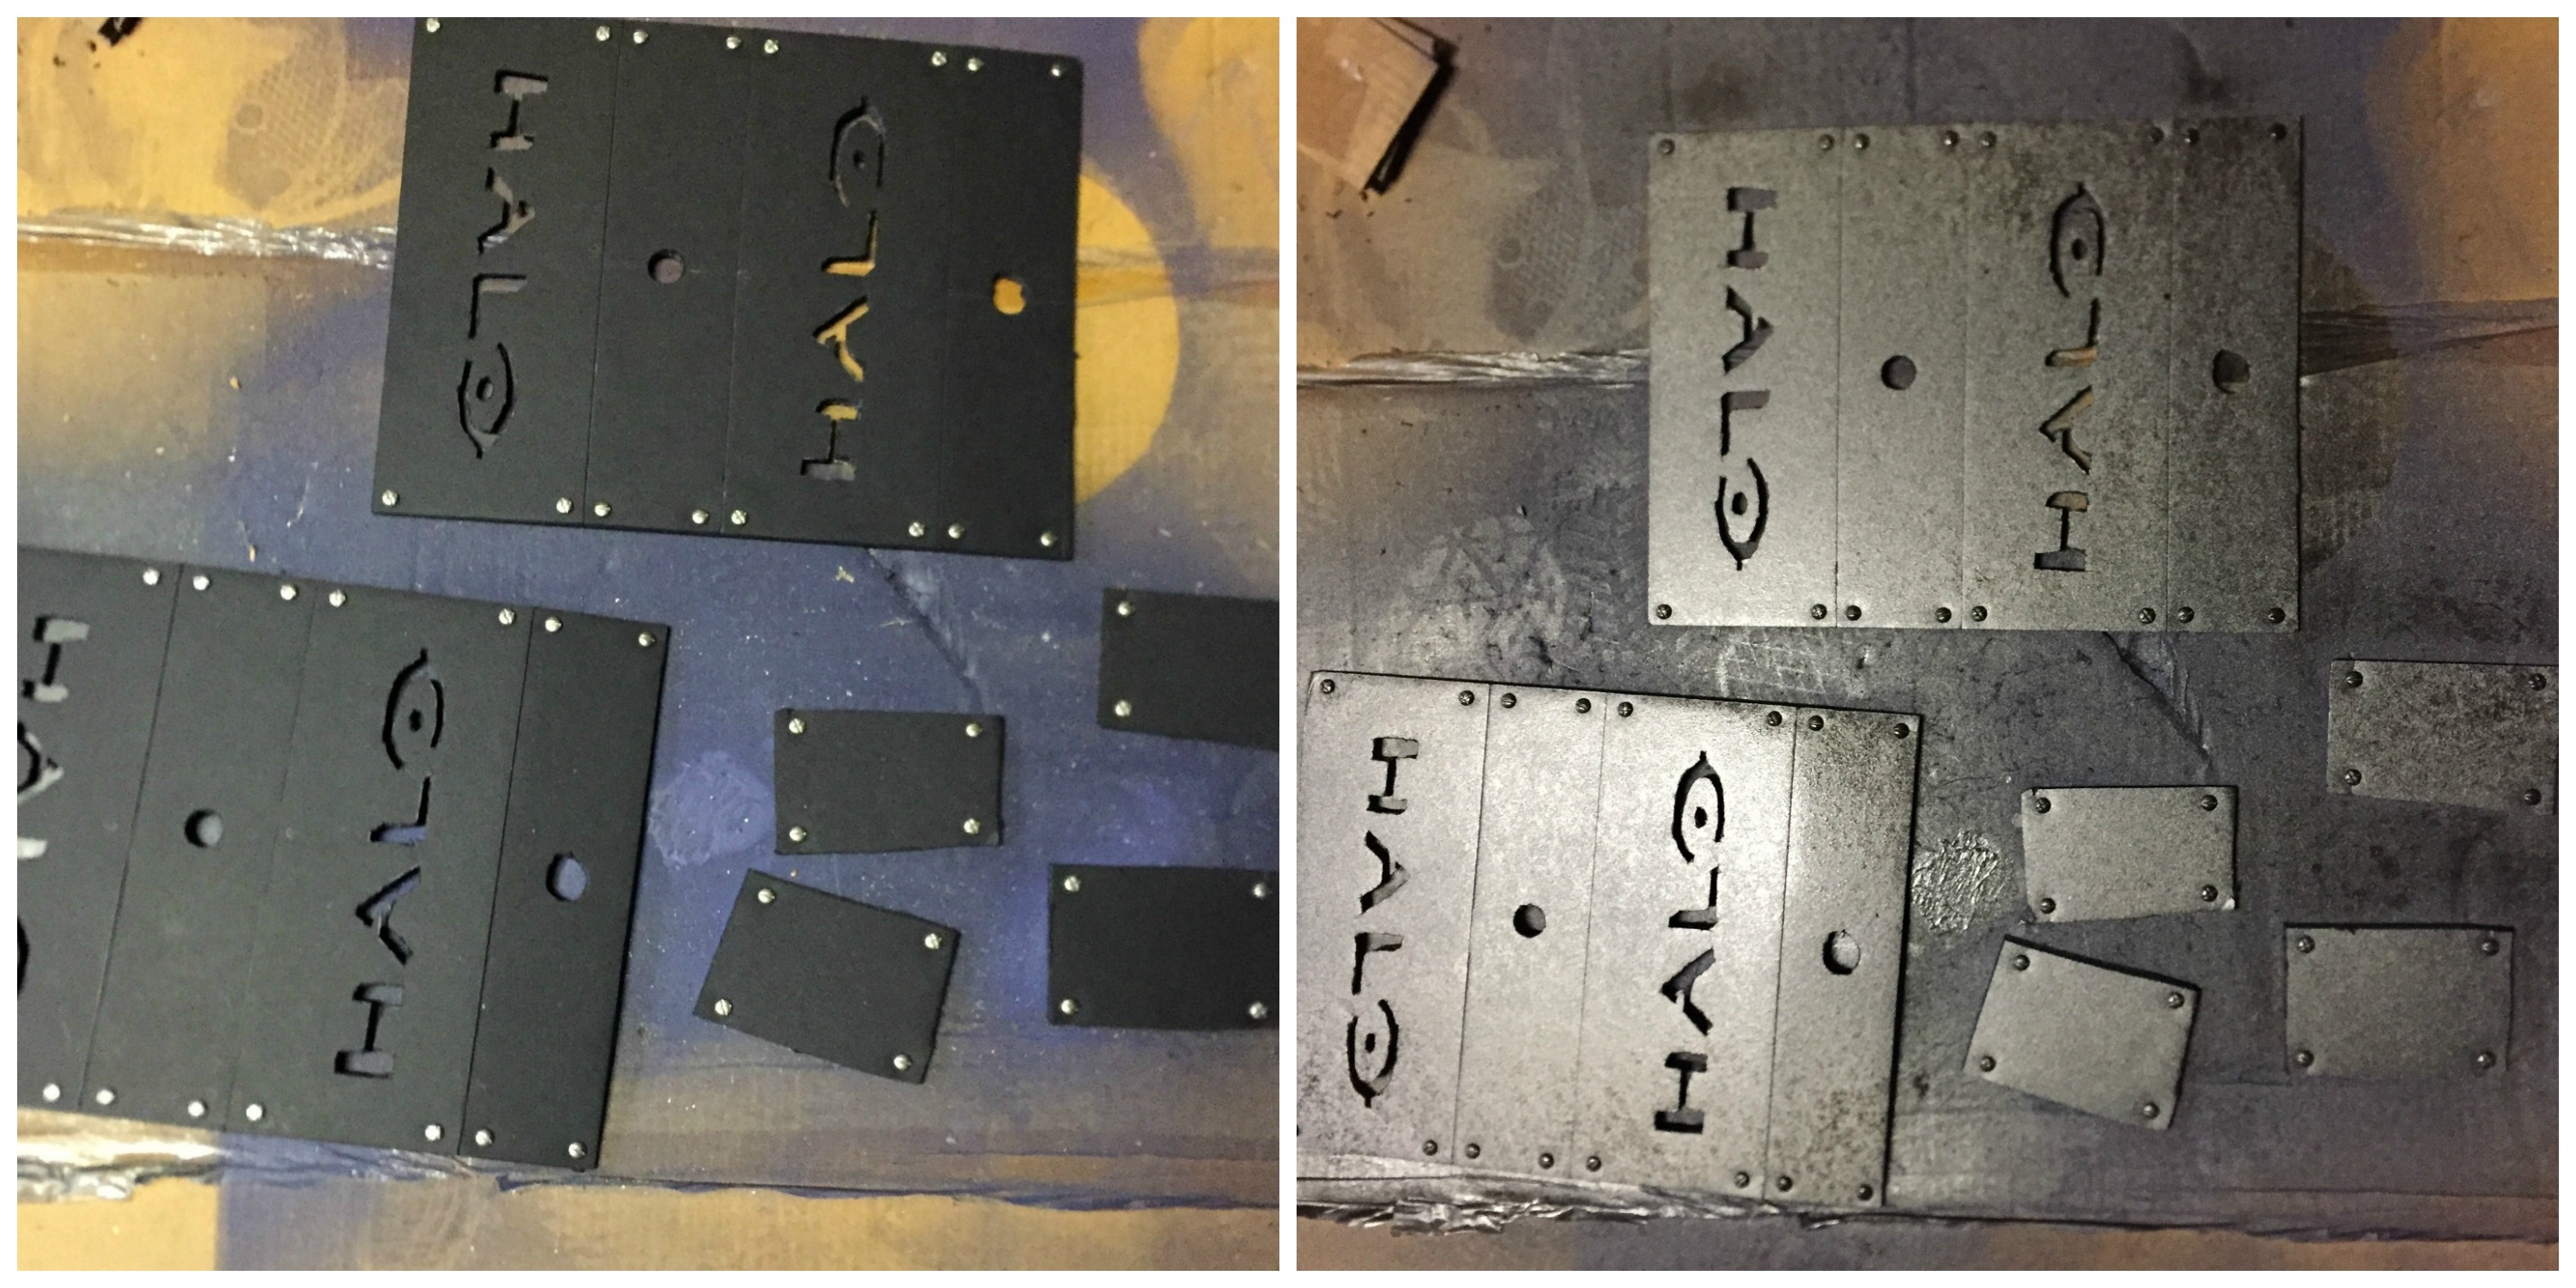
If you are making a “metal” looking box, use a little template and make a slit for each brad to slide into. Place brads, flip over and push tabs down
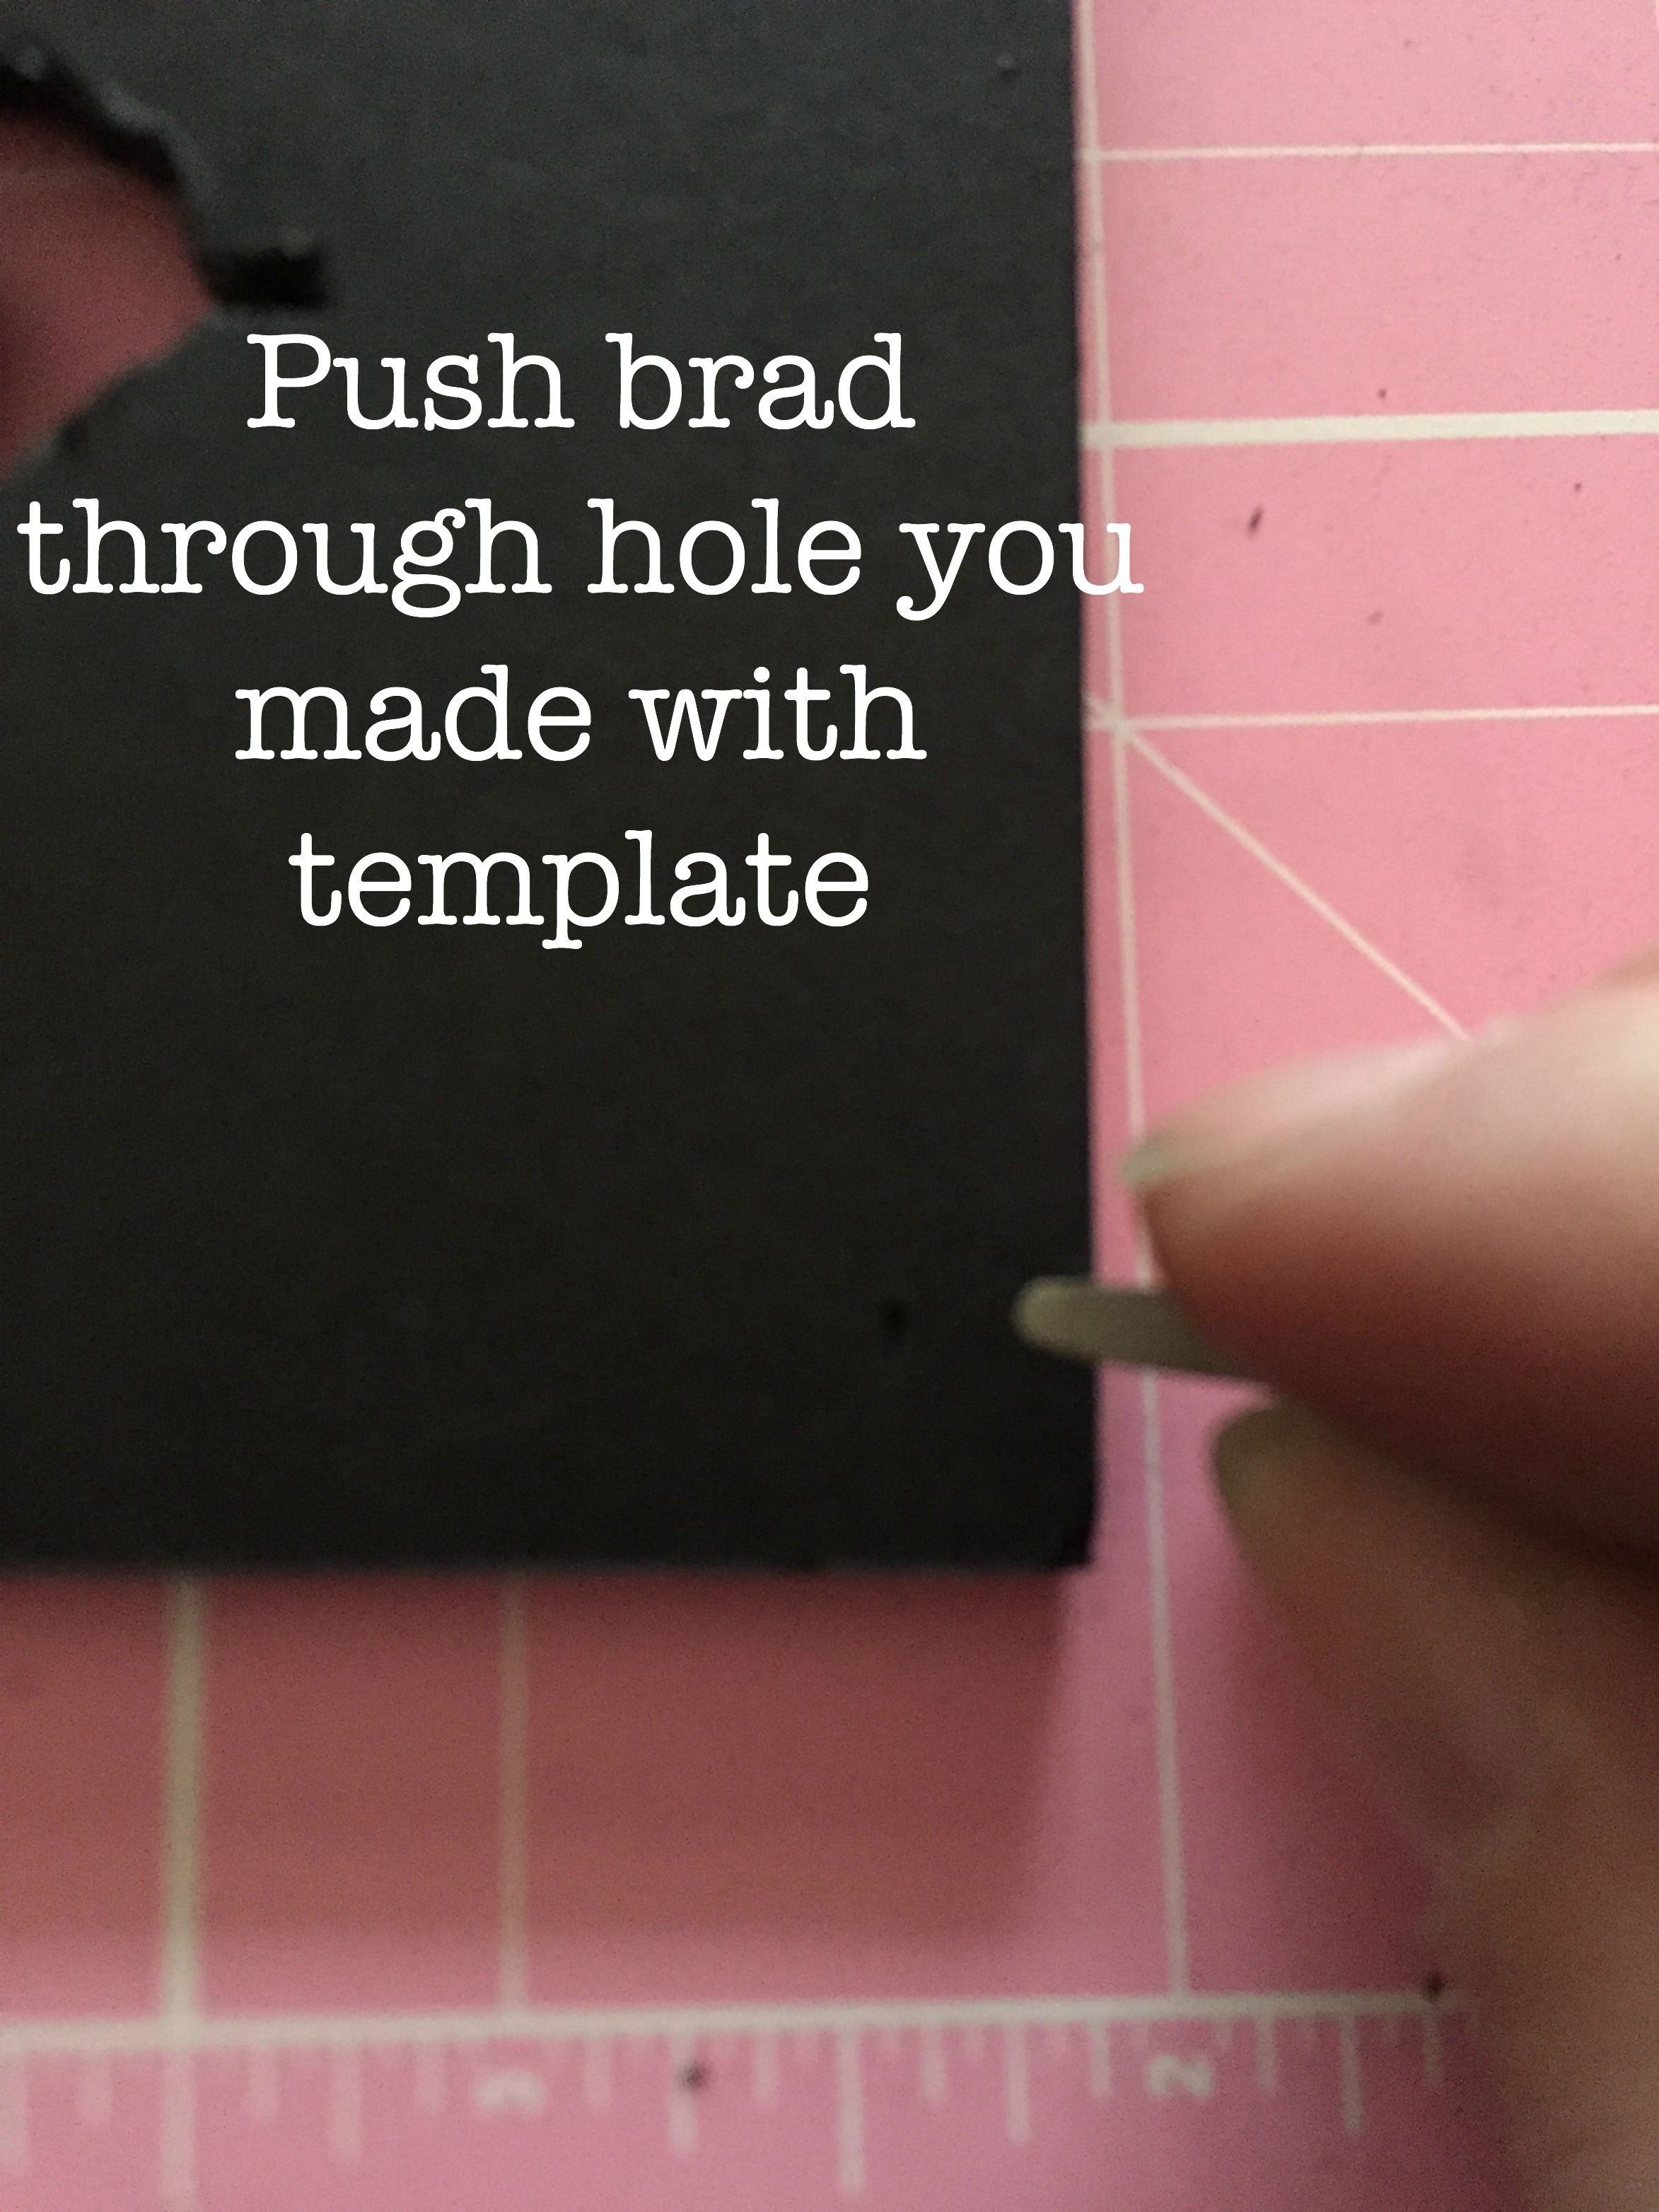
Insert brads. Turn the board over and close all brads.
Temporarily close the box with tape and place box on the extra foam board. Trace and cut outsides. Place brads here as well.
Take outside or in your garage and spray paint all parts. It took about four light coats of spray paint for my project.
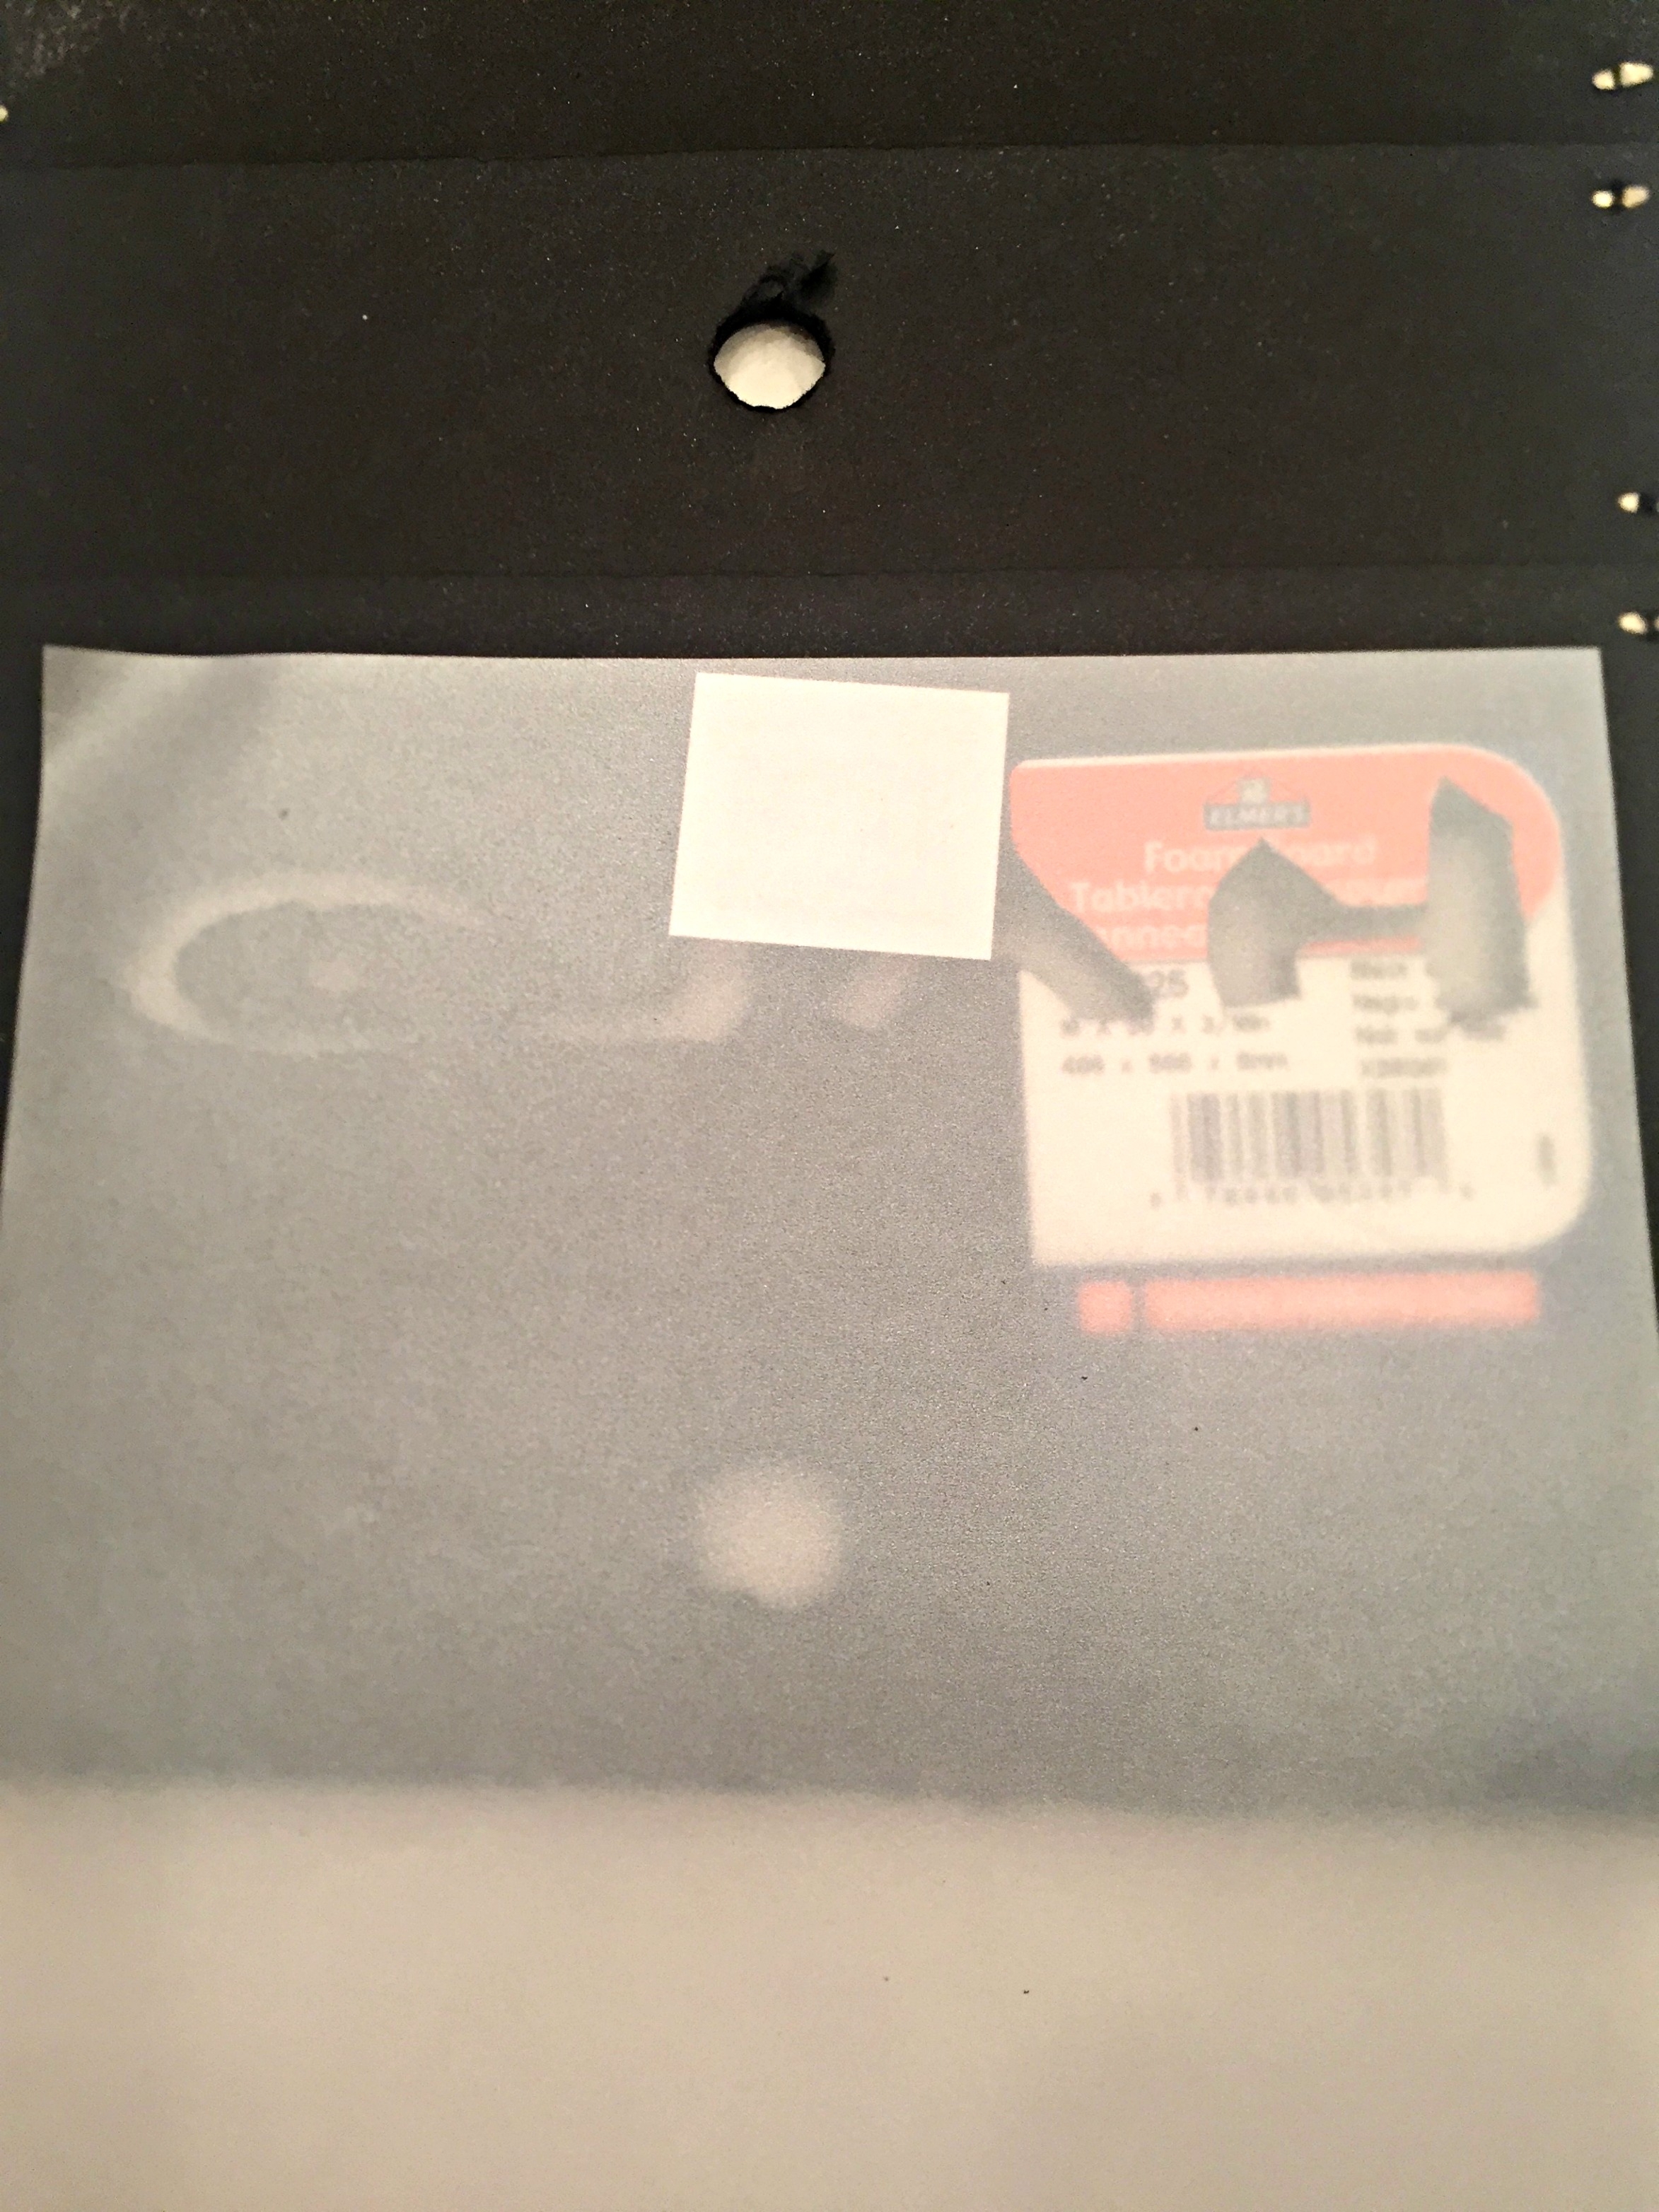
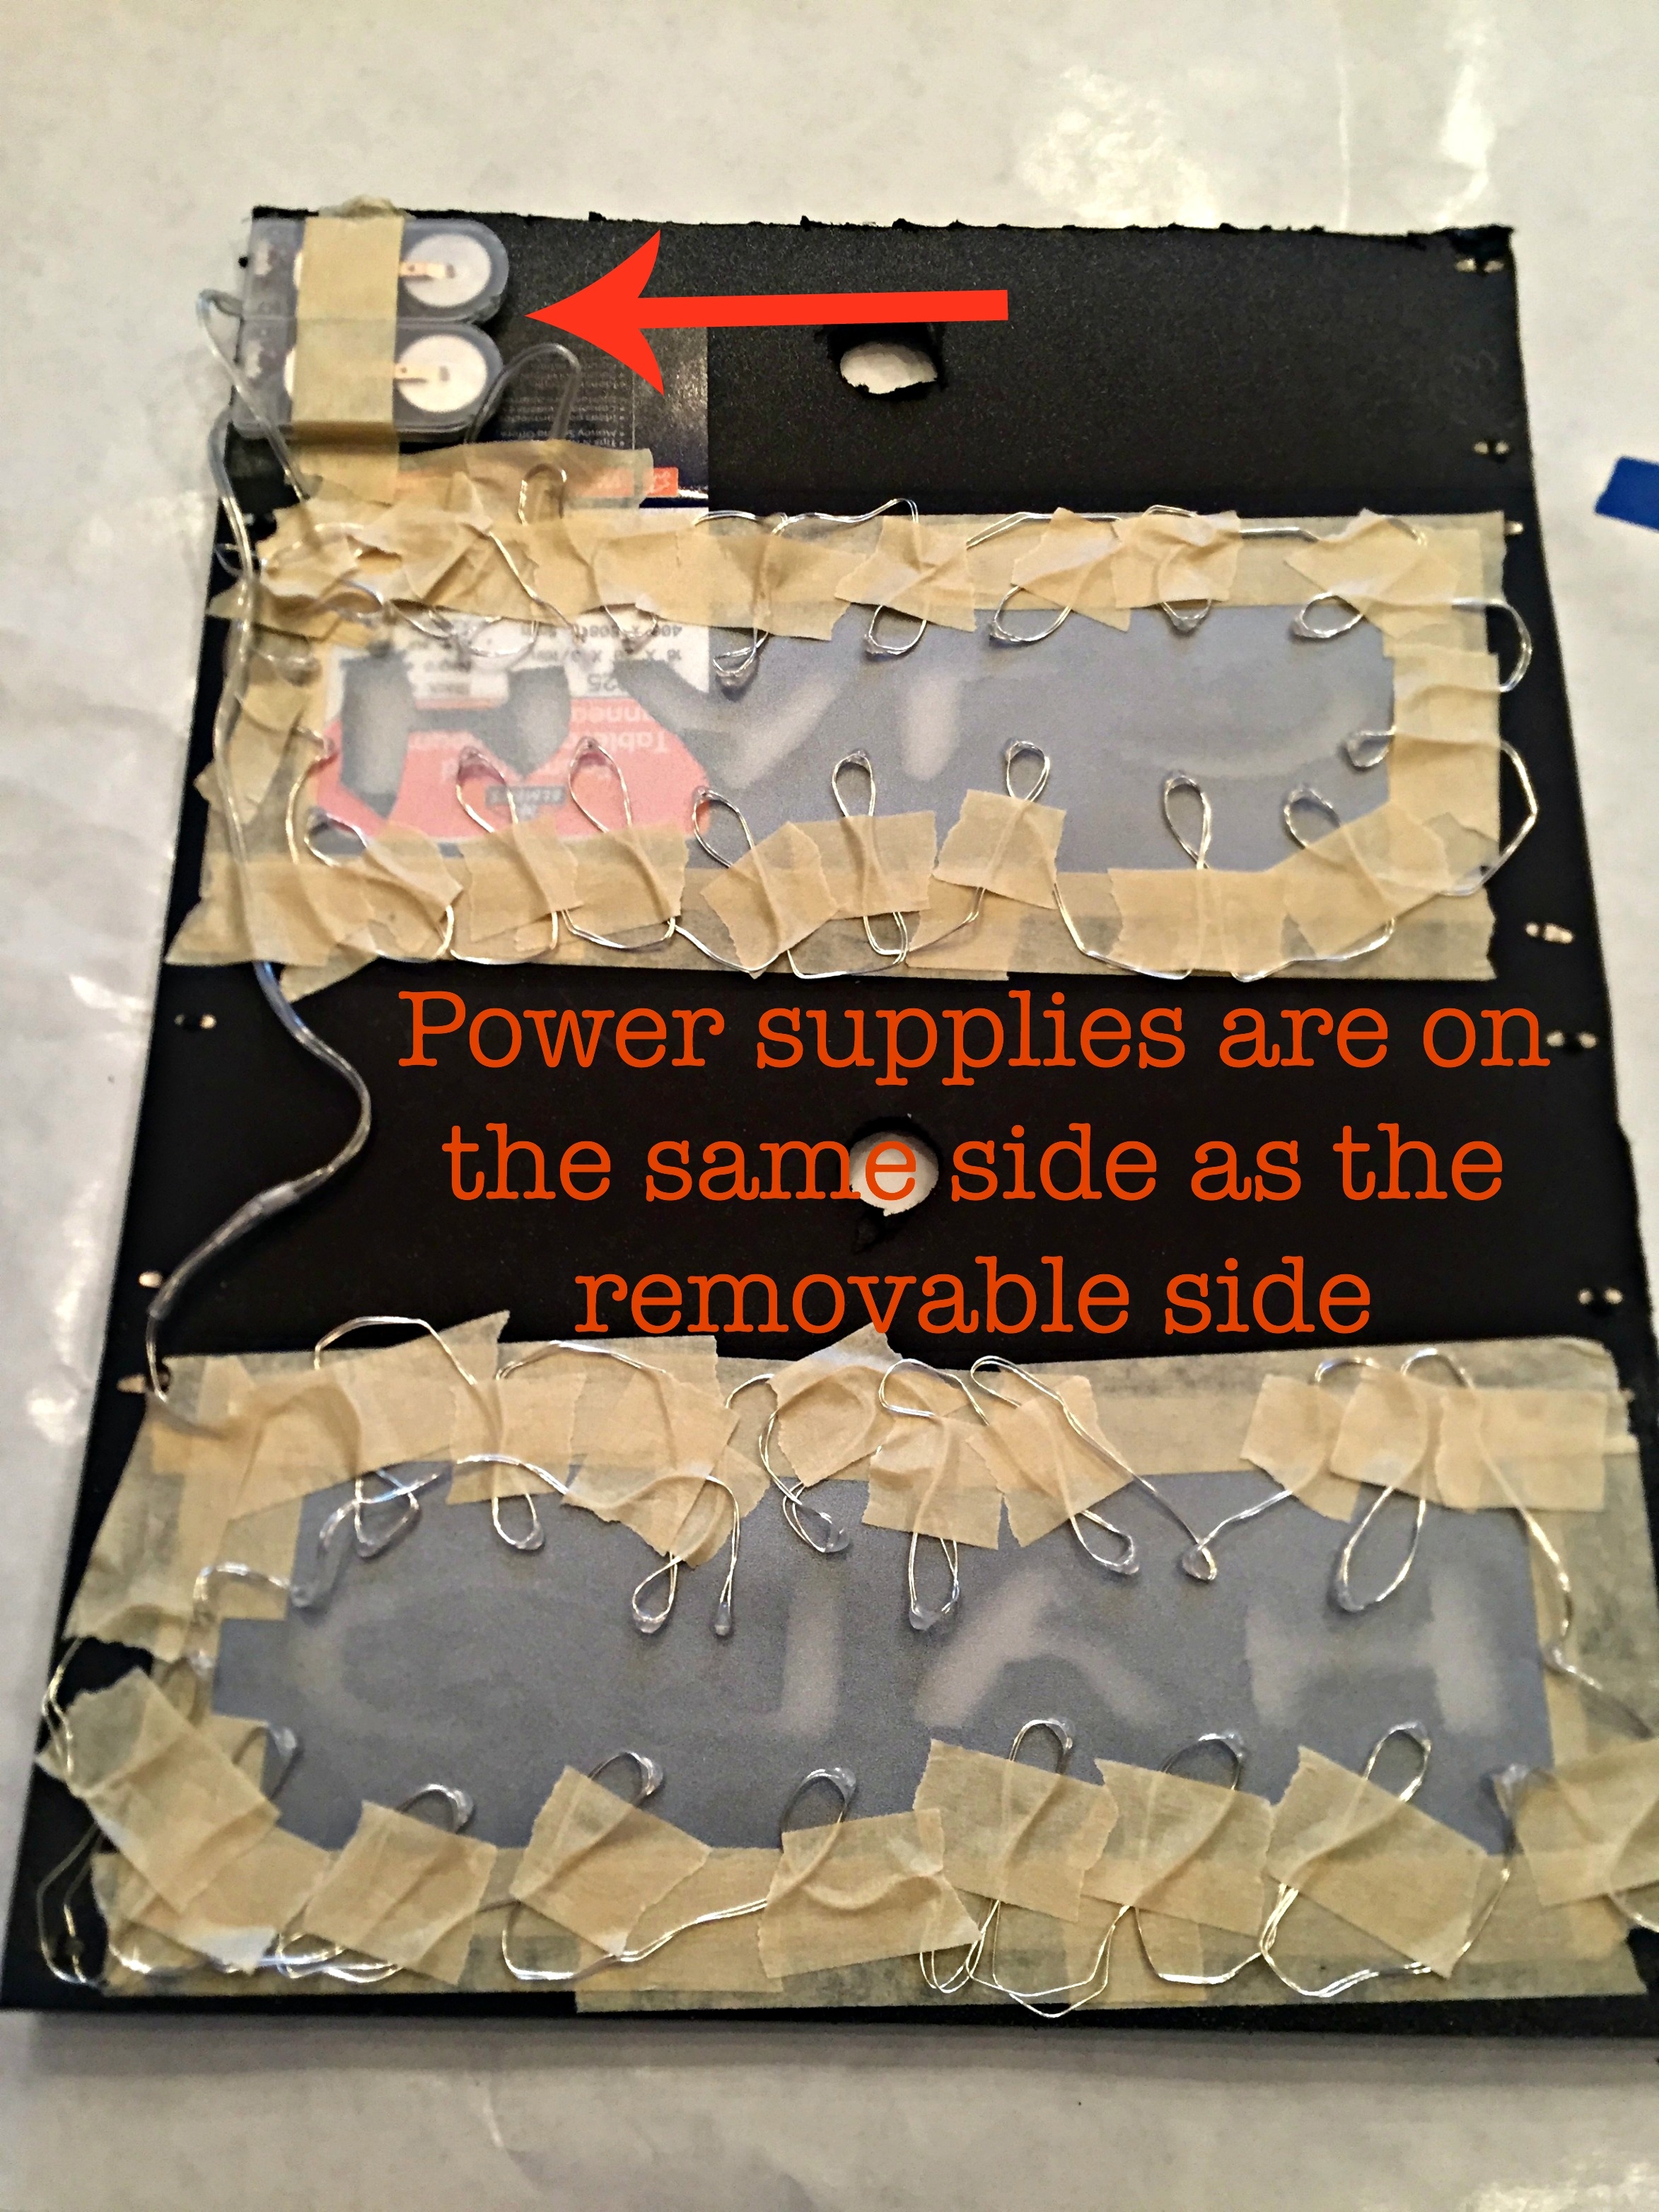
Cut vellum to fit over the carved area. Carefully tape in sections, so you don’t have any wavy surfaces.
Decide where the light switches will go and tape them down. Continue to tape lights down around the design. Repeat all steps on both sides for a two-sided design.
Place a small amount of hot glue along the edge and close box. Glue down the side of the box without the switches.
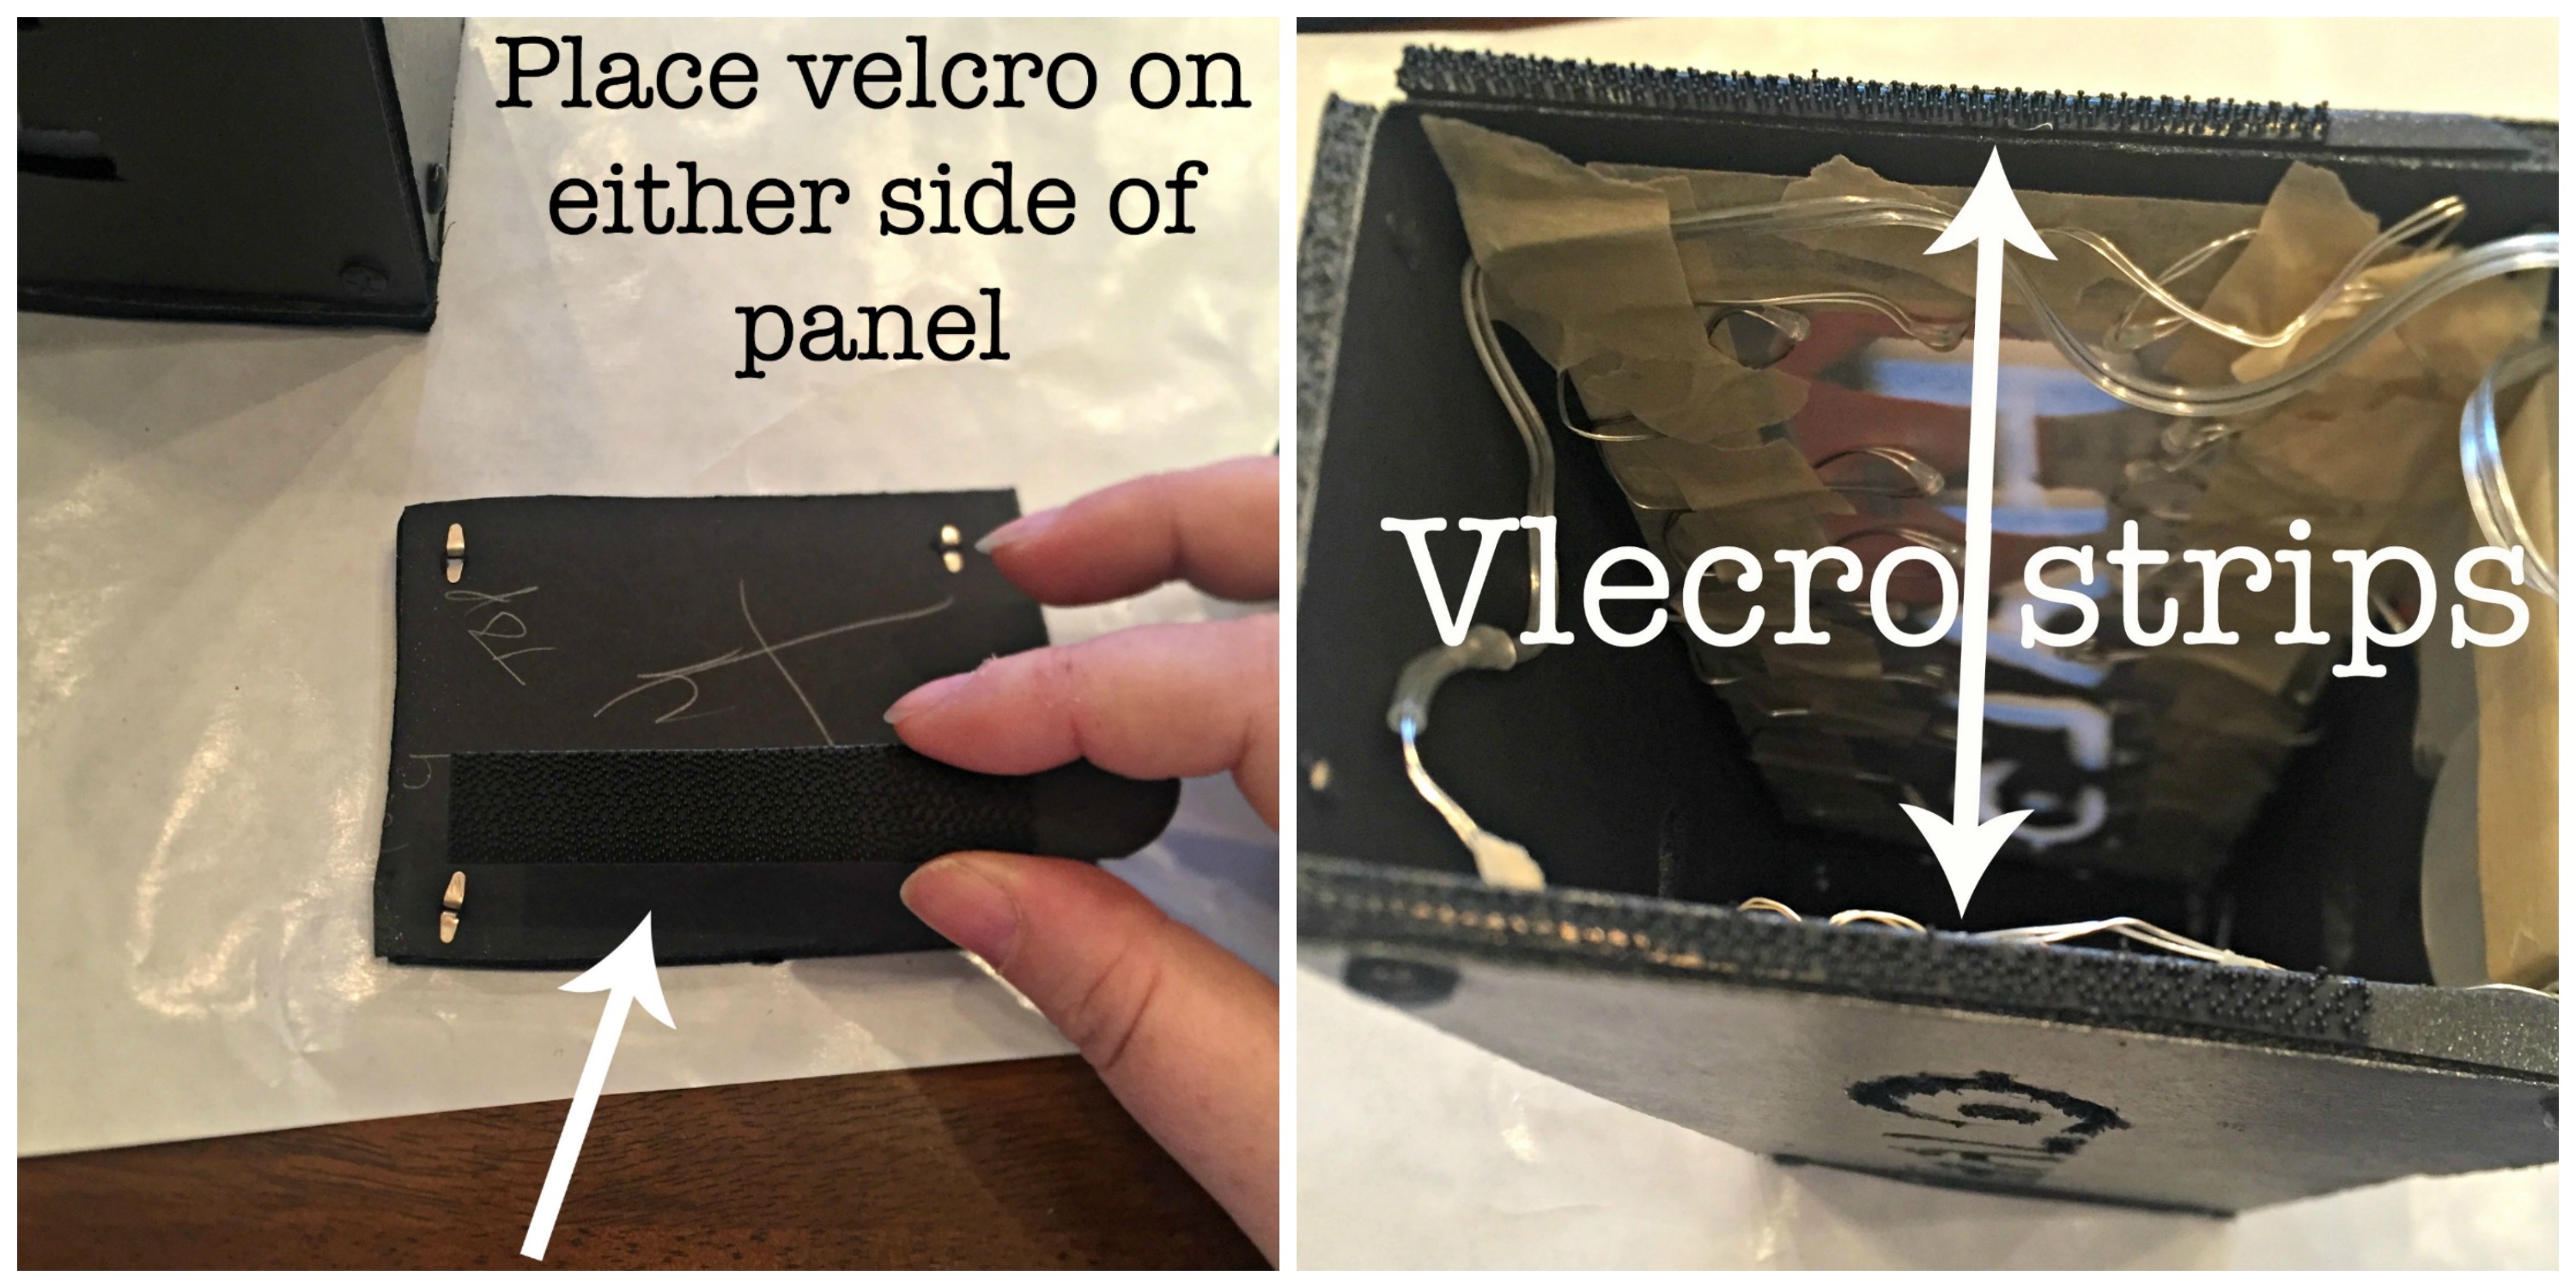
Place velcro strips along the side of the box and on side panel where light switches are.
Viola you have your very own custom-made light up box.
SORRY FOR THE TERRIBLE PICTURES! I had to take them in haste, so there was not any time to make them look amazing.
This is a genuinely versatile DIY craft project. I think the sky’s the limit on design and characters. I believe that you could even print a design on the vellum to make something with a little more color. Hopefully, I will be making these types of signs in the future for something a little more girly.






Absolutely loved this post! I really appreciate your efforts on the coolest DIY light up sign HALO and it looks great. Thanks for sharing your experience with us and Keep Posting Similar articles.
Thank you so much! It’s a great compliment coming from a sign design company.
I want this sign!