Do you remember in kindergarten the cool art projects with the little tissue paper squares that we wrapped around the end of a pencil? If not maybe go smell some Play-Doh to ignite your memory. Got it? Okay, now imaging paper lanterns covered in tissue paper twists. It’s such a cheap, easy and awesome craft. They are a super versatile craft for all occasions.
I am not going to lie, the fluffy lanterns are a bit time-consuming. Perfect for a rainy afternoon. I made 6 of them and it took me about 4 hours from cutting the tissue paper to placing the final tissue square.
FLUFFY TISSUE PAPER LANTERNS
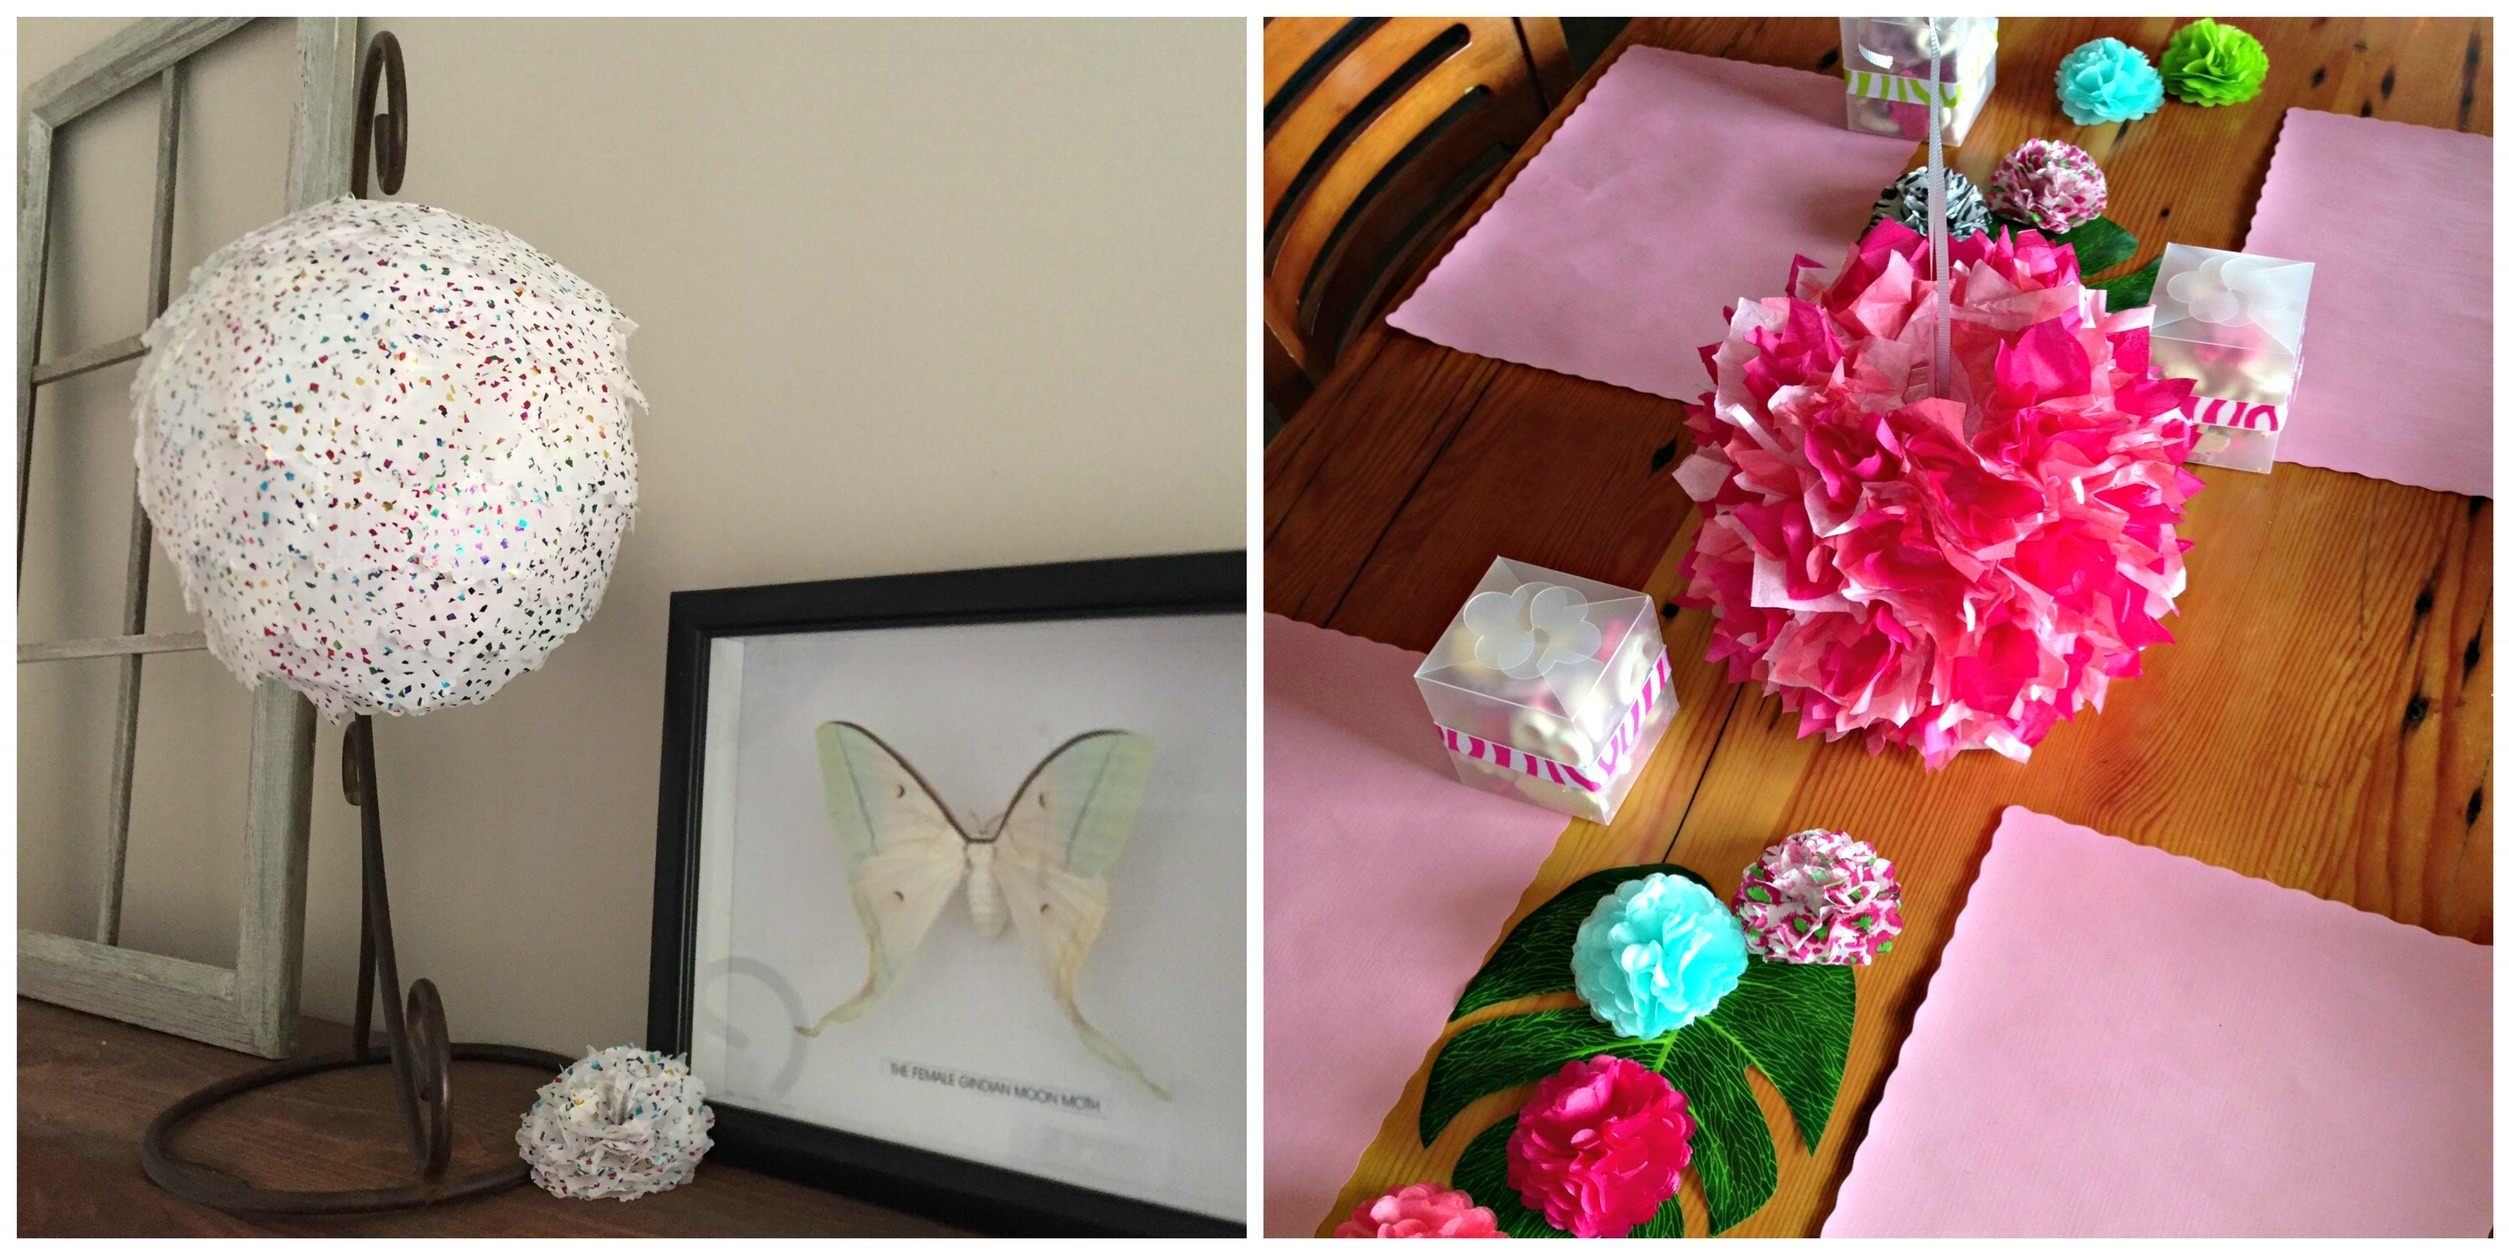
I made the tissue paper covered lanterns for table decorations at my sister baby shower. In the summer they look super cute hanging from my tree with a battery-powered tea light inside. Here are all the supplies and instructions on how to create your own.
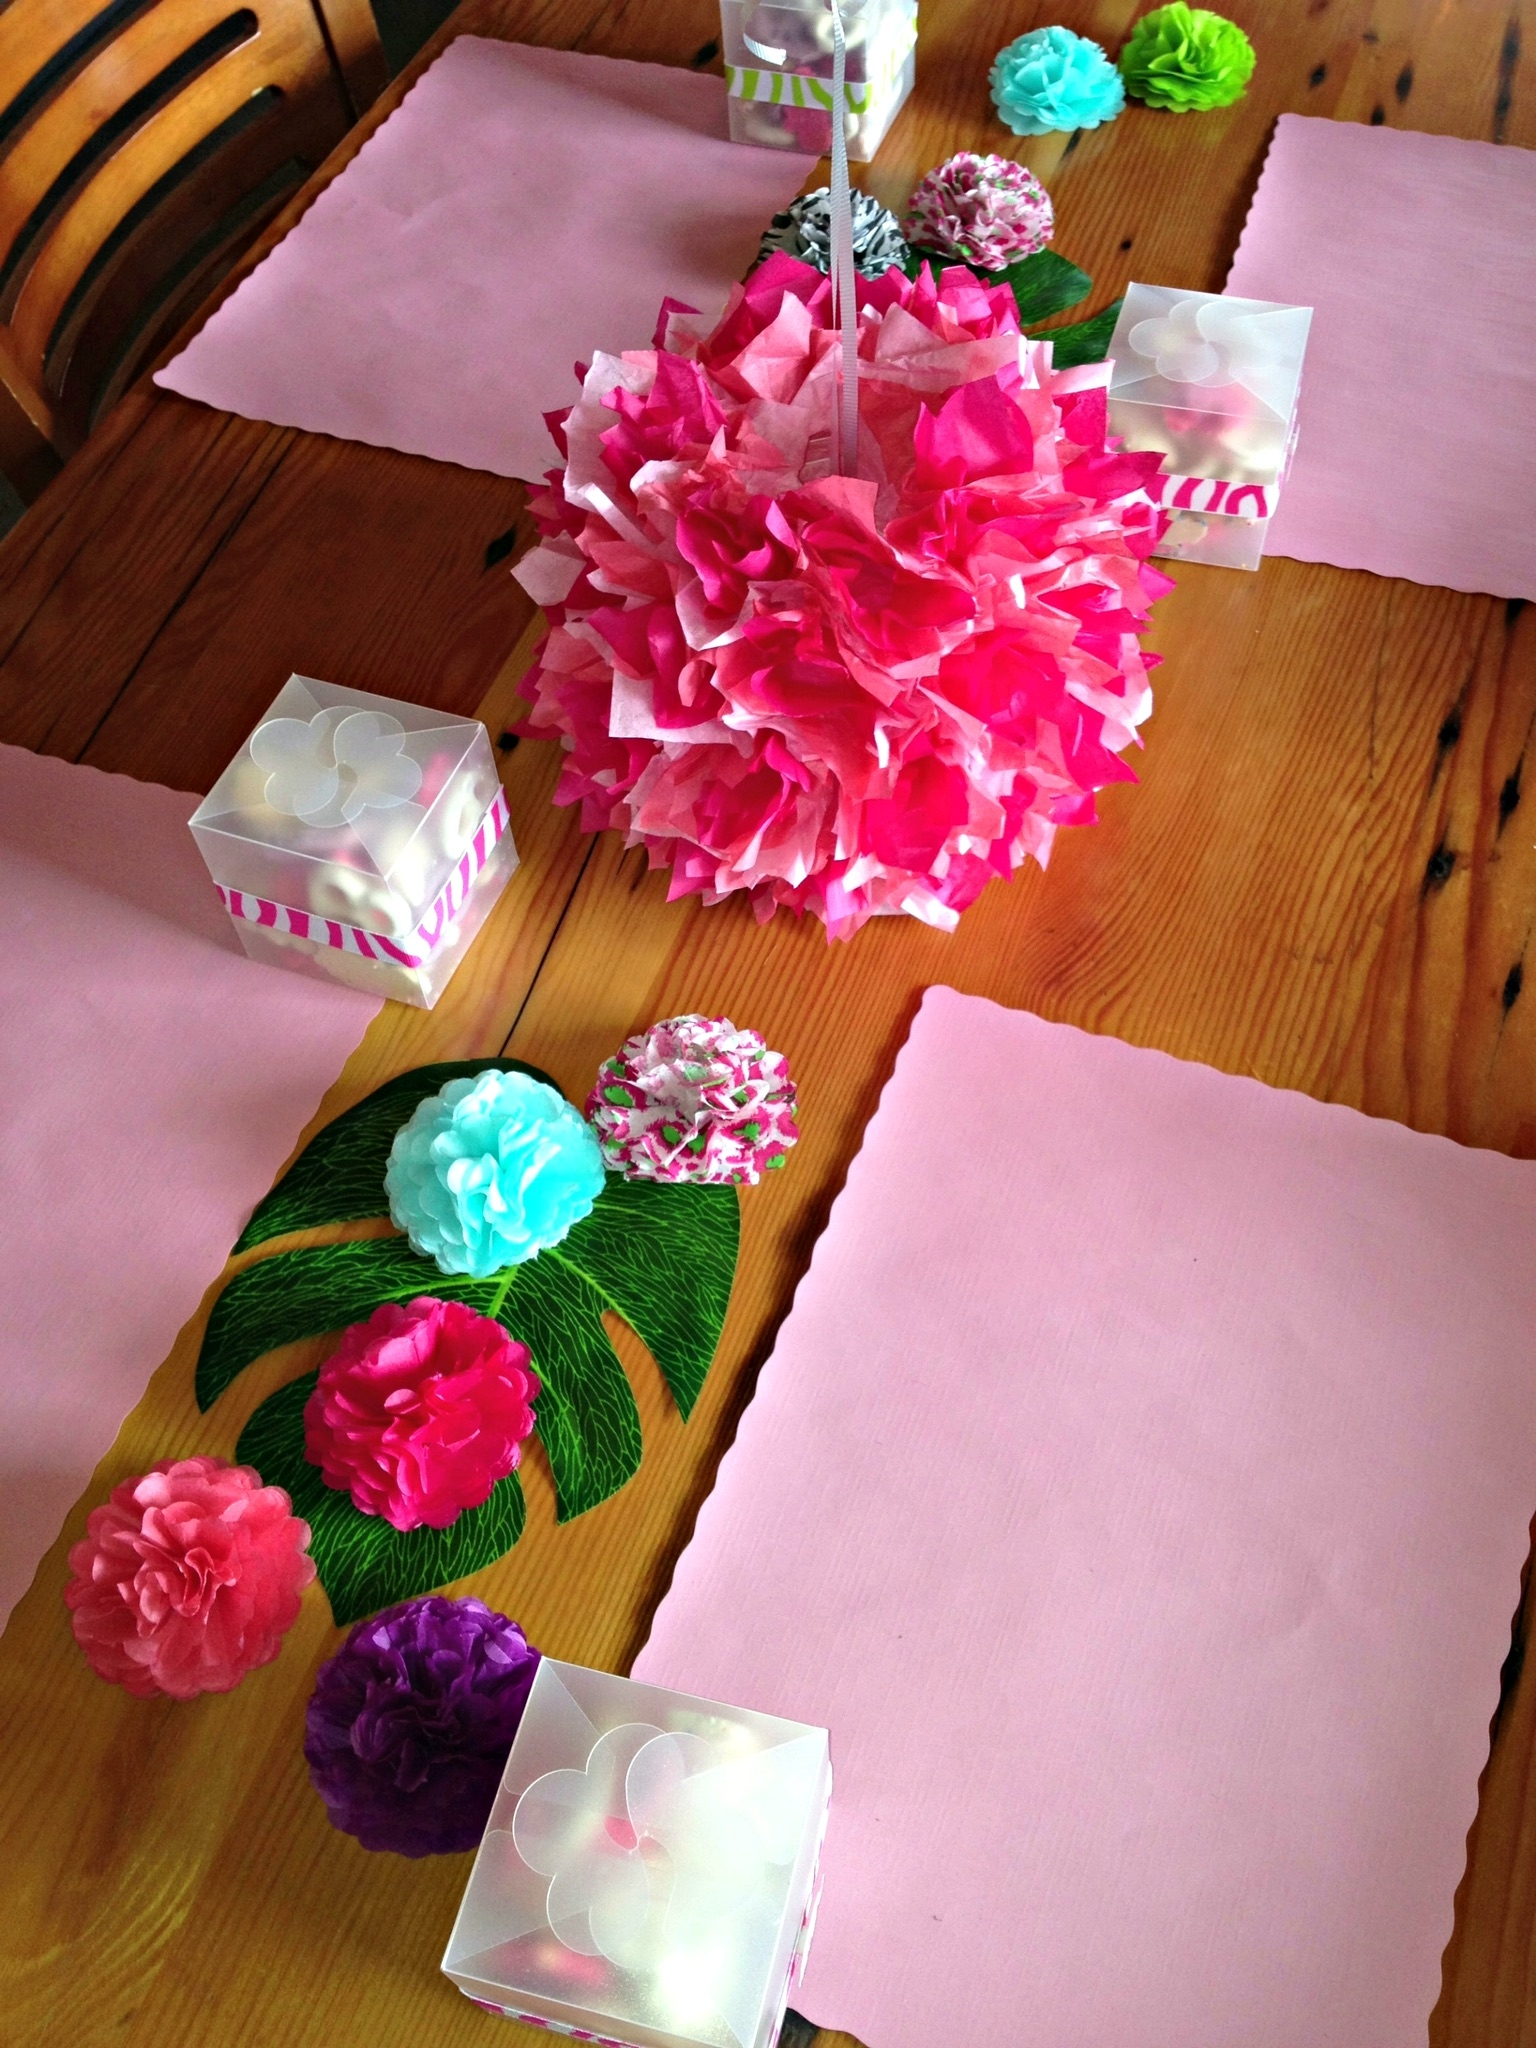
Table decor for Nalah’s baby shower
This post may contain affiliate links. I never recommend product or services that I do not use myself. All opines are 100% my own. If you have any other questions please read my Privacy Policy and Terms of service located at the bottom of this post.
SUPPLIES YOU WILL NEED:
Paper lanterns (any size or shape should work)
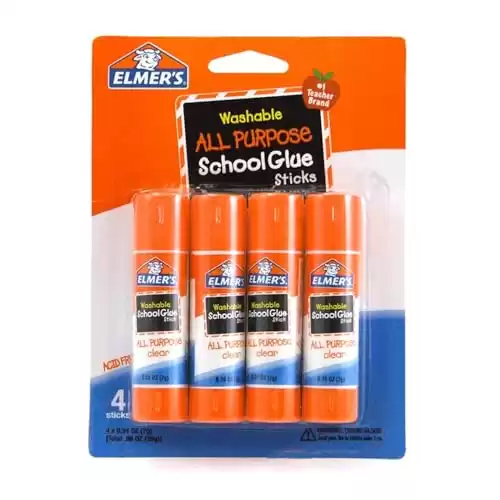
Good old fashioned glue stick

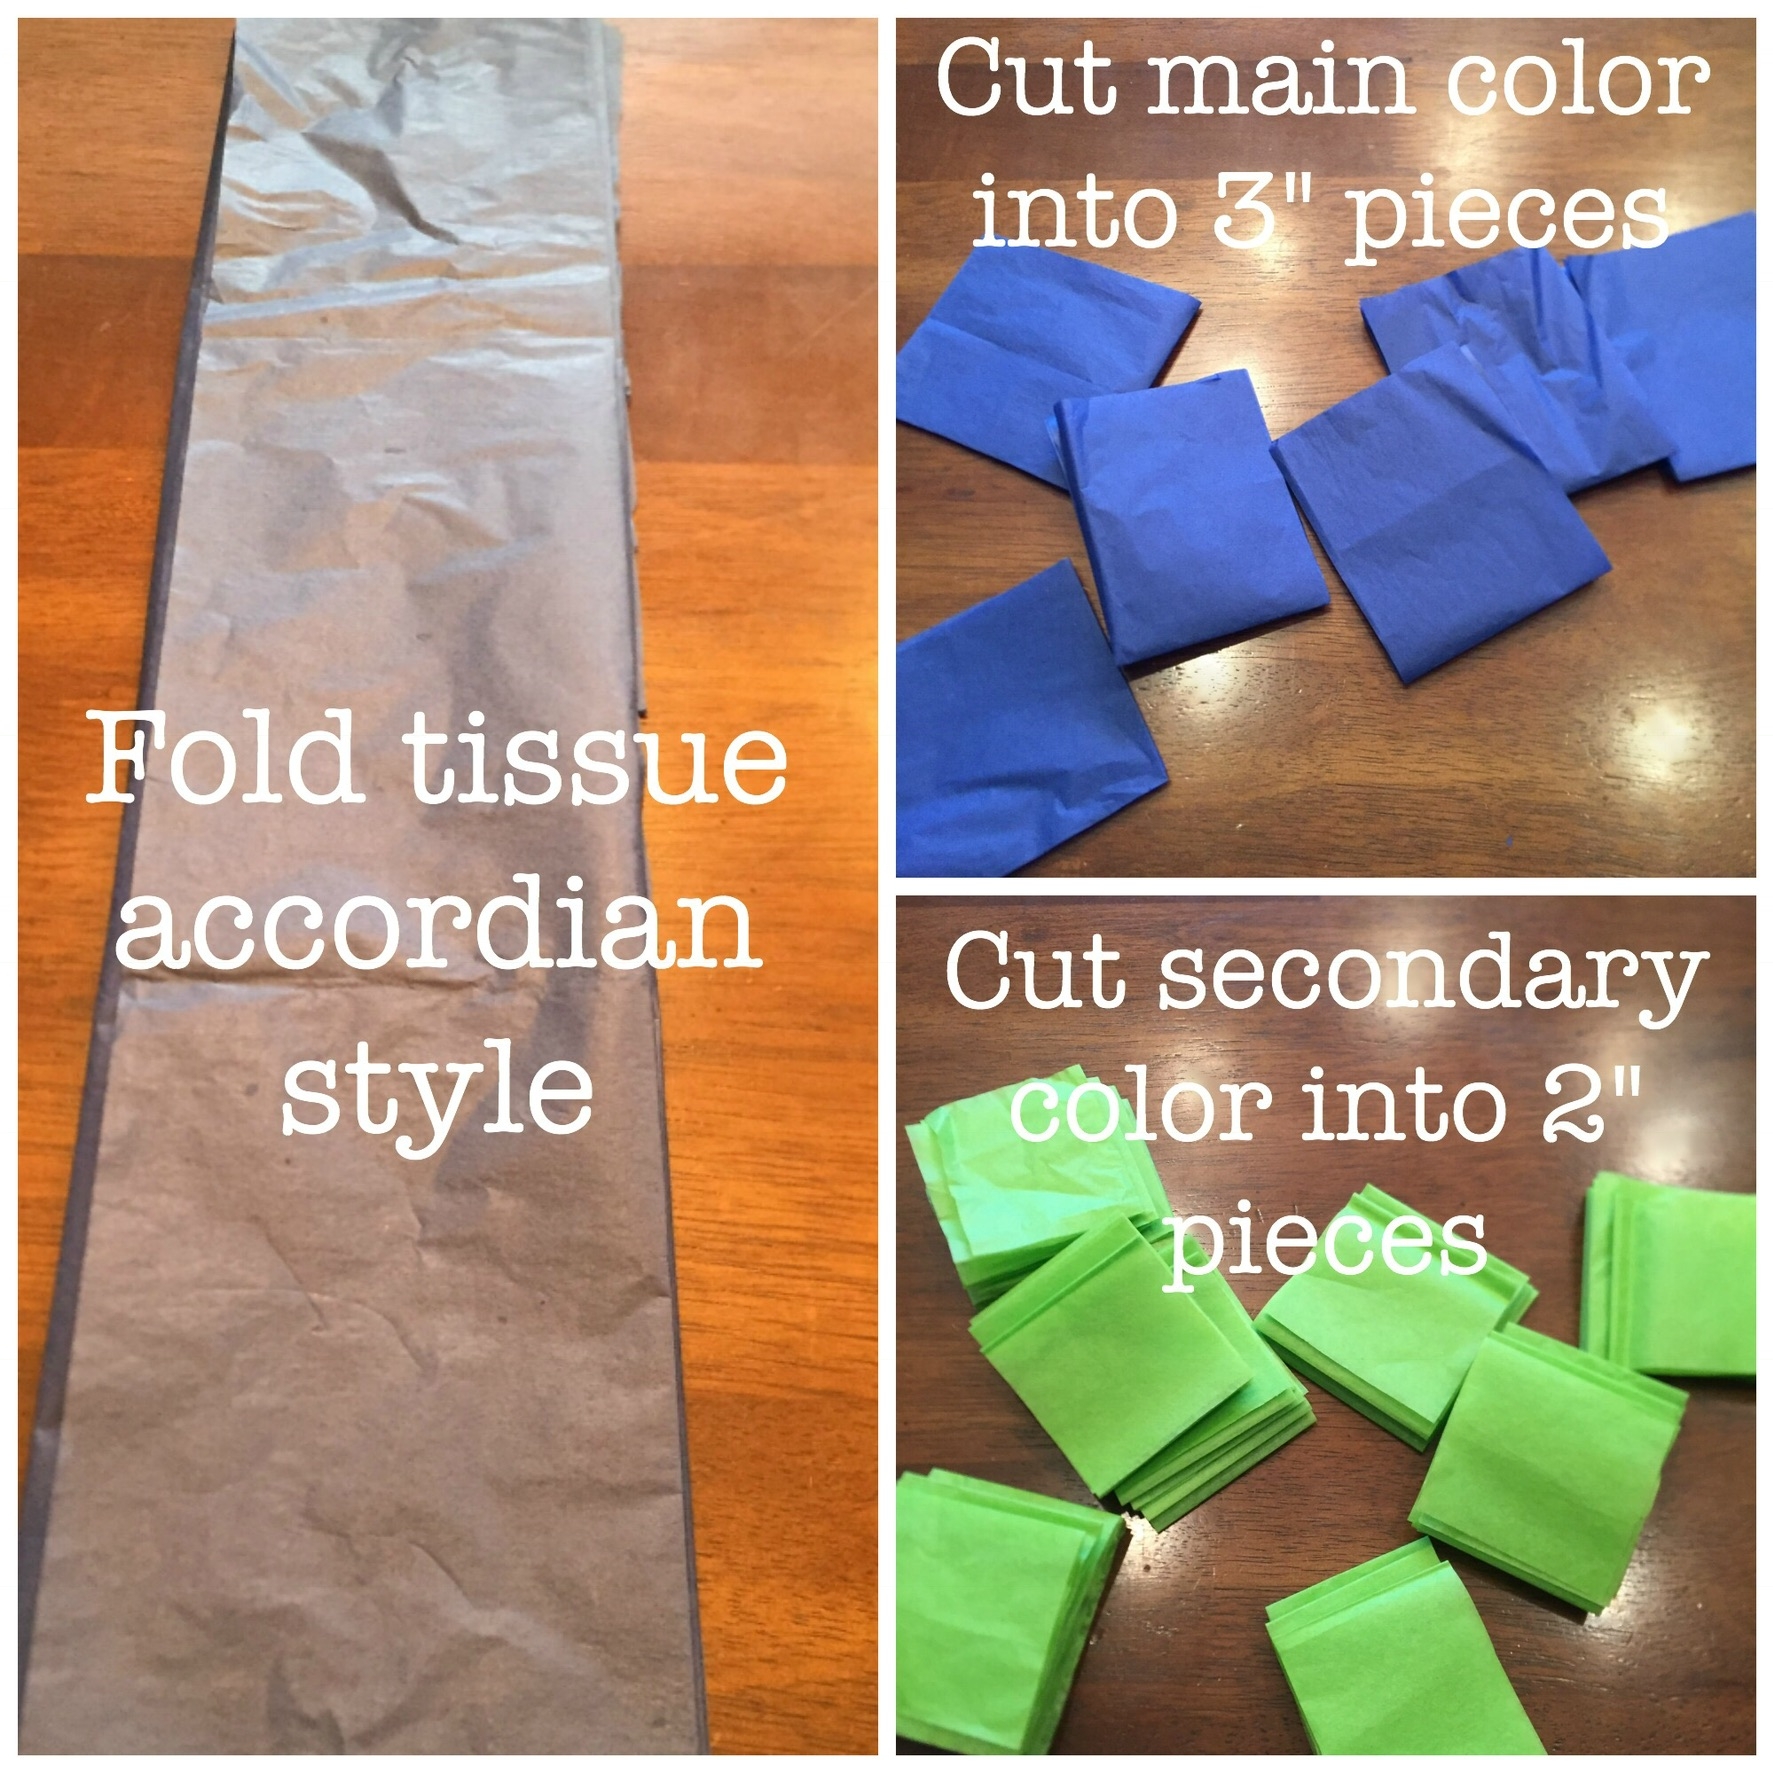
Tissue paper of any color cut into 3-inch squares for the primary color and 2-inch squares for the complementary color.
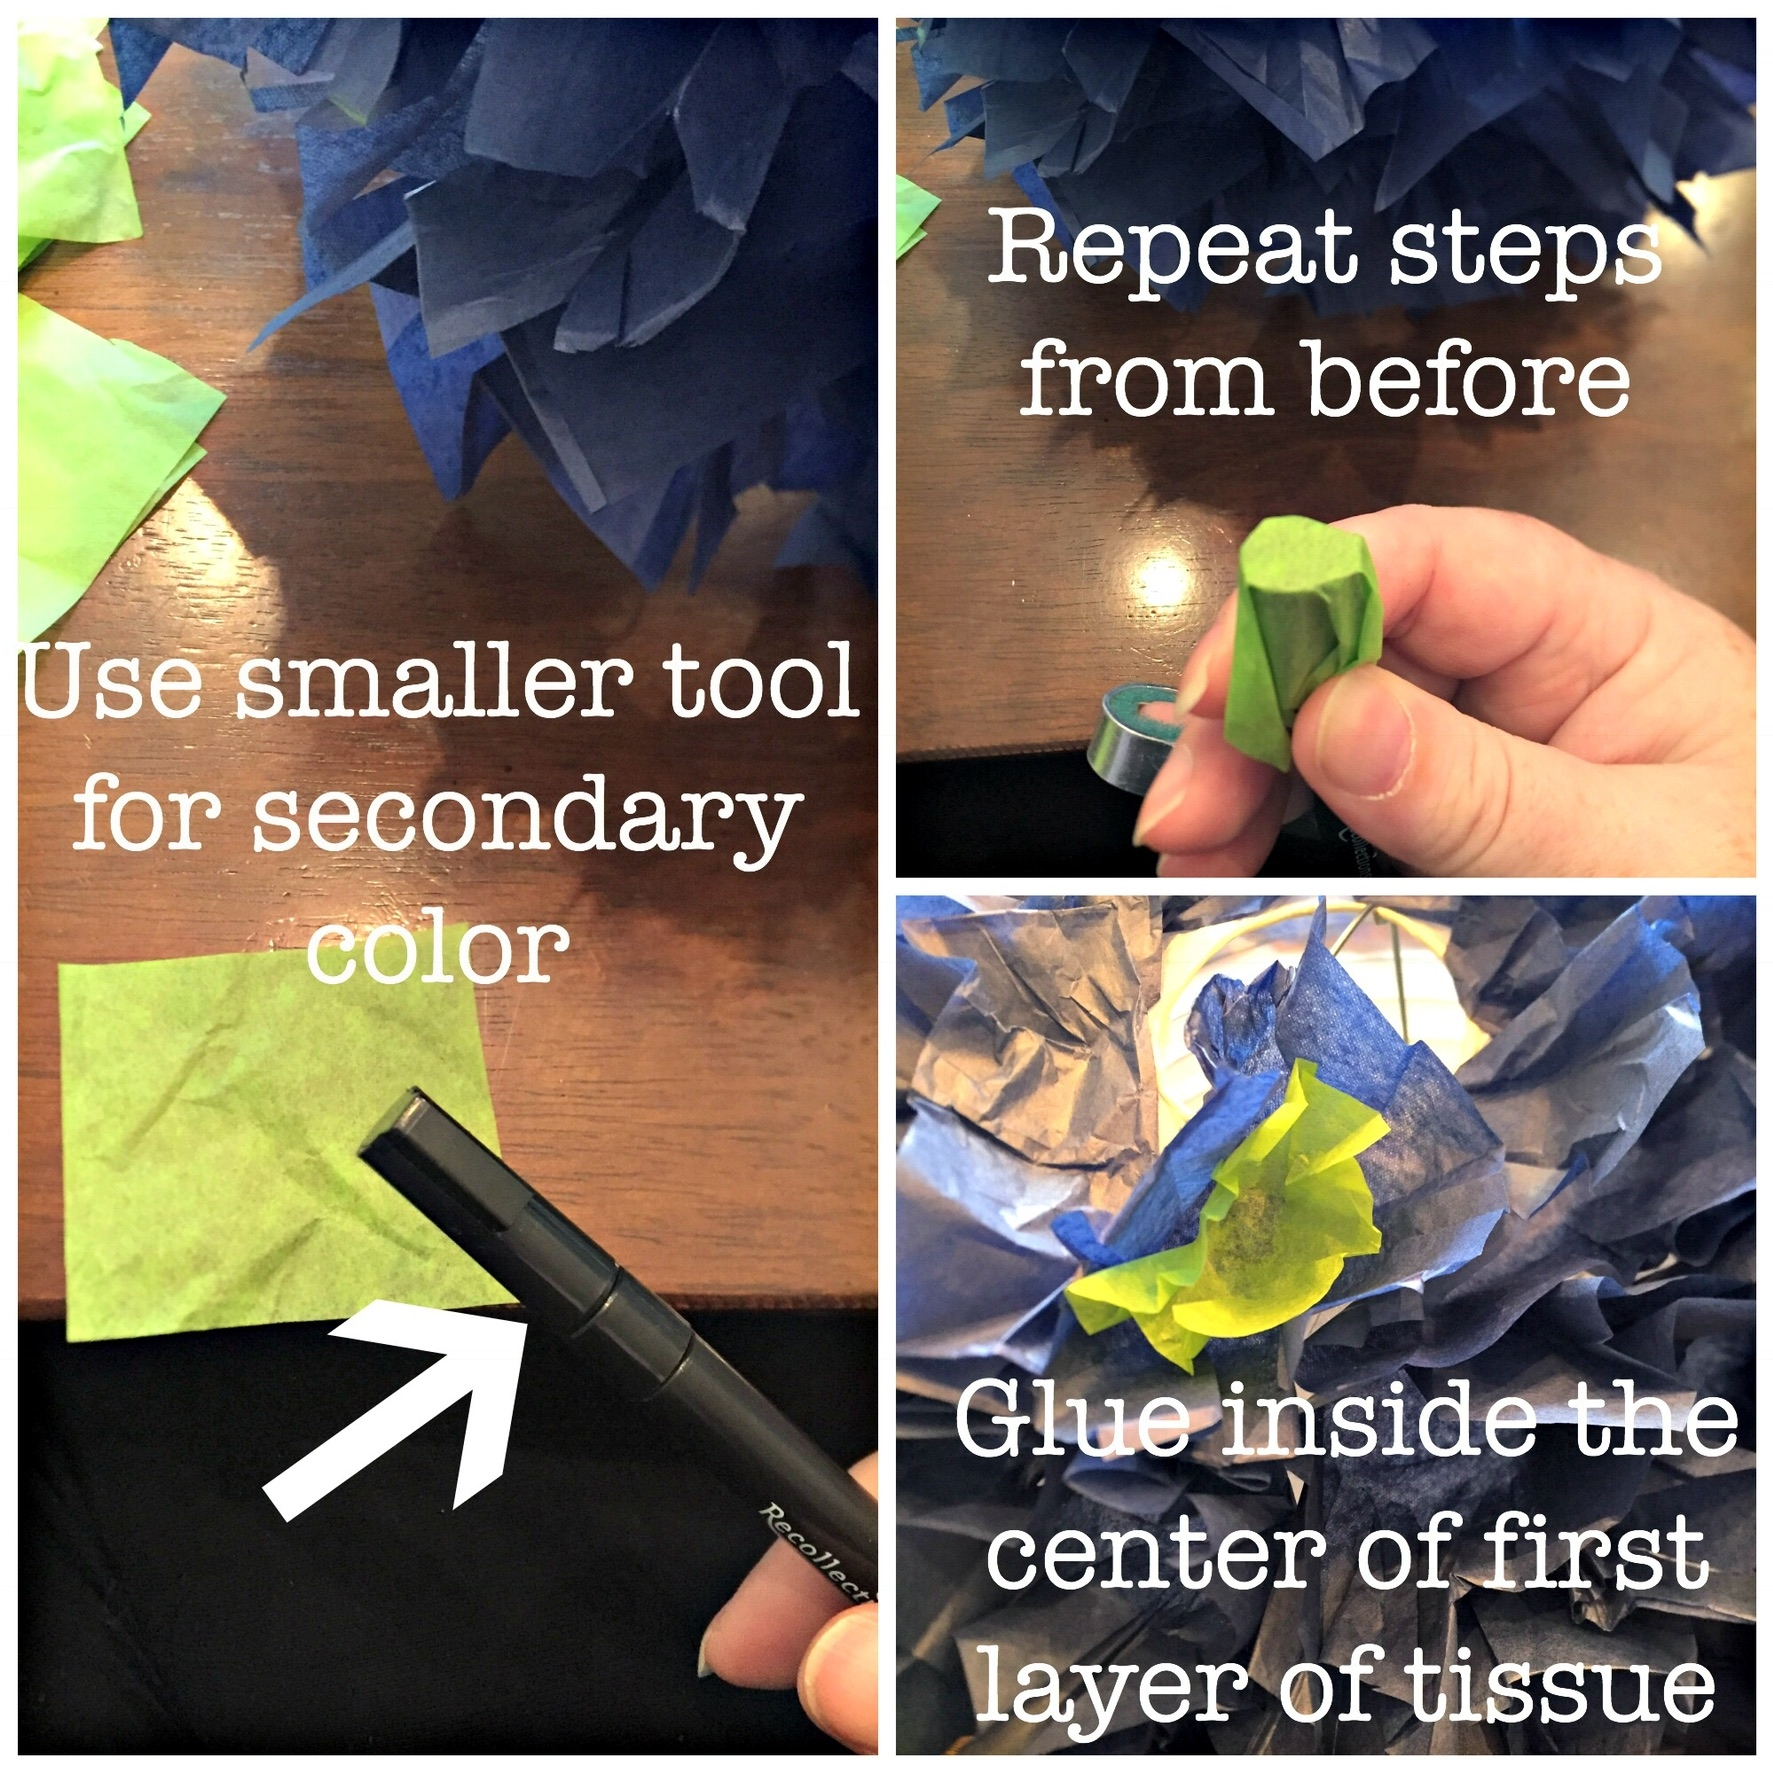
Standard size prescription bottle and a round nail polish bottle. These are for making the tissue twists, I’ll explain.
HOW TO:
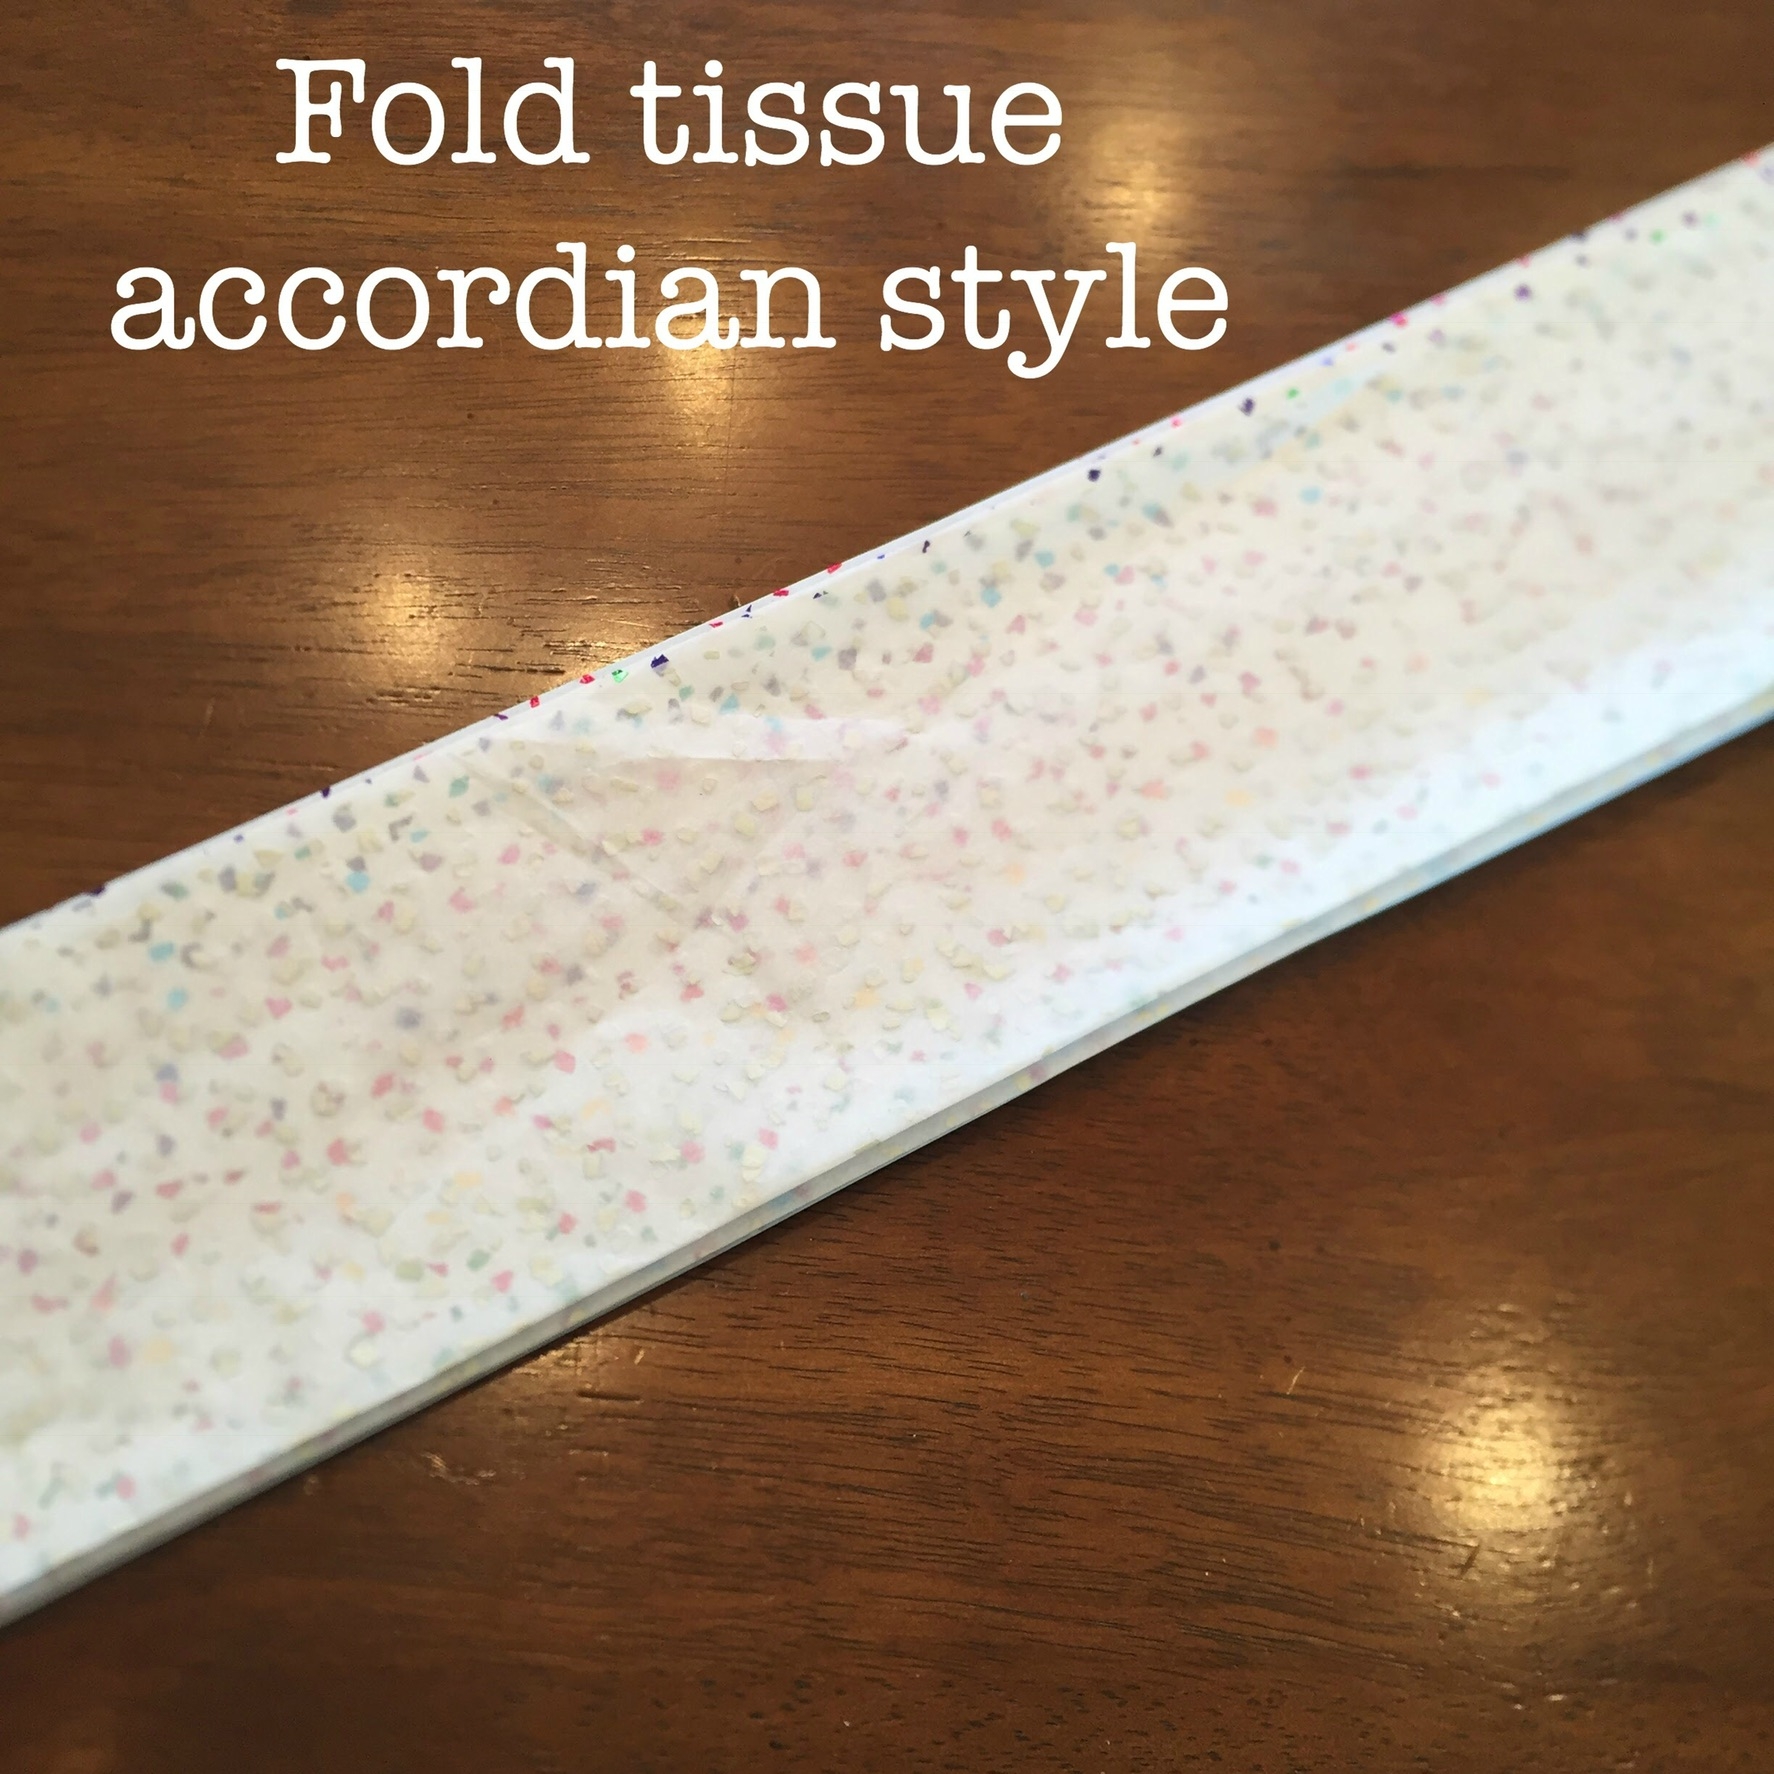
- Fold tissue paper accordion style. Cut tissue paper into 2-3 inch squares. Try to be neat but don’t go crazy if they are not 100% square.
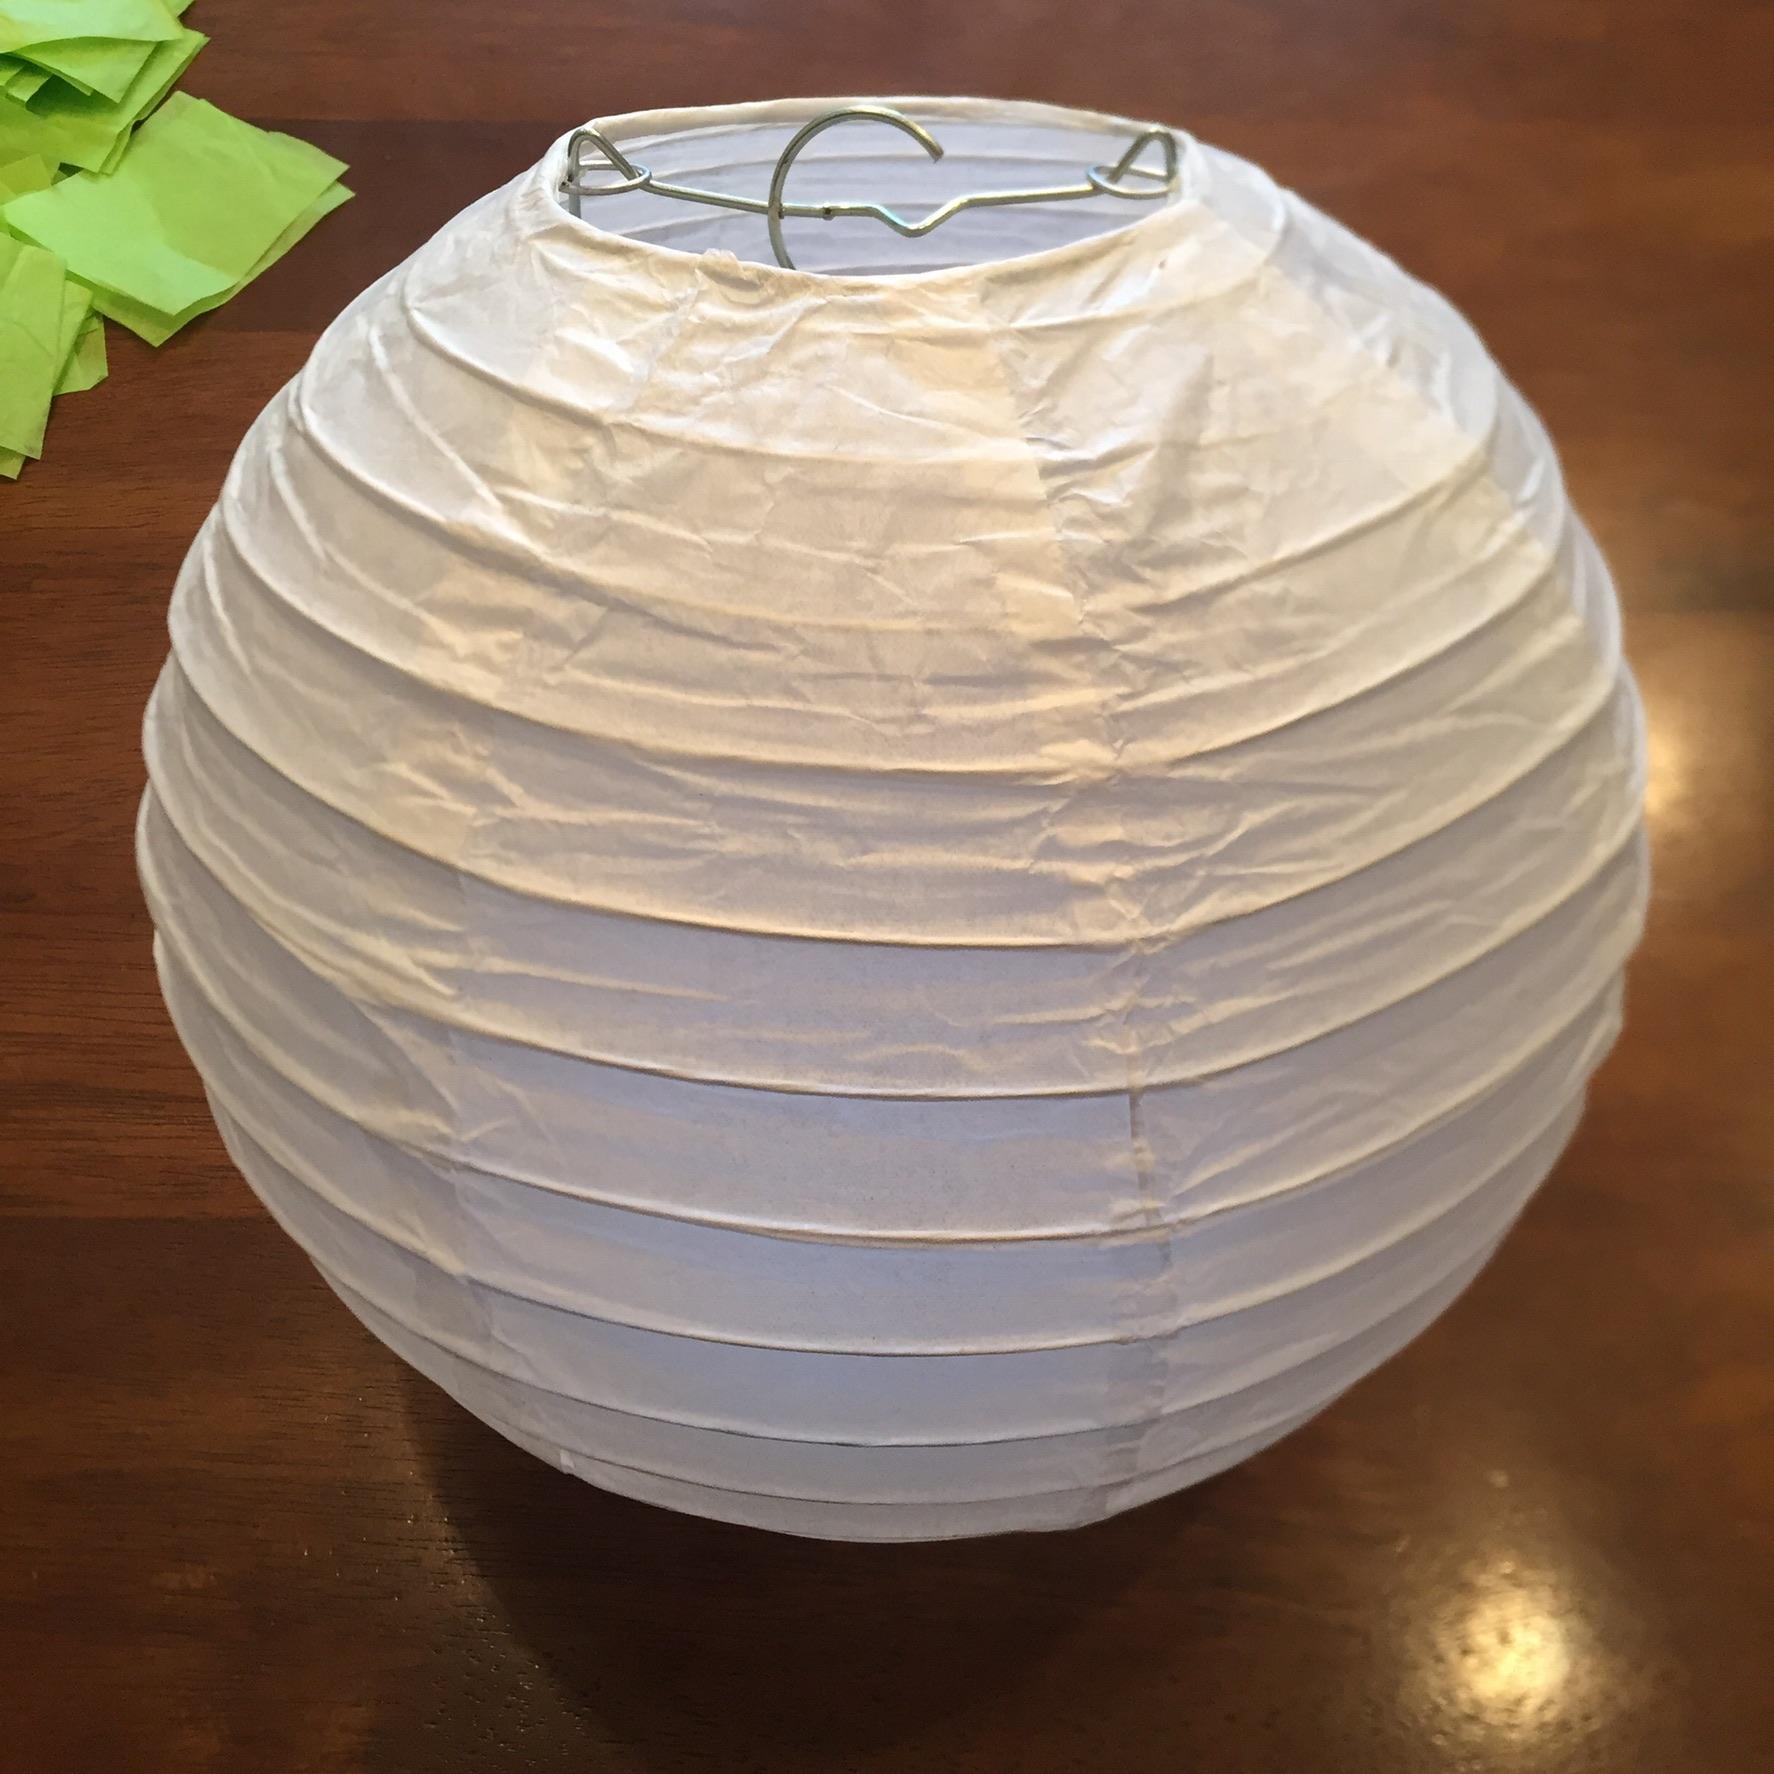
- Open the paper lanterns and assemble according to manufactures instructions.
- Twist the paper square around the bottle, glue and press it onto the lantern. You need to make sure that you use your free hand inside the lantern to apply opposing pressure to make sure you are getting good adherence.
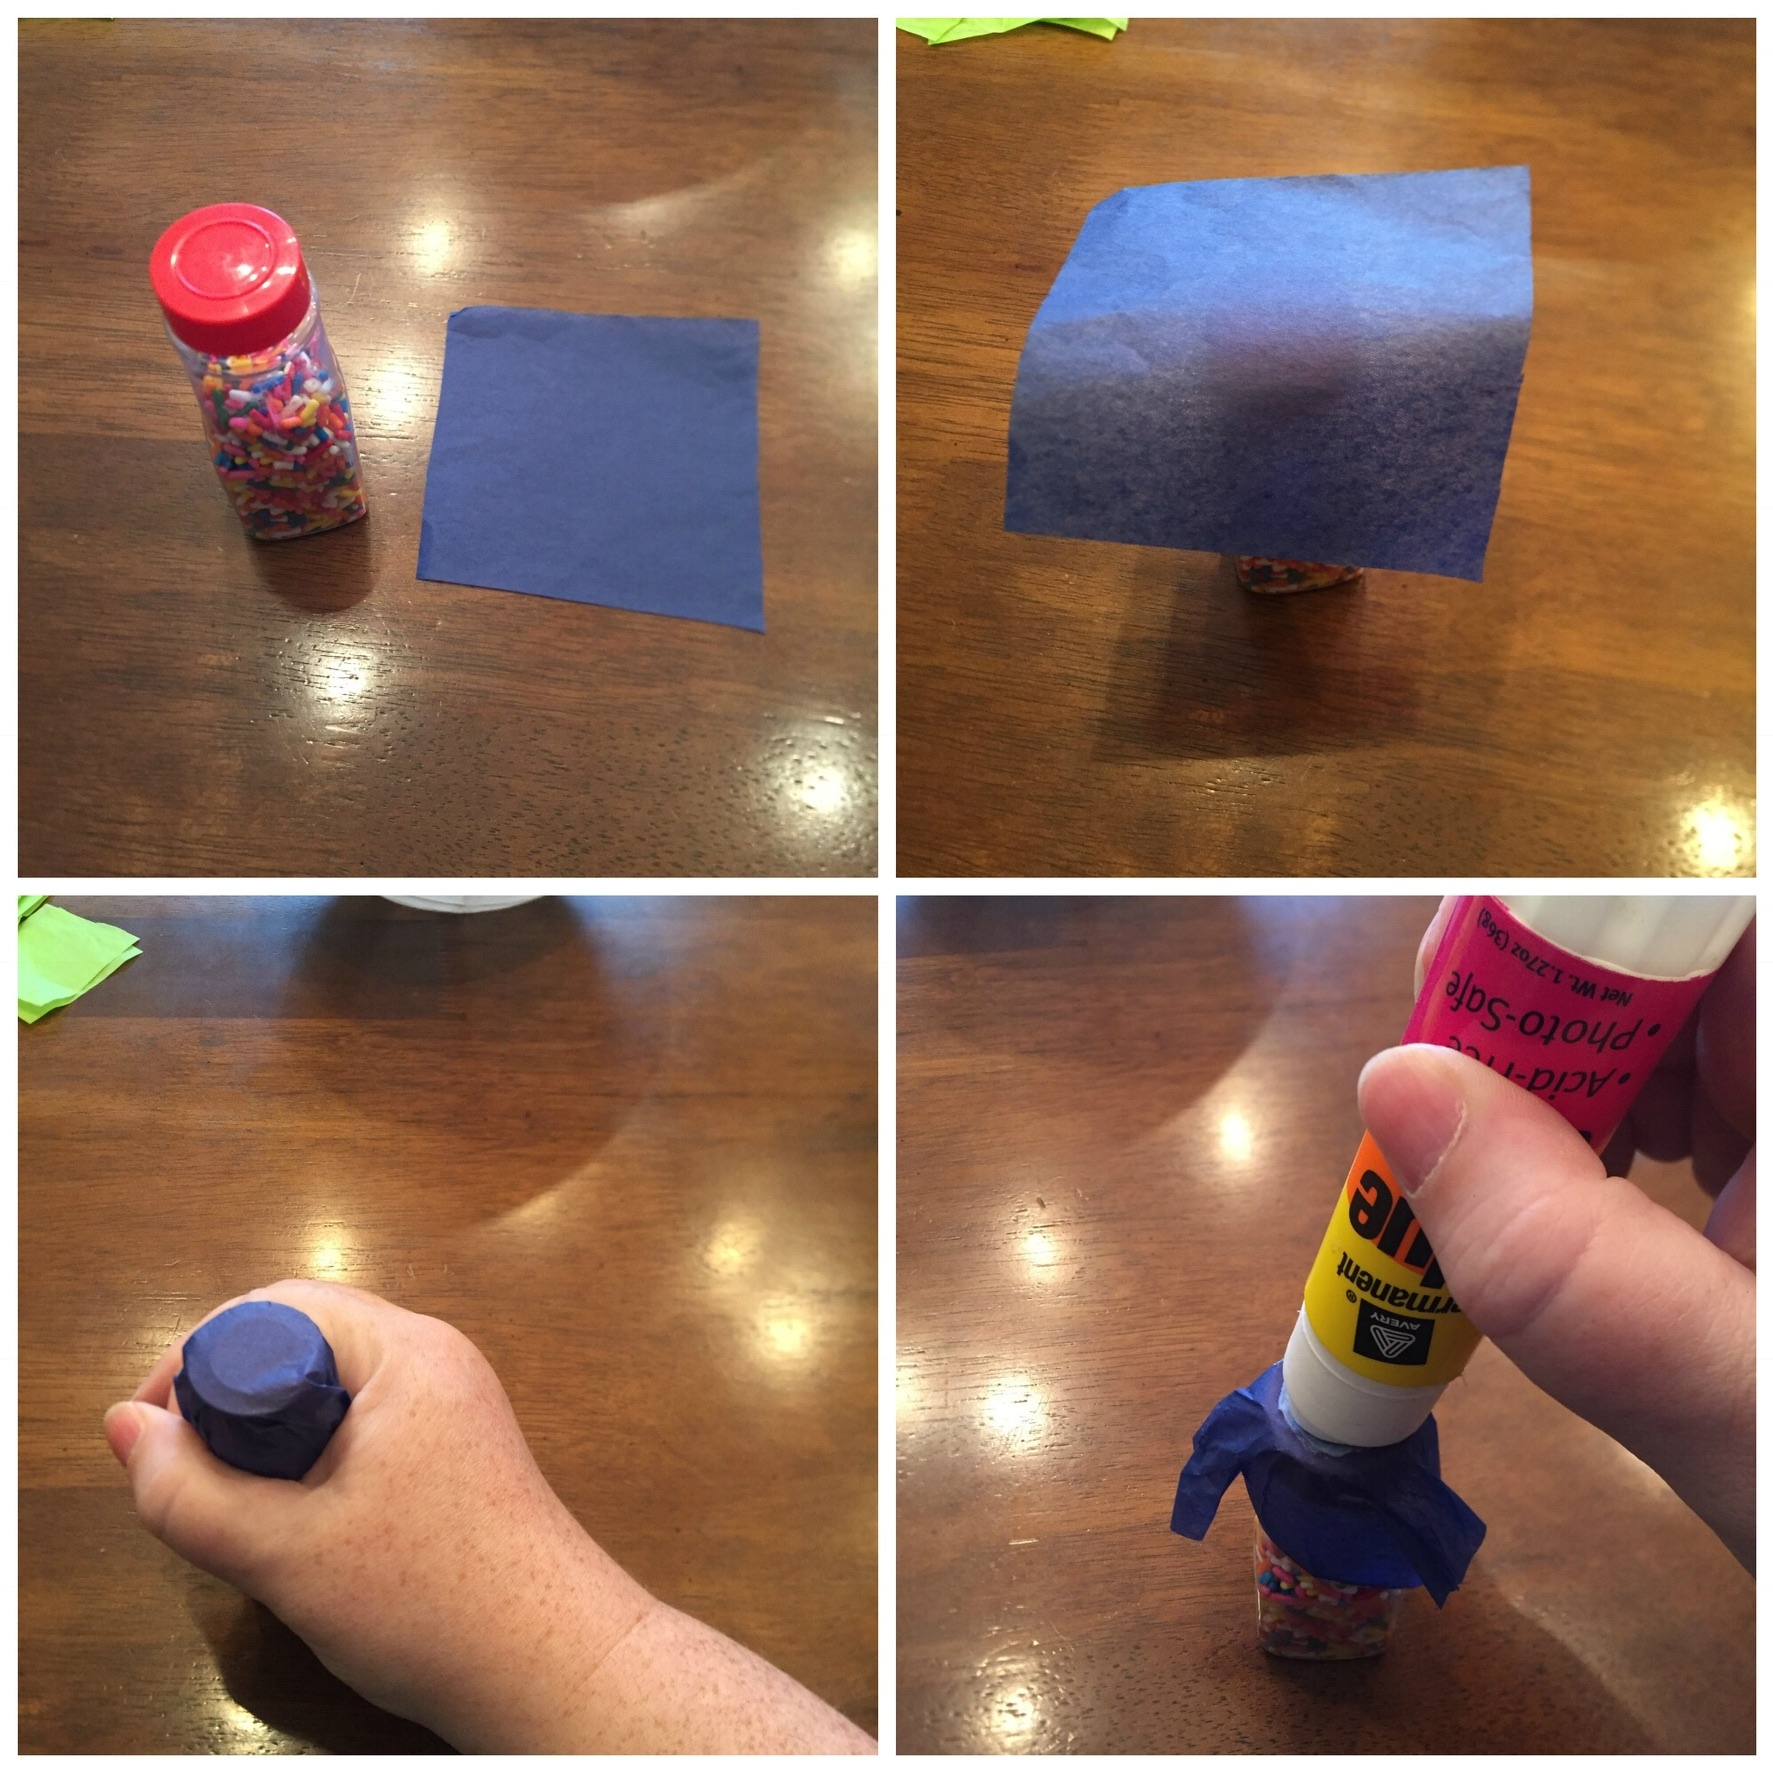

- Apply the second smaller square directly inside the middle of the ones you have already placed. Ideally, you will want to place them about 1/2 inch apart to allow for some “fluffing.”Continue this process until you are satisfied with the coverage.
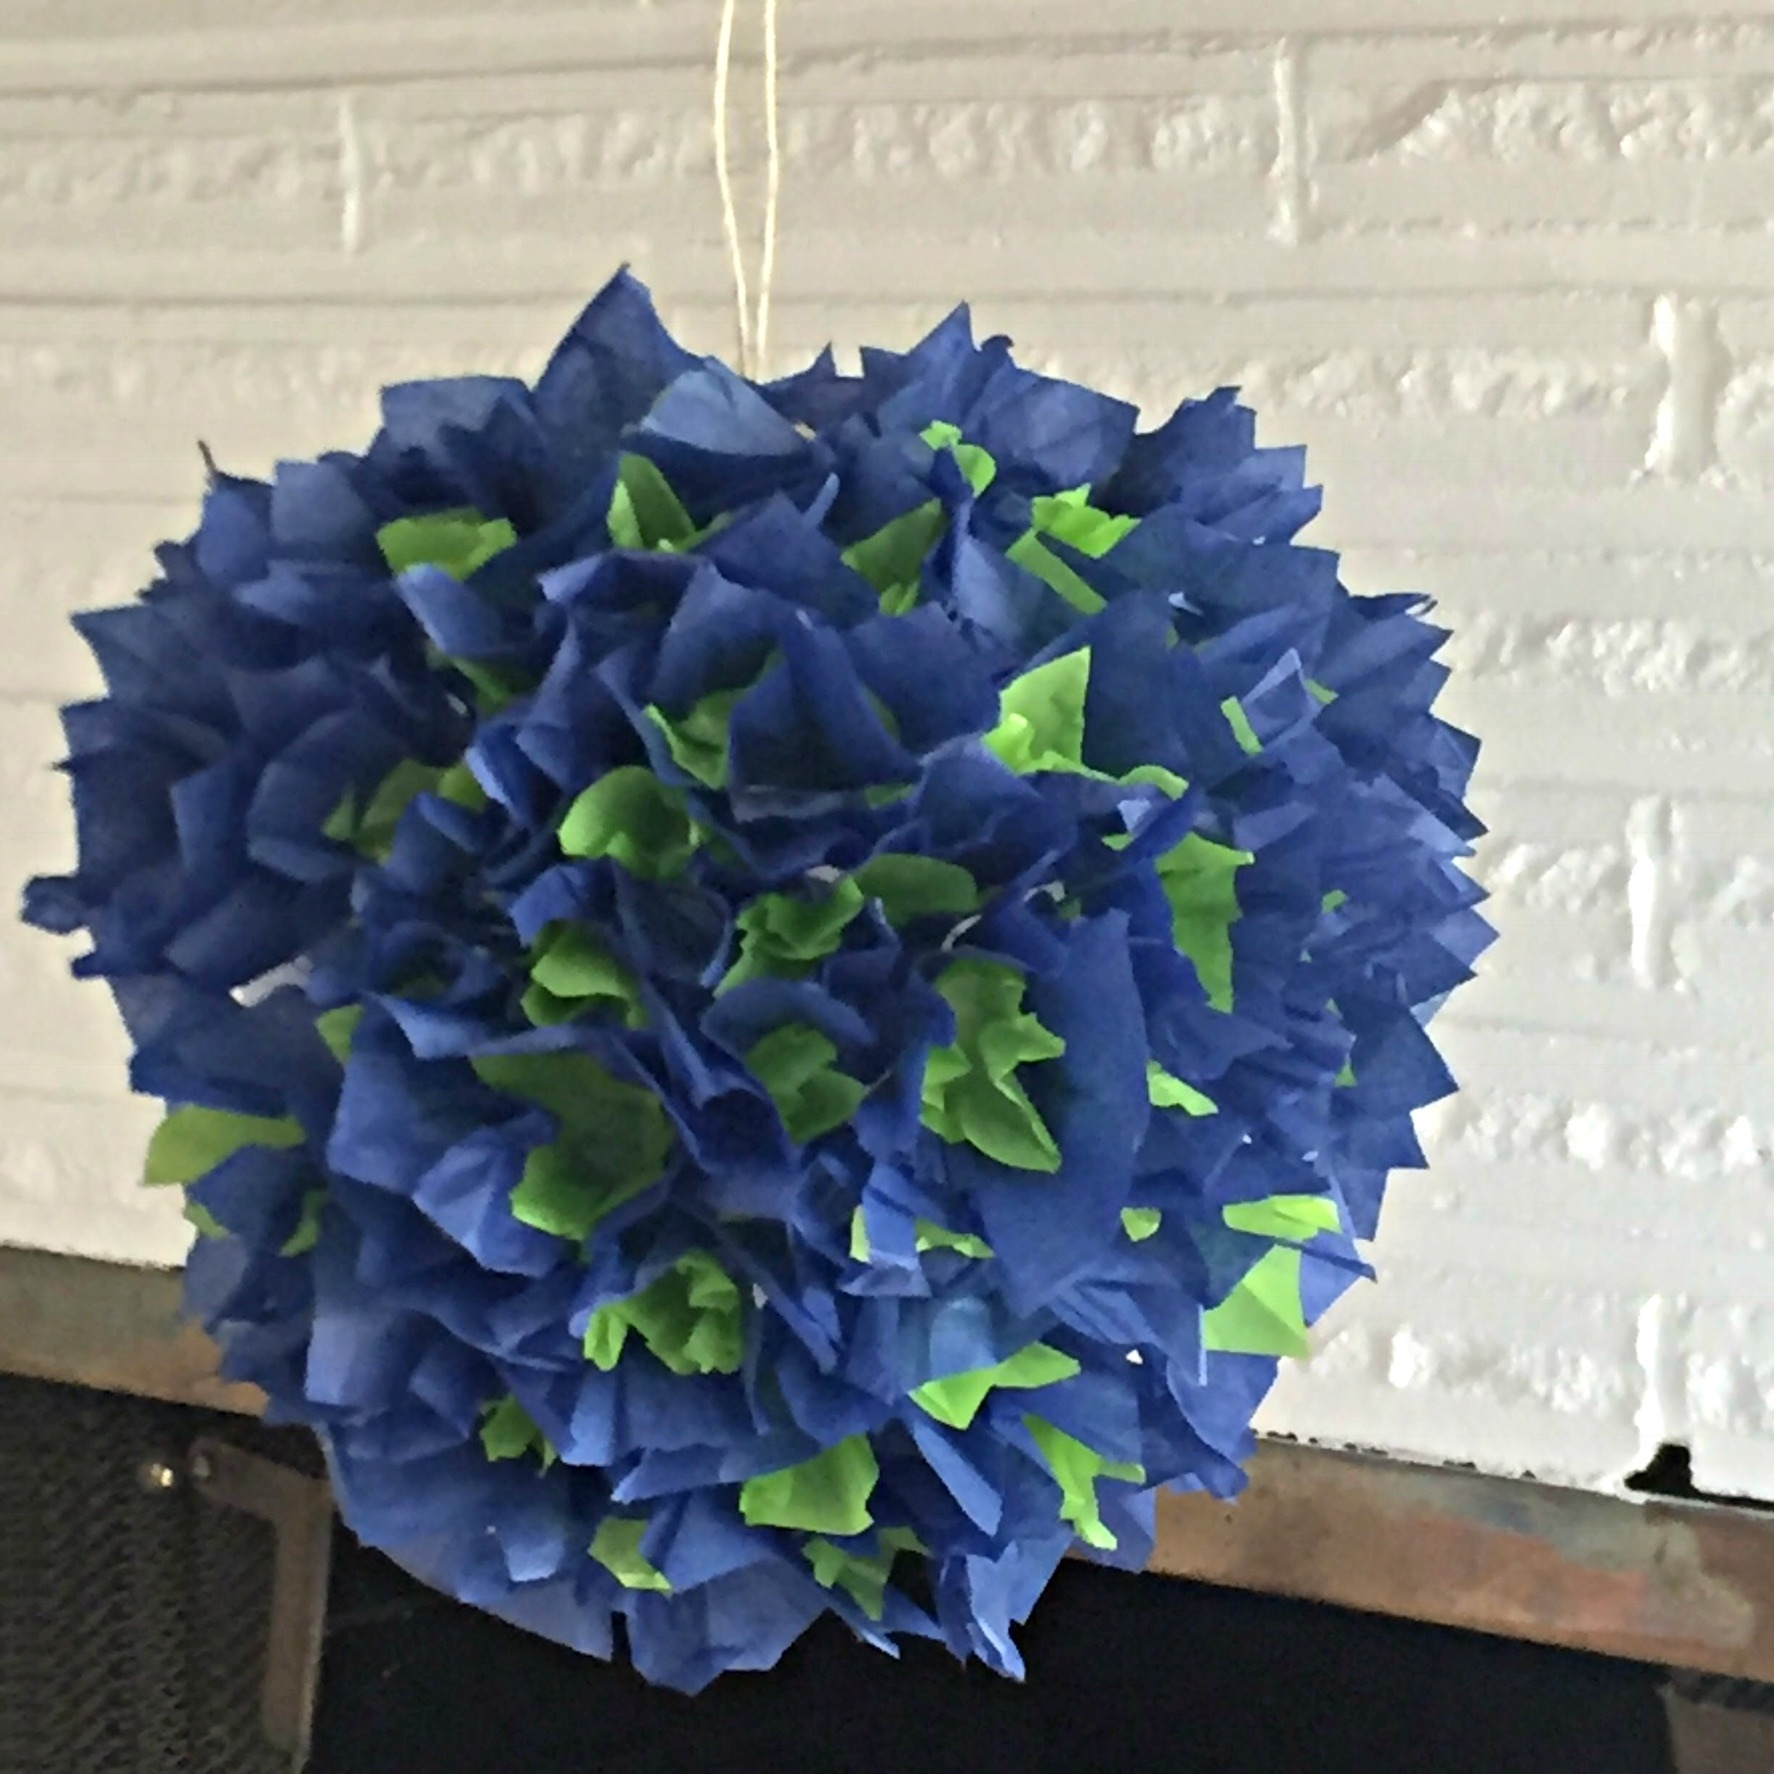
GO SEAHAWKS!
_________________________________________________________________________
SCALLOPED TISSUE PAPER COVERED LANTERN
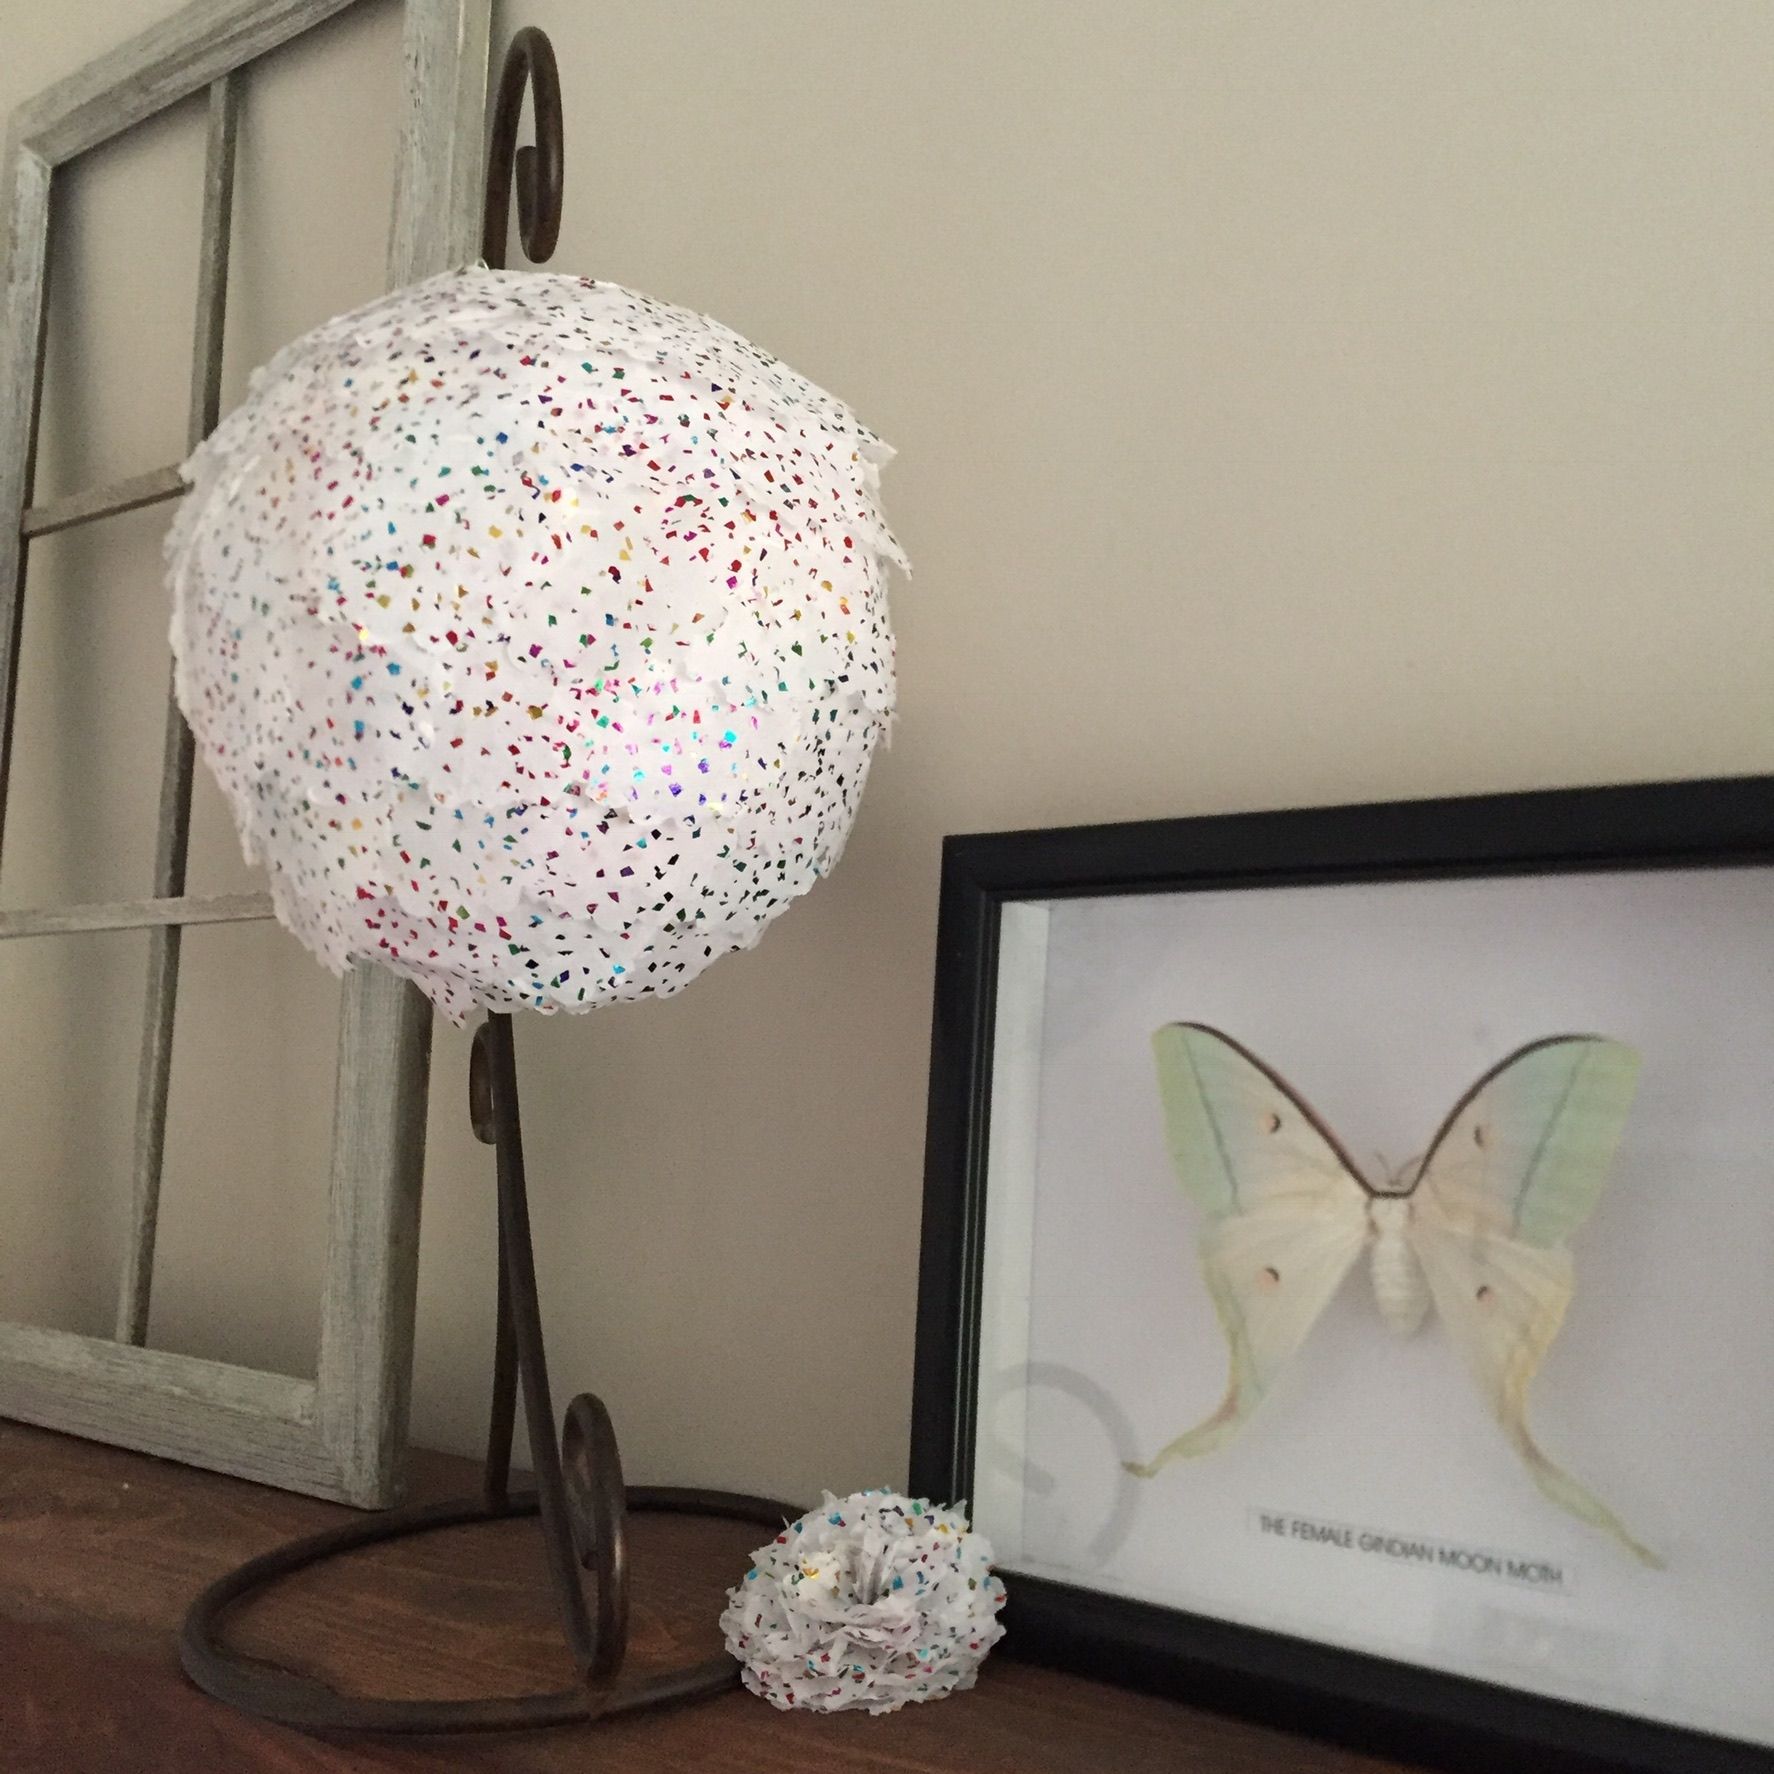
I first saw these in an issue of Martha Stewart and fell in love. Again they are super easy and cheap. I decided to go with some rainbow glitter tissue paper for Saint Patty’s day and maybe a Unicorn party? Who knows?
SUPPLIES YOU WILL NEED:

3 sheets of tissue paper

3″ inch scalloped paper punch
Glue stick

8″ paper lantern
How to:
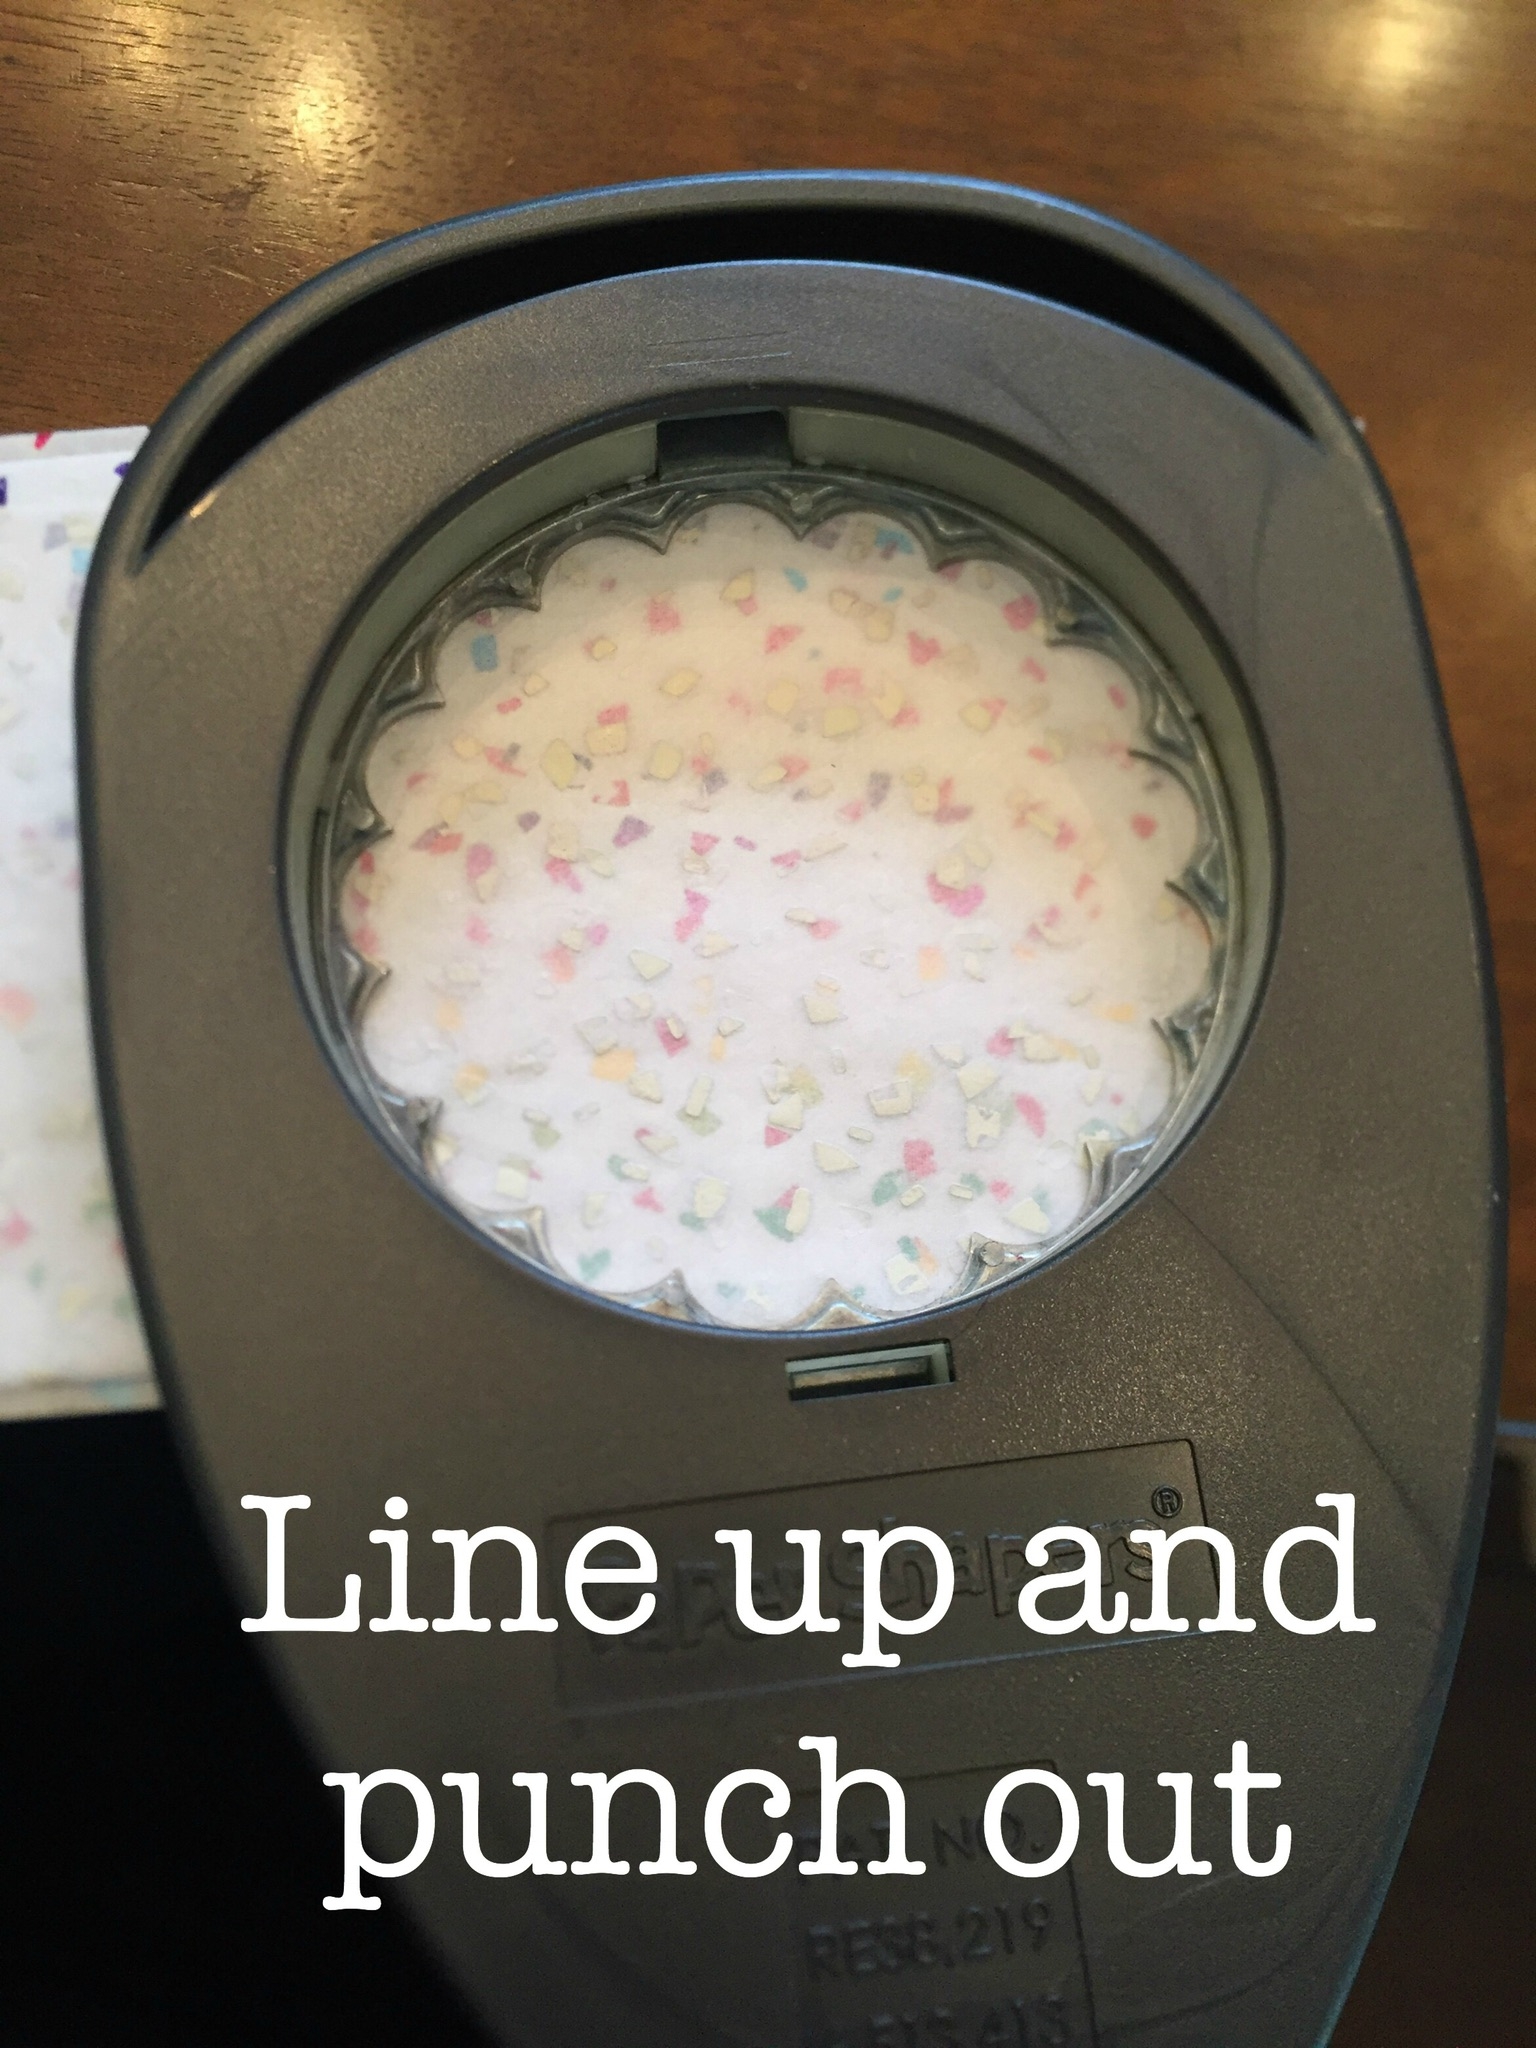
- Fold 1 piece of tissue paper accordion style and punch as many as you can out of the tissue. If it’s too hard for you to punch through, cut tissue paper sheet in half and repeat above steps.
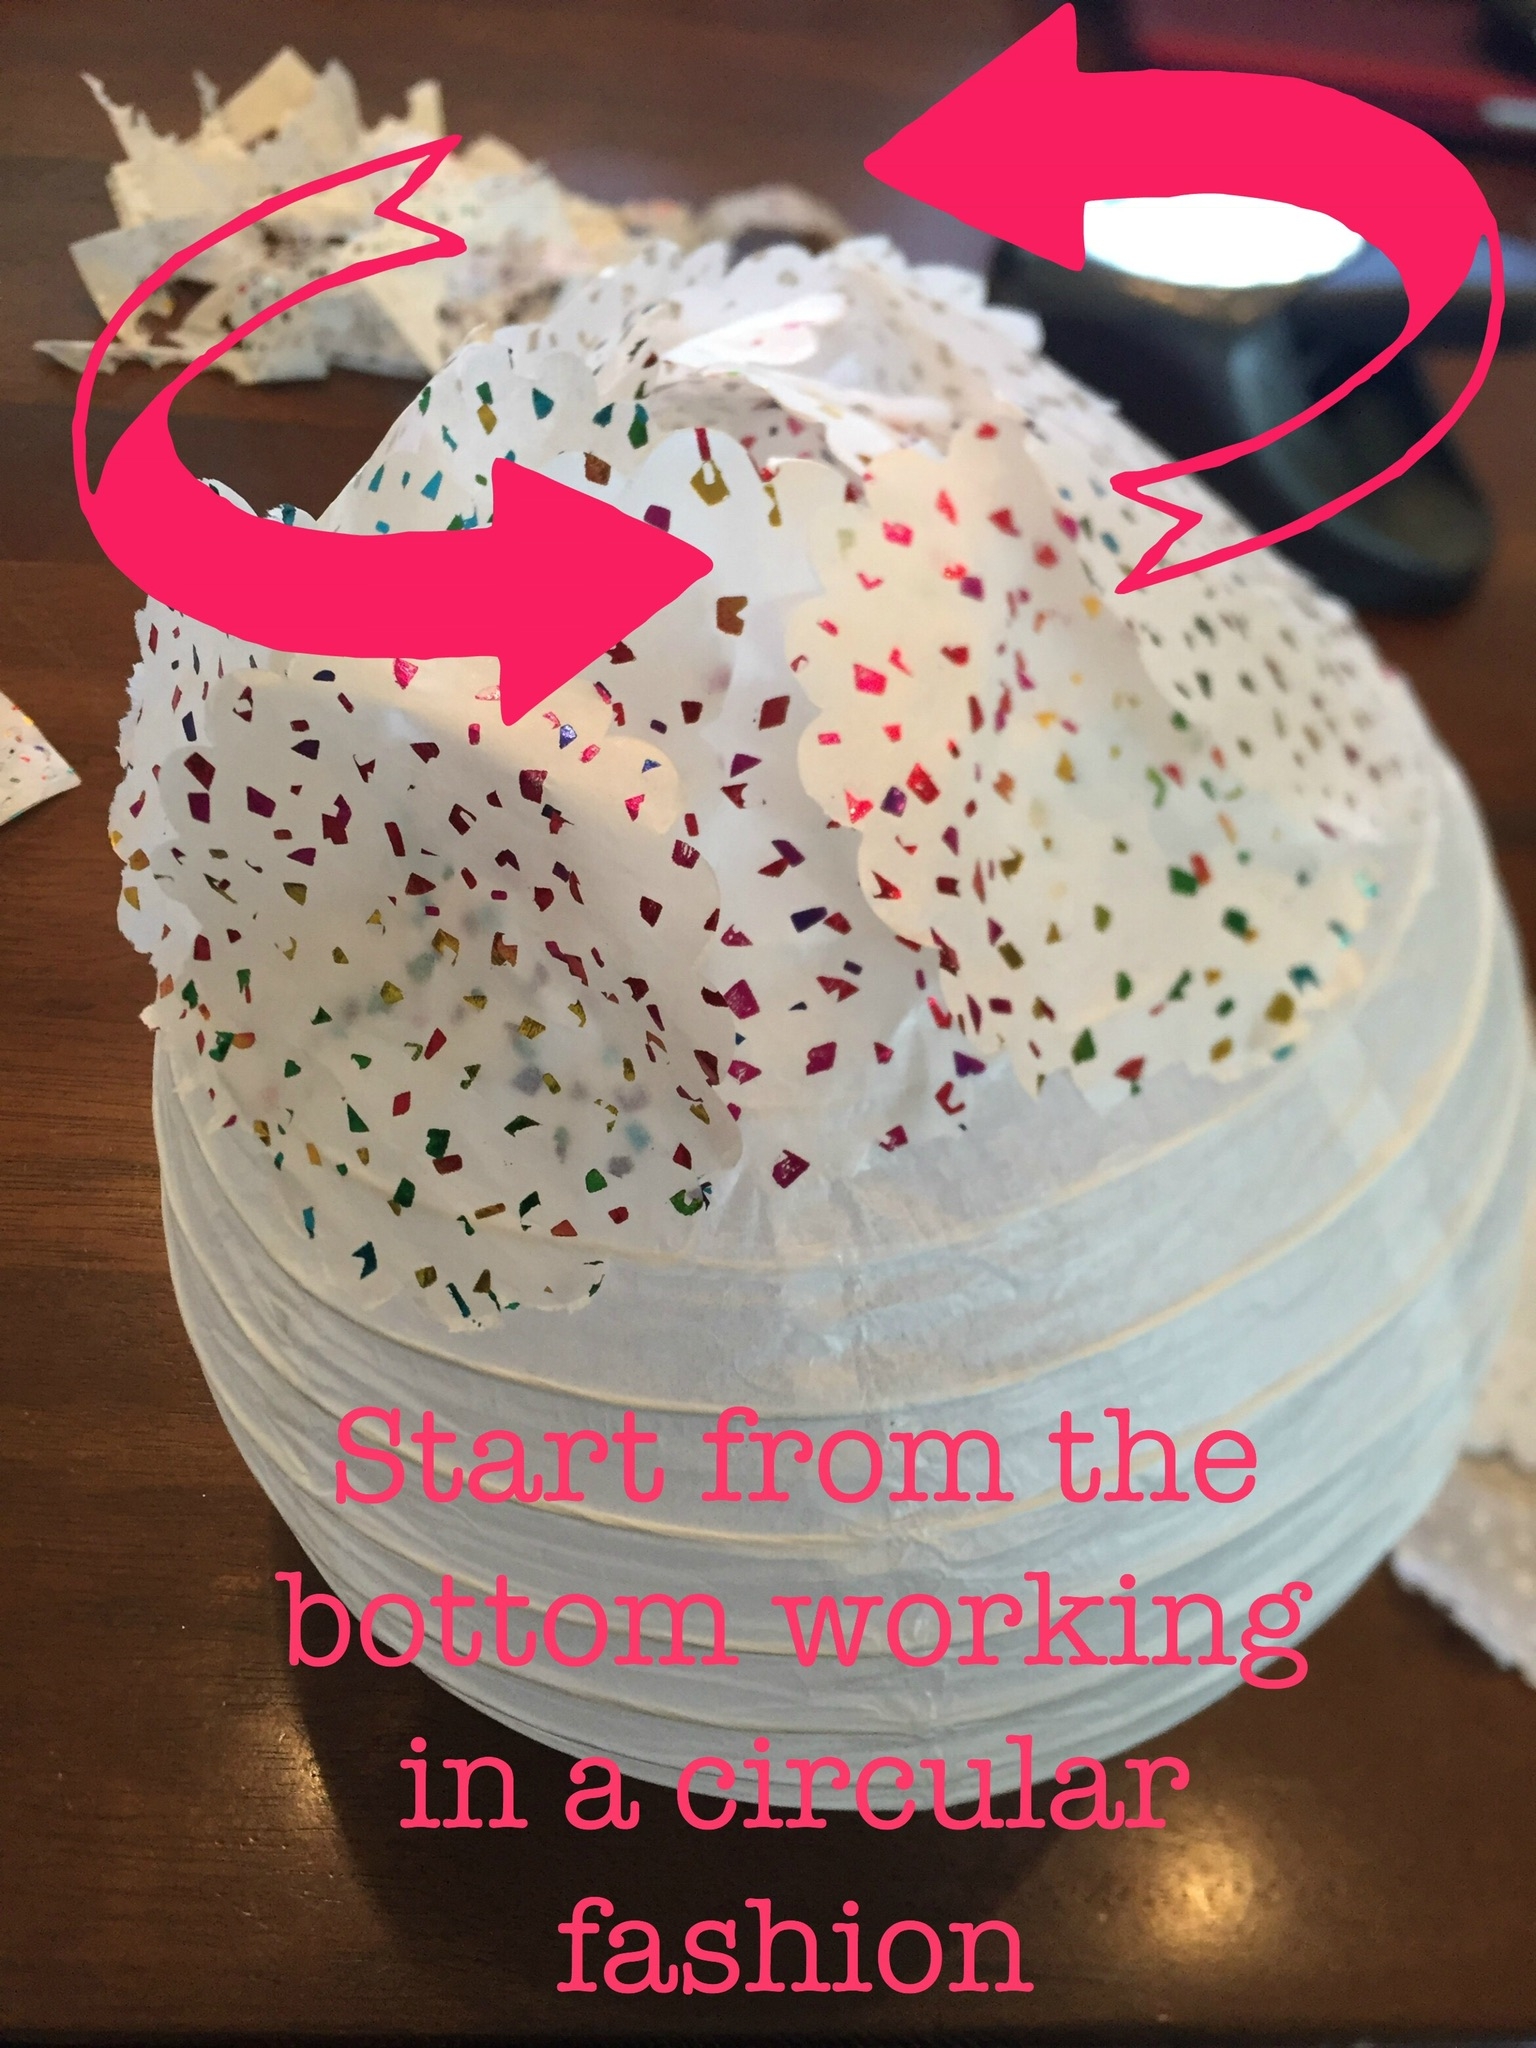
- Starting from the bottom of the lantern glue tissue in one direction overlapping pieces.
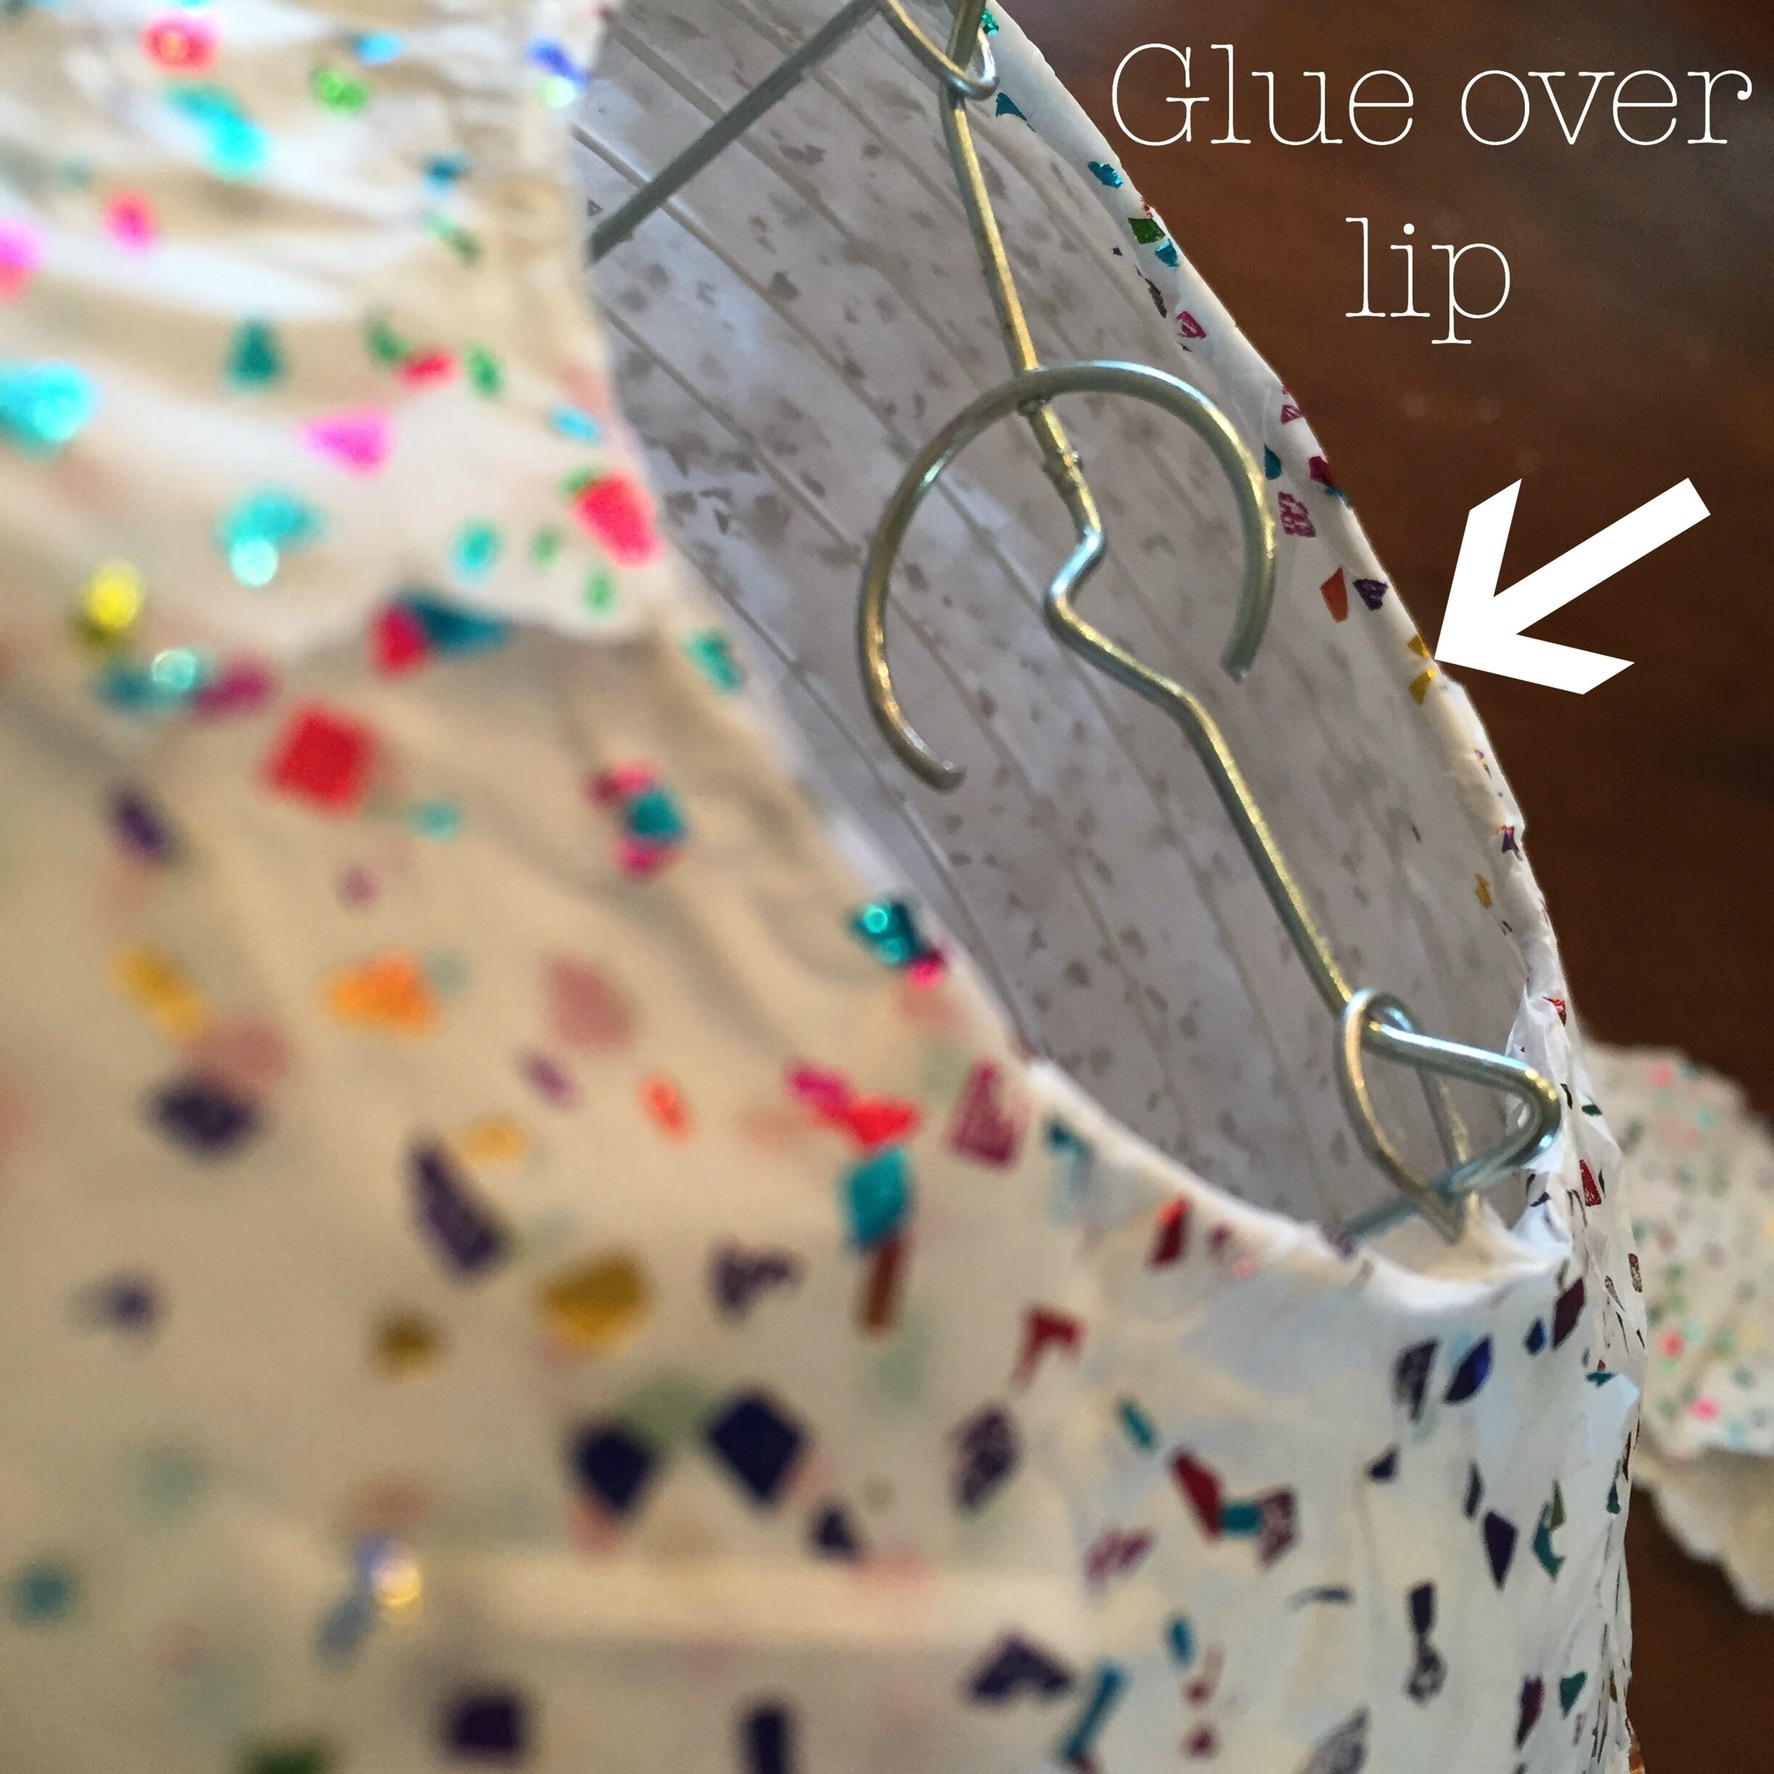
- Continue all the way up the entire lantern until you reach the top. Once there, place glue all along the edge and glue tissue over the lip for a more finished look.
Tips:
Wait about 10 min before gluing the second layer to prevent bleeding of color. (Fluffy)
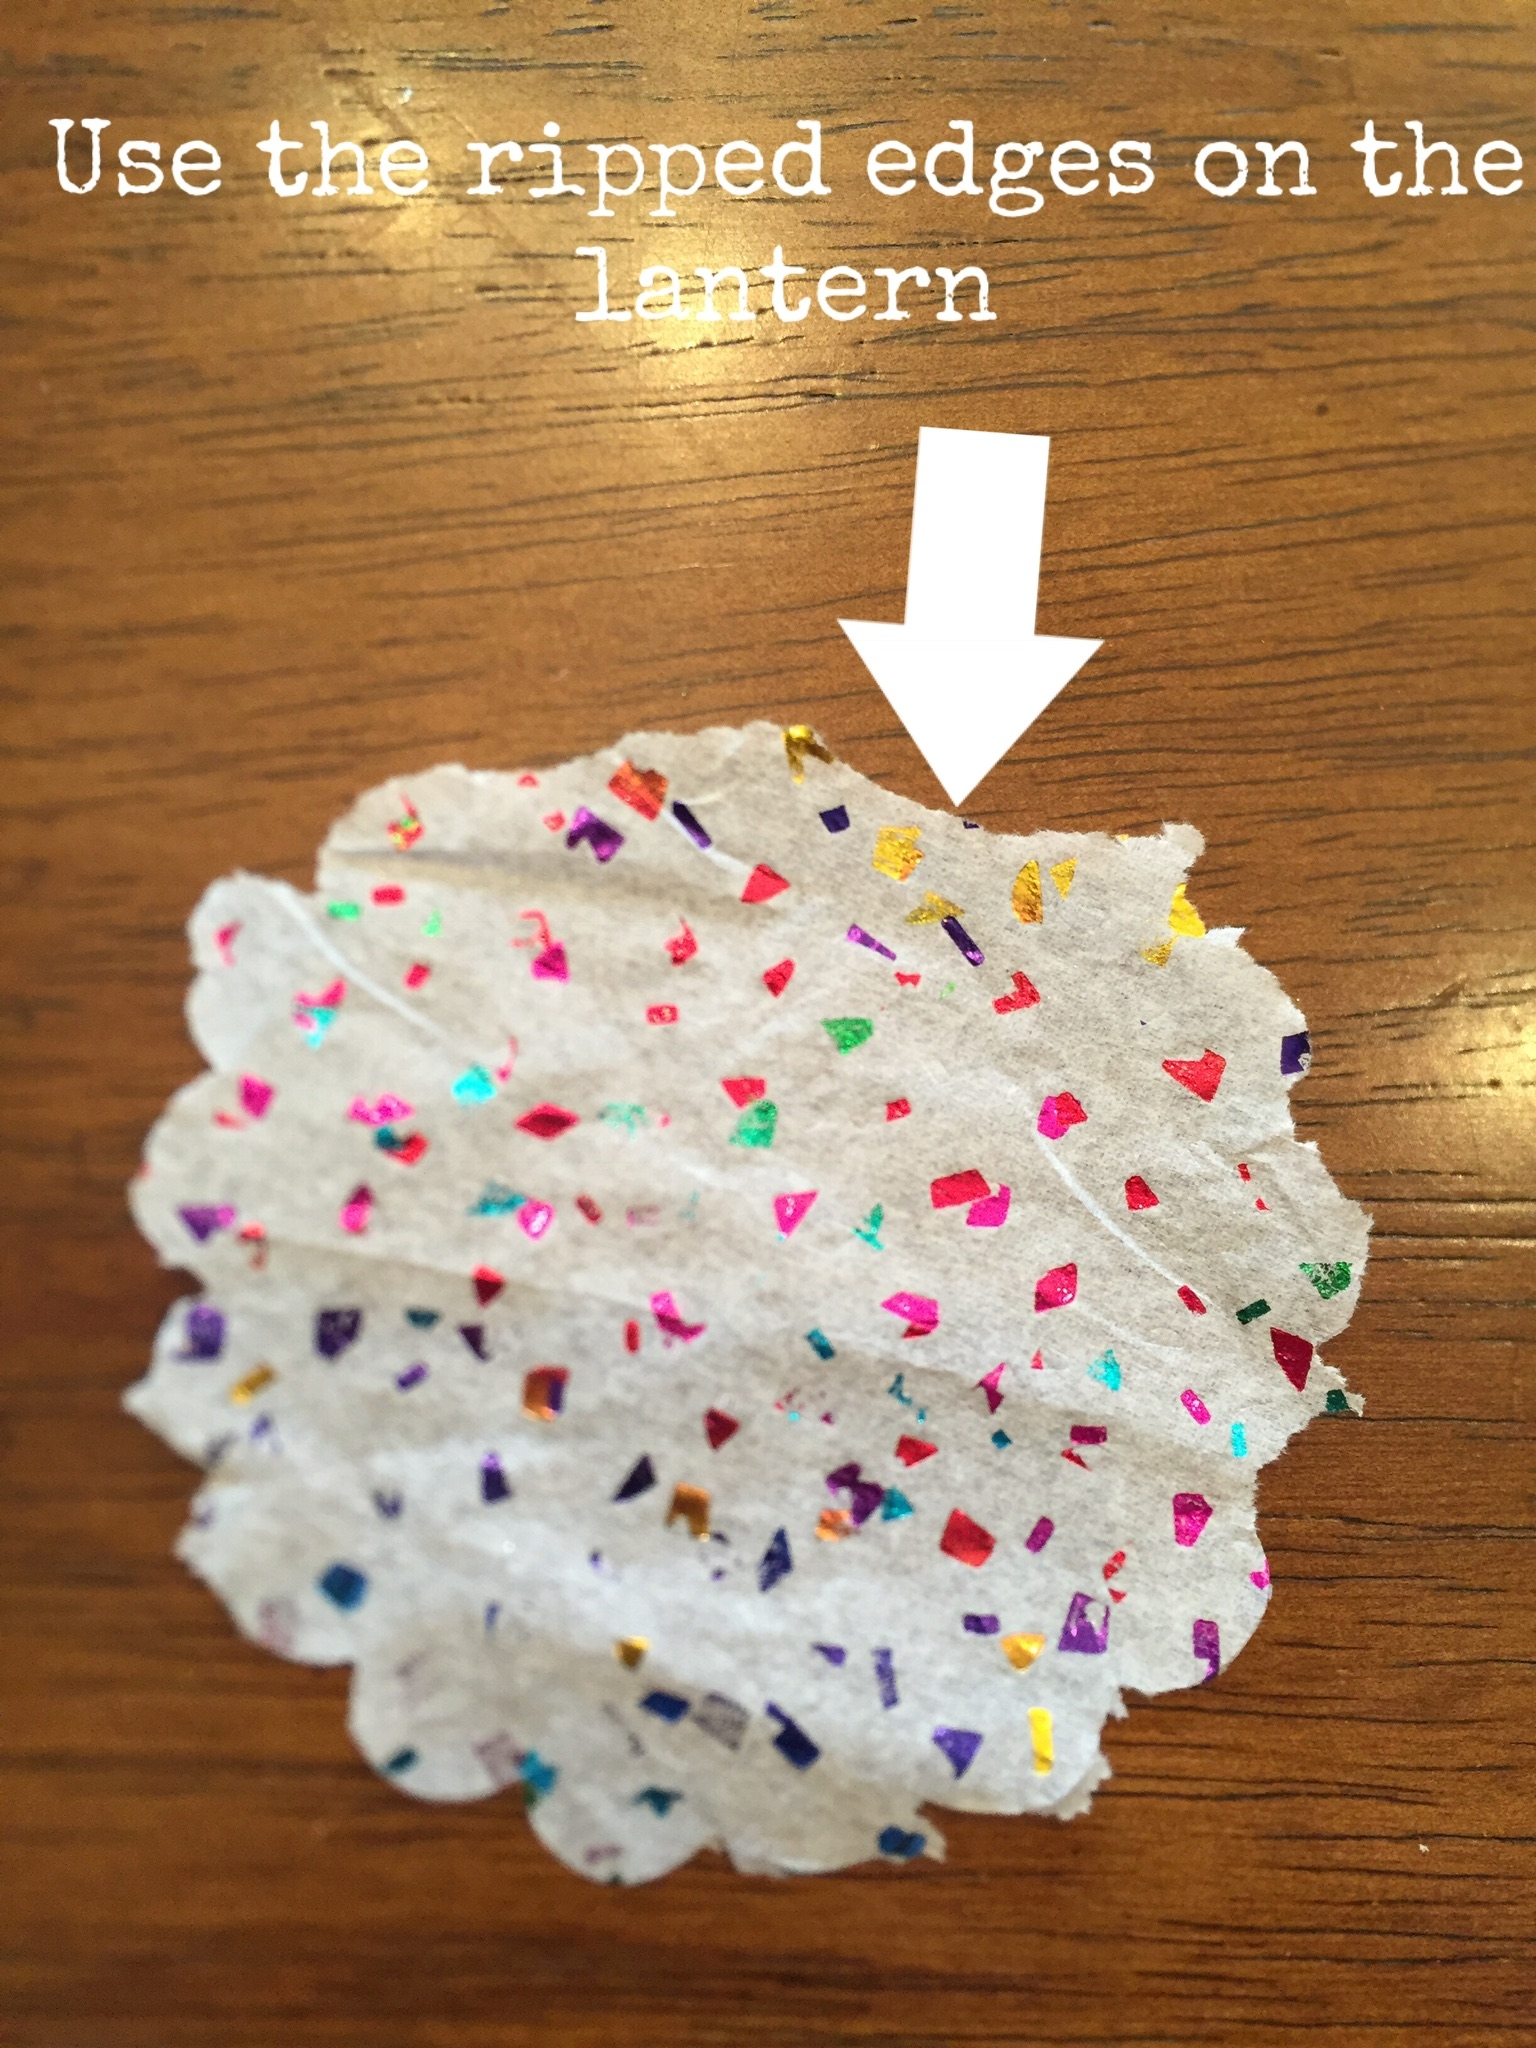
Use the torn or frayed edges of the punched tissue on the lantern so they will be hidden under the nice punched edge. (Scalloped)
Once you think you’re finished slightly fluff the tissue and apply more in the “naked” spots. (Fluffy)
Use only battery-powered light inside and avoid them being placed where they can get wet.
There you have it. A cheap and versatile craft for any occasion. Have fun!



This is awesome! I love your blog!
Gosh! Thank you so much Katie. I really appreciate everyone who takes time to read through my posts. I hope you will sign up and follow me. Have an awesome rest of your day! Cheers.
Those lanterns are really cute. Love your ideas!
Thank you!
Thanks for sharing this lovely tutorial with me on Facebook 🙂
Hey there! Thanks for taking a peek. I hope you left a link to your blog so all my readers can enjoy your site as well! Have a great day.