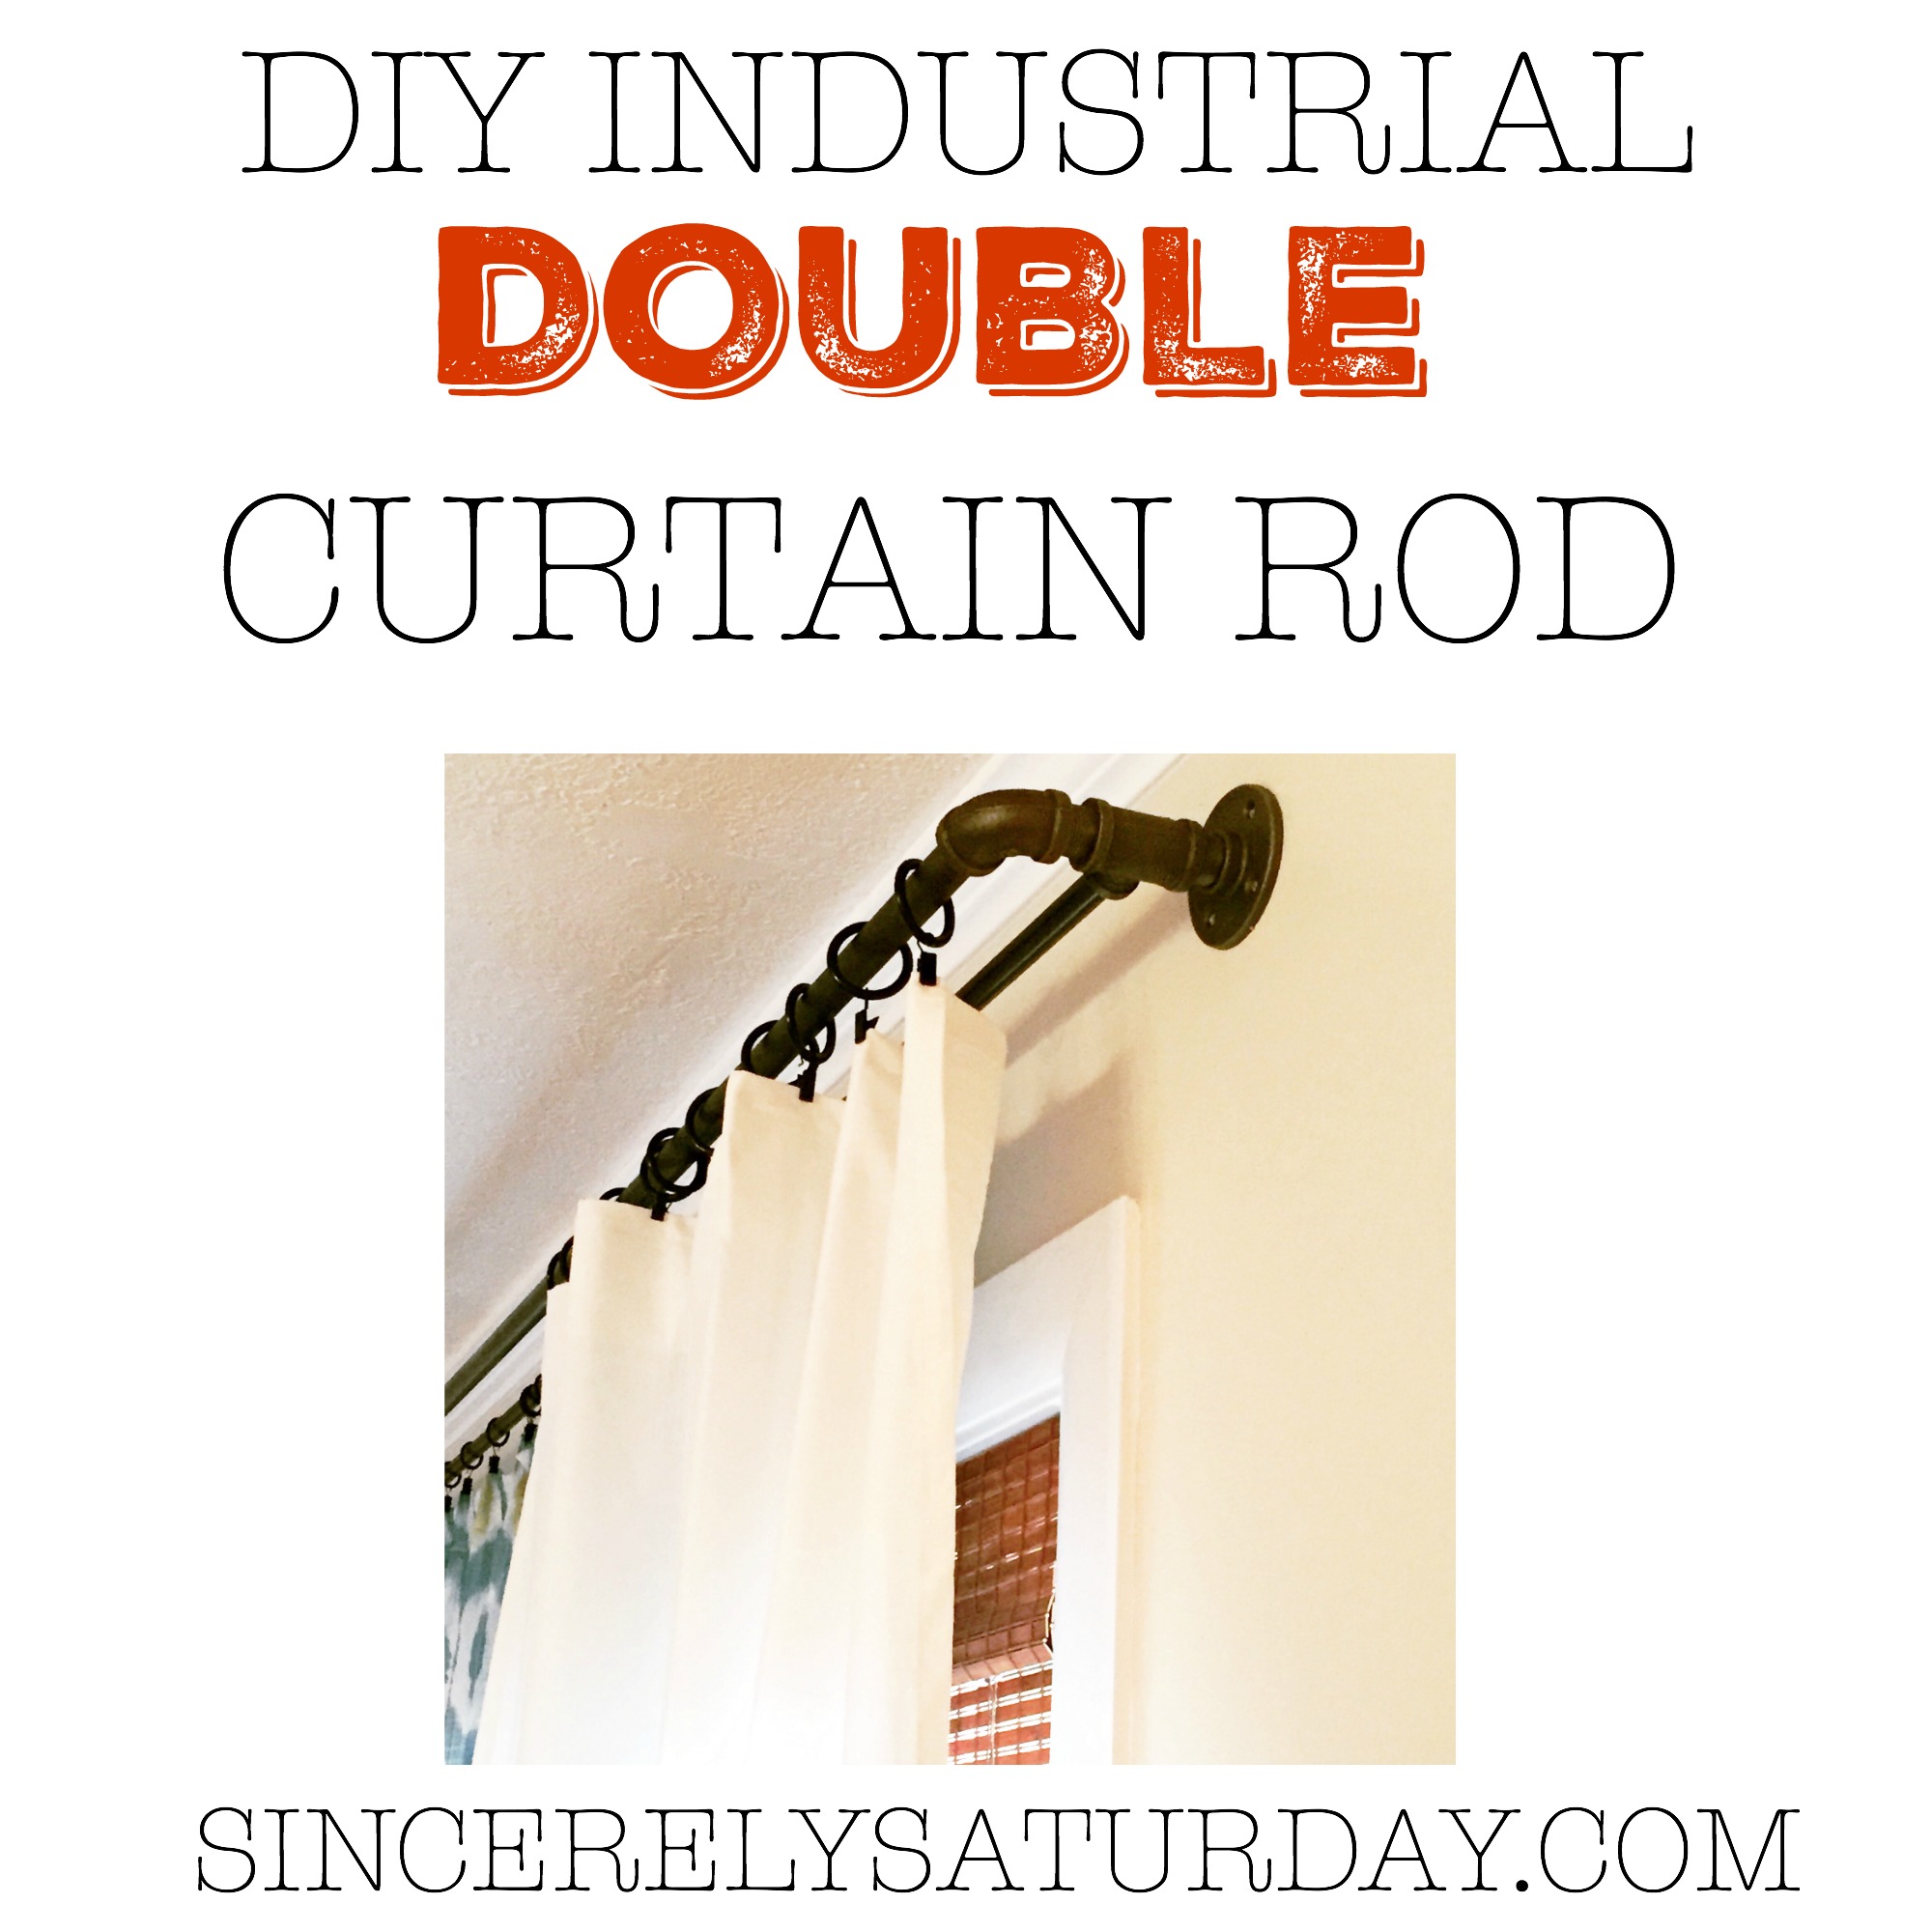
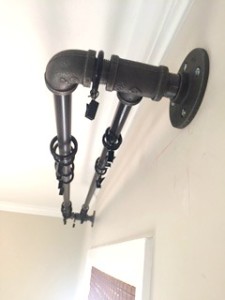
I posted a picture on Pinterest over five years ago of my DIY double industrial conduit curtain rod, and now it had over 150,000 re-pins collectively, so I decided to post the tutorial.
UPDATE: As of 8/19/202 this project has been featured on shared.com, thecottagemarket.com, houseofhawthornes.com , thesnug.com (now owned by RealSimple), Momtastic.com , cheetsheet.com, and bloggerbests.com.
A little over a year ago my husband left on an overseas trip for three weeks, so I figured while he was gone, I would kick some butt and make my DIY industrial double curtain rods and paint the kitchen cabinets. WHAT. WAS. I. THINKING.
*THIS POST CONSTITUTES AN ORIGINAL SINCERELY SATURDAY METHOD FOR MAKING DOUBLE INDUSTRIAL CURTAIN RODS. WE RESERVE THE RIGHTS TO ALL CONTENT, IMAGES, METHOD, AND DIRECTIONS FOUND IN THIS POST, AND THEY CANNOT BE DUPLICATED, RE-POSTED, OR DISTRIBUTED IN ANY WAY OR FORM, EXCEPT FOR THE USE OF ONE IMAGE USED WITH A BRIEF EXPLANATION AND A VISIBLE LINK BACK TO THIS POST. THIS INCLUDES REPRODUCTION OF THIS BUILD USING DIFFERENT MATERIALS. THANK YOU FOR RESPECTING OUR COPYRIGHT!
DIY double industrial curtain rod
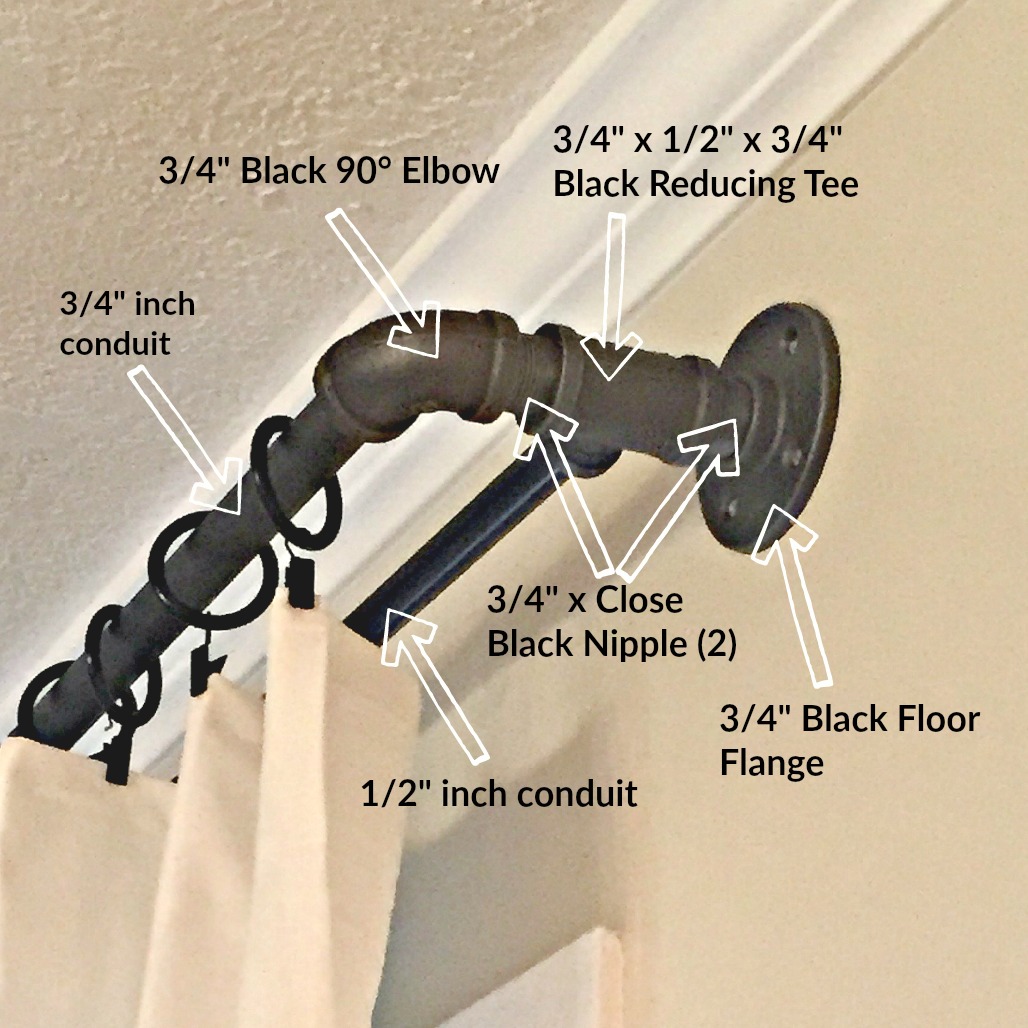
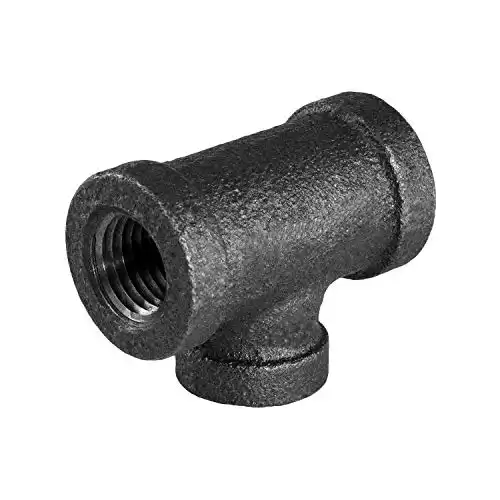
***Black reducing tee should be 3/4″x3/4″x1/2″***
I worked on both projects in the wee hours of the morning for three weeks. Of course, I had some help from the DIY Jedi’s aka Mom and Dad.
After an exhaustive search to find the perfect curtain rods to fit with my “Portland” decor, I found the ideal rod over at Westelm. The only problem was the price tag, $108.00 for one window!?!? Who can afford that?
After thinking about it for a few day’s, I realized not only could I make my own but also make them a double curtain rod. I was able to find fittings on a couple of different websites. Check out Supply house, Amazon and Home Depot for the best prices close to you. Shipping on these products can be steep due to the weight of the pipe fittings.
Total cost for the most extended completed curtain rod is $28.00. I live in Oregon where don’t have sales tax.
This post may contain affiliate links. All opinions expressed are 100% my own. For further information, please review my terms of service and privacy policy located at the bottom of the page.
Here is a list of all the supplies you will need:

Tools and supplies
Available at supply-house, Amazon and Home Depot:
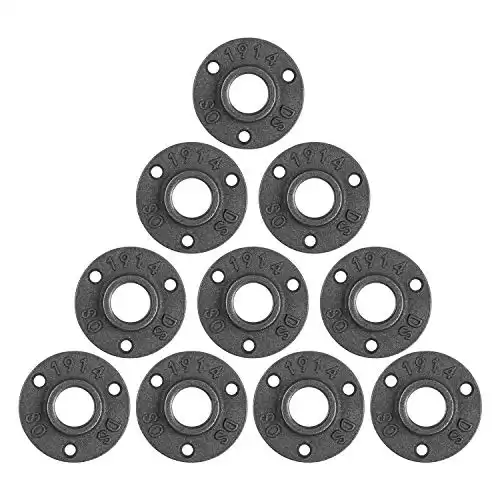
1 3/4″ floor flange – black imported (2 pieces per window) Home depot or here from Amazon
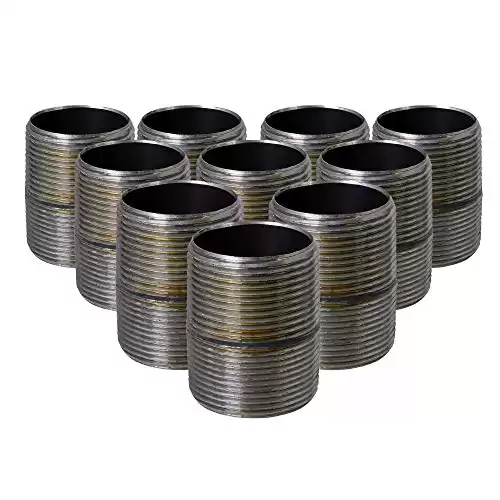
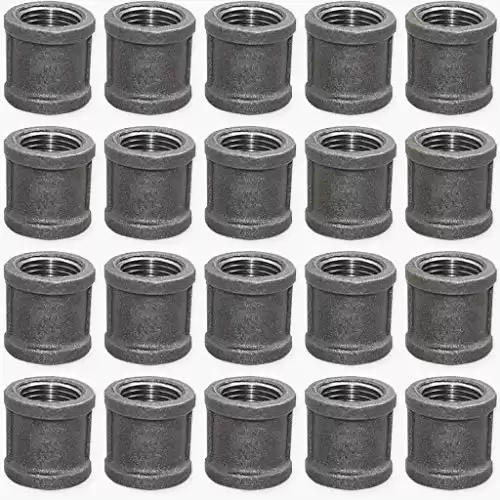
2 3/4″ x close black nipple – black imported (4 pieces per window) or here from Amazon
3 3/4″ black 90-degree elbow – black imported (2 pieces per window) Home depot or here from Amazon
4 3/4″x 1/2″ black reducing tee – black imported (2 parts per window)***the picture shown above has the wrong size for the black reducing tee***
Available at Home Depot or Amazon
5 3/4″ round metal conduit (Home Depot)
6 1/2″ round metal conduit (Home Depot)
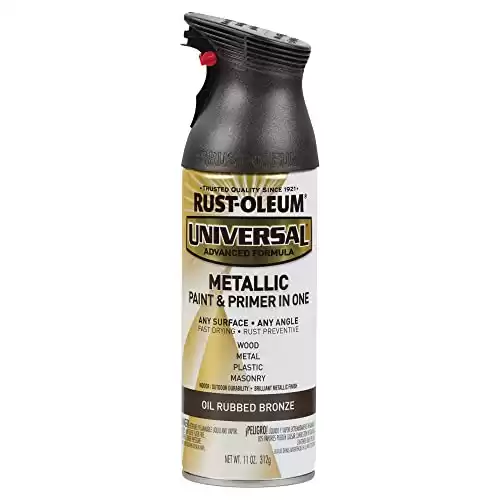
7 2 cans of Rust-o-leum universal advance formula, metallic paint, and primer in “Oil Rubbed Bronze.”
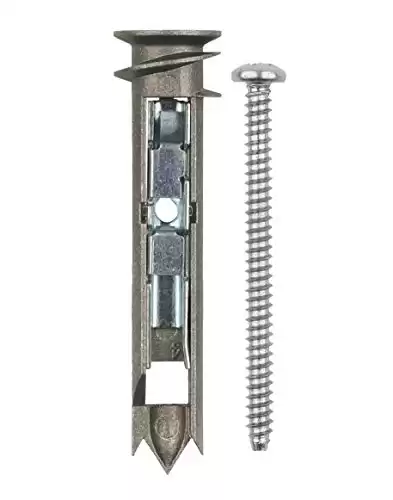
8 1 package of Wej-It Drywall Anchor, 100 per box OR toggle anchors
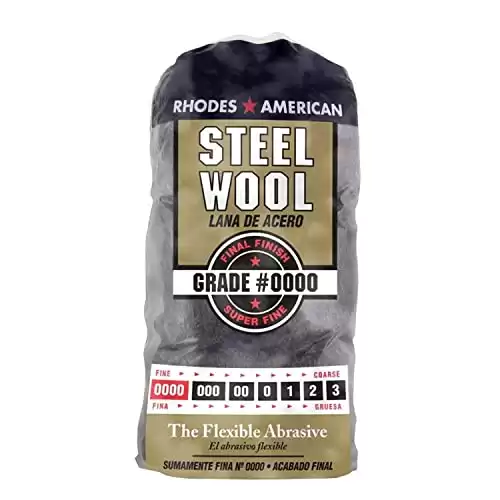
10 Steel wool
11 Rubbing Alcohol
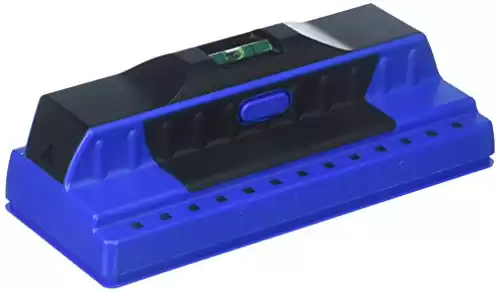
12 Stud finder, level, screwdrivers, and a good old-fashioned pencil
ATTENTION!!!! ONLY use electrical conduit! Plumbing pipe is very heavy and will not work for this build.
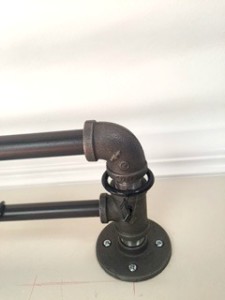
Note: Depending on what kind of curtains you will be hanging, you will need curtain rings with clips or hooks to hang curtains with grommets. At IKEA, they sell the rings called “Syrlig.” I bought two sets of 1 1/2″ round rings for the 3/4″ conduit and a 1″ round ring for the 1/2″ round conduit. I bought a bracket for the middle of the rod because I was worried about sagging. The bracket I purchased was also from IKEA; the name is “Betydlig.” I have had the double curtain rod’s up for almost two years with NO sagging in the middle because of the anchors I used.
TUTORIAL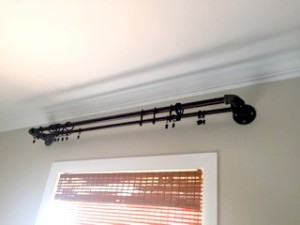
Assemble all the pipe fittings to make sure everything fits together well. I purposely bought the black colored fittings, so I didn’t have to paint them.
Next figure out how long your conduit should be. You should have your pipe fittings assembled by this point for accurate measurements. Ideally, you will want to find a stud to attach them to.
I was not able to put them in the studs, so I used the Wej-It Drywall Anchor. After determining where the flanges needed to be; I measured between the elbows and added a 1 inch to the final measurement to ensure that the pipe would fit securely in the pipe fittings.
Note: the conduit does not have to be threaded! It will fit into the pipe fitting securely on its own.
Measure the curtain rods according to how far you want them above your window and below your ceiling.
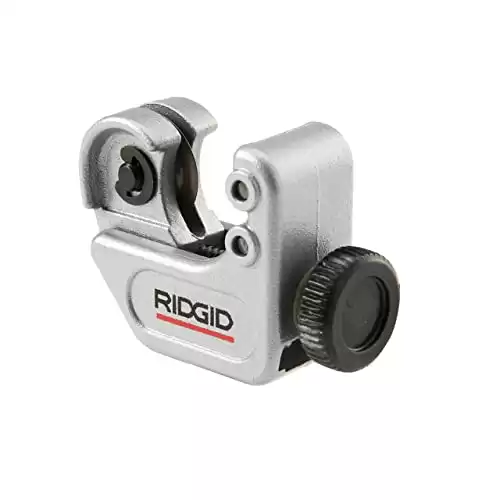
Cut the conduit with a pipe cutter or a hacksaw fitted with a metal-cutting blade.
After the pipe is cut use the steel wool (like you would sandpaper) and “sand” the ends making sure you have a beautiful smooth pipe. If you don’t like paper cuts…pipe cuts are 1000 times worse, so wear gloves!
Remove any stickers, grease, and grime before paintings. After ensuring the sticker residue was removed, I had my awesome dad take the pipes outside for spray painting.
This is soooo important. The rust-o-leum is a great product, but there is A LOT of oversprays. Make sure to take care not to spray paint your new white car, Uh-huh!
Insert the conduit into the pipe fittings and adjust to make the curtain rods level. Don’t forget to put the curtain rings on BEFORE you put the rod’s up!
Now it’s your turn to build these!
This project was born out of necessity for a cool curtain rod. It’s a simple enough DIY that anyone can do it. I would recommend that if you are trying to cover a large window that you get help putting the curtain rod up, it is not a one-woman job!
Comment below if you require help or love these curtain rods!
Want to know how the curtain rods have held up? Here is my update on how they are working and the wear and tear of the build.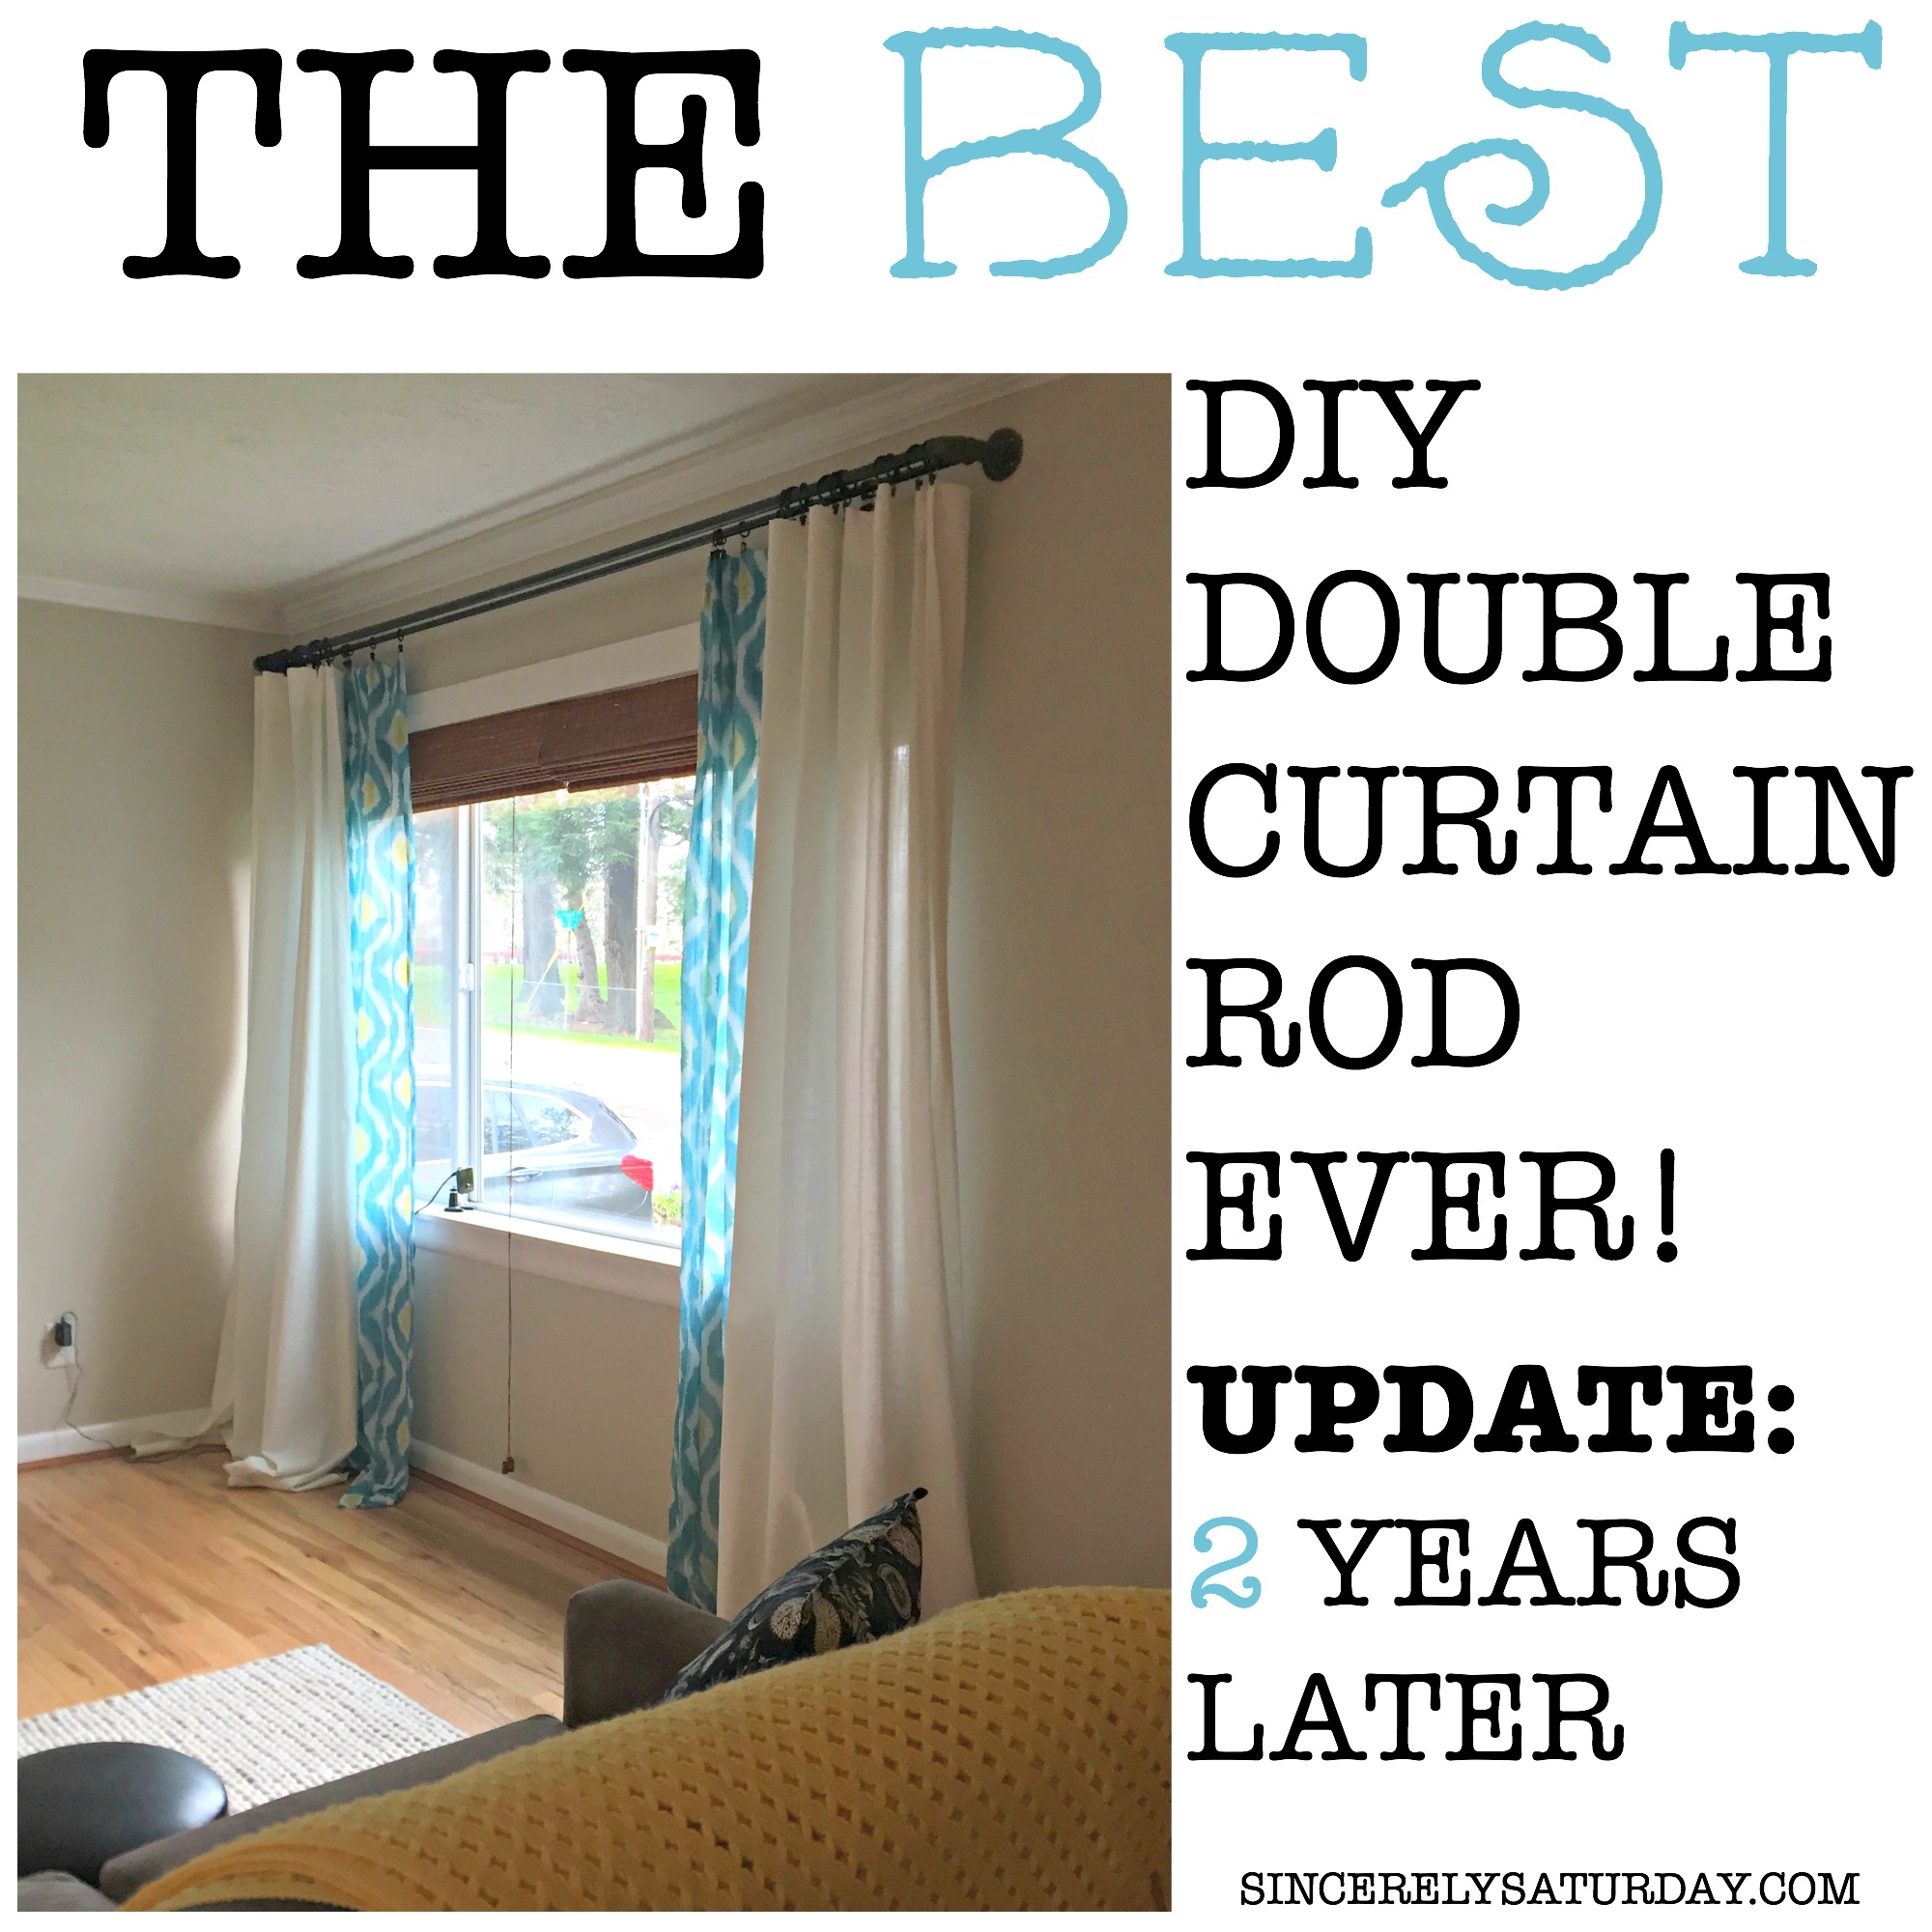
You got this!

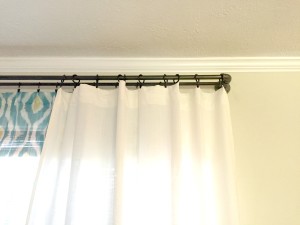

Love this! My son has bookshelves in his living room that are pipe and we’re looking for curtain rods, and yes they are expensive, We are so doing this!
Thank you so much. You are the first person to comment. I hope that this tutorial works well for you and best of luck.
Melissa,I didn’t find a place to post a comment so I just jumped in here.Hope it is ok.I was just thinking wouldn’t your curtain rod work for a sliding barn door if I could find the rings heavy enough to hang them by?Just wanted your thoughts. Thanks Carroll. Parcar2015@gmail.com
Hey there Carroll. You know I can honestly say I don’t know? I would like to think that if you are able to ensure the floor flanges are both anchored in studs it just may work? If you are going to try it out please send me some pictures and design changes you’ve made. I can’t wait to see what you come up with. FIY, the comment section is at the end of my blog posts, towards the bottom of the page.
Not sure how to comment other than here. Can you please tell me what prep you did before painting the pipe. I got black steel pipe and fittings but the pipe looks like its painted black where as the fittings have a blackish metal look to them.
Hi David. You found the right place to comment. . I did not paint the pipe fittings at all. I purchased the rust-oleum spray paint in oil rubbed bronze to match the black pipe fittings. In order to paint the conduit just make sure that it is clean and free from any stickers. To remove the stickers use some rubbing alcohol and steel wool. That’s all you have to do to prep them for paint. There is a full list of products and the tutorial on the post. Good luck and let me know if there are any further questions. Cheers!
Awesome thanks. Has the paint held up to the rings sliding across occasionally?
Hey David. Yes, the paint has held up amazingly. I’ve had them up know for 3 years now and regularly open and close the curtains with no problem. You just have to make sure that the rings are plastic.
Also, good for you that you are starting this blog! I will be sure to look you up often as I too am a DIYer! 🙂
I have been looking for something rustic and industrial and this is sooo perfect. I have a total of ten windows and have put off hanging anything due to the cost of store bought curtain rods (plus most are cheap and gaudy and overpriced). Thank you for the great blog ; )
I am so excited you found my tutorial. I love how it turned out and hope that if you decide to make it, it turns out as awesome for you as it did for me. Visit me often here as I am just getting started! ; )
Good job Melissa. Love your ideas
Thank you! I will try my best to continue with my DIY’s and crafting posts.
What did you use for screws?
Great question. I used the a package of Wej-It Drywall Anchor, these come with screws. I have also found that most packages of toggle anchors contain the screws as well. I did include a link to the anchors I used in the post. I hope this answers your question. Let me know if I can help you in any way. Thanks for reading.
Hi Melissa,
The rails look awesome. I wanted to build something like this for my wife. Would you mind posting the assembly instruction please?
Hi Rui! Thank you. I love the way they turned out as well. When I first thought about building these a year ago I researched and found this video to be very help full. I did NOT have my conduit threaded as it easily slips into the fitting and is very sturdy. This is how to assemble the fitting: floor flange, nipple, reducing tee, nipple and then then 90 degree elbow. Make sure that you do not make the pieces tight as you will have to adjust it to make it level (like shown in the video). You can assemble the whole rod and then put it up as one piece OR you can put up the pipe fittings first and back out the screws from the floor flang and then add the conduit. It is really your preference. Just make sure to add the clips to the rods before you put it up. Please let me know if this was helpful or if you need some more guidance. I am happy to help!
Malissa,
I’m going to try this project! Only problem is when I go to that website for the supplies, there are two options for the 3/4″ close black nipple. Which one did you use? They look different in size.
Thanks!!
Awesome! These are the exact ones that I used. I hope that you love them as much as I do. http://www.supplyhouse.com/Boshart-BLN-07-3-4-x-Close-Black-Nipple-1788000-p
Great job! Love the look and will totally be doing this. My only suggestion is to add more pictures. I am more of a “learn by seeing” kinda girl. Keep up the good work.
I am also a “sight learner” I will try to post some more pic’s if I can. I made these rod’s over a year ago with no intention of ever blogging about them so that’s why the pic’s are kinda limited. However I was thinking about re-creating them so I could take better pic’s. Thank you so much for reading!
Thanks a lot for publishing the interesting info! if u w’ill keep up your fantastic job i’ll visit your website.
Thank you for reading my post! I am trying my best to keep up with the blog. I am currently traveling for work so finding time to post is a little challenging but I deffinently would love to see you back to follow my blog!
Okay so I’ am confused the metal conduit I found didn’t have the treads on the ends did you tread them yourself or am I looking at the wrong kind.. I am looking at the lowes site so that may have alot to do with it but we don’t shop at home depot much.
http://www.lowes.com/pd/Metal-EMT-10-ft-Conduit-Common-1-2-in-Actual-50-in/3129551
Hey there sorry for the delayed response! The conduit does not have to be threaded in order to make these curtain rods. The conduit will slip in to the pipe fittings and stay put. Just make sure that when you are measuring you are taking into account the 12 inch to 1 inch that will sit inside the pipe fittings. Please let me know if this answers your question! Thanks for reading my blog!
How has the paint held up with the rings?
I open and close the curtains every day. I have no obvious wear and tear. I think that using anything other then plastic rings would cause the paint to chip. Thanks for the great question!
Hey Melissa,
How far is each rod from the wall? Would there be enough space between the two rods to hang curtain panels on each rod and have the panels not touch?
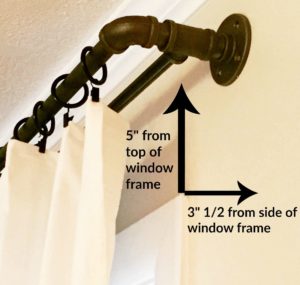
The distance from the wall to the inside rod is 2 inches and to the main rod is 5 1/4 inches. The curtains do touch when open. When they are closed there is about 2-3 inches between the curtains. I do belive that if you choose a longer nipple you could extend it enough to where the curtains would not touch at all. This may cause some sagging? I hope this answers your question! Thanks for reading my blog. Cheers!
thx
How did you cut the conduit to length? Is that something that Lowes/Home Depot will do for you in house? I have an odd shaped curtain to hang, so will need specific sizes.
My dad cut all the pipes with a simple pipe cutter I purchased at homedepot. However, I have heard that if you are nice to the people at the hardware store they will cut it for you. Good luck I’d love to see your finished product!
Was it a snap cutter (chain-like cutter)? I am making a curtain rod to hide an HVAC system in our mudroom, and it’s got to have 2 different levels and 3 different angles. This is going to need 5 different size pipes :-O
I think Home Depot would have to bend over backwards to do that, so not going to hold out hope. Appreciate any details you can give!
It was a tubing cutter. The kind you tighten and make one circular pass and tighten again. Worked like a charm! Conduit is very easy to cut with a tubing cutter. Good luck sounds like it’s going to be an epic project.
Wow, beautiful website. Thnx ..
Hi there. I am having the hardest time finding clips for the inner curtain rod at 3/4″ diameter. The Ikea link you mentioned is for 1″ diameter rings. Nothing is showing up on Google searches or on Amazon for such a size. What do you suggest?
Thank you.
Hey there, sorry for the delayed response. I have done some digging around online as well as in person at my local IKEA and was told that they no longer carry the 3/4″ round plastic curtain rings. Sorry for the miss information. If you are abel to find something that works I would love to know where you purchased it from so I can update where to buy it for all the post readers. I would recommend going with a 3/4″ plastic curtain ring if you are able to find one maybe on Overstok.com or Wayfair.com? I hope you find what you need. Best of luck.
You can buy 3/4″ o rings online in bulk (plastic or metal) and then buy the curtain clips separately (in bulk as well) and make them yourself. It is the only thing I could come up with after lots of searching.
Great find! I am so happy to hear that you came up with a good solution. Thank you so much for leaving a comment.
YOU ARE MY SAVIOR.
No, really! I have been bopping around the ‘net for weeks trying to figure out how to make curtain rods out of conduit. I loved the cheapness of the conduit rods I saw, but I wasn’t crazy about the end attachments and the cost involved even for diy finials.
I think you just hit the nail on the head with this and I can’t wait to show hubby. The funniest part is that I literally just received a shipment from supplyhouse.com today for a laundry room shelving project! The close that you used is no longer available though, per the site..
THANK YOU AGAIN.
I am happy to hear it! It is a great sturdy build. I have had them up for over a 1 1/2 years and they are still looking great! If you build it I would love to see some pics! Cheers and good luck!
Hey there! My husband and I are interested in making this for our family room. He’s concerned about the weight of the pipes. Have you had any trouble with it being too heavy or pulling the sheet rock?
The conduit itself is very light weight and ideal for the curtain application. The pipe fittings themselves are fairly heavy but adhere well with the use of the toggle bolts. I have had mine up for almost 2 years with heavy use and n problems. Good luck, let me know if you have any other question.
Do you have to use clips to hang the curtains? I wanted to use grommet style curtains, but I really like this look you have done! I was wondering if you can unscrew it to put grommets style curtain ins or not. What style of curtain did you use? I’m assuming a rod pocket curtain?
I am using clips currently with pocket rod curtains but you could use grommet type curtains as well. It is fairly simple to remove the rods if you just unscrew them from the wall on one side. I have seen others use “s” hooks to attach the grommets to like this https://www.pinterest.com/pin/249738741813133591/. I am sure that you could make it work if you want it bad enough. : ) Hope that answered your question. Thanks for reaching out. Have an amazing holiday.
Thank you for getting back to me!
Hi, great tutorial but you linked to the wrong reducing tees. The one you linked is for 3/4, 1/2, 3/4 but they are measured “end, end, middle” so you’d want 3/4, 3/4, 1/2. I ordered the wrong thing and confirmed with customer service that the correct listing is http://www.supplyhouse.com/Bluefin-BLT075-075-050-3-4-x-3-4-x-1-2-Black-Reducing-Tee. They all have the same stock image, unfortunately.
Hey there Victoria. Oh man, I’m sorry that it wasn’t the right link. Crazy thing is I went off the packing slip from supplyhouse.com. Thanks for catching that. I guess that means that my most popular pin on Pinterest is now also wrong…bummer. I hope you have a happy holidays. Cheers
That is a HUGE bummer. Supply House did send me a packing slip, and I tried to explain that the picture on the listing is misleading. I am still super happy with your tutorial though! As a fellow DIYer this saved me a lot of time and research for parts/suppliers/etc. I never hang a curtain rod unless it’s a double curtain and yours is one of the few tutorials out there for a double. Thanks again and Happy Holidays to you too.
I hope that this project works well for you! I still love mine. Good luck and let me know if there’s anything during the process you need help with!
Ate these strong enought to be used as a pot rack ?
Hey Denise! Yes they are super sturdy. I am not to sure how the paint would hold up against the metal S hooks for hanging pots? But as far as holding pots it would be just fine as long as they are mounted correctly. Please let me know if you have any other questions. Thank you so much for reading my post. Cheers!
Hello Melissa!
Thank you so much for sharing your DIY design! You’re a budget saver! I absolutely fell in love with this industrious idea (There’s a pun in there somewhere)! There is no bigger compliment I can give you than imatation, haha! I have my shopping list and curtains picked out… but I have a few question before I buy anything.
What is the distance between the wall and the elbow’s curve or tip?
How far is the first bar from the wall?
How far is the second bar from the wall?
I’m asking, because I have vertically hanging blinds on my sliding door (I can’t remove them…I rent) and the track sticks out about 3″ from the wall. What I would need is for the first rod to stick out at least four inches to make a clearing for the curtains to open and close with ease. If your design doesn’t meet this criteria, what can I do to add length to the fixtures? I was thinking maybe a longer tee? I’m not sure! Please help me on this one, because I’d hate to pass this project up!
Thank you Danielle! I love that you found and are going make my curtain rods. So to answer your questions the distance from the wall to the 90 degree elbow at the curve is 5 inches. The inside bar is 3 1/2 inches from the wall and the outside bar is 5 1/2 inches.
To add more length to the whole project you can buy nipples in different lengths. The nipples I used are called close nipples because they are threaded the entire length of the nipple,but, you can purchase nipples in varying lengths like these:
http://www.supplyhouse.com/Bluefin-BLN075-200-3-4-x-2-Black-Nipple
http://www.supplyhouse.com/Bluefin-BLN075-250-3-4-x-2-1-2-Black-Nipple
Please contact me any time. I am always happy to help!
Hi! So I’m on my way to making these, but I have a question about the middle bracket? You said you’ve had no sagging for two years, is that with or without the bracket? I’ve seen projects with and without it, and also some wth conduit and some with pipe. My window is 10 ft wide. Do you suggest I use the middle bracket? If I used thicker conduit or pipe could I get away without it?
Hey Ashlee. I decided not to use a middle bracket and I’m still happy with that decision. My front window measures 9ft 8inches, just for reference. I believe that if you’re planning on useing a heavy fabric for your curtians adding the bracket couldn’t hurt. Honestly I think I could do gymnastics off of mine right now and they would be fine. Lol. Hope that answers your questions. Please let me know if I can help you in any way! Happy building.
Thank you! This is exactly the same question I had–how long was the rod, and whether it would work without a center support (am hoping to adapt this idea for a shower room, spanning standing shower and adjacent tub) .Thanks for the information!
Thanks Melissa. I’m totally going to do this!
Hey Zenia! Im sure you’re going to love them as much as I do. Happy to have you visiting and reading my blog. Let me know if you have any questions. Cheers!
Hi. I’m in love with this idea and plan on making 2 soon. My question for you is can I thread the rod through grommets or is unable to be unscrewed? I’m not a big fan of curtain clips so I’m just tryna tweak it for me.
So YAY! I’m so happy you are going to be making these. To answer your question you can thread grommet top curtains on, but…you will have to loosens one side to take them off. Another way to still use grommet tops is useing small “s” hooks to hang the grommets on. Something like this http://www.acehardware.com/product/index.jsp?productId=17205366&KPID=14623840&cid=CAPLA:G:Shopping_-_Planters_And_Accessories&pla=pla_14623840&k_clickid=6636e6d0-6903-4ee1-9ffe-0f48acec04bd.
Hope this helps you! Good luck and please let me know if you need any help.
Thanks! I kinda like the idea of the “s” hooks as well.
Very nice!
I love this!! Fantastic tutorial, and having the it ma and measurements written on the photos makes it even easier!
I plan to make these for my husband’s office. I’ll be happy to share photos once it’s complete!
Question – why did you decide on 3/4 size instead of 1/2? I’ve seen tutorials use either size, and I can’t decide which size I should be getting.
Hey there Sadie! Thanks for reading and liking my post. I think you will love these rods.
I decided to use both 3/4 and 1/2 inch for a few reasons.
1. I wanted to be able to hang a heavier curtain and not worry about stability problems. That is why I used the 3/4 inch on the main outside rod.
2. I knew all I would be hanging on the inside was light weight sheer curtains so I thought having the 1/2 inch was sufficient.
3. I think it kinda looks cool with the two different sizes. That is why it took me some time to think of the build. I needed to find the reducing tee’s that would accomplish the look.
Phew! I hope that answered your questions. Please let me know if you have any issues or questions I can answer and good luck.
Cheers!
Has anyone actually done this because I bought all the required parts and realized a 3/4″ pipe won’t fit in a 3/4″ opening…what am I doing wrong here?
Hi Lauren. To answer your question yes, several hundred people have made these curtain rods. Let me help
You trouble shoot. My first question is did you buy all the parts exactly like what’s in my tutorial? Second are we talking about the outside pipe or the one closest to the wall? The inner pipe is supposed to be 1/2 conduit with the outside pipe measuring at 3/4.
Hi Lauren. Just checking in to see if you got everything straightened out?
Hi Melissa,
I bought all of the fittings,conduits and etc. but I can’t get everything to screw together. Because when I screw one piece in it loosens the other. How would you go about threading the pieces?
Thanks,
Keri
Hi Keri,
The pipe fittings can be a little finicky. I had to try multiple pieces together until I found ones that fit together well. First start with the floor flange and work your way to the 90 degree elbow. Keep in mind that there will be some looseness in a few pieces. Even if there are a few loose pieces it will still hold together really well when you mount and add the conduit. I hope that answers your question! If not let me know and I’d be happy to walk you through any of the other parts of the build! Cheers
Hey Keri. Im checking in on your progress and also seeing if you where able to get all of the fittings to work together? You can email directly if you’d like. sincerelysaturday@gmail.com
I absolutely love your idea and as I’m buying my first house I am working on a tight budget, so this is perfect. I’m not great at brainstorming fixes, which is why I am writing. I am wondering if you can think of what I would use to make a middle brace for this double rod set, as I have to span 3 sliding glass doors to the tune of 130 inches. Any ideas you could offer would be greatly appreciated!!!
Best,
Kim Kwasniewski
Congratulations on your home purchase! I think I have a good solution for you. Just so you know the curtain rod pictured is 107 inches long with NO brackets. I have had it up with regular us for over 2 years with absolutely no sagging. Now having said that I think that these are a solution for your bracket question.
http://m.ikea.com/us/en/catalog/products/art/60219897/
And
http://m.ikea.com/us/en/catalog/products/art/60217228/I I did purchase these in case I needed them but found that the rods are super sturdy and didn’t require any further bracing. You will need to purchase both so you can support both rods. I have never tested them to see if they work so please forgive me if they are not a good solution.
Please let me know if you need any further assistance. Good luck on the new house! By the way have you read my post on things you need to do before you move into a new home? It has some great tips and tricks you might want to check out! https://sincerelysaturday.com/bought-home-now-11-things-move/
Cheers.
Hello,
Love your Diy double industrial curtain rods, Ive been thinking of doing this for my new house. My question is, would it be possible to not use a clip to hang curtains? Or how am I going to change the curtains once it is put up together with the rod?
Thank you for commenting Alona. You can use “s” hooks to hang grommet topped curtains. I think this must be the second most common question of this rod build. Congratulations on your new house!
Cheers.
Hi. we are in the middle of this project and we cannot get the unthreaded side of the conduit (the side we cut) to fit in the reducing tee. We have double checked that all pieces are correct. The threaded side fits but without the thread its too large. Any tips or what am I missing?
Hi Jamie. Let’s see if I can trouble shoot this for you. My first guess would be that you have 2 pieces of 3/4 inch conduit instead of one each of 3/4 inch and 1/2 inch conduit? I have had about 4 other people make that same mistake so that’s my first guess. Please let me know if that’s what it is. If not email me @ sincerelysaturday@gmail.com so we can trouble shoot this together! Hope this helps.
Hi Melissa
I”m thinking about executing these in a place where I’d have to hang the entire unit from the ceiling. In order to have a double rod, I’d need to re-engineer to have a 90 degree turn where currently the nipple meets the flange. Have you thought about this at all or had this question before?
Appreciate it!
Great question Katie. I have not thought of this before but I’m sure we can think of a way to make that happen. Would you mind sending me a pic of where you will be hanging them? I’d love to find a way to hang them that way. Email me sincerelysaturday@gmail.com. Look forward to the challenge.
Love this idea. This is exactly what I was seeking for my downstairs. Curtain rods are so pricey, especially when you have multiple windows in a room. Now to get the crafty husband on board to make these.
Great to hear Lindsey. Just remember to buy electrical conduit and NOT plumbing pipe. I’ve had about 3 people in the last few weeks make that mistake. As always keep in touch if you need any help. Cheers
What a great tutorial! I took the photo with all your details to Home Depot and was able to get all the fittings! your directions are great! I just need to go back once i have measurement for rods. I am using the rod for a photography backdrop mounted in my living room so i don’t have to set up wobbly stands everytime I want to shoot someone .
thanks again for a great tutorial!
katherine hershey
http;//katherinehersheyphotography.com
Hi Katherine. What a great idea you had to use this idea for photography! Thank you so much for reading. This article was my very first sincerelysaturday.com post so I always feel like it could be better. Someday I’ll revise it so it’s easier to follow.
Hi Melissa
Love the idea. My question is do you think this would work as a double shower curtain?
Hey there Sherry. I have had a bunch of folks that have used it as a curtain rod. I believe that this is accomplished by sealing the pipe fittings with a good clear coat. This will ensure that they will not rust over time. I hope that this answers your question. Let me know if you need any more information! Cheers
What would I have to change to make this a single curtain rod? I won;t use sheers in the window I’m putting it on.
Hi Cari. You can easily change this into a one rod build by simply leaving out one close nipple and the reducing tee. So all you would need is the floor flange, one nipple and the 90 degree elbow. Let me know if you need any further information. You can email me at sincerelysaturday@gmail.com. I would love to see pictures when you’re all done! Cheers.
Ack help!!! I have purchased and painted all the components of these curtain rods. The conduit came threaded on both ends. Now that we are trying to put them together to hang them, we can’t “screw” them in because as you spin the conduit, one side tightens as the other side doesn’t because it’s spinning the wrong direction. My husband and I keep trying to figure out a solution to this without having to buy all new “un-threaded” conduit. Please help, we love these rods and need to hang some curtains!! Thank you so much!
Okay so I’m going to assume that you bought your pipes from the plumbing section? If this is the case…you’ll have to buy conduit! The only good news I have is that conduit is super cheap! The other thought I have is to cut the threaded ends off if you have any room to play with your pipe?? Gosh, I hope so. Please contact me on sincerelysaturday@gmail.com if you need any more help!! Good luck.
Muy interesante tu opción de cortinero, hice unos cortineros con lo q tenía en casa. Unas argollas en cada lado de la pared y un tubo. Resultó muy bien. Saludos
Me encantan tus tutoriales. Gracias x compartir
Hola Isabel,
¡Muchas gracias! Estoy feliz de oírte como mis tutroiales. Espero que te suscribas y sigas leyendo. También he instalado el sitio de traducción de Google en Mu, así que si vas al lado derecho puedes elegir el idioma en el que deseas leer mi sitio. Gracias.
Wow that is so cool. I love the industrial look. I never would have thought to design with copper pipes. That is really unique!
Thank you for your kind words. This build is actually made from metal conduit pipe not copper. I believe you could make it out of copper if you so desired.
Is this installation permanent, or can the curtains be easily taken down to wash them?
Hi Becky! If you do like me and use clips to hang your curtains than you can easily remove them to be washed. I do know of many people who choose to use grommet top curtains. If that is the case you need to simply loosen one end on the floor flange and remove the curtains OR hang the grommet topped curtains from “s” hooks and they can easily be removed. Thank you so much for visiting my Blog. Please let me know if you have anything further I can help you with.
I have a window that is 120″ and presently have a double rod. Both curtains, the inner sheer and the otter are both gromet style curtains. Presently it is a pain to open and close because the curtains tug on each other. Would your rod system rectify that so the otter curtain can be opened easily without disturbing the inner sheer as I need it to stay closed for privacy (close neighbours).
Also, I am hangin two panels on each side of the window, do you have any hints how I can keep them together all the way down the length when openning and closing?
Hello Kim! So I do not have any problem with my curtains touching each other. My interior curtains are also sheer and my outer curtains are cotton and not all that thick. I believe if you need to you could use a bigger size nipple to extend my design just a little bit further so you can be certain that they will not touch. Here is the size I would substitute for the nipples in my design.
https://www.supplyhouse.com/Bluefin-BLN075-150-3-4-x-1-1-2-Black-Nipple
I also bought my curtains very large and cut them to fit my window so I wouldn’t have any gaps. I would recommend that you buy curtains for an extra large window so you don’t have to worry about any gaps.
We like your design, and decided to use it on a wide patio door (188”). That meant that we would have to ’splice’ 2 long pieces of electrical conduit together with a pipe coupling for a consistent look. Our drapes have 2” gromets for hanging, which means you have to out the drapes on the rods before you insert the rod ends into the pipe fittings. And that last part is hard to get a full half-inch of pipe into the fitting due to flex and alignment. Also the sheer curtains interfere with the heavier drapes when you slide them. Probably have to replace the nipples with longer ones. Otherwise they’re gorgeous.
Woo hoo! I love hearing about how people are using and modifying my original double industrial curtain rod design. Thanks for contacting me! Cheers.
I’m late the party but I was in the store for over an hour deciding to do it or not and silently crying at the cost of iron pipe. I kept wishing I could use conduit but thinking it wouldn’t work with the flanges since they aren’t threaded. Thank you, thank you, thank you! So glad I decided to wait! I’ll be going the conduit/flange route now that I know it can be done
Yaaaassssss! I’m so happy you found my build. You don’t need the pipes to be threaded for this build! My curtain rods are still looking gorgeous after 4 years. I have no chipping of the paint or sagging. Let me know if you need any advice or additional information. Happy building.
Hi Melissa, my daughter has corraled me to build and install your curtain rod assembly. I’m well acquainted with all of the parts and procedures needed for this project. The one thing I would advise is to specify the common name of the “electrical conduit” as “electrical metal tubing”, also known as EMT. The EMT is much thinner walled than actual electrical conduit as the electrical conduit is very much like steel pipe and is much thicker walled and much heavier than EMT. If people ask for EMT for the rod parts they will eliminate the confusion regarding smoothe ends and threaded ends. I suspected what you were referring to was actually EMT and my hunch was confirmed when I finally came across a reference to it in a post you replied to. Actual conduit (thick walled) will work but it will not be a project for the novice and it’s much, much heavier and much more expensive than EMT. Thanks for sharing your project with alla us! Happy Thanksgiving and Merry Christmas to you and yours,
Hey there, Mike! Thanks for your input. I do believe that the “electrical” conduit section in Home Depot where I purchased the conduit from sells IMC (Intermediate Metallic Conduit). It is in between EMT you were speaking of and the GRC (Galvanized Rigid Conduit), which is commonly threaded and sold in the plumbing section. I tried to make it as simple as possible for all the thousands of readers so they can feel confident going into Home Depot in the electrical section and purchase the 10 ft long pipe available in that section.
I would love to see how the project turns out! Send me some pictures and I’ll feature them on my blog post. Good luck. Have a very happy and safe holiday season!!
This question may be answered elsewhere in the comments but I didn’t see it. Or wasn’t patient enough to Look thru all comments. Anyway, I absolutely love this pin. I Was very excited to put these in my new home. I bought all my supplies and started installing the rods. But My conduit appears to only insert into the fitting a very small way before it stops. I’m afraid it will not stay in the fitting with repeated use of opening & closing curtains. How far into the fittings did your conduit go? Did u tap them in to get a longer fit? Thanks. Great post!
I am so happy that you are using my build! So I’m going to ask you some common questions first. Did you buy the conduit in the electrical section or plumbing pipe? Only electrical conduit will work! My pipes go in each fitting about 1/2 on each side. As long as you have measured correctly and put the fitting the appropriate distance apart the build is more than capable of functioning like a normal curtain rod. Please feel free to shoot me an email with pictures and I can try and triage if needed! Cheers, Melissa
I just read the comment above mine & am wondering now if I bought the “thicker” walled conduit on accident. I would love a response still but I will check into that at Home Depot next time I go. Thank you.
Please feel free to email me with pictures if you need any further help!
This is perfect for me! I’ve been looking for rustic pieces to add into my home, so I might just get these. Thanks for sharing!
Do you know if the conduit comes in any bigger sizes? I need a span of about 15 ft, but couldn’t find what you use in between or if you can. Any suggestions?
Hi there! I would purchase two 10ft pieces and cut them down to 7.5 ft pieces. You then can use an external coupling fitting to join the pipes and add a wall support in that location to support that area of pipe.
Hi Melissa! I stumbled upon your DIY… love it! I’m actually looking for the opposite. I have the rods, I have been searching for the right curtains! I love the ones you used. I know this post was years back, but do you have a link to where you purchased your curtains?
Thank you!
Hi there!
I purchased the curtains from Ikea. The sheers are from amazon. If you are referencing the blackout curtains they are also from Amazon. I can get you the link if you need it.
I’m going crazy I was able to get one part alright but HOW do I do the other part , the pieces 3/4″ x close black nipple – 3/4″x 1/2″ black reducing tee are not closing between them since the other side is already done is there a video on how to close those two parts
Hi Sharlene. Did you get it to work? IF not can you send me a photo so I can see what the issue is.
Thank you so much for featuring my DIY industrial double conduit curtain rod post!